How To Grow Oyster Mushrooms At Home
Step 1: Get Prepared
First, you’ll need to decide what type of oyster mushroom you want to grow.
There are several different types of oyster mushrooms from which to choose. Here are some of the more popular ones.
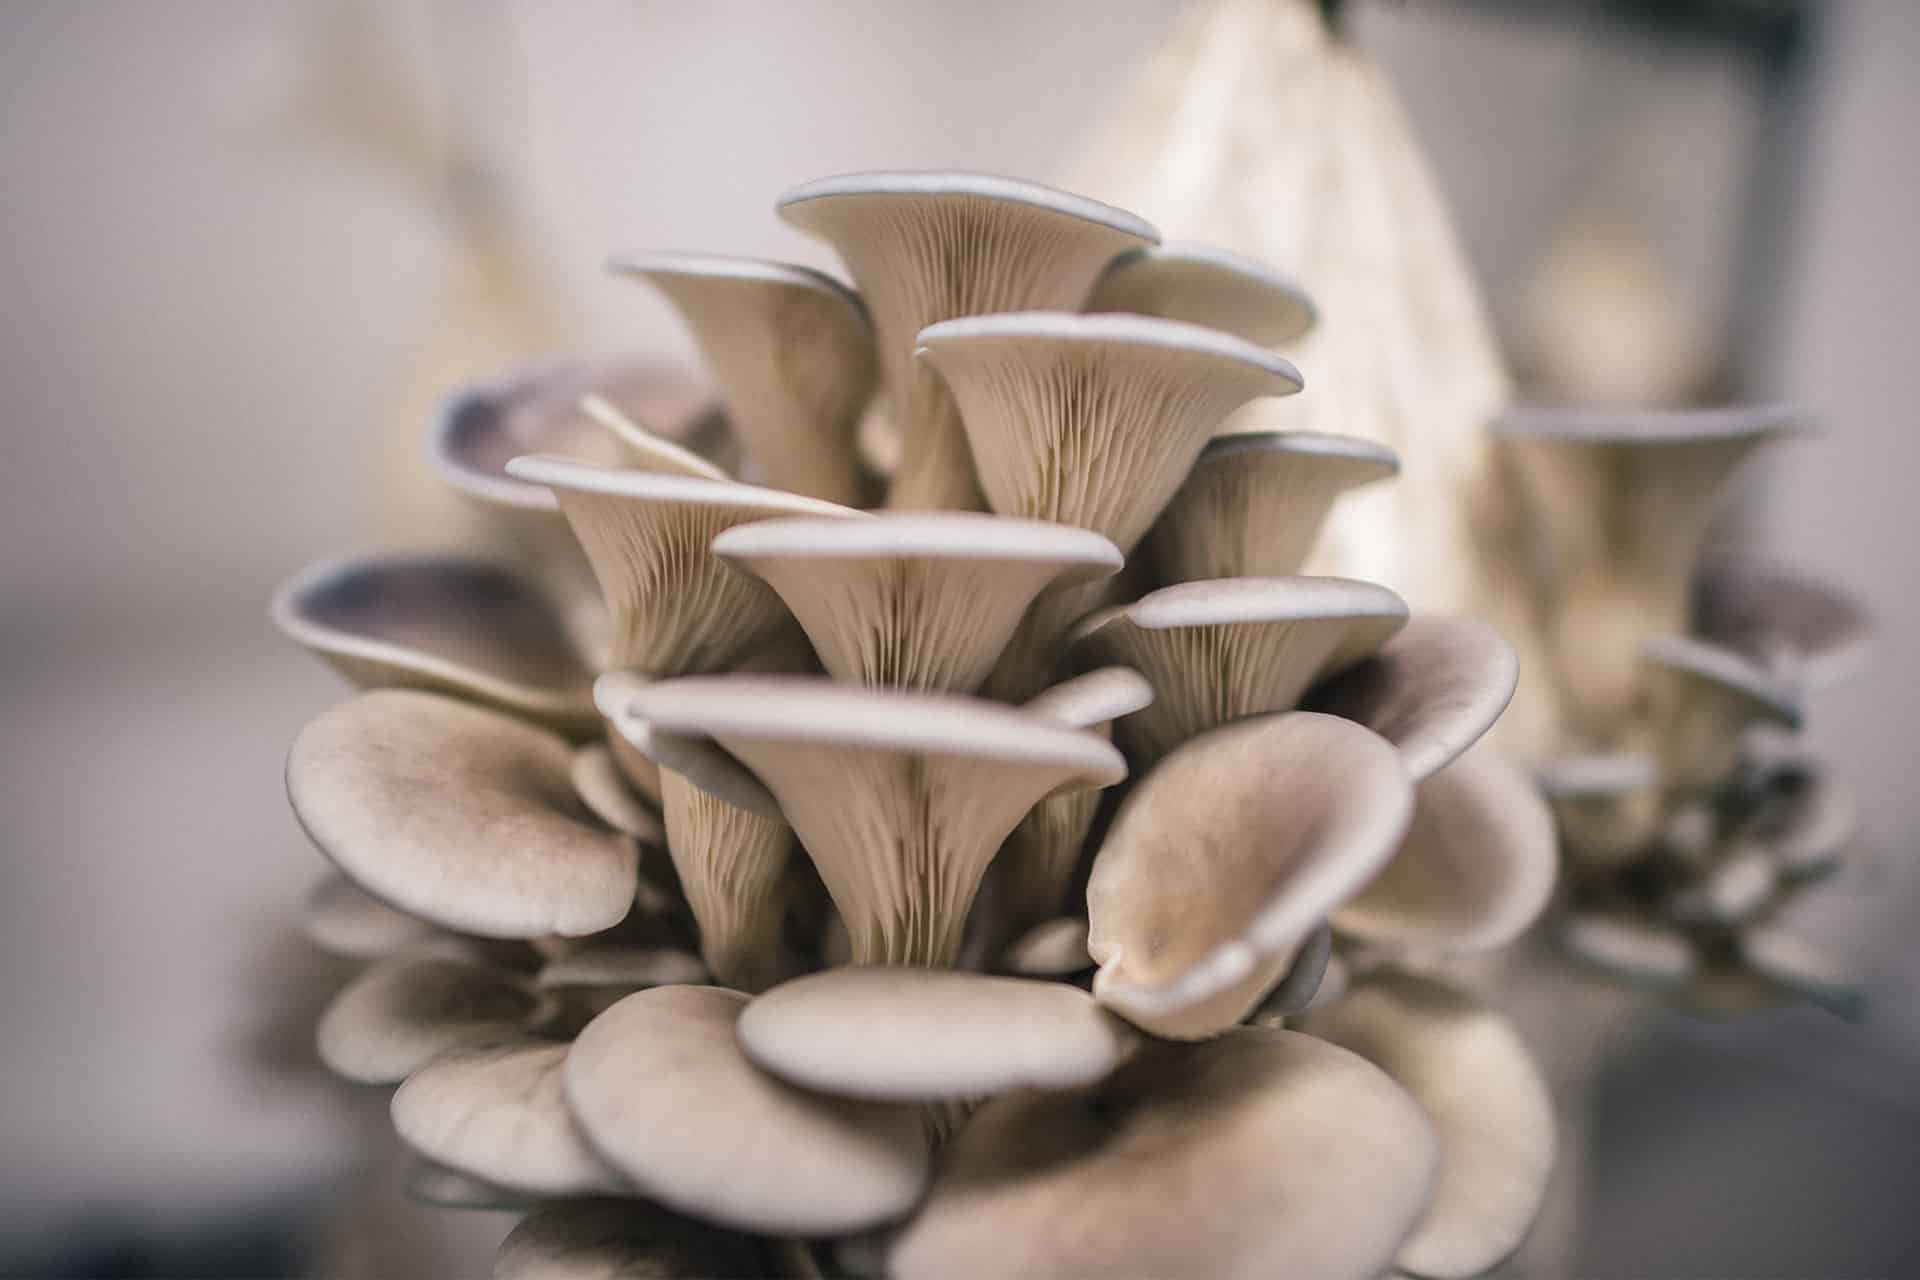
- Pearl oyster mushroom (Pleurotus ostreatus)
Sometimes called the common oyster mushroom, winter oyster mushroom, or grey oyster mushroom.
The pearl oyster mushroom is one of the most commonly available varieties. They grow best in colder temperatures.
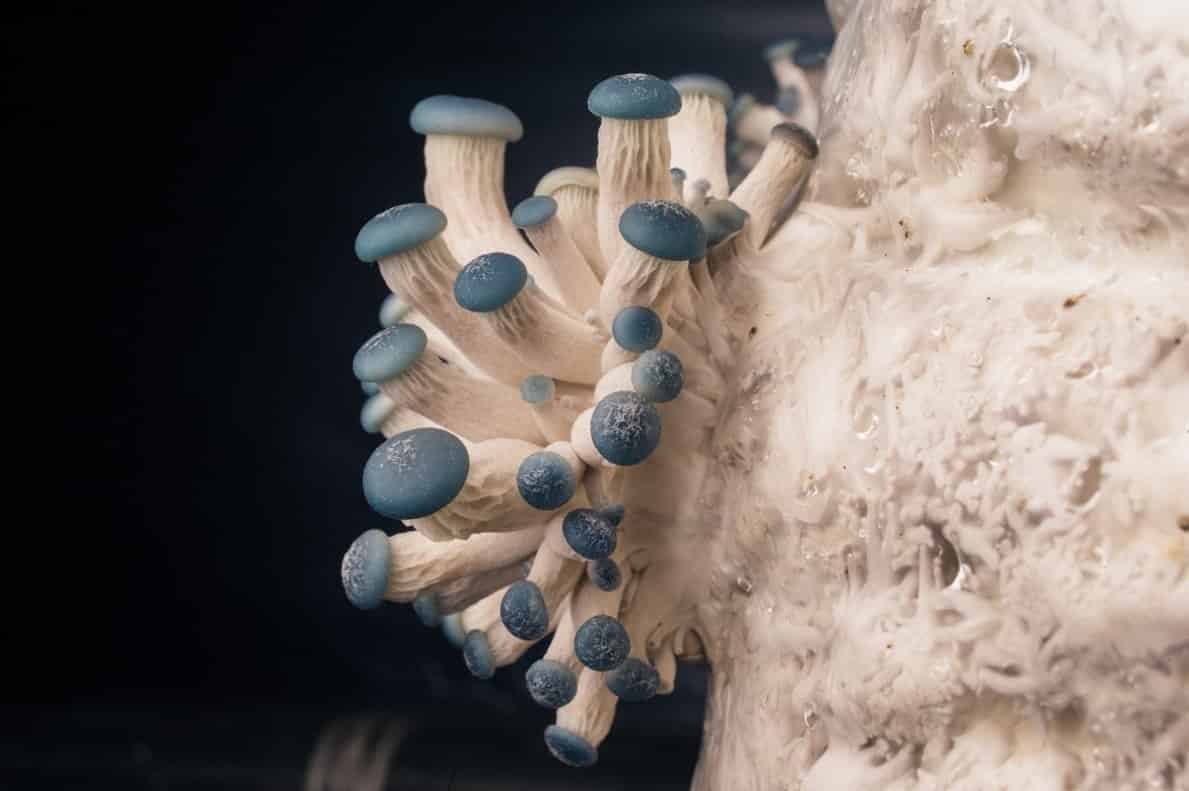
- Blue oyster mushroom (Pleurotus ostreatus var. columbinus)
Commonly found throughout the northern hemisphere, the blue oyster mushroom is a sub-species of the common oyster.
It’s one of the fastest colonizers of all the oyster mushroom varieties and prefers growing in cooler temperatures of 45-65 F (12-18 C).
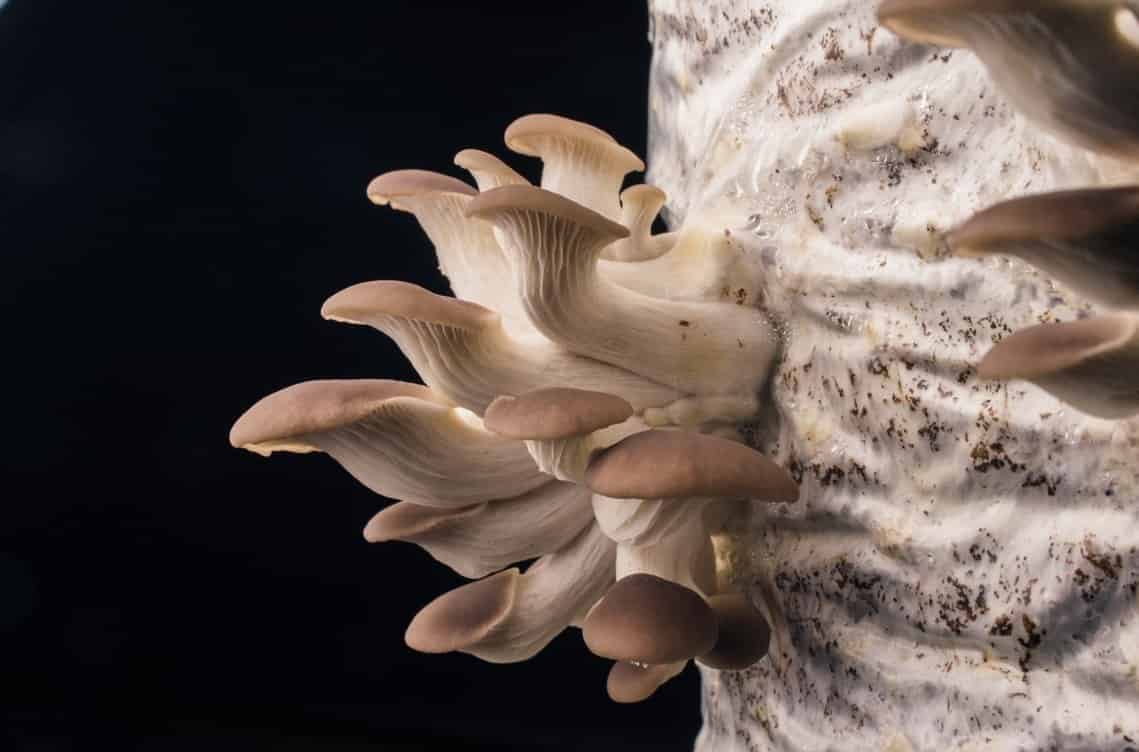
- Phoenix oyster mushroom (Pleurotus pulmonarius)
Also sometimes known as the summer oyster mushroom, Italian oyster mushroom, or the Indian oyster mushroom, the phoenix oyster mushroom has evolved to grow in warmer climates.
Depending on the strain, it is either white or a brown/tan color.
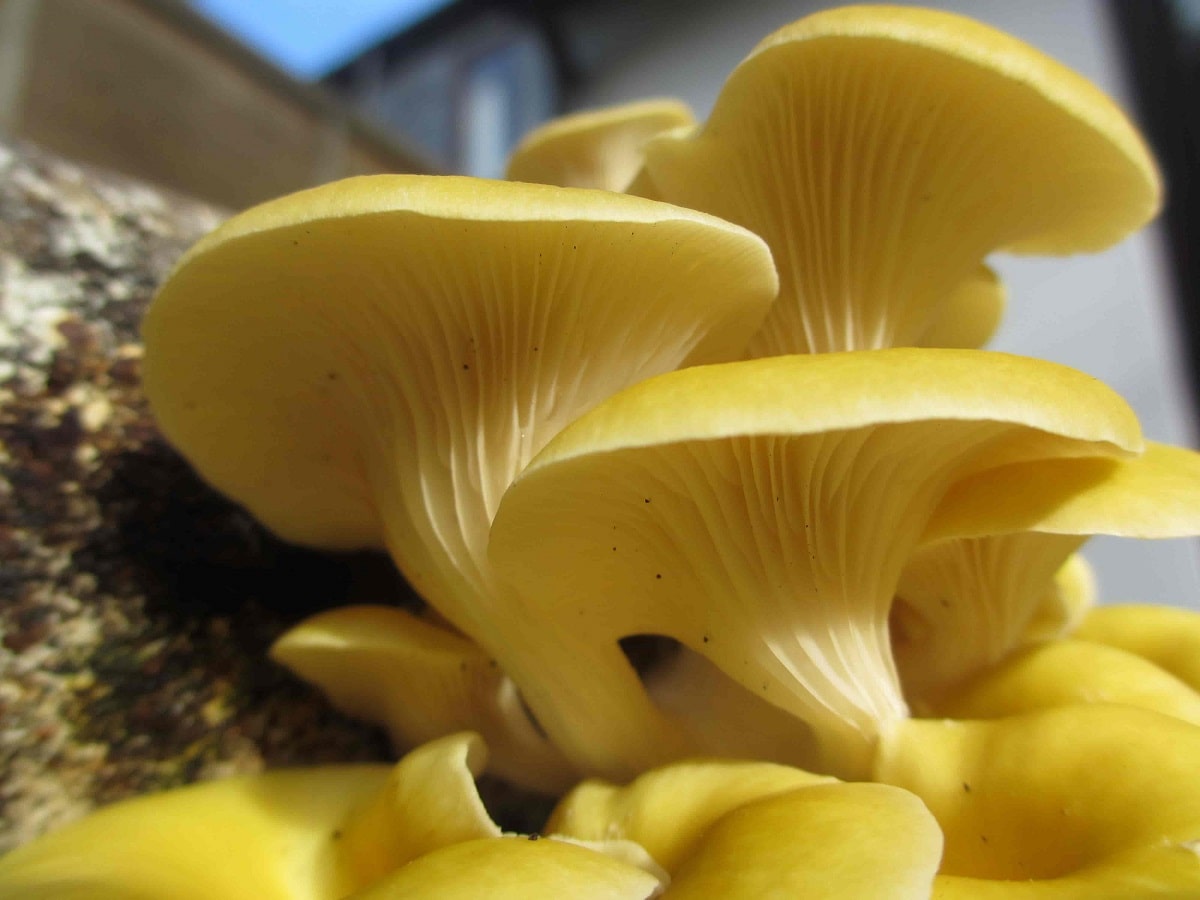
- Golden oyster mushroom (Pleurotus citrinopileatus)
Sometimes also called yellow oyster mushrooms, this variety is best known for its amazing color, and for looking similar to the popular chanterelle mushroom.
They prefer warmer temperatures of 64-86F (18C-30C).
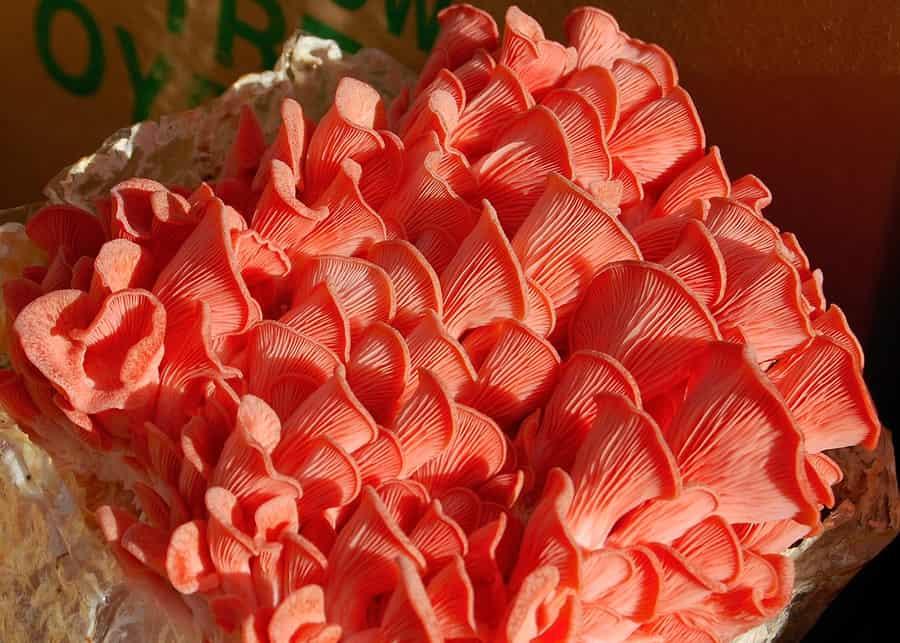
- Pink oyster mushroom (Pleurotus djamor)
One of the most striking of the oyster mushroom varieties, the pink oyster mushroom grows quickly, producing fruits in as little as 3-4 weeks.
They prefer warmer temperatures of 64-86F (18C-30C) .
- King oyster mushroom (Pleurotus eryngii)
Also known as the eryngii mushroom, it has a firm texture and delicious meaty flavor.
It is more difficult to cultivate than other oyster mushrooms. So it’s not the best variety to get started with. It prefers cooler temperatures between 45-65 F (12C-18C).

Decide Which Oyster Mushroom Substrate To Grow On

Substrates are the food source which enables the growth of mushroom mycelium.
Mycelium is the root-like vegetative growth of the fungus and is critical to the cultivation of oyster mushrooms in the same way an apple tree is to an apple.
The most widely used substrate for oyster mushrooms is straw. However, sawdust, cardboard, coffee grounds and other byproducts of agriculture such as sugarcane bagasse, coco coir and cotton waste can also be used.
How do you decide which substrate to use? Choose whichever is the easiest for you to source!
The easiest substrate to get started with is probably wood pellets as they come already pasteurized and you just need to add water to hydrate them.
Straw is also a very forgiving substrate to grow on.
Either way, choose a substrate material that you can easily source and use the instructions below to prepare it for inoculation.
-> If you want to skip the learning curve of making your own substrate, you could also consider buying ready-to-fruit Oyster mushroom blocks, which come fully colonised and ready to grow.
Order Your Supplies
Before you get started on the growing, the last step is getting your supplies ready so you can get started.
You’ll need to order:
- Oyster mushroom spawn (at least 100g, but preferably 1kg or more)
- Your substrate material
- Either make or purchase growing bags/containers
If you’re UK based, you can buy oyster mushroom spawn from our shop.
Outside the UK, the best thing is to just do a search for “oyster mushroom spawn + [your country]”.
In most countries there are a number of suppliers. You can often pick up spawn like this on Amazon or Ebay as well.
Grain spawn will produce bigger yields than sawdust spawn, so try to source this if you can.
Oyster mushroom grain spawn

![]()
As for growing containers, ideally you’ll get hold of purpose made mushroom cultivation bags. They enable the perfect air exchange and keep out competing molds and bacteria.

Unicorn 10T mushroom cultivation bags with breathable filter patch
If you can’t source these growing bags, you can also grow mushrooms in a bucket, like this, or use large freezer or Ziploc bags with 0.5mm holes poked in every 10 cm around the bag.
Step 2: Prepare Your Oyster Mushroom Substrate
The goal of the substrate is to provide a hydrated nutrient-dense food source which is also devoid of other micro-organisms that would normally compete with the mushroom mycelium.
Straw, cardboard, sawdust pellets and coffee grounds are all easy substrates to use for growing oyster mushrooms that achieve this goal.
Here’s a quick overview of how to prepare each one.
Straw and Cardboard
Straw is the most commonly used substrate for oyster mushroom cultivation. It is usually cheap, contains essential nutrients and oyster mushrooms thrive on it.
Pasteurize by soaking in hot water (65-80C / 149-176 F) for 1-2 hrs, or in a cold water high-pH lime bath for 12-18 hours.
Sawdust Pellets
The great thing about using these is that they are already pasteurized by the heat and pressure of pellet production process.
Add equal weight of water to weight of pellets, soak for 30 mins. And then mix to break up the pellets into hydrated sawdust.
Coffee Grounds
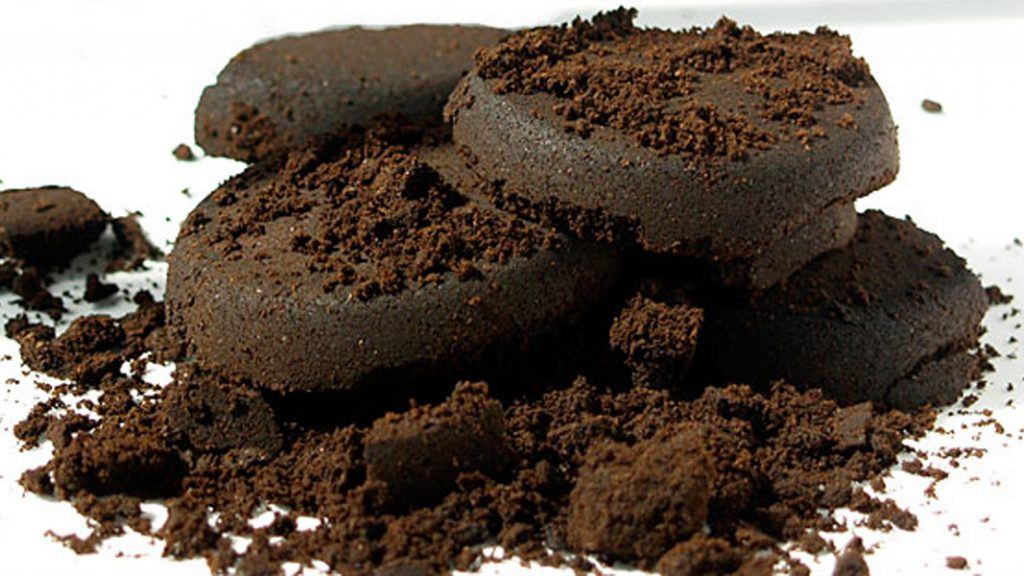
Waste coffee grounds are a plentiful (and already pasteurized) resource.
Despite a lot of misinformation on the internet, coffee grounds can actually be a pretty good substrate for growing oyster mushrooms.
The key is to only use fresh grounds (within 24 hours of brewing) which are already pasteurized and hydrated by the coffee brewing process.
Beyond 24 hours, competing molds start to develop and will outcompete your mycelium.
Ideal as a substrate on it’s own in small amounts (1kg or less), but if you go bigger, mix in 20-50% of straw.
Check out our article about how to grow mushrooms on coffee grounds for more info.
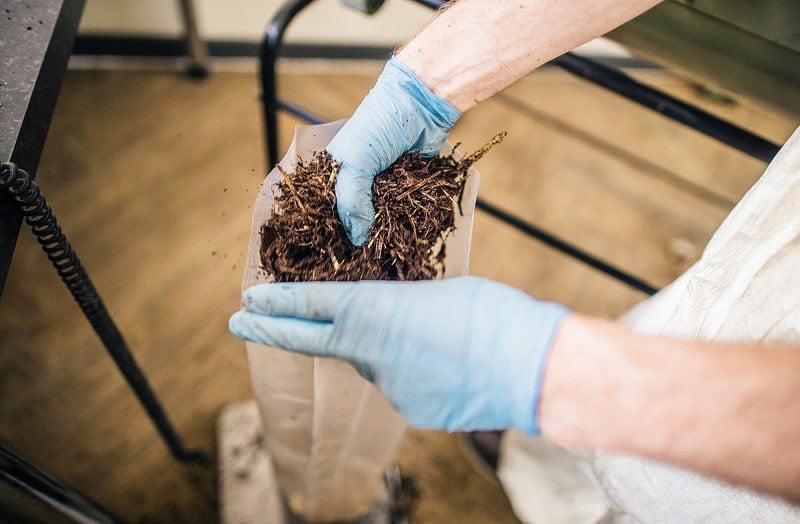
Step 3: Inoculation
Inoculation is the process of adding your mushroom spawn to your prepared substrate.
Before you start mixing, clean your hands well with soap and wipe down all surfaces you’re about to work on with a cleaning spray.
Make sure your substrate has the right moisture content. The pasteurization process will probably moisten your substrate to the correct level, but it’s essential to check that your substrate is not too dry or too wet.
Depending on the material, you are aiming for anything between 55% hydration (sawdust and coffee grounds) to 74% (straw). The easiest way to check is with the squeeze test.
Squeeze the substrate slightly in your hand. It should bind into a ball in your hand, and a couple drops of water should come out. If more than this occurs, you’ll need to dry your substrate out a bit. If it doesn’t hold together in your hand, it is likely too dry, and you’ll need to add more water.
Next, mix the substrate and mushroom spawn in a container of some sort (large plastic box, barrel, whatever you have to hand) then load the substrate into your growing vessels and close the top with a rubber band, paperclip, tape or tie of some kind.
If you’re not using a filter patch bag, then make a few tiny holes every 10cms around the bag for air exchange. Check out this short video lesson where we walk you through an example of the inoculation process with coffee and straw as the substrate
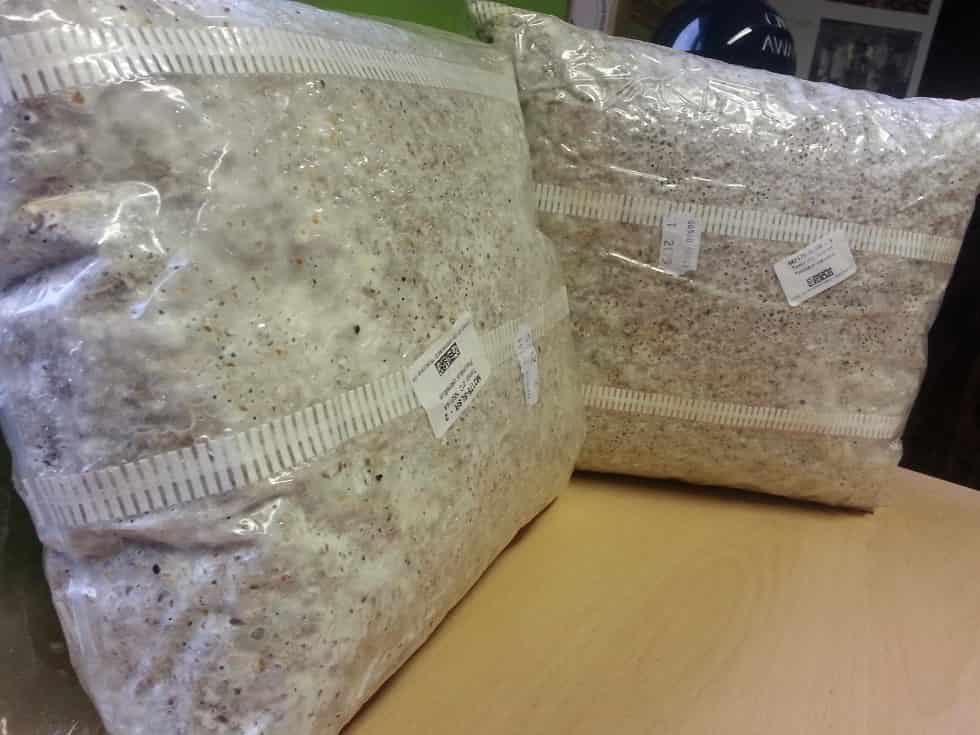
Step 4: Incubation
Incubation is where the magic begins!
It’s where the spawn that you introduced will grow and spread out across the substrate, in preparation for the final phase of fruiting.

Hundreds of Kg’s of Oyster mushroom substrate incubating at GroCycle Farm.
Providing the conditions needed for incubation is simple, even at home.
You can use any warm (20-24C) space in your house, like a cupboard or boiler room. The area should ideally be dark to prevent early pinning, but it’s not essential.
The spawn will come to life in the warm, humid conditions of the bags and eat its way across the food you’ve given it.
Once the bag is completely white, it’s time to start fruiting.
Be sure to watch out for blue or green mold growing in your bags.
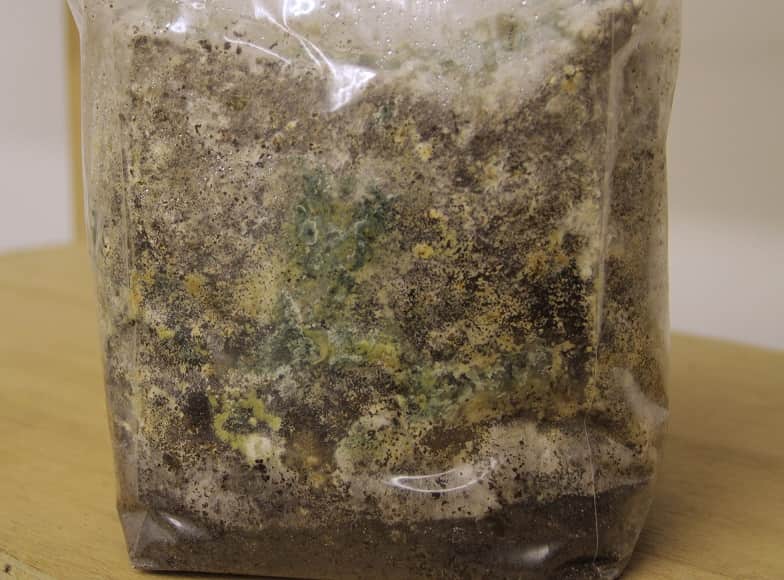
Green mold starting to grow and outcompete oyster mycelium
If it’s just a little, there’s a good chance that your spawn will overtake it, but if there’s a lot, the grow will likely fail, and it’s time to compost your substrate and start again.
Common Problems During Fruiting:
- The drying out of your substrate and or mushrooms (Yellow or brown appearance)
–> Just spray more regularly if you see this.

Long thin oyster mushroom stems indicate high Co2 levels
- Long stems caused by high Co2 levels in the room they are in
–> Open the window a couple of times a day to increase oxygen.
Step 6: Harvest & Growing More Crops
Once the edge of the caps of the oyster mushroom starts to flatten out or turn upwards, it’s time to harvest before they begin dropping lots of spores.
This can be difficult to judge the first time around, but you soon get a feel for it.
A couple of tips: if you see them stop growing any bigger, starting to dry out, or dropping lots of white “dust” (spores) then it is time to harvest!

Harvesting just as the edge of the mushroom caps begin to flatten out.
You can either twist them off with your hands or cut the cluster off with a knife.
Next, cook a fantastic mushroom meal using one of these delicious oyster mushroom recipes.

Pan-fried fresh home grown oyster mushrooms…mmmm!
Two days later, after you’ve devoured your leftovers, submerge the mushroom substrate in water overnight to rehydrate, then follow all the same instructions from Step 5: Fruiting.
Spray twice a day in the same hole you cut out earlier. 1-2 weeks later you’ll have more mushrooms beginning to emerge.
You can repeat this for a smaller third crop before the substrate starts to run out of available nutrients.
Then you can break up the substrate and add it to your compost or as a mulch/top layer dressing for the soil in your garden.