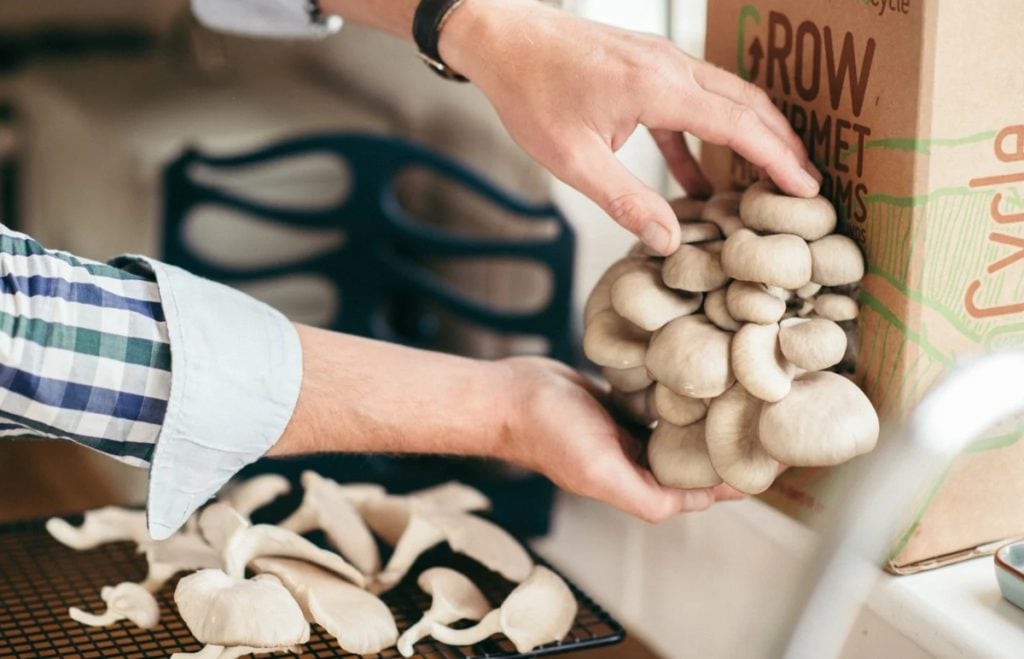
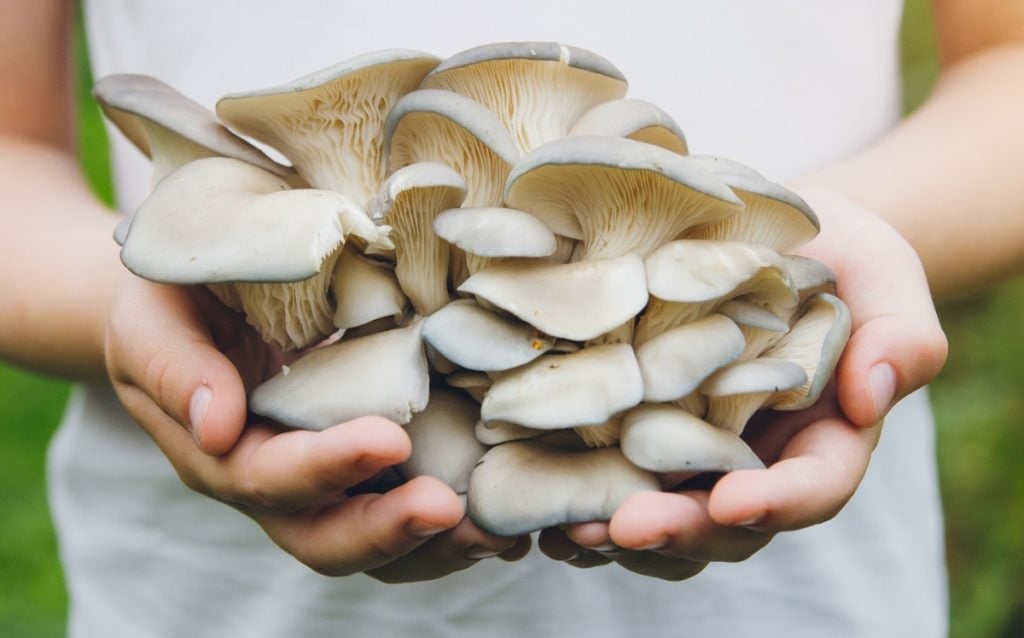
If you’re new to mushroom growing and trying to decide where to begin, we recommend starting with fast-growing oyster mushrooms.
They’re some of the easiest mushrooms to grow and thrive on low-nutrient substrates like straw, sugarcane bagasse and cardboard.
This means you can prepare oyster mushroom substrates the low-tech way using pasteurization instead of sterilization and you won’t need expensive equipment to get started.
Read on to learn what pasteurization is, how it differs from sterilization and how to pasteurize mushroom substrate.
What is Pasteurization?
Pasteurization is the process used to reduce the number of harmful competitor organisms in a mushroom substrate before inoculating it with mushroom spawn.
Mushroom mycelium needs moist, nutritious organic material to grow and produce mushrooms.
But many competitor organisms also enjoy these conditions.
Pasteurizing a substrate gives the mushroom mycelium a head start, allowing it to spread throughout the substrate before other contaminants, such as mold or bacteria, get a foothold.
There are several different pasteurization methods, including low-tech methods ideal for beginner mushroom growers.
Does Mushroom Substrate Need to be Pasteurized?
To increase your chances of successfully growing mushrooms, you’ll need to pasteurize or sterilize your mushroom substrate.
As mentioned, the growing conditions you create for your mushrooms are also ideal for competitor organisms like mold and bacteria.
Many of these competitors grow faster than mushroom mycelium, and if left to nature, they’ll take control of the substrate before the mycelium has a chance to get established.
What’s the Difference Between Pasteurization and Sterilization?
The most significant difference between the two is that pasteurization reduces the number of living organisms, while sterilization aims to eliminate all living organisms.
Pasteurizing mushroom substrate is like removing as many weeds as possible from your garden before planting vegetables.
While sterilization is more aggressive and the equivalent of scorching the soil and killing every living plant and seed before planting vegetables.
One of the benefits of pasteurization is that it leaves behind beneficial heat-tolerant bacteria that can help to ‘protect’ the substrate from competing organisms during colonization.
Having beneficial bacteria in the substrate allows you to inoculate the substrate without needing completely sterile conditions.
Sterilizing substrate kills absolutely everything in the substrate, leaving a blank canvas on which anything can grow.
Thus, sterilized substrates need very sterile conditions during inoculation to avoid introducing contaminants.
How to Pasteurize Substrate: Different Methods
Mushroom cultivators use several different methods to pasteurize their mushroom substrates.
The best method for you will depend on your experience, the mushroom species you plan on growing and the type and amount of substrate.
There are two main types of pasteurization, heat pasteurization and cold pasteurization. In the sections below we’ll look at these in more detail.
Heat Pasteurization Methods
Heat pasteurization is very effective and the most commonly used pasteurization method.
Mushroom farmers usually use hot water or steam to heat pasteurize substrates.
Here are some popular heat pasteurization methods:
Hot Water Pasteurization
Hot water pasteurization works well for small-scale home cultivators but gets expensive when pasteurizing bulk substrate.
It involves submerging your substrate in hot water between 149 and 167°F (65 and 75°C) for one to two hours.
Water at this temperature kills heat-sensitive competitors while leaving some beneficial heat-tolerant bacteria alive in the substrate.
If the water gets too hot, you risk killing the beneficial bacteria.
To pasteurize a substrate in hot water, first bring water to a boil and then turn it down until it’s in the desired temperature range.
With practice, you’ll know what setting to use on your stove or gas burner to maintain the correct temperature, but initially, it’s best to use a thermometer.
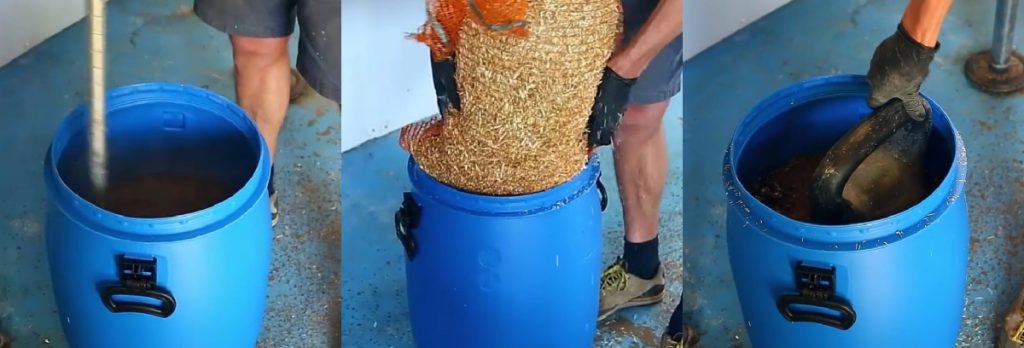
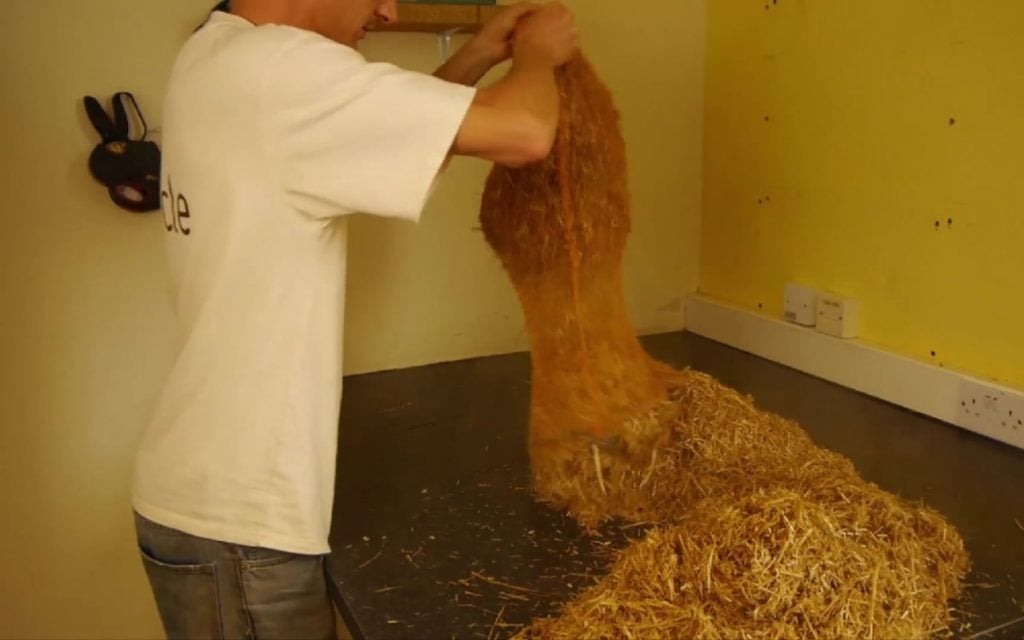
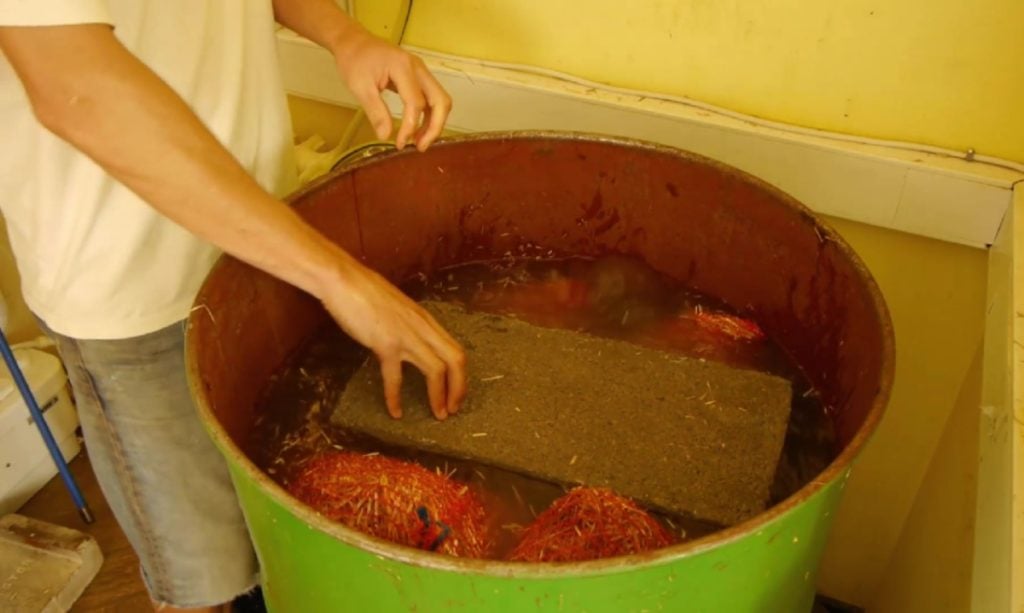
When the temperature is correct, add your substrate to the hot water, loose or in an old pillowcase or net bag.
Placing chopped straw in a net bag for pasteurization makes removal and drainage easier.
You’ll often need a weight of some sort to put on top of the substrate to keep it submerged.
Maintain the required water temperature and leave the substrate submerged for around two hours.
When the time is up, turn off the heat and cool the substrate.
If you put the substrate directly into the water, wait for the water to cool before taking out the substrate and squeezing it to remove excess water.
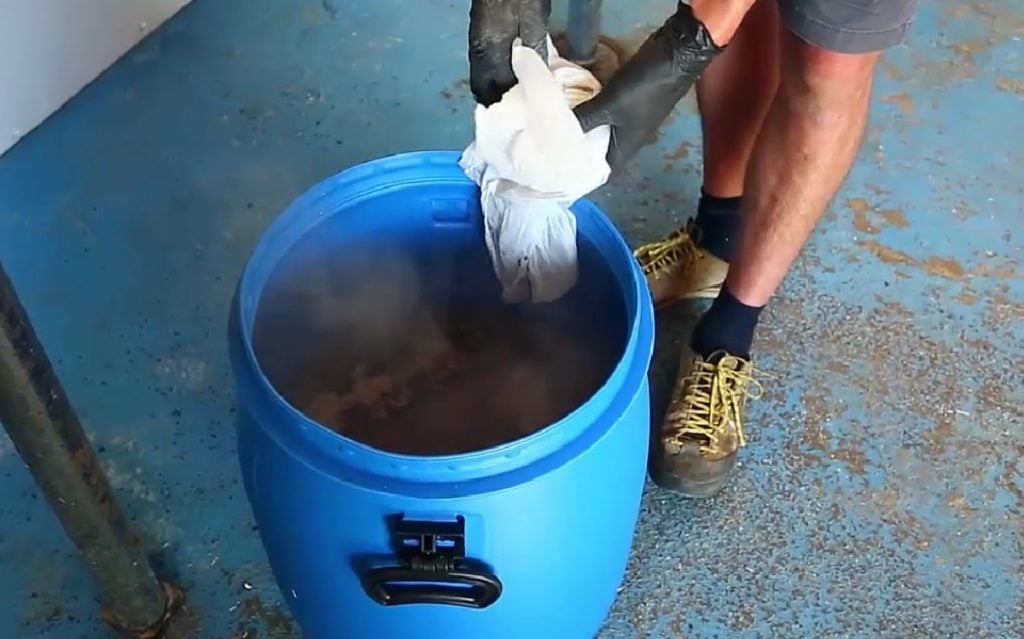
When using a pillowcase or bag, take the bag out of the hot water and hang it up to drain and cool.
If you want the substrate to cool quicker, take it out of the bag once it has drained and spread it out on a clean surface.
Steam Pasteurization
Steam pasteurization requires specialized equipment and lots of energy, making it more expensive and less practical for home cultivators.
The process is similar to hot water pasteurization, except growers use steam to heat the substrate instead of water.
For this method, you release steam into containers or insulated rooms containing layers or bags of pre-moistened substrate.
When using this method, be careful not to let the substrate get too hot, as you’ll then sterilize it and kill any beneficial bacteria.
Oven Pasteurization
Can you pasteurize substrate in the oven?
The answer is yes, and the process is relatively easy but not always as reliable as hot water or steam pasteurization.
And, unlike hot water and steam pasteurization, where you can scale up for larger quantities of substrate, the size of your oven limits the amount of substrate you can pasteurize.
When pasteurizing substrate in the oven, the first step is to preheat your oven to 390 to 400°F (200 to 210°C).
Next, you’ll need to add water to the substrate until it’s slightly above field capacity to allow for any water loss through evaporation.
This means that when you squeeze a handful of the substrate, it releases slightly more water than the one or two drops you get at field capacity.
Now place the hydrated substrate into an aluminum foil baking tray and cover it with tin foil. Ensure the foil cover is as tight as possible to minimize evaporation.
Place the tray of substrate in the oven and leave it to pasteurize.
After 60 minutes, open the tinfoil and test the temperature in the middle of the substrate using a thermometer.
You are aiming for a temperature of 160 to 180°F (71 to 82°C). If the center of the substrate is at this temperature, you can turn off the oven and leave the substrate to cool down slowly in the oven.
If not, leave the heat on for another 30 minutes.
Fermentation
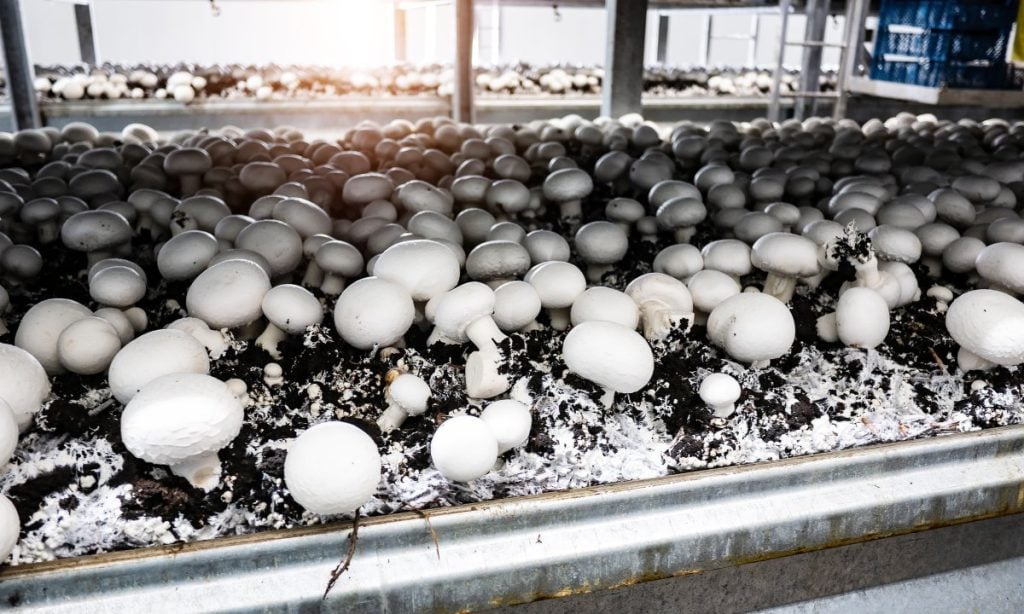
Large-scale oyster and button mushroom farms often use fermentation to pasteurize substrate.
First, they chop and wet the substrate and then turn it regularly for the first few days while it ferments.
This part of the process is called phase one composting, and during this time, the fermenting substrate heats up like a compost pile.
For phase two, they load the substrate into an insulated chamber or tunnel, and allow it to heat up and pasteurize using self-generated heat.
After phase two, the substrate is clean and pasteurized, ready for spawning.
This pasteurization method is hard to do on a small scale as it takes large volumes of fermented substrate to create high enough temperatures to pasteurize.
Cold Pasteurization Methods
Many consider hot water pasteurization more effective, but cold pasteurization works well when growing mushroom species that thrive on less-nutritious substrates.
Cold water pasteurization is also often safer, easier and more energy efficient than heat pasteurization.
It’s ideal for pasteurizing large quantities of bulk substrate as you don’t need to heat lots of water or maintain high temperatures for long periods.
Here are some popular cold pasteurization methods:
Cold Water Fermentation
This method, pasteurization through natural fermentation, is energy efficient and great for large volumes of straw, but it takes a lot longer than other techniques and can be smelly.
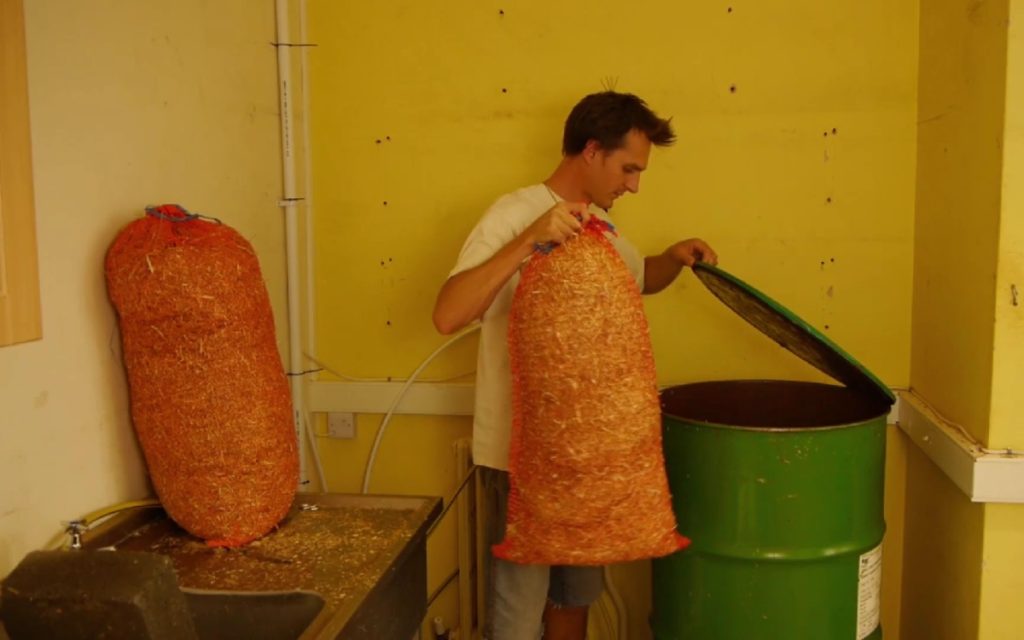
Cold water fermentation involves submerging straw in non-chlorinated water for around a week.
During this time, anaerobic microorganisms, bacteria that survive without oxygen, multiply and start to break down (ferment) the substrate.
The process kills the organisms that need oxygen to survive, like fungal spores and aerobic bacteria.
And when you remove the straw from the water, drain it, and expose it to oxygen, the anaerobic organisms die, leaving you with pasteurized straw.
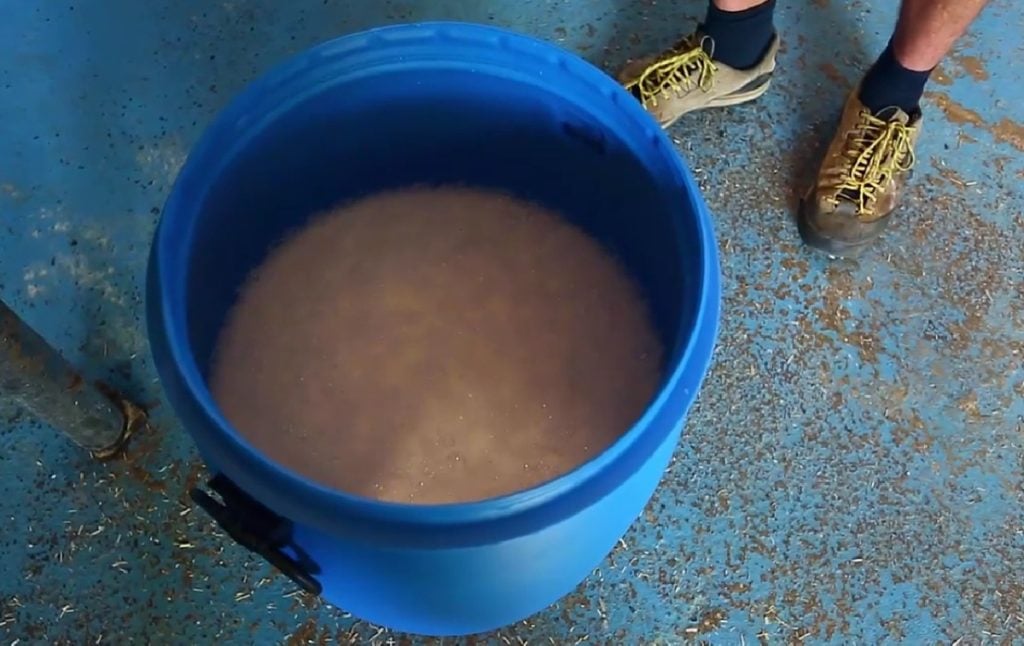
Cold Water Bath Pasteurization
Cold water bath pasteurization involves soaking substrate in a solution that hydrates the straw and kills harmful organisms.
You can use several substances in your cold water bath to pasteurize a substrate.
Our favorite method is lime bath pasteurization, but you can also use wood ash, soap, bleach, chlorine, vinegar and hydrogen peroxide.
5 of The Easiest Cold Water Bath Pasteurization Methods
Cold water bath pasteurization methods are perfect for people growing mushrooms at home and ideal for low-tech mushroom farms.
They’re energy efficient and don’t need lots of expensive equipment, making it easier for beginner mushroom growers to get started.
All the methods below involve submerging substrate in a cold water solution and leaving it to soak, but they don’t all work the same way.
Here are 5 easy cold water pasteurization methods and how they work:
Lime Bath Pasteurization
Many growers consider this method the most effective of all the cold water bath techniques.
It uses hydrated lime to significantly raise the pH of the water bath.
When you submerge the substrate in the lime bath, the rapid change in pH ruptures the organisms’ cell walls, causing them to die.
Our article on cold water lime bath pasteurization for mushroom substrate takes you through this process step-by-step.
Wood Ash Bath Pasteurization
This method works the same way as lime bath pasteurization but uses wood ash to increase the pH of the water bath to between 11 and 14.
The advantage of wood ash pasteurization is that it often results in beautiful flushes of mushrooms and is more natural and environmentally friendly than lime.
On the downside, depending on where you live, it can be difficult to source an ongoing supply of untreated hardwood ash and you’ll need more wood ash than lime to get a suitable pH for pasteurization.
For wood ash bath pasteurization you’ll need to add ash at a rate of 3% of water weight or 30 g (1 oz) per 1 liter (0.26 gallons) of water.
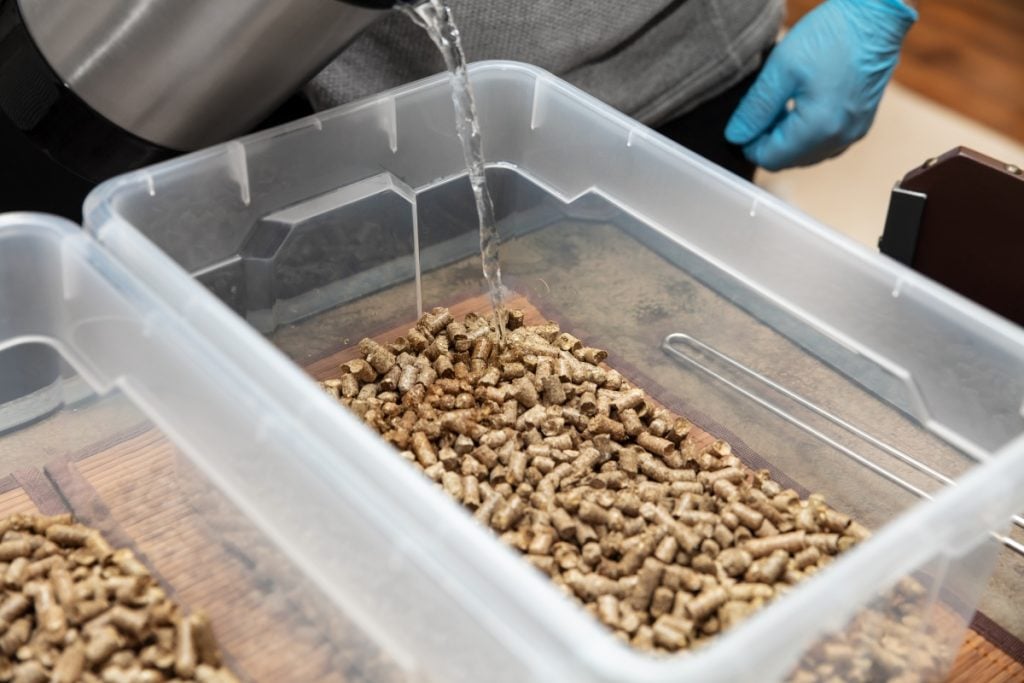
Cold water ash baths are most often used to pasteurize straw, but you can use this method for hardwood pellets.
Soap Bath Pasteurization
Soap pasteurization is another easy and effective method.
Growers have successfully pasteurized substrate in soap solutions made with inexpensive dishwashing or laundry detergent.
We recommend using washing powder as some liquid soaps may contain preservatives that have antifungal properties.
This pasteurization method uses osmotic pressure to break down the microorganisms’ cell walls, causing them to rupture.
When you add soap to the water you create an environment that has a very different osmotic pressure to the inside of the competitor organisms cells.
When you submerge the substrate in the water the difference in osmotic pressure causes the organism’s cell walls to rupture and they die.
You don’t need a lot of soap to increase the osmotic pressure, around 0.6 g (0.16 oz) per 1 liter (0.26 gallons) creates a solution that will pasteurize a substrate.
Chlorine Bath Pasteurization
You can use household bleach or swimming pool chlorine for chlorine bath pasteurization.
Chemically they’re very similar but you’ll generally need to add more household bleach than swimming pool chlorine to create your solution.
This method involves adding household bleach or chlorine containing 5.25% sodium hypochlorite to water and submerging the substrate for 16 to 20 hours.
When using household bleach you’ll need to add it at a rate of 0.35% of water weight or 3.55ml (0.12 oz) per 1 litre (0.26 gallons) of water.
The chlorine in the water bath oxidizes, killing off most living organisms and gasses off before you inoculate the substrate, so it should not affect the mushroom mycelium.
But to be safe, we recommend neutralizing the chlorine content of the solution before you drain the substrate using a chlorine reducer.
You’ll find chlorine reducers at swimming pool shops and they will bring the chlorine level in the water back down to a range that’s similar to tap water.
When using this method without the chlorine reducer, it’s best to discard the leftover solution somewhere without vegetation to prevent scorching.
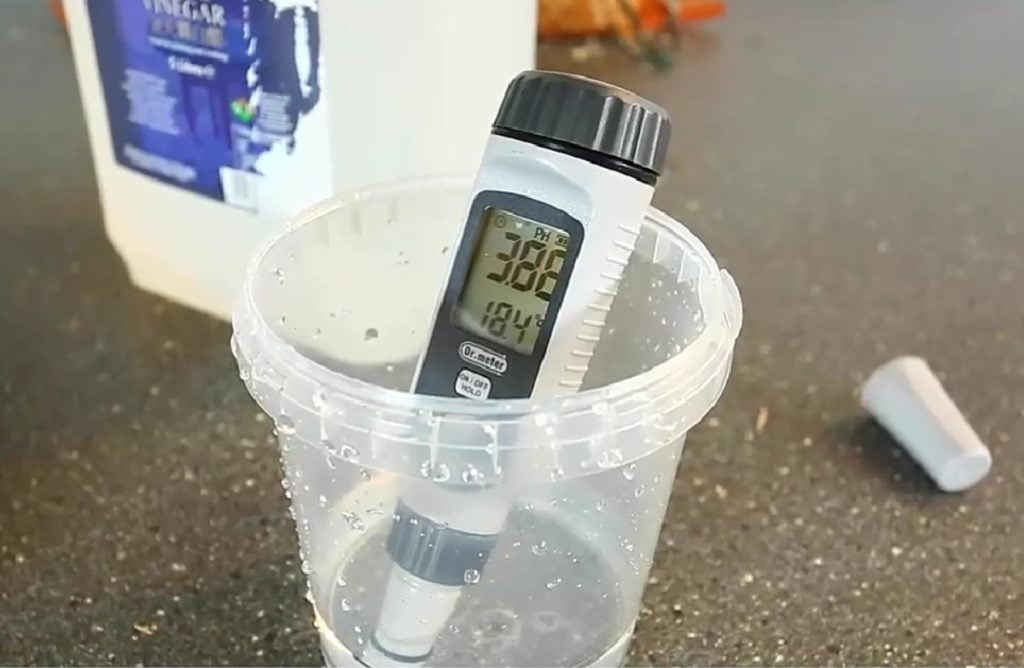
Vinegar Bath Pasteurization
Vinegar pasteurization does the opposite of lime and wood ash, as vinegar lowers the pH.
To make a vinegar bath add 5% white vinegar at a rate of 2% of water weight which is 20g (0.07 oz) per 1 liter (0.26 gallons). When using this method you’re aiming for a solution with a pH of 3.5 to 4.
Before submerging the substrate check the pH to ensure it falls in the required range and then submerge your substrate in the vinegar solution and leave it to soak for 16 to 20 hours.
After removing the substrate from the vinegar solution, leave it to drain for around an hour and then it’s ready for inoculation.
How Long Does it Take to Pasteurize Mushroom Substrate?
The amount of time required to pasteurize mushroom substrate varies depending on the method used and the quantity of substrate you’re pasteurizing.
If you look at the extremes, hot water pasteurization takes around 2 hours, while cold water fermentation can take 1 to 2 weeks, depending on the amount of substrate.
Cold water bath pasteurization falls somewhere between, and you generally need to soak the substrate for 16 to 20 hours.
Pros and Cons of Pasteurizing Mushroom Substrate
Pasteurizing mushroom substrate has many advantages and is ideal if you want to set up a low-tech mushroom farm, but it also has a few limitations.
Here are some of the pros and cons of pasteurizing mushroom substrate.
Pros:
- It’s cheaper and easier than sterilizing.
- You don’t need a sterile space for spawning.
- It’s a more forgiving method and easier for beginners.
Cons:
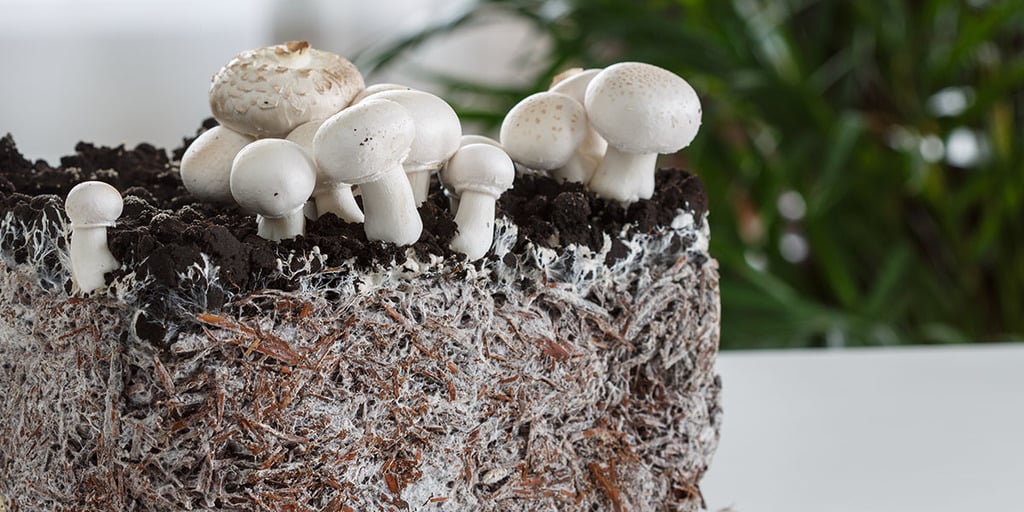
- You’re limited to growing certain species like button, cremini, portabella, oyster, wine cap, pioppino and straw strains of shiitake.
- A higher spawn rate is often needed when inoculating pasteurized substrate.
- A pasteurized substrate is more susceptible to contamination when using substrates with more nutrients.
Final Thoughts
Growing gourmet mushrooms is rewarding as they’re delicious, offer numerous health benefits and it’s fun to watch them grow.
Fortunately, the low-tech pasteurization techniques above make growing mushrooms at home accessible for anyone as they’re energy-efficient and inexpensive.
To learn more about growing mushrooms at home visit our Mushroom Growing Hub or sign up for our introductory course to growing oyster mushrooms at home.
In this course, we’ll show you step-by-step how to grow oyster mushrooms on a small scale using simple methods and minimal equipment.


