You might want to try growing your own mushrooms. But you may not want to invest in a full lab setup or buy mycelium from a supplier to do it. Is there another option for you?
How can you grow your own DIY mushroom spawn? The simplest way for beginners to start growing their own mushroom spawn is using the stem butt method. You can take the stems of oyster mushrooms and put them in a container with some damp cardboard. In a couple of weeks you’ll have your own spawn.
In this article, I’ll go over how to grow your own DIY mushroom spawn using the stem butt method. I’ll also explain how I used to grow mushroom spawn using a full lab setup. Particularly the disadvantages that caused me to switch to buying spawn from a supplier instead.
Can You Grow Your Own Mushroom Spawn?
People often contact me with questions about whether they can produce their own DIY mushroom spawn at home. The answer is yes, it’s definitely possible!
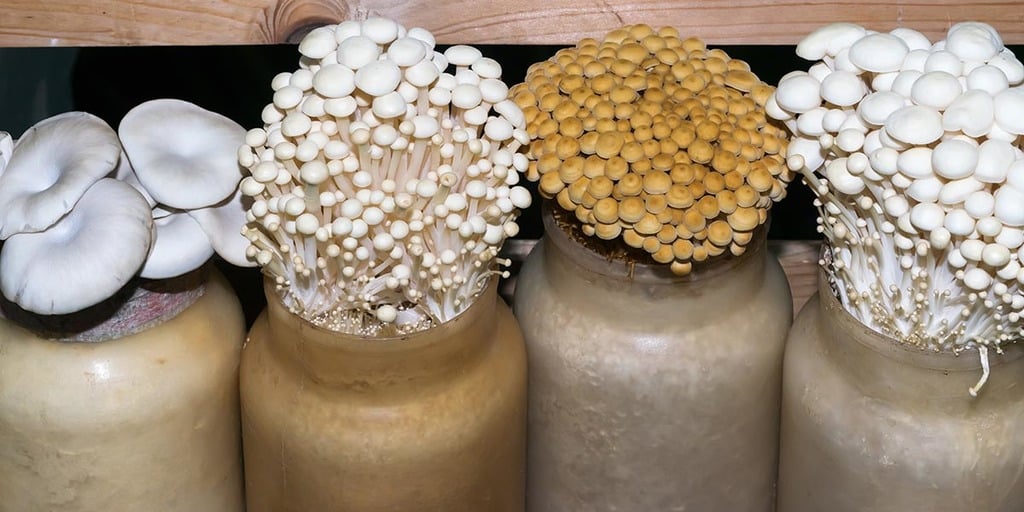
When we first started Grocycle, I wanted to grow my own spawn and be completely in control of the entire process.
I had a full laboratory setup and a clean room, and I would spend many hours each week producing my own mushroom spawn.
This does have some advantages. It’s cheaper, it allows you to learn more about how mushroom mycelium forms and works, and it gives you more control over the varieties of mushrooms that you can grow.
But growing your mushroom spawn also has a lot of disadvantages.
-
It takes a long time to learn. You’ll need to learn a whole new process. Growing strong and healthy mushroom spawn consistently is a science and requires very precise work to get it right.
-
You require lots of extra equipment, and it requires a sterile space. Altogether, the equipment you need to set up your own clean room for producing mushroom spawn might end up costing you thousands of dollars, depending on how professional of a setup you’re looking to create.
-
Making your own mushroom spawn can be unreliable for quite a while until you get the hang of it. Expect to have failures due to mold contamination and other causes while you’re still perfecting your process.
-
It takes a lot of time out of your week. Growing mushroom spawn takes multiple steps. First, you’ll need to grow a master culture in a test tube or petri dish that eventually gets expanded onto agar plates. From there, you’ll cut out pieces of agar and add them into grain. From the first generation of grain, you’ll need to multiply it again several times into a larger amount of grain.
Each step in the process takes time, and you’ll need to have a constant cycle of it going as well, if you’re going to be continuously producing mushrooms at a steady rate.
Just from that perspective, it adds a ton to your workload. I’ve found it’s better to source spawn from someone else, and focus my time on other activities on the farm instead.
Plus mushroom spawn from a supplier cuts straight to the fun part of the process, actually growing the mushrooms!
Playing scientist and cloning mushrooms with petri dishes might seem fun at first, but honestly, it becomes tedious quite quickly.
So because of all of these disadvantages, Grocycle now sources all of our mushroom spawn from a supplier. And that’s what we also recommend for other people, especially when they’re just getting started.
- Read also of How to set up a low-tech mushroom farm at home.
Growing Mushroom Spawn Using The Stem Butt Method
For the reasons above, I don’t recommend growing mushroom spawn at home for beginners.
However, this is one way that you can produce small amounts of DIY mushroom spawn at home in a really simple and low-tech way. So I’ll teach you how to do just that.
The advantages of the stem butt method are that it’s a cheap and easy technique to try at home. You don’t need access to expensive equipment, and it’s not very time or resource intensive.
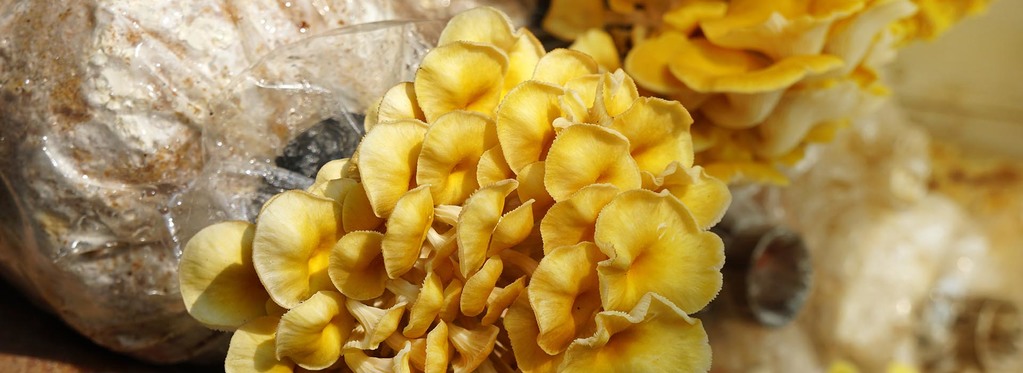
If you don’t have access to wild oyster mushrooms, you can buy fresh oyster mushrooms from the grocery store to use.
If they’re fresh enough, the stem will still be alive after you cut it off, and will continue to grow in the right conditions.
It’s a nice, simple way for home scale DIY cultivation. Plus you can eat the rest of the mushrooms after you’ve cut the stems off!
The downsides of the stem butt method is that it’s less reliable, and it also has lower yields.
We do the stem butt method on cardboard, which doesn’t have nearly as much nutrients as grain, which is usually used to make mushroom spawn.
But even with lower yields, it can still be a fun thing to try and do, just to see if you can make it work at home.
If you want to learn more ways of growing mushrooms, I recommend to try grow mushrooms in a coffee grounds as well.
The Stem Butt Mushroom Spawn Method – Step By Step
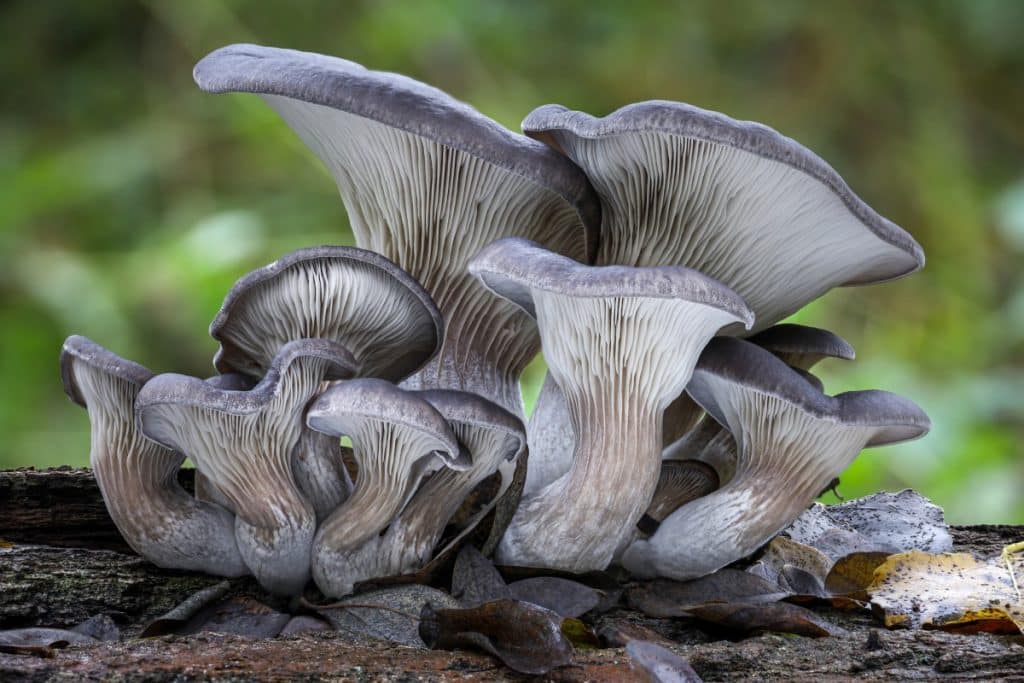
The stem butt method involves taking the lower stems of fresh oyster mushrooms, and propagating mycelium from them onto cardboard.
Step 1 – Get Your Cardboard Ready
You’ll need to find some large pieces of cardboard that you can shred into smaller pieces. Try to find cardboard that doesn’t have any ink or writing on it.
Mushrooms are bio accumulators, so it’s best to avoid having any chemicals or toxins in the cardboard that they can absorb.
You can try using scissors to cut the cardboard into pieces. But I always find it’s easier just to tear it with my hands instead.
Step 2 – Wet Your Cardboard
Next, you need to get your cardboard wet. Mushrooms need a moist and humid environment to grow, even just to form mushroom spawn.
You want to pour boiling water over it, let it cool, and then drain off the excess.
The boiling water helps to kill most of the wild molds, yeasts, or other fungi that might be on the cardboard or just floating around in the air.
Boiling water won’t be 100% effective at killing off any competing fungi, but it’s effective enough for our purposes.
Plus it’s much easier than other methods and doesn’t require any special equipment like a pressure cooker.
Step 3 – Prepare Your Container
You will need to have a medium-sized airtight container to hold the mushroom stems and cardboard. A reusable plastic container from your kitchen with a tight-fitting lid is the easiest way to go.
You’ll need to poke some holes into the container to allow for airflow while the mushroom spawn is getting established.
You only need a few holes and they shouldn’t be too large, or your mushroom spawn may start to dry out before it’s fully developed.
To poke the right sized holes in your container, heat up a screw or nail using a lighter. Then poke the screw through the container in a few places to melt some holes into the plastic.
I heat up the nail or screw to make sure it goes through smoothly.
Otherwise, it takes a lot more force, and might crack or break the container in the process.
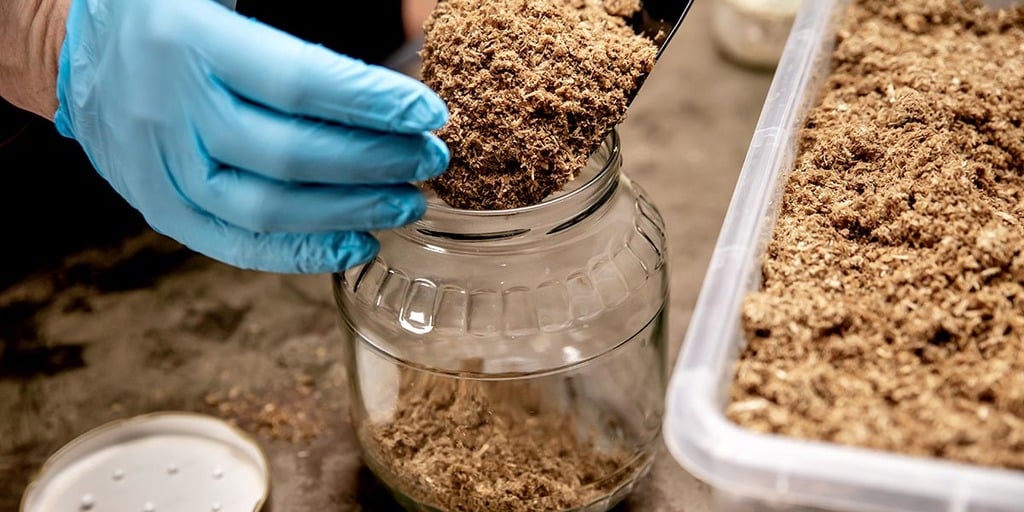
Step 4 – Start Adding Cardboard To The Container
Once your cardboard has cooled down to near room temperature, you can start to transfer some of it to the container. We will use this to grow our mycelium on, in place of grain spawn.
Grab a handful of cardboard and squeeze it slightly to get out some of the excess moisture.
Then lay an even layer in the bottom of the container. Try to fill up about a third of the container with this first layer of cardboard.
Step 5 – Add Your Stem Butts
Now you can add a layer of stem butts on top of your cardboard. Don’t skimp here.
More stem butts mean a better chance that the oyster mushroom mycelium will be able to get established and outcompete any other wild fungi that may still be present.
Spread an even layer of stems on top of the layer of cardboard.
Step 6 – Add Another Layer of Cardboard and Seal it Up
Repeat step 4 again, putting enough cardboard on top to fully cover the mushroom stems. But not so full that you won’t be able to close the container.
When you’re done, put a lid on the container and seal it up. You may want to put some elastic bands around the container if you’re worried about the lid not staying sealed tightly.
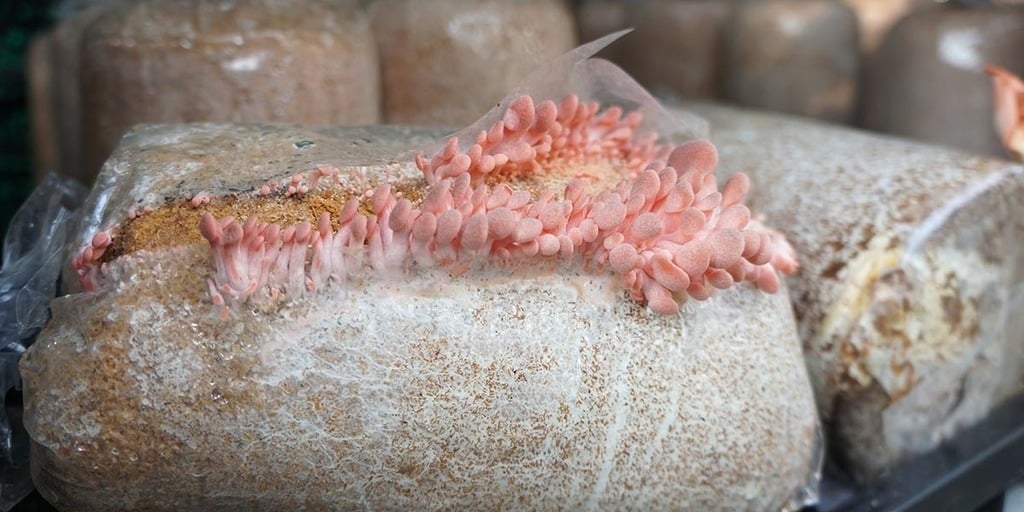
Step 7 – Wait Until Mushroom Spawn Has Fully Colonized
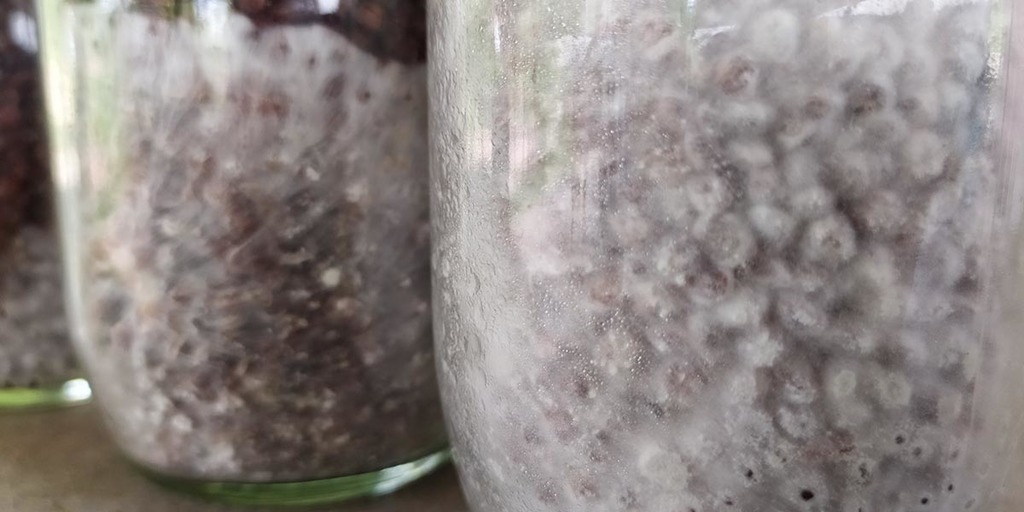
All the step for the stem butt method is now done, simple as that. Now you just need to wait about 11 days, and your container should be fully colonized with fresh, white, strong growth.
Keep your container in a dark and warm place in the meantime until the substrate is fully colonized.
Resist the urge to open the container early. Each time that you open it, you are potentially exposing it to contamination, just from the wild yeasts and molds that are always in the air around us.
You can try taking your mushroom spawn out of the container and allowing it to pin and start producing mushrooms. But at a container of its current size, you won’t get many mushrooms.
It’s better to mix it with spent coffee grounds or more cardboard to create more inoculated growing medium.
When you add your mushroom spawn grown using this method into a larger growing medium, add it at a spawn rate of about 15% by volume.
If you don’t plan on increasing the volume of your mushroom spawn, and just want to see if it will grow a few mushrooms as-is, you can shock it into producing.
Place your entire container into the refrigerator for about 24 hours. Then open it up and set the lid aside.
You can leave the container uncovered, or you can wrap it with plastic wrap and then cut an “X” shape into it with a knife.
Combined with the cold, drastically lowering the CO2 in its environment by taking off the lid will also cause the mushroom spawn to start producing oyster mushrooms.
Be sure to mist your mushroom spawn a couple of times per day to keep it moist during the entire growing process.
If you enjoy growing mushrooms, you might also like to grow microgreens too! Why not check out our How To Grow Microgreens guide and give it a try?
Common Problems When Trying To Grow Mushroom Spawn
There are some things that can go wrong and cause your mushroom spawn not to grow.
Contamination is a big one. It’s very easy to lose your entire mushroom spawn because it has become contaminated with mold or other fungi.
It’s almost never salvagable, so you’ll just have to throw the entire thing away and try again. While covering your cardboard in boiling water reduces the chances of contamination, it’s not 100%.
Too much humidity or not enough air is another problem. If you don’t punch some holes in your container to allow some airflow, your mushroom spawn won’t grow very well.
Some humidity is needed to keep your spawn moist. But too humid of an environment is asking for bacteria to grow and ruin your crop.
Not enough moisture is another thing to watch out for. You don’t want your cardboard to be soaking wet when you put it in the container. But you don’t want it to be too dry either.
Otherwise the mycelium won’t be able to take over the cardboard and establish well enough to give mushrooms a place to grow from.
- Read also of How to grow mushrooms on logs beginners guide.
Don’t Want To Go Through The Process Yourself? Buy One of Our Kits!
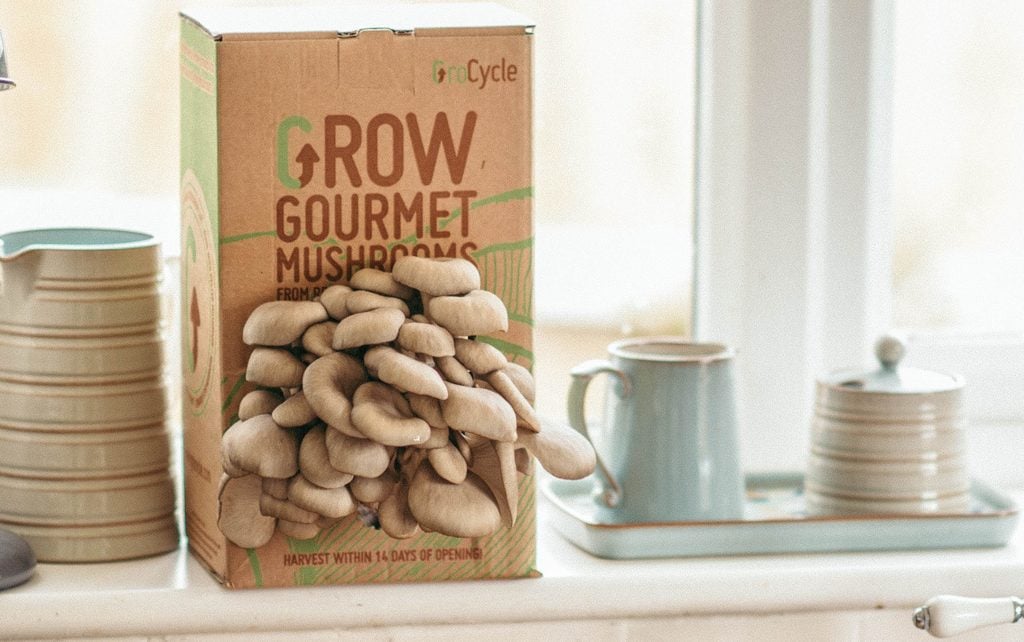
Our Grocycle kits allow you to grow delicious oyster mushrooms at home, without all of the work of going through the stem butt method yourself.
We ship a kit to your house that’s fully colonized and ready to start producing mushrooms in just 14 days at home. All you need to do is open the box window and cut a hole in the grow bag.
Then spray water on the front of the box each day with a bit of water, and watch the mushrooms start to grow!
It allows you to see the magic of mushrooms unfolding right before your eyes. But without all the fuss of getting oyster mushroom stems and cardboard and trying to assemble everything yourself.
Click here to buy one of our kits for yourself!
Related Questions
Q: What is the best temperature to keep your container at while the mushroom spawn grows?
A: Mushroom spawn doesn’t like to be either too warm or too cold. 20 – 24 C is a good range to aim for. For more details, read the incubation stage described in our How To Grow Oyster Mushrooms guide.
Q: Will the stem butt method work for other varieties of less aggressive mushroom like lion’s mane?
A: The stem butt propagation method works well with oyster mushrooms since they’re so aggressive and easy to grow.
We don’t have any direct experience with trying to grow any other varieties of mushrooms in this fashion, so we aren’t sure at all if it will work unfortunately.
Q: How can oyster mushrooms grow on cardboard?
A: In the wild, oyster mushrooms grow on logs and other wood. Since cardboard is made from wood pulp, it’s actually a surprisingly good substitute, and oyster mushrooms don’t mind growing on it.
If you plan to grow large amounts of oyster mushrooms, it’s better to grow them on coffee grounds or grain though. These provide more nutrients to the mushrooms and will produce a larger and more consistent crop.
Q: How long does mushroom spawn last?
A: Mushroom spawn is alive and won’t last forever! It will eventually pull all of the nutrients it can out of the growing medium and be unable to keep spreading.
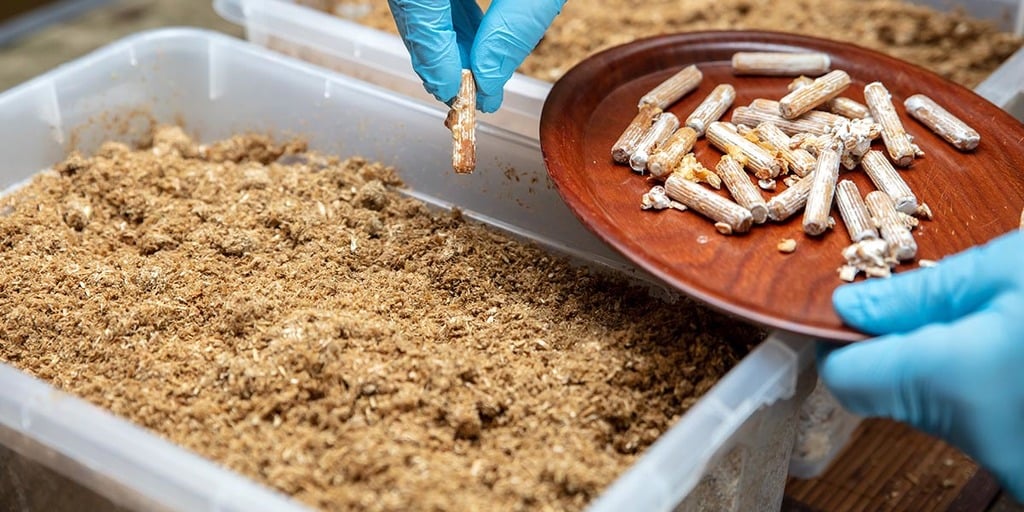
When people buy our kits, we recommend opening them within four weeks of receiving them. If you buy plugs or sawdust spawn from a supplier, they will last for six months to a year in the refrigerator.
- Read also Health and Nutritional Benefits Of Mushrooms before you start growing your own mushrooms.
Conclusion
Growing your own DIY mushroom spawn can be a difficult and time-consuming process in the beginning.
You may also experience limited success in the beginning while you get your technique right, and it takes a long time to learn. Plus it requires a lot of specialized equipment.
So for most people, I would discourage them from trying to make their own mushroom spawn, and opt to buy it from a supplier instead.
But if you do want to try it, the stem butt method will allow you to grow some oyster mushrooms at home with relative ease. It’s a less reliable method and will offer lower yields, but it’s fun to try at home.
Especially if you just want to start growing oyster mushrooms at home for the first time.
If you have success growing oyster mushrooms using the stem butt method, you may want to try moving on to more advanced methods.
The next mushroom growing method I would recommend is trying to grow shiitake mushrooms by inoculating hardwood logs with spawn plugs or Growing Mushrooms Outdoors With A Mushroom Bed.
For more on the journey to growing your own mushrooms, check out How to Build a Mushroom Fruiting Chamber.


