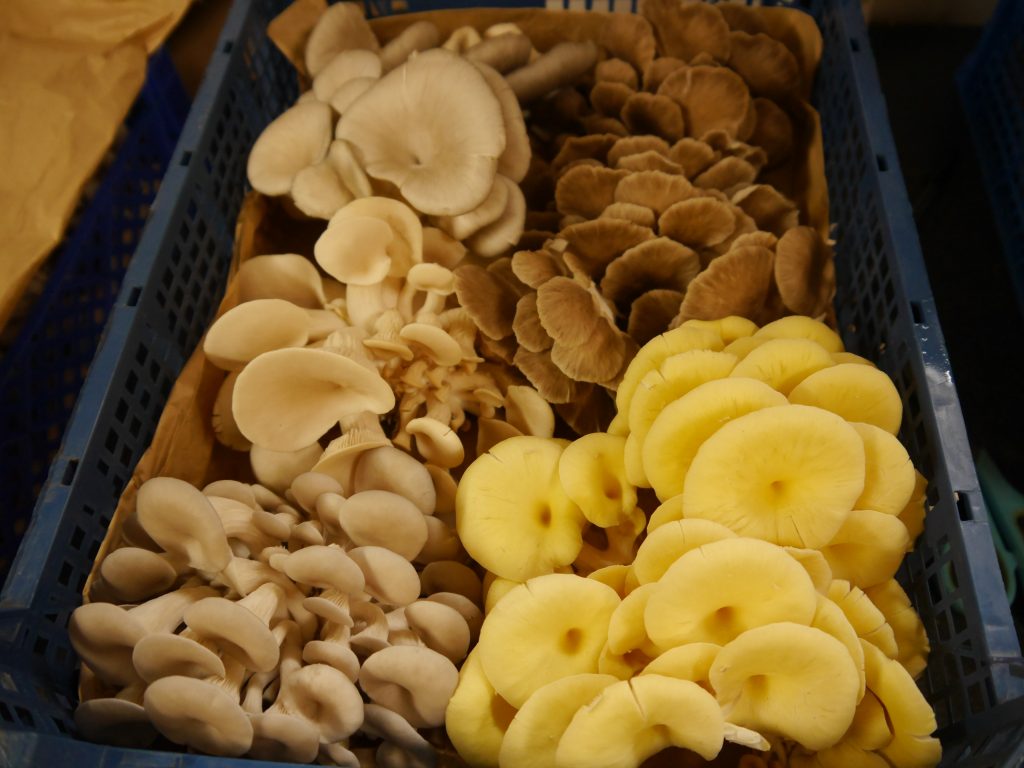
Oyster mushrooms are some of the most widely consumed gourmet mushrooms worldwide and one of the easiest species to grow at home.
Scientifically categorized as Pleurotus sp, oyster mushrooms get their name from their fan-like shape, short stem and grayish color similar to raw oysters.
There are more than 200 species of oyster mushrooms, but people commonly cultivate only a handful of popular varieties.
Phoenix oyster mushrooms are one of these and a favorite of many mushroom growers.
In this article, we explore what phoenix oyster mushrooms are, where they grow and how to grow them with step-by-step guides.
What Are Phoenix Oyster Mushrooms?
Phoenix oyster mushrooms (Pleurotus pulmonarius) are a common edible variety of oyster mushrooms that enjoy warmer temperatures.
Pulmonarius, the Latin word for “lung,” hints at their shape, and they’re sometimes called lung oyster mushrooms.
These tasty mushrooms also have several other names, including summer oyster mushroom, Indian oyster mushroom and Italian oyster mushroom.
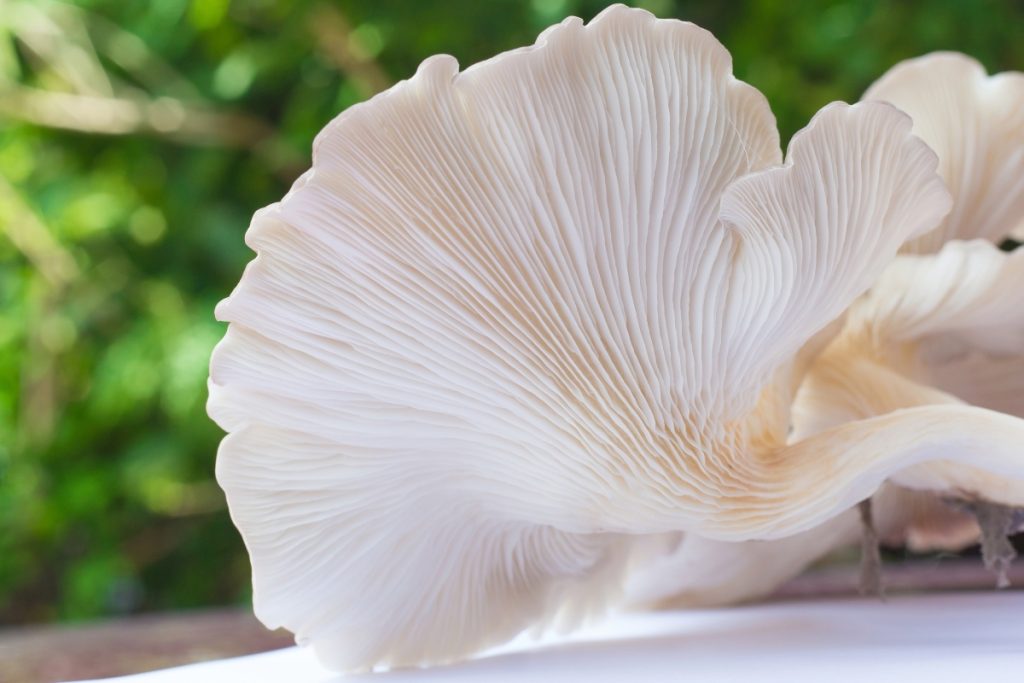
What Do Phoenix Oyster Mushrooms Look Like?
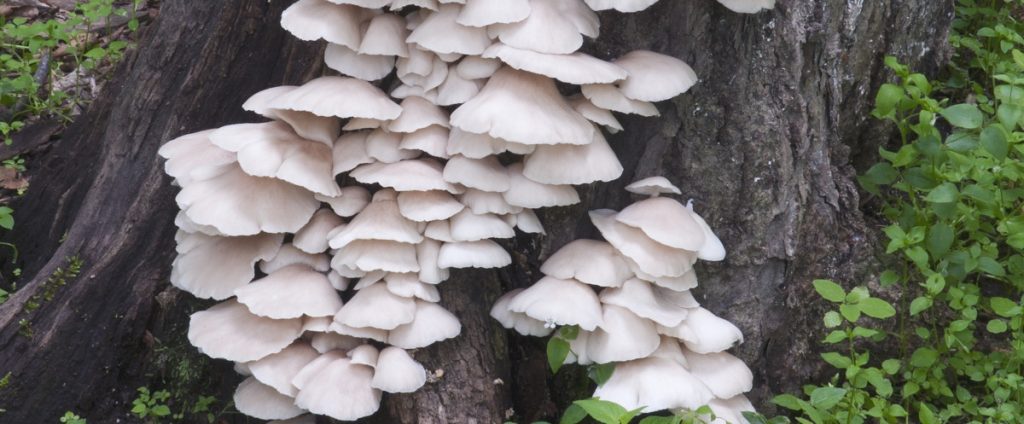
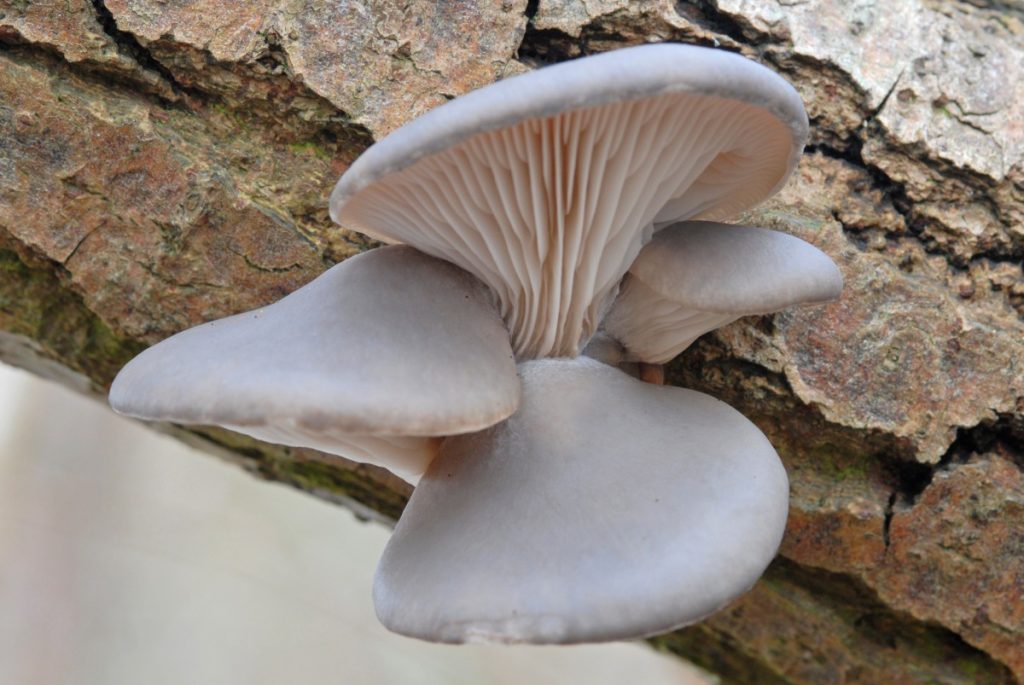
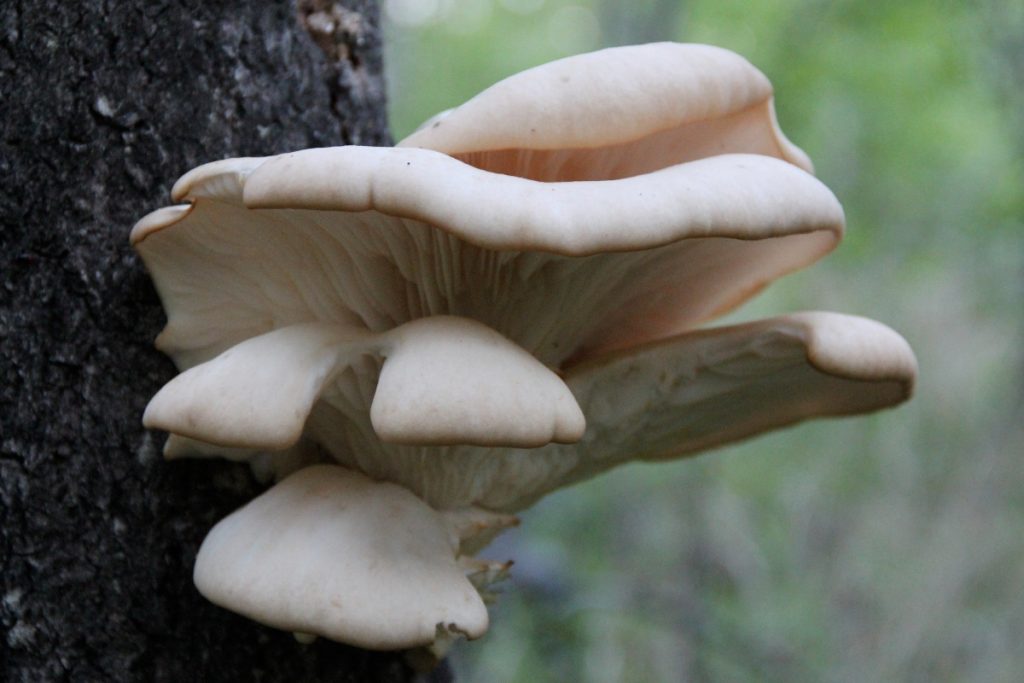
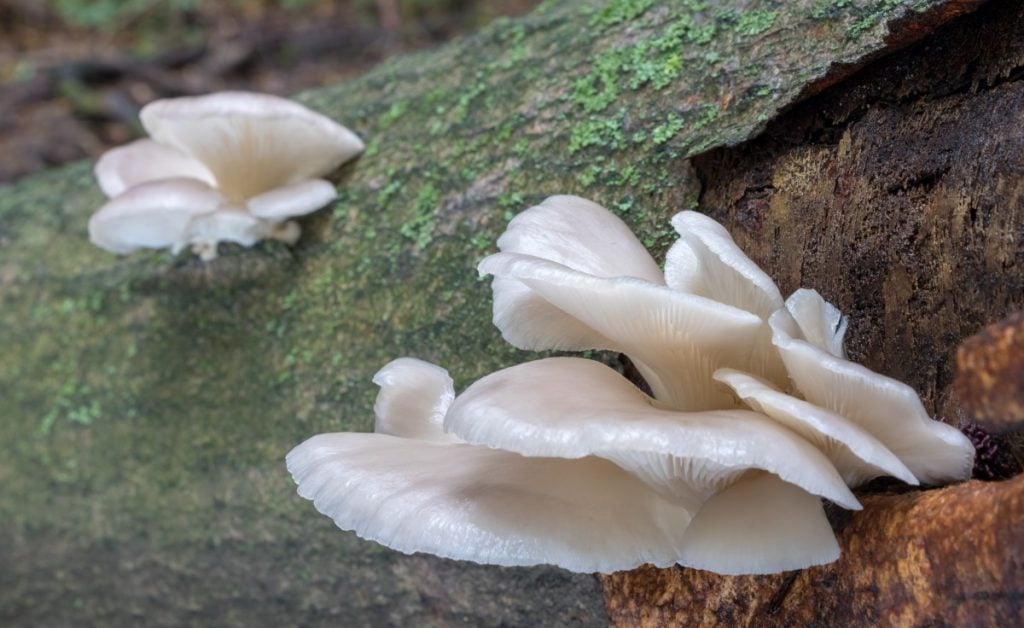
Phoenix oyster mushrooms are shelf mushrooms with fan-shaped fleshy caps. Initially, the edges of their caps curl under but flatten out as they mature.
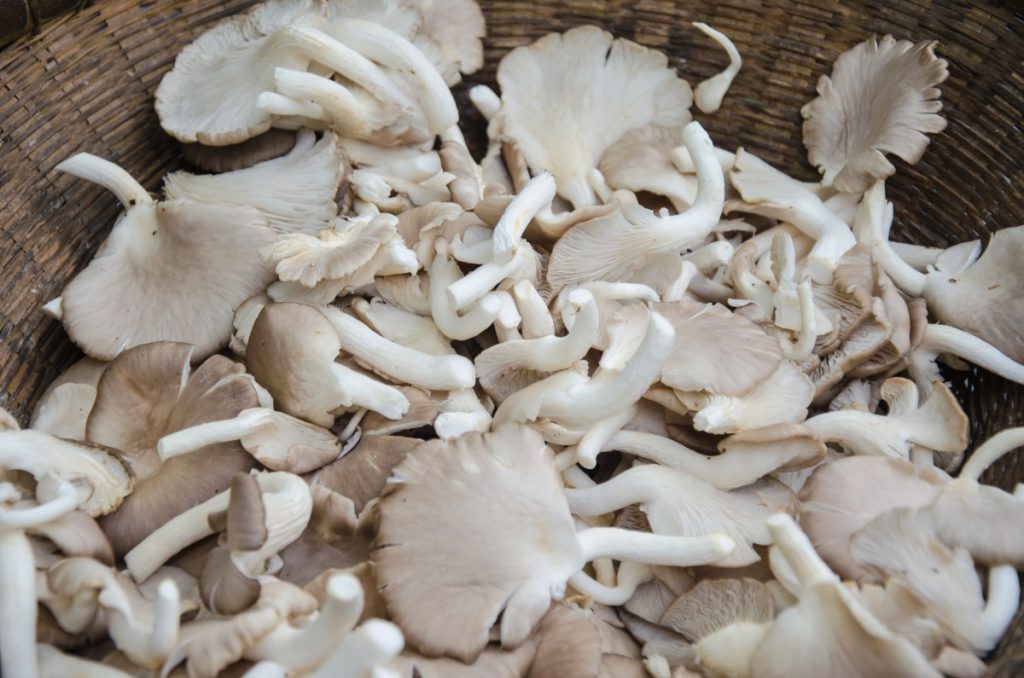
Phoenix oyster mushrooms are often found in clusters of 5 or 6 medium to large-sized mushrooms with caps anywhere from 2 to 8 inches (5 to 20 cm) in diameter.
Their smooth lung, fan or semicircular-shaped caps are whitish-beige to pale tan with undertones of gray or lilac.
When mature, their caps have wavy undulating edges that sometimes have fine lines.
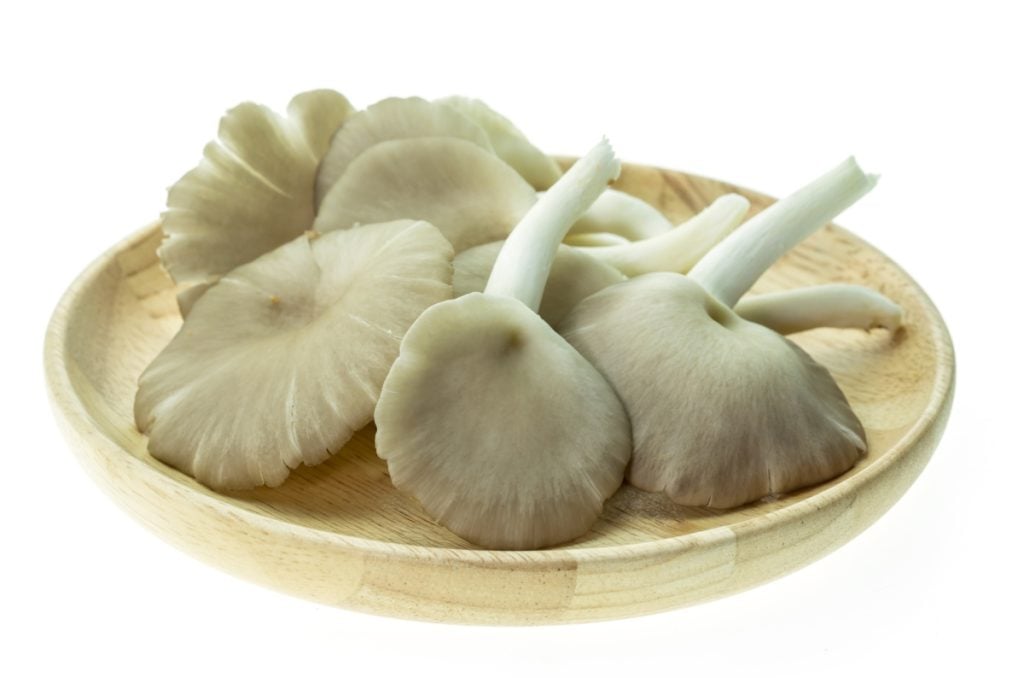
Like many other oyster mushrooms, phoenix oysters have soft white gills that run most of the way down the stem.
Their smooth whitish stems are anywhere from 0.4 to 2.8 inches (1 to 7 cm) long and are usually attached to the cap off-center.
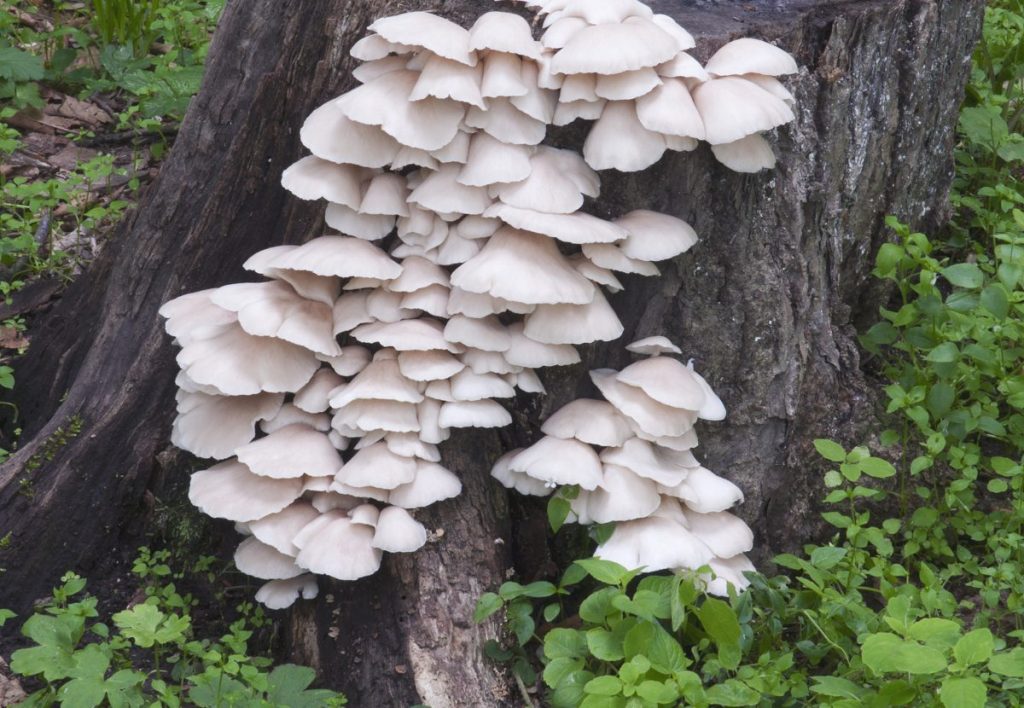
Where Do Phoenix Oyster Mushrooms Grow?
You can find wild phoenix oyster mushrooms growing on dead and dying wood in subtropical and temperate forests worldwide.
Unlike most other mushrooms that only grow on hardwoods, phoenix oyster mushrooms will thrive on hardwoods and softwoods.
Depending on your location, you may find shelf-like clusters of phoenix oysters growing on conifer, spruce or fir trees (softwood) or oak, poplar, maple, elm and aspen trees (hardwood).
Phoenix oyster mushrooms are saprotrophic, which means they feed on dead and decomposing organic matter.
Fallen logs and decaying stumps in humid, low-lying areas near ponds or streams provide food and ideal fruiting conditions for oyster mushrooms.
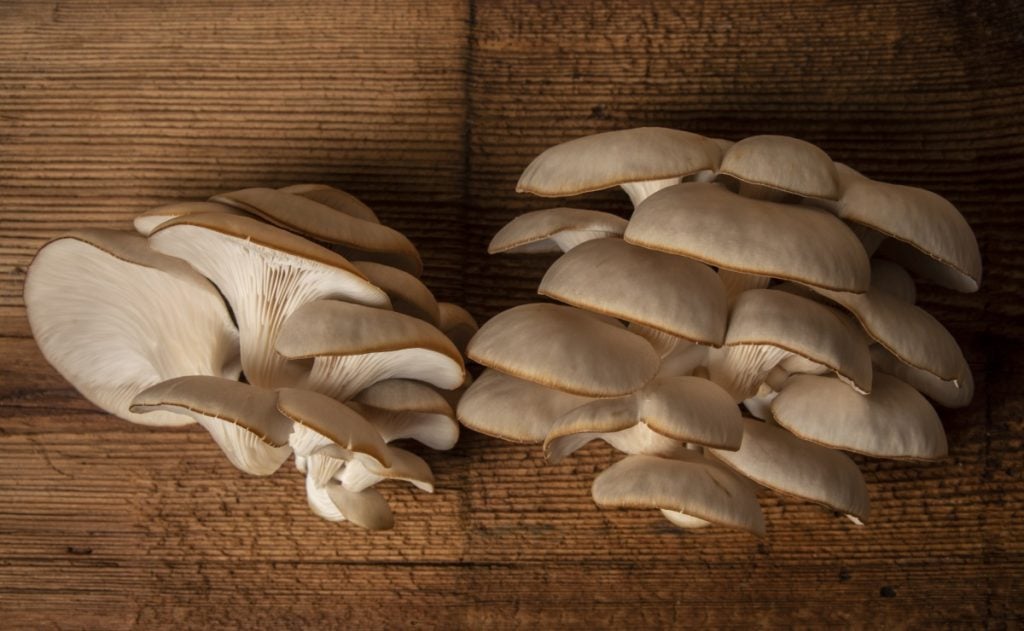
Phoenix Oyster Mushroom Look-Alikes
A few oyster mushroom varieties look very similar to phoenix oysters, often making it difficult to know which type you have.
Sometimes their microscopic spores are the only way to tell them apart.
The good news is that they’re all edible and delicious, so no matter which you find, you’re in for a treat.
It’s easy to confuse phoenix oyster mushrooms with these oyster mushroom look-alikes:
Pearl Oyster Mushrooms (Pleurotus ostreatus)
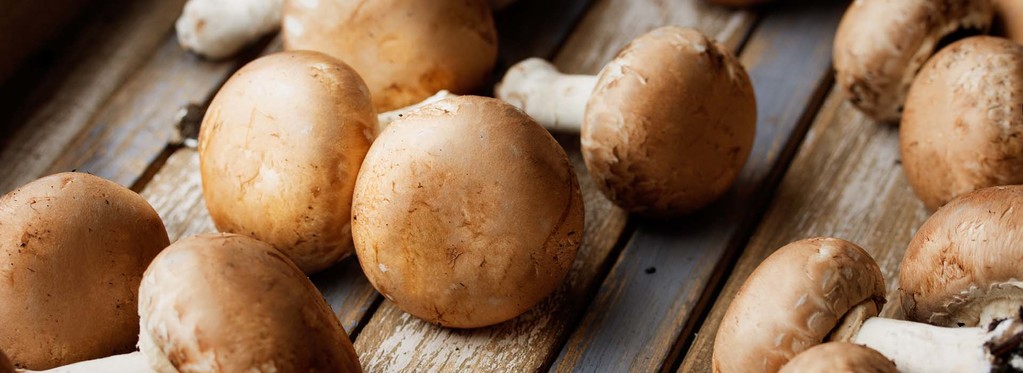
Phoenix oysters are very similar in appearance and taste to pearl oyster mushrooms.
Pearl oysters are one of the most commonly cultivated mushrooms worldwide and the ones you’ll most often find in grocery stores.
But there are slight differences between the two.
Phoenix oyster mushroom caps are paler and often smaller than the brownish pearl oyster caps.
And phoenix oysters often have longer, more pronounced stems than pearl oyster mushrooms.
Phoenix oysters also prefer warmer weather, and in the northern hemisphere, fruit from late spring through summer and into fall if temperatures are still warm enough.
Pearl oysters, however, enjoy colder conditions and will fruit when temperatures drop in fall until the end of winter.
Phoenix oysters have beautiful lilac spore prints that help to distinguish them from white-spored oyster mushrooms.
A pearl oyster mushroom has a white to lilac gray spore print.
Florida Oyster Mushrooms (Pleurotus florida)
Florida oyster mushrooms are a summer or warm temperature strain of Pearl Oyster (Pleurotus ostreatus).
They’re medium-sized with light beige to grayish-blue caps that are, on average, around 2 inches (5 cm) in diameter, and like phoenix oysters, they also have slightly longer stems.
Because they also enjoy warmer temperatures, their smaller size and the color of their caps and spore prints are the best ways to tell them apart.
Aspen Oyster Mushrooms (Pleurotus populinus)
The aspen oyster mushroom is almost identical to phoenix oyster mushrooms but is often smaller.
It only grows on the wood of dead and dying aspens and cottonwoods.
Sometimes, the only sure way to tell them apart is by looking at their spores.
Aspen oysters have longer spores than phoenix or pearl oyster mushrooms, and their spore print is always whitish rather than grayish or lilac.
Phoenix Oyster Mushroom Benefits
One of the reasons phoenix oyster mushrooms are so popular, apart from their taste, is their health benefits.
Although different oyster mushrooms have slightly different nutritional values, they’re all packed with vitamins, minerals and antioxidants that help keep you healthy.
Phoenix oyster mushrooms are low in calories and cholesterol and high in protein.
Studies show that phoenix oyster mushroom extracts have anti-inflammatory, anti-cancer, anti-diabetes and antioxidant properties.
Our article on the health benefits of oyster mushrooms has more information for you.
Another benefit of phoenix mushrooms is how easy they are to grow.
Phoenix oysters are ideal for beginner mushroom growers as they’ll grow on a wide range of substrates and are hardy and prolific.
And, because they enjoy warmer temperatures, they can often be grown throughout the year at room temperatures without specialized equipment.
How to Grow Phoenix Oyster Mushrooms at Home
Phoenix oyster mushrooms are easy to grow and enjoy warmer fruiting conditions between 64 to 86°F (18 to 30°C), so they’re best suited for growing in summer.
There are several ways you can grow phoenix oyster mushrooms at home.
Which you choose will depend on your level of experience, how many mushrooms you want to grow and where you want to grow them.
Below we look at three different ways to grow oyster mushrooms with step-by-step instructions.
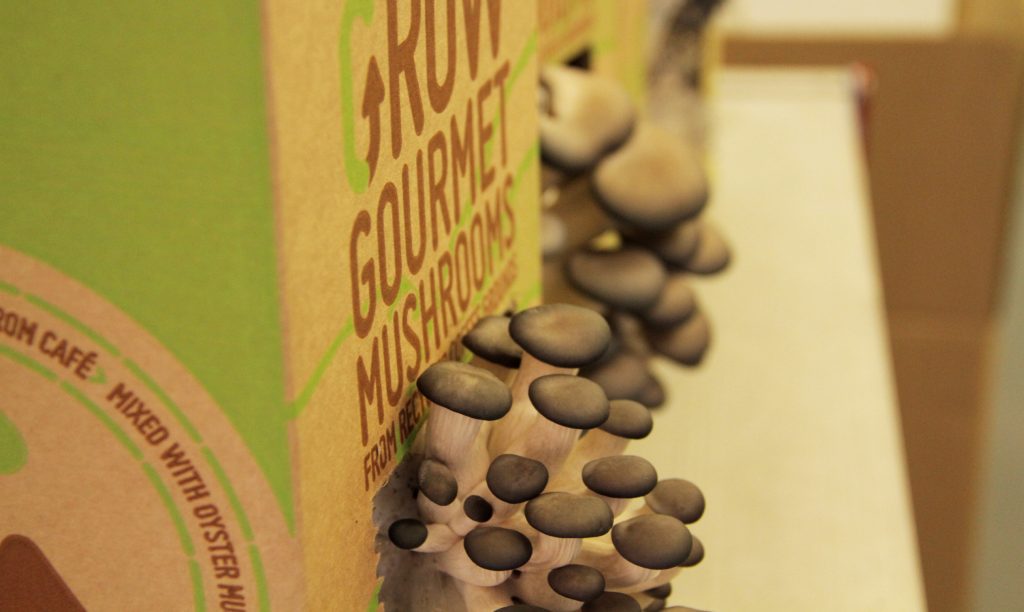
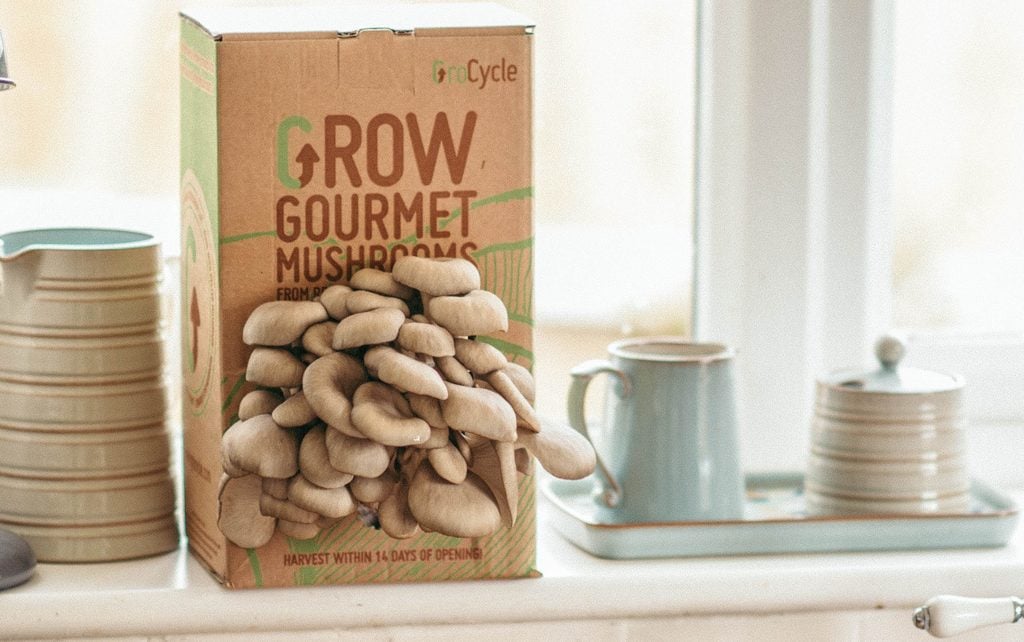
How to Grow Phoenix Oyster Mushrooms With a Mushroom Growing Kit
A mushroom growing kit is the easiest way for beginners to experience the thrill of growing and eating delicious fresh oyster mushrooms.
You can purchase a phoenix oyster mushroom growing kit online from several suppliers.
Growing kits come ready to grow with instructions and a bag of fully colonized substrate.
Once you get your kit, follow these easy steps to grow your phoenix oyster mushrooms:
Step 1: Open Kit and Place in Fruiting Conditions
Mushrooms need indirect light, airflow, optimal temperatures and humidity to grow.
The name given to these ideal growing conditions is fruiting conditions.
Oyster mushrooms are hardy and tolerate a wide range of temperatures, but the correct humidity levels are important.
First, open your growing kit and cut an “X” into the plastic grow bag.
Then, using a spray bottle, spray the area where you have cut the hole, gently pulling back the flaps to spray underneath.
Allow the flaps to fall back into place as they will help to keep the area humid.
Place your kit in a spot with good ventilation and indirect light.
Most people grow them inside on a shaded windowsill or kitchen worktop.
Step 2: Spray With Water Daily
No matter where you put your kit, maintaining humidity is very important.
You need to spray or mist the area where you cut the “X” daily to stop the substrate inside from drying out and create the humidity that mushrooms need to grow.
Aim to spray at least twice a day, giving the whole area a good soak each time.
In around a week, you’ll see mushroom pins appearing. Then you’ll discover how fast oyster mushrooms grow as they double in size daily.
Our time lapse video below shows what you can expect from your oyster mushroom growing kit.
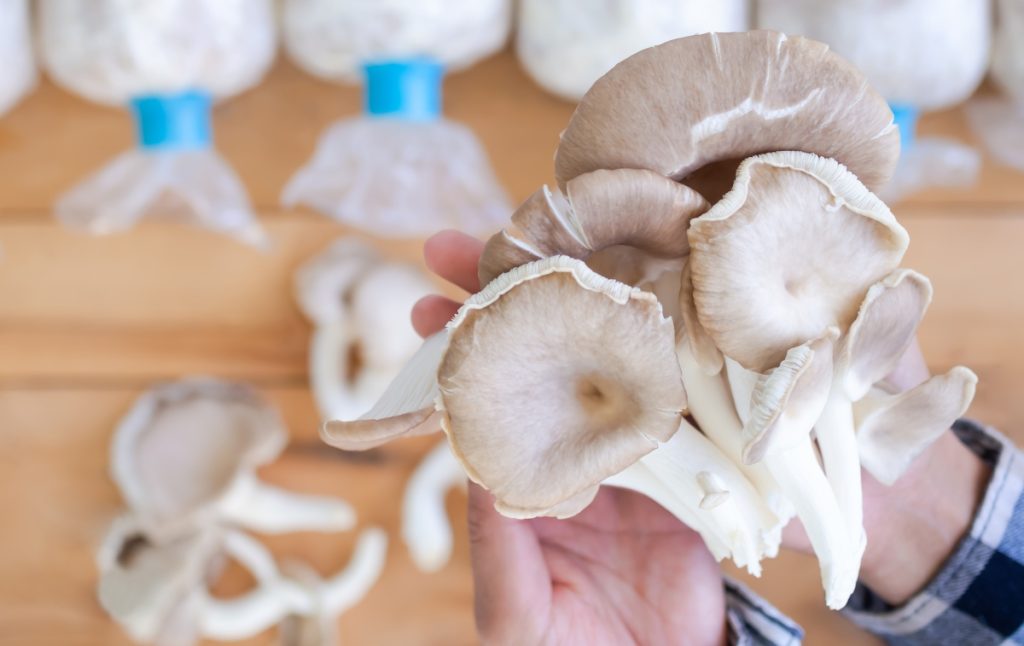
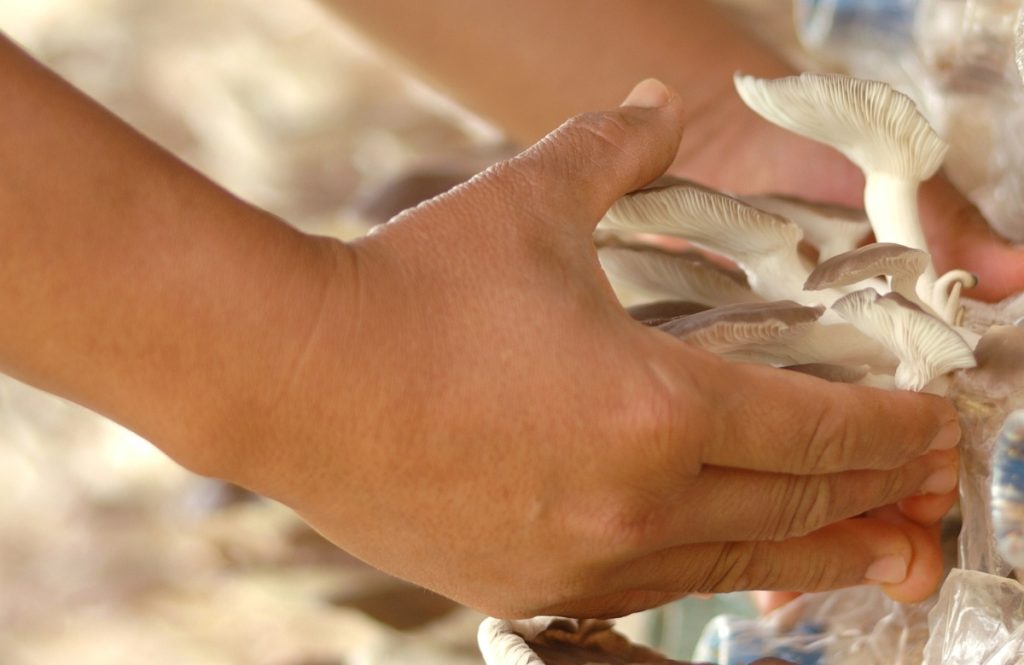
Step 3: Harvest Your Mushrooms
Within 14 days of opening your kit, you should have your first harvest of phoenix oyster mushrooms.
Phoenix oyster mushrooms, like other oysters, are ready to harvest when they’re no longer doubling in size daily and the edges of their caps are still curled under but becoming thin and wavy.
When the caps start to curl up, it indicates the mushrooms are ready to release their spores, and it’s best to harvest them before this.
To harvest your phoenix oyster mushrooms, firmly grip the cluster at its base, twist and pull it off. Alternatively, you can also cut the cluster off at its base with a knife.
How to Grow Phoenix Oyster Mushrooms Indoors in Bags
If you’ve had a taste of growing mushrooms and want to produce larger quantities, you can create your own colonized fruiting blocks instead of buying a growing kit.
Use the steps below to grow phoenix oyster mushrooms using mushroom spawn and the substrate of your choice:
Step 1: Gather Supplies
The first step is to decide on a substrate and order your mushroom grain spawn and grow bags.
You’ll need the following supplies to create fruiting blocks:
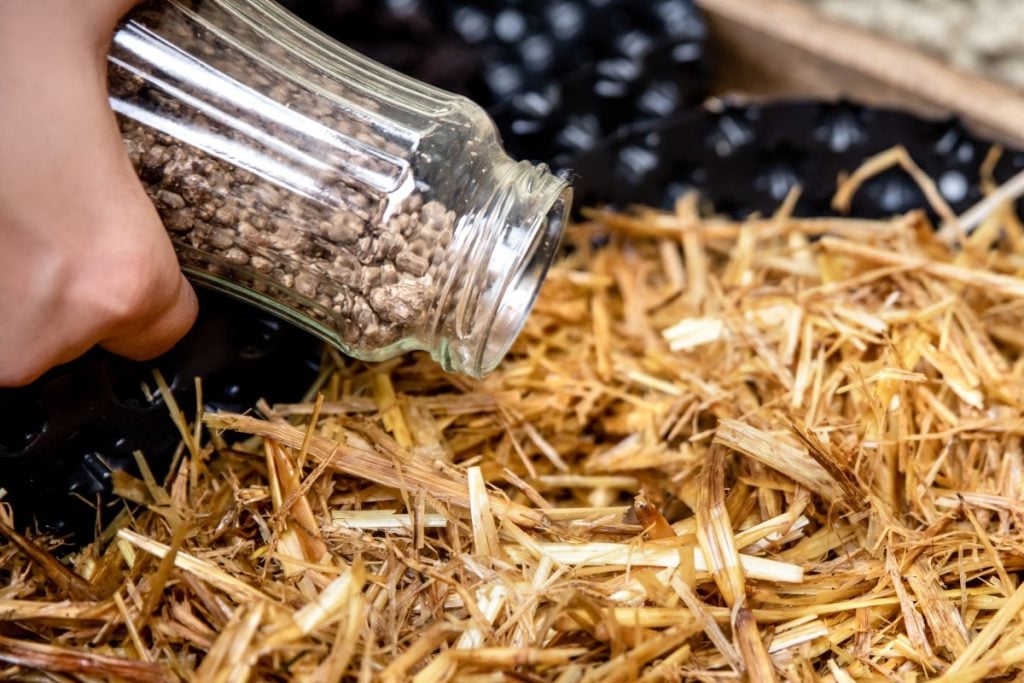
- Mushroom grain spawn – Order your mushroom grain spawn from a reputable local supplier.
- Growing medium or substrate – Phoenix oyster mushrooms can be grown on a wide range of substrates, including hardwood sawdust or pellets, straw, corn stalks, sugar cane bagasse, coffee grounds, cotton waste, cardboard and other agricultural waste by-products.
We recommend choosing a growing medium that’s readily available in your area.
One of the easiest substrates for beginners is hardwood pellets because they get pasteurized during production.
But, straw is also a very forgiving substrate and not difficult to pasteurize.
- Grow Bags – Grow bags with filters, specifically designed for growing mushrooms, make the process easier.
But, you can also grow oyster mushrooms in a range of plastic containers, buckets or jars.
Once you have all your mushroom growing supplies you can move onto the next step.
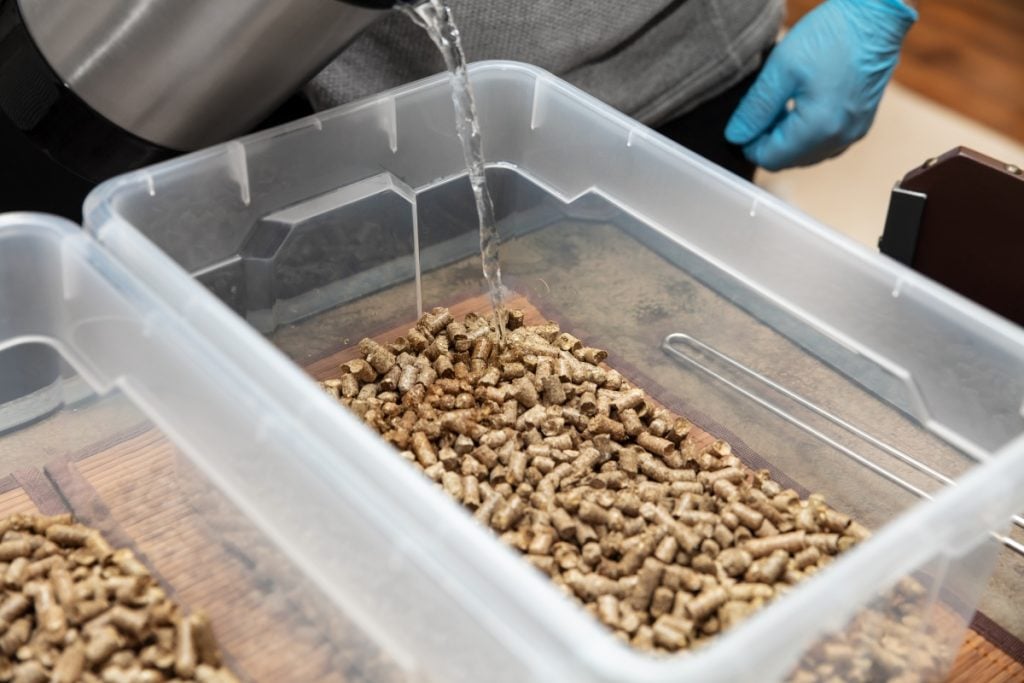
Step 2: Prepare Your Substrate
Before you can inoculate your substrate with mushroom spawn, you need to prepare it.
You’ll need to add water and any desired amendments to the substrate.
And in most cases, you’ll need to sterilize or pasteurize the substrate to kill off any competing mold or bacteria.
Our complete guide to mushroom substrates has more information on the different substrates and how to prepare them.
Step 3: Inoculation
Inoculation is the name given to the process of adding phoenix mushroom spawn to your prepared substrate.
Before starting, wipe down all work surfaces and clean your hands well with soap to avoid contamination.
Then make sure your substrate has the correct moisture content. A squeeze test can help with this.
Slightly squeeze a handful of your substrate. A couple of drops of water should come out. If too much water comes out, it’s too wet, and you’ll need to dry it out a bit.
If no water comes out and the substrate isn’t staying together in your hand, it’s too dry, and you’ll need to add more water.
Next, mix the substrate and mushroom spawn in a container like a large plastic box, bucket or barrel.
Finally, load the inoculated substrate into the grow bags and close them.
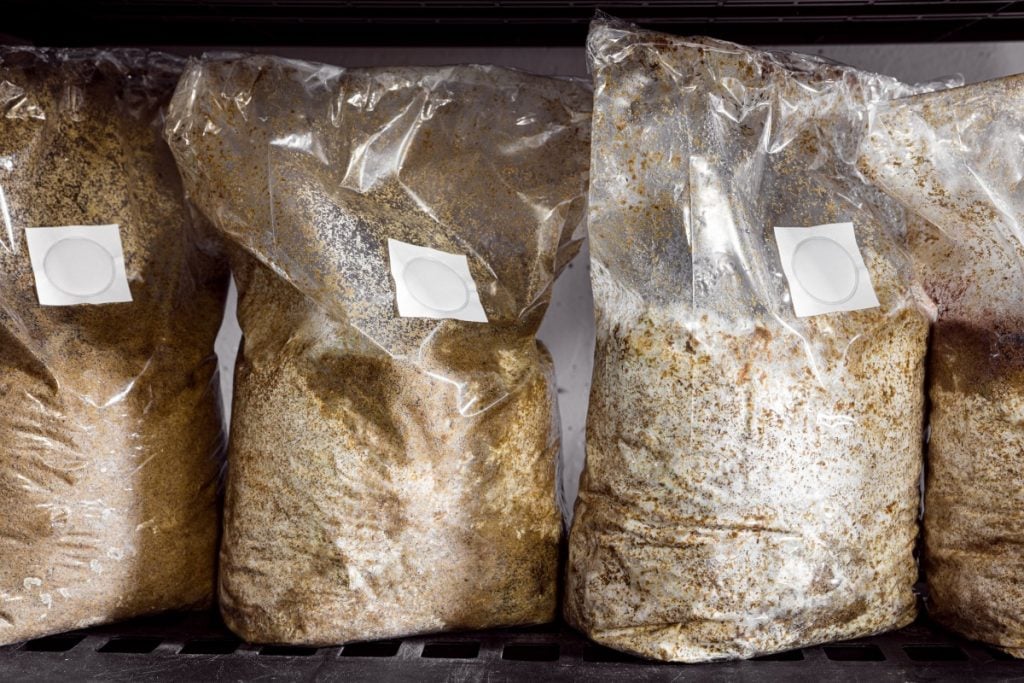
Step 4: Incubation
Place the closed bag in a dark, warm area around 75 – 84°F (24 – 29°C) and leave it incubating.
The phoenix oyster mushroom spawn will come to life in the warm, humid conditions of the bag and grow.
It will eat its way across the substrate and spread throughout the bag.
It takes 8 to 14 days for phoenix mushroom mycelium to colonize the substrate.
Once the bag is completely white, you have a fully colonized fruiting block like the one you would get with a mushroom growing kit.
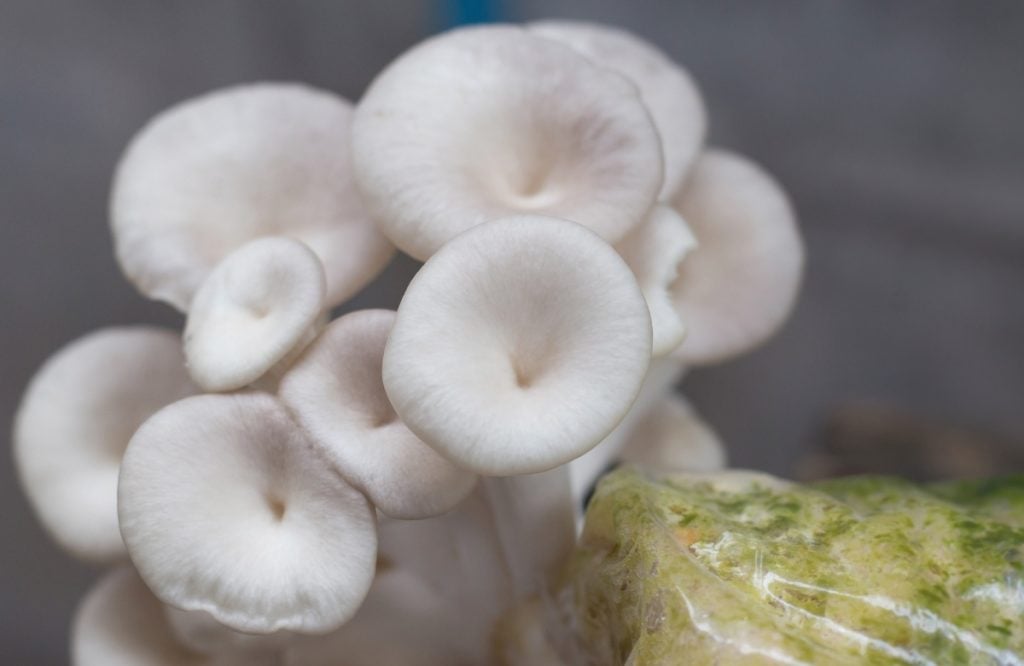
Step 5: Fruiting
Now you can place your bag of colonized substrate in fruiting conditions.
To grow mushrooms, you need the following fruiting conditions:
- Light – Mushroom fruit bodies need some light to grow properly. They don’t use light to generate energy, so an indirect lighting source or shaded windowsill will be enough.
- Fresh Air – Wild oyster mushrooms grow out of stumps or logs into oxygen-rich air. Cutting a slit or hole in your bag will signal to the mycelium that there’s space to grow.
- Humidity – Spray with water twice a day to keep the substrate hydrated and increase humidity levels. Spraying encourages growth and stops the mushrooms from drying out as they develop.
- Temperature – Most Oyster mushroom strains are not too fussy about temperature but grow best in their ideal temperature range. The ideal temperatures for phoenix oyster mushrooms are 60 to 80°F (18 to 27°C).
Within 7 days, you should start seeing tiny mushroom pins forming out of the hole in your bag, and in under 14 days, your mushrooms will be ready to harvest.
If you live in a climate with extreme weather conditions, you may want to build a mushroom fruiting chamber to help create ideal conditions for your mushrooms.
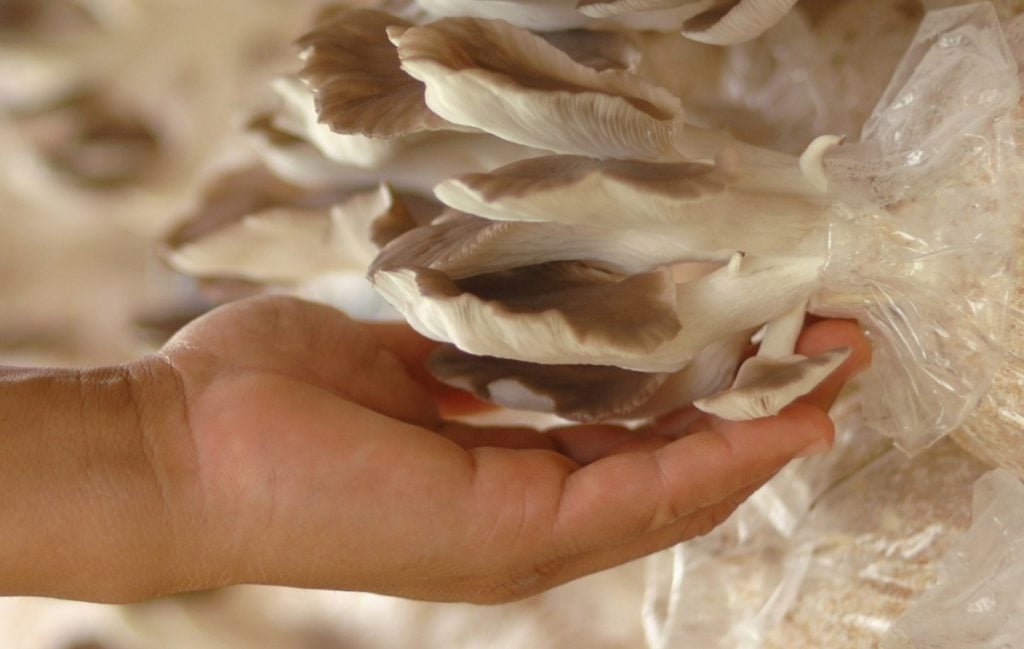
Step 6: Harvest
Harvesting your phoenix oyster mushrooms is easy. Simply grip the cluster at its base, twist and pull it off the substrate. Alternatively, you can also cut the cluster off, at its base, with a knife.
You can get a second and sometimes even a third flush of mushrooms from your colonized substrate, but they won’t be as large as the first flush.
After you harvest the first crop, leave your kit to rest for 2 days, then soak overnight in water, place in fruiting conditions and continue to spray it daily.
Your second crop will start to grow in around 7-14 days but can occasionally take up to 21 days.
One of the questions we frequently get asked is when is the best time to harvest oyster mushrooms. Our video below will help you with this.
How to Grow Phoenix Oyster Mushrooms Outdoors on Logs
If you have space, growing oyster mushrooms outdoors on logs is relatively easy and a great way to get a steady supply of phoenix oyster mushrooms.
Oyster mushrooms have a short incubation period, which means you could harvest phoenix oyster mushrooms from your logs 4 to 12 months after inoculating them.
Once established, the logs can produce mushrooms from spring to fall.
Follow the steps below to grow phoenix oyster mushrooms on logs:
Step 1: Gather Supplies
The first step in growing phoenix oyster mushrooms on logs is to gather the materials and equipment needed, including finding logs and ordering spawn plugs.
Select and Cut Your Logs
Phoenix oysters grow well on sugar maple, and you can also use other soft hardwood species like aspen, poplar, box elder, willow, hackberry, mulberry and cottonwood.
Harvest logs from healthy dormant trees during fall or winter as they have more concentrated sugars.
The ideal size for logs is around 4 inches (10 cm) in diameter and 36 to 40 inches (90 to 100 cm) long.
Rest the fresh-cut logs for at least 2 weeks before inoculating to allow the tree’s defense system to die back.
But, don’t wait more than a month from when you cut your logs before inoculating them as there’s an increased risk of contamination, and they may lose too much moisture.
Purchase Spawn Plugs
You can purchase phoenix oyster spawn plugs online.
Before you do, you’ll need to calculate how many plugs you need. A 40 inch (100 cm) log usually requires 30 to 50 spawn plugs for full coverage.
To figure out how many plugs you’ll need for your logs, you can use this formula:
Number of holes = (Length of the log in cm x diameter of the log in cm) / 60
Once you have your logs and spawn plugs, gather the other equipment needed.
Gather Other Equipment
Apart from your logs and plug spawn, you’ll also need:
- Sealing wax
- A Drill
- A Hammer
- A small paint or basting brush
Step 2: Inoculation
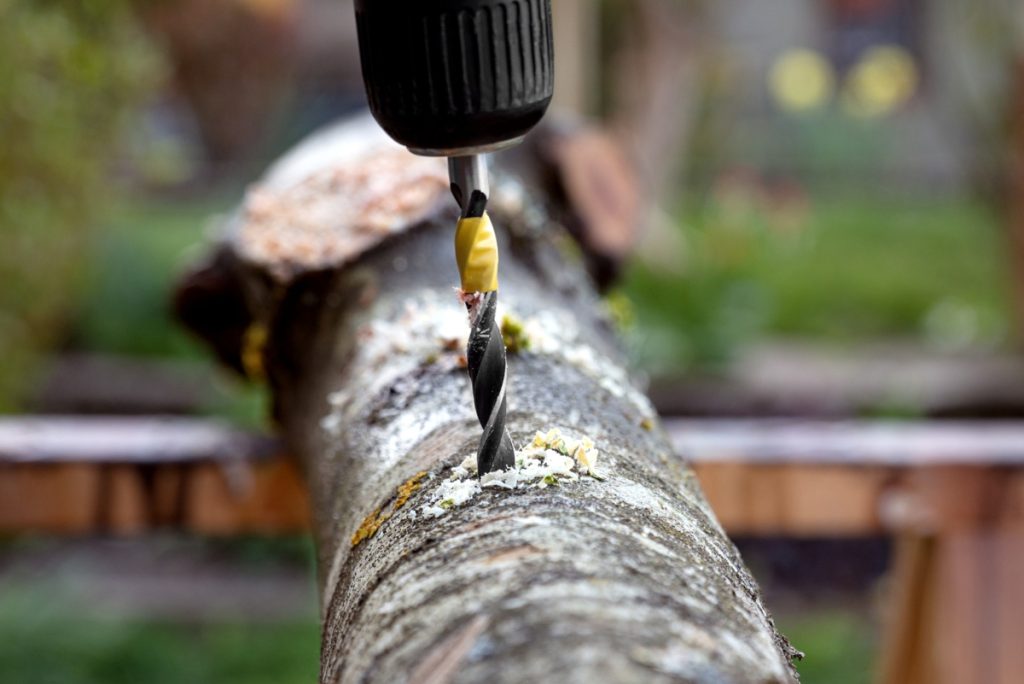
First, you need to drill holes in your logs.
Start by drilling a row of 1 inch (3 cm) deep holes every 6 inches (15 cm) apart down your log.
Then turn the log and, staggering the holes, drill another row of holes about 2.5 inches (6 cm) away from your first row. Continue until you have holes all the way around the log.
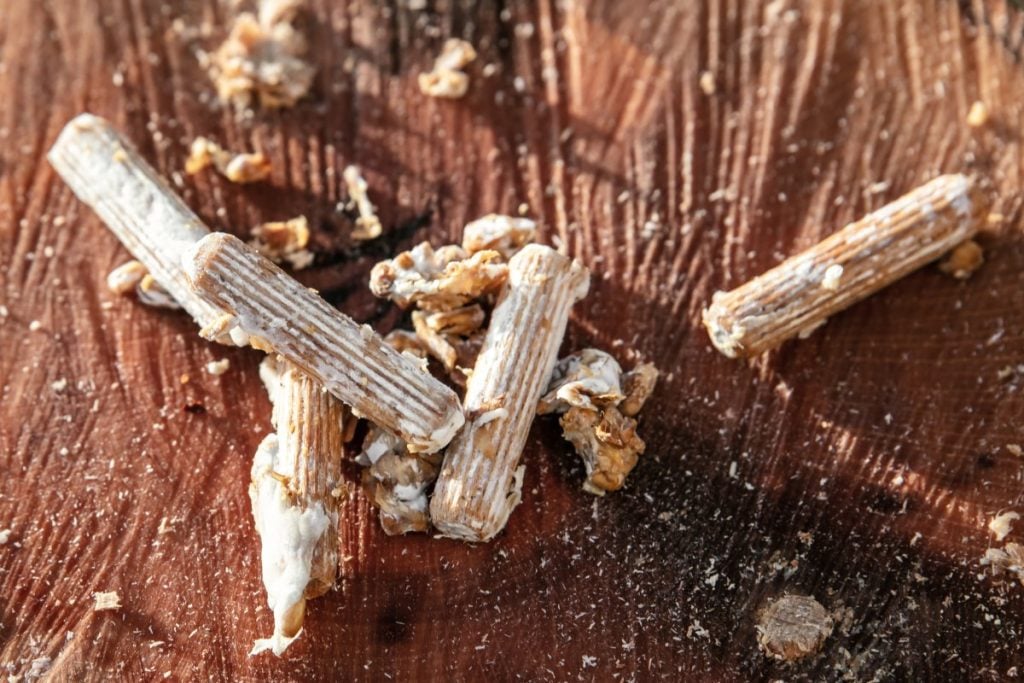
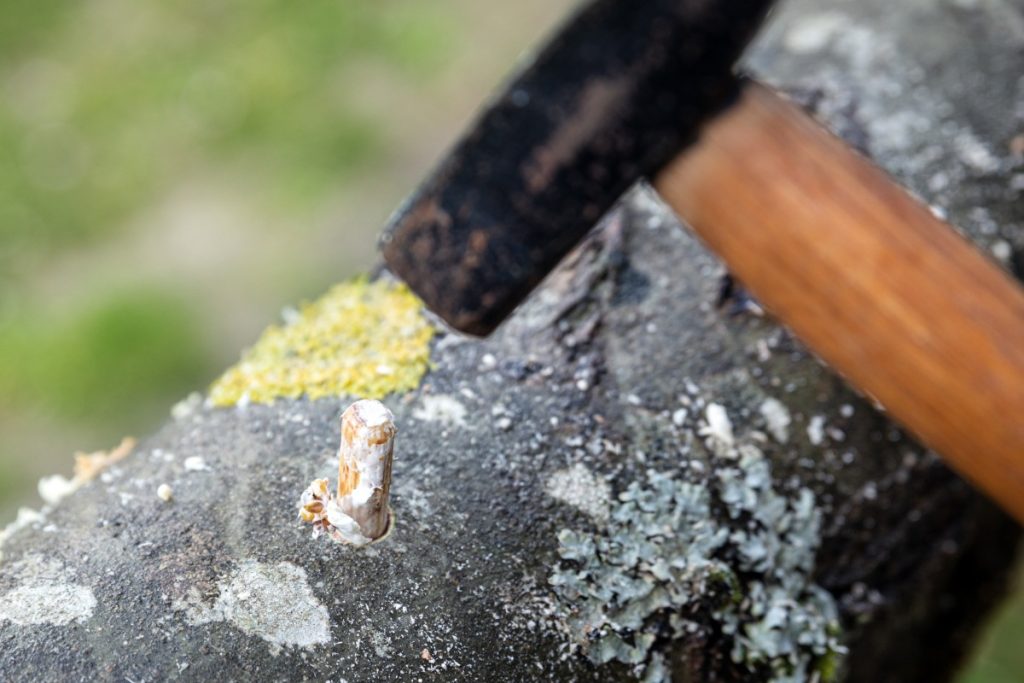
Now it’s time to insert your plug spawn dowels into the holes.
To do this, tap the plug spawn dowels gently with a hammer until they’re below the surface of the bark and flush with the actual wood of the log.
You’ll need to seal the plugged holes with wax to protect the mycelium.
People often use cheese wax, but you can also use candle wax or beeswax. Melt your wax in a double boiler or old deep fryer or pot, and using a small brush, apply the wax to your holes.
Step 3: Incubation and Maintenance
Place the inoculated logs close to or on the ground in a shady, sheltered spot where they can receive natural rainfall.
Maintaining moisture is very important during incubation, and if you do not receive enough rain, you’ll need to water your logs, so make sure they’re within reach of your garden hose.
Your logs will need at least 1 inch (2.5 cm) of rain a week, and during dry times we suggest watering them once or twice a week for 10 minutes.
If the logs dry out completely, your mycelium will die.
Step 4: Harvesting
Phoenix oyster mushrooms will fruit 4 to 12 months after inoculating the logs and, depending on the temperatures, may fruit anytime from spring through to fall, especially after heavy rain.
After at least 4 months of incubation, keep a close eye on your logs, especially after a heavy rainfall when temperatures are warmer.
Phoenix oyster mushrooms, like other oysters, grow fast and can be ready for harvest in under a week.
Harvest your phoenix oyster mushrooms when the edges of the caps are still curled down by holding the cluster at the base and gently twisting it off the log.
Phoenix Oyster Mushroom Taste
Phoenix oyster mushrooms have a mild, slightly sweet flavor with earthy notes.
Some people detect mild seafood-like flavors, while others describe them as having subtle anise undertones.
They have a distinct bittersweet aroma that’s anise-like, possibly because they contain benzaldehyde, an organic aromatic compound that’s also a characteristic of almonds and anise.
People describe their texture as slightly chewy, meaty, velvety and tender.
How to Cook Phoenix Oyster Mushrooms
Phoenix oyster mushrooms go well with almost any dish, including fish, chicken, pork and lamb.
You can use them to add flavor to soups, casseroles, pasta dishes, risottos, stir-frys, egg dishes and more.
Our favorite way to enjoy oyster mushrooms is to sauté them in butter and enjoy them on toast. When cooked this way, phoenix oysters are ready to eat in 5 to 8 minutes.
When sauteing oyster mushrooms, you can add additional ingredients to spice things up.
Try the phoenix oyster mushroom recipe below for an easy saute with interesting flavors and textures.
Our article “5 Easy and Delicious Oyster Mushroom Recipes” has more recipe ideas for your phoenix oyster mushrooms.
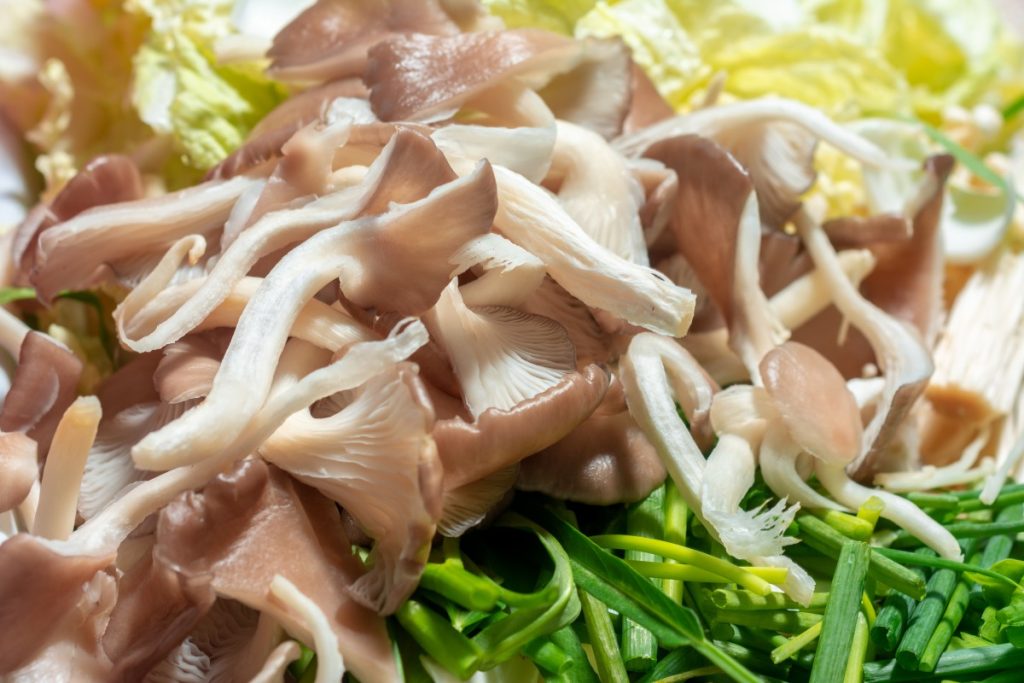
Sauteed Phoenix Oysters with Garlic and Green Onions
This easy recipe is very versatile, only needs a few ingredients and is ready in a few minutes.
These phoenix oysters make a great keto or vegetarian snack or side dish and are perfect for both vegans and meat lovers.
Ingredients
- 1 lb (450g) of phoenix oysters
- 4 green onions
- 4 cloves of garlic
- Butter
- Salt and pepper
Instructions
- Cut the oyster mushrooms into bite-sized pieces.
- Chop the green onions and mince the garlic.
- In a heavy skillet over medium-high heat, melt the butter and place the mushroom pieces in the hot skillet in a single layer. You may have to do more than one batch as you don’t want to overcrowd the pan.
- Cook the mushrooms until golden, and then flip them over.
- Add garlic, chopped green onions and salt and pepper to taste and cook until the other side is also golden. Shake the skillet often and reduce the heat when needed while cooking.
- Transfer the mushrooms to a bowl and repeat the same steps for any remaining mushrooms.
- Serve immediately on their own or as a side with any fish or meat dish.
Final Thoughts
Phoenix oyster mushrooms are delicious, prolific, hardy and easy to grow.
These characteristics make them an excellent choice for beginner mushroom growers.
If you want to learn how to grow your own fresh oyster mushrooms at home, our online course, “Growing Mushrooms At Home.” will teach you all you need to know.
This introductory course provides a step-by-step guide on how to grow oyster mushrooms on a small scale using simple methods and minimal equipment.
Before you know it, you’ll be enjoying your first flush of fresh phoenix oyster mushrooms.