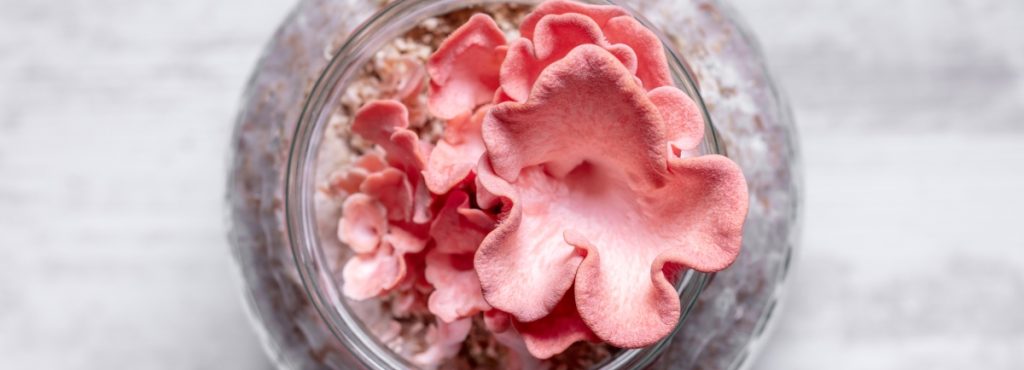
Growing mushrooms isn’t hard, but you need the right supplies to succeed.
In this article we’ll provide you with a mushroom growing supplies list. It will provide you with everything that you need to get started and grow your own mushrooms.
Mushroom Growing Supplies List
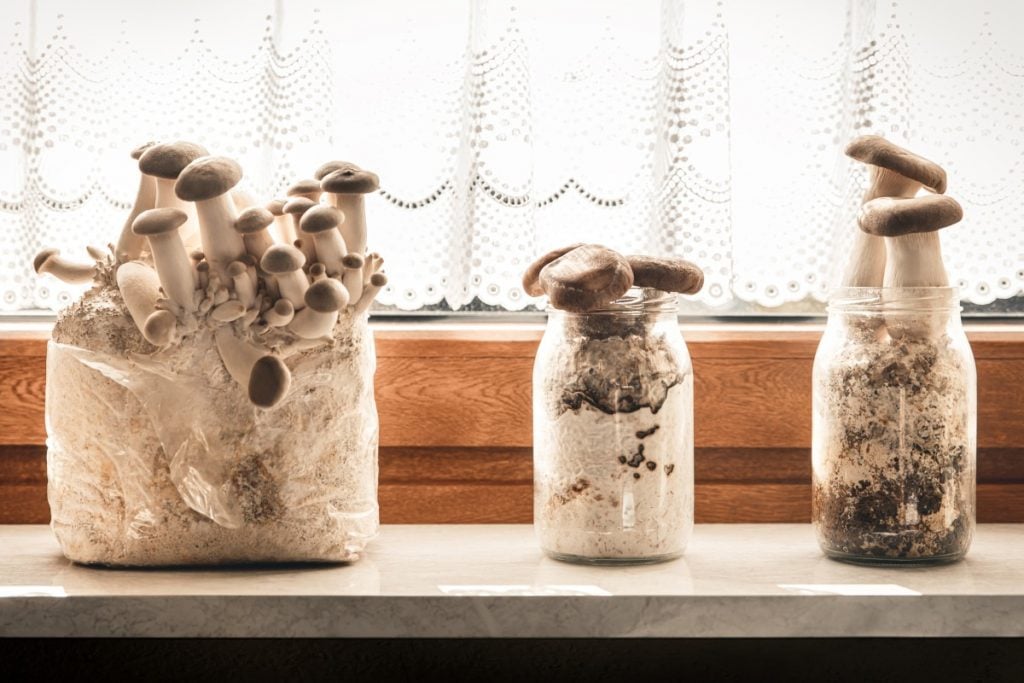
At its most basic form, you can start growing mushrooms with just five items:
- Mushroom spawn
- Substrate (the growing medium)
- Grow bags (or buckets)
- A thermometer
- A water spray bottle
Growing mushrooms may require more or fewer supplies, depending on how sophisticated your growing operation is.
What you’ll need can vary a lot depending on how many mushrooms you want to grow. Plus the type of mushroom you’re growing and the method that you’ll use.
Must-Have Essential Mushroom Growing Supplies
For our simplest instructions on how to grow mushrooms, you can follow along with the step-by-step guide in our video here. All you will need are the supplies listed below.
Spawn
Mushroom spawn is one of the most important supplies you’ll need to start growing mushrooms.
To make sure that you’re able to grow high-yielding and quality mushrooms, it’s important to get your mushroom spawn from a reputable seller.
An established commercial seller will be able to provide you with contaminant-free spawn. That means you’re getting started with the highest chance of success.
It’s very rare to find a physical shop in your city that sells mushroom spawn. So most likely, you will need to order online and have it shipped to you.
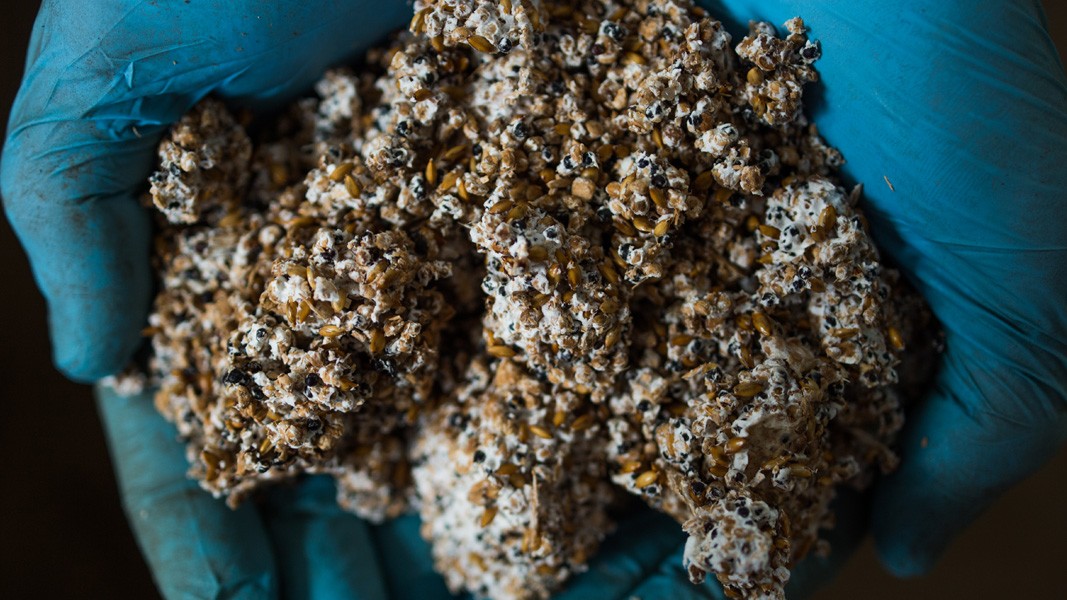
Mushroom spawn is commonly grown on either grain or sawdust.
Sawdust spawn tends to be cheaper, but we prefer grain spawn as it tends to support stronger mycelium and has a higher nutrient content than sawdust.
Substrate
The substrate is what your spawn will grow on and begin to colonize with mycelium.
Your substrate will provide the mycelium with all the nutrients that it needs to grow and start producing mushrooms.
Mushroom substrates can include sawdust, cardboard, coffee grounds, coco coir or other materials.
See our article Growing Mushrooms In Coffee Grounds to learn if growing on coffee grounds makes sense for you.
Each species of mushroom has a preferred substrate. So it’s critical to do your research and determine what substrate will allow your mushrooms to grow best.
Most substrate will need to be either sterilized or pasteurized before using to kill off competing organisms.
We recommend growing on straw or wood pellets. They have already been pasteurized using high heat and pressure. So you’re starting off with a very clean material.
You can source these pellets from a farm supply store or hardware store in your area, or online.
Grow Bags
Your spawn and substrate need a place to live during the mushroom growing process.
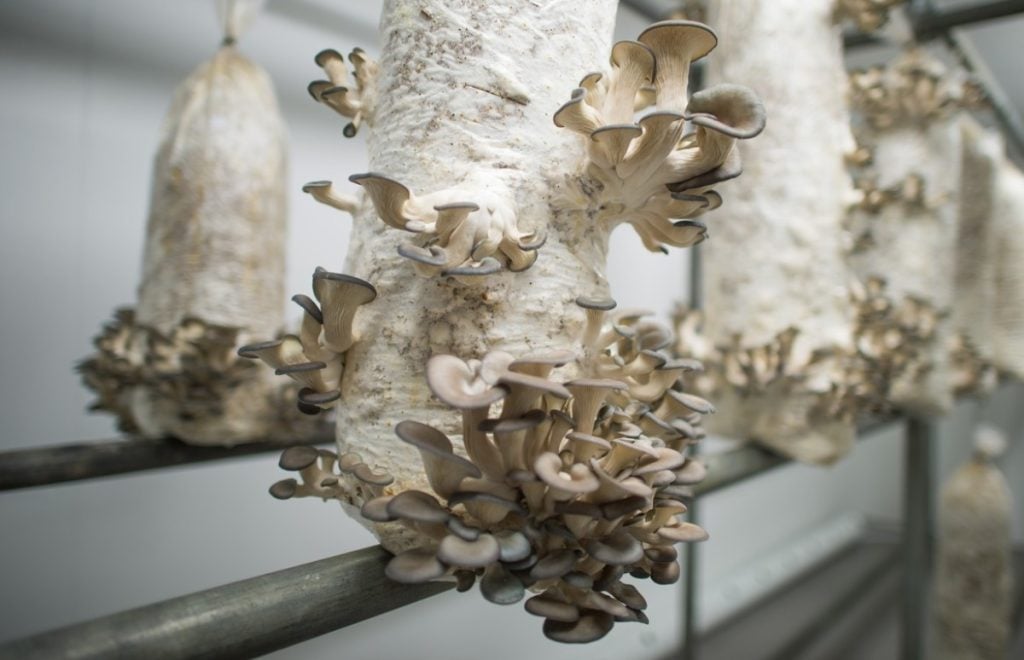
Either grow bags or large plastic buckets will do the job. They provide high CO2 and humidity levels your mycelium needs to fully colonize the substrate.
For beginners, we would recommend starting off growing in bags. The big benefit of bags is that since they’re clear, you can see what’s going on with your substrate.
It makes it easier to spot contamination or other problems early on.
If you’re interested in growing in buckets instead of bags, please refer to The Ultimate Guide to Growing Mushrooms in Buckets.
You can grow mushrooms in any kind of clear poly bag, and then cut holes for air exchange. However, we’d recommend buying bags specifically made for growing mushrooms if you are a beginner.
Mushroom growing bags typically come with filter patches. These let some air exchange for your bags. While also keeping contaminants out of your sterile substrate.
For growing mushrooms on high-nutrient substrate, filter patch bags are a must because they can withstand the high temperatures needed to sterilize the substrate inside of them.
One of our favorite suppliers for mushroom bags is Unicorn Bags. But you can even find them for sale on Amazon.
For even more details on bag growing, check out our How to Grow Mushrooms in a Bag article.
Thermometer
You’ll want a thermometer to make sure that your mushrooms are at a temperature that they prefer.
Different types of mushrooms have their own temperature range that they thrive in.
Even different varieties of oyster mushrooms prefer different temperatures.
For example, blue oyster mushrooms prefer cooler fruiting temperatures of 12-18 C (45-65 F).
Pink oyster mushrooms prefer warmer fruiting temperatures of 18C-30C (64-86F).
You will need to follow the instructions provided with your mushroom spawn. Or follow one of our growing guides to determine the optimal temperature for the mushrooms you’re growing.
You can buy a thermometer at most general retail stores or order one online. Try to find one that can handle higher humidity (up to 95% RH), so that you can use it the fruiting stage as well as incubation.
A Water Sprayer
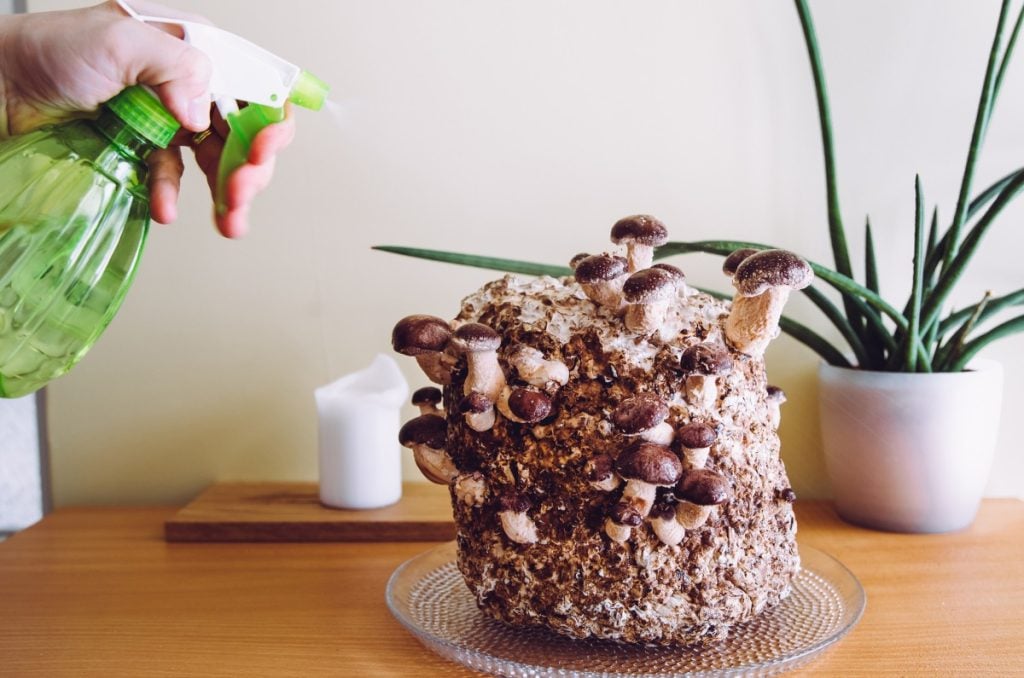
Once your mushrooms are ready to fruit, you’ll need some kind of water sprayer. This will keep them moist and maintain the required level of humidity.
A simple spray bottle filled with water is enough to start with if you’re only growing a small amount of mushrooms.
You’ll want to mist your grow bags at least a couple of times per day to keep them from drying out.
You can buy a spray bottle at most general retail stores or order one online.
If you’re growing several bags, it might be worth getting a hose attachment with a mist setting.
Equipment For Setting Up A Mushroom Farm
Are you getting serious about growing mushrooms at scale and creating your own mushroom growing business? There are some additional supplies you will want.
While you could theoretically get by with just the basics we discussed above, a few extra items will save you a lot of time and make your job much easier.
These extra supplies will allow you to better control the environment at each stage of the growing process. They will also enable you to grow on a much larger scale.
For these supplies, we are assuming you are setting up something similar to what we discuss in our article How To Set Up A Low Tech Mushroom Farm.
Additional equipment to consider includes:
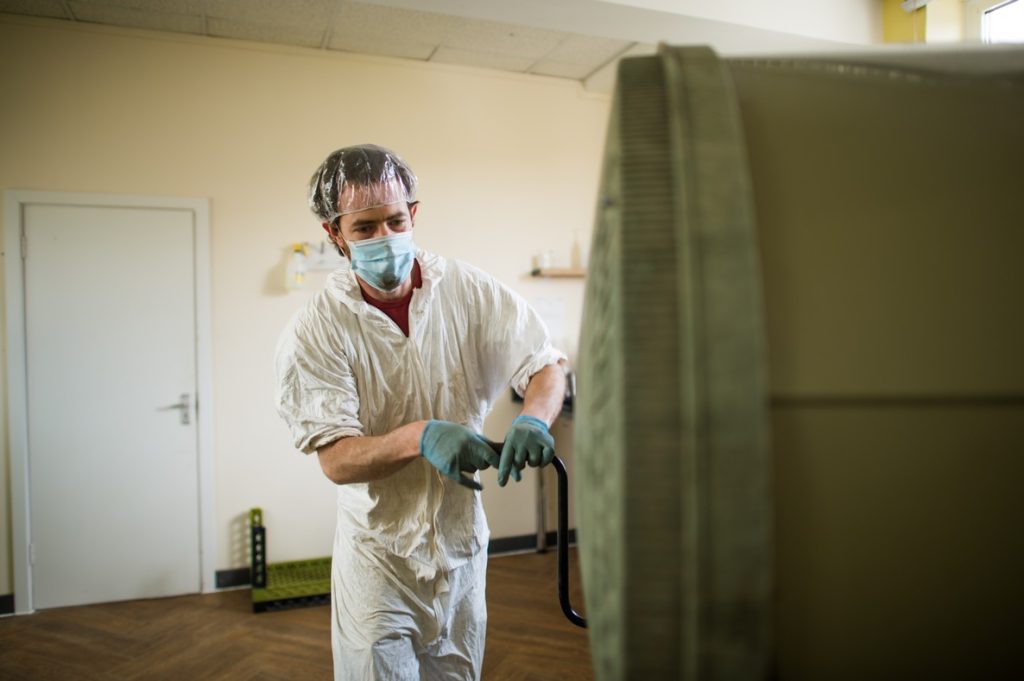
Compost Mixer
For a large mushroom farm, you’ll be mixing several kilograms of spawn and substrate together at a time.
You can cut down on the labor required by using a compost tumbler to help automate this process.
There are many options for this. Larger farms will use a purpose made substrate mixer, but these can be expensive when starting out.
Some people use a cement mixer, or another popular option is to use the type of compost mixers that are suspended up off the ground and are easy to turn by hand (you can buy them at most garden centers).
If you’re on a budget, you could try creating your own DIY mixer from a 55 gallon (208 liter) plastic barrel or steel drum.
Sterilizer
If you’re growing on supplemented sawdust or straw, you’ll need a way to sterilize or pasteurize large amounts of substrate at once.
In larger mushroom farms, sterilization is usually accomplished with an autoclave. However, these pieces of equipment can cost tens of thousands of dollars (or pounds).
Some smaller growers sterilize (or more accurately, super-pasteurize) their substrate using a steam barrel system, or with steam sterilizer pressure coookers.
If you are growing on straw substrate or using wood pellets with low supplementation, then you can get away with just pasteurizing your substrate instead, which is simpler.
In our Low Tech Mushroom Farming course, we share a design for a pasteurization vessel. You can build it yourself for just a few hundred dollars or pounds.
Three ways that you can easily pasteurize your substrate are:
- A lime water bath, which raises the pH to kill off any contaminants.
- A hot water bath (usually 60 – 80 C or 140 – 180 F).
- A soap bath (not as effective as the other two methods).
If you are using wood or straw pellets, you may be able to get by without sterilizing your substrate.
Although when growing on a large scale, the consequences of having an entire batch becoming contaminated are more severe. It may lead to thousands of dollars or pounds in lost product.
Lab Supplies
If you are planning to produce your own spawn or to grow on sterilized substrate, then you will also need a laboratory with sterile conditions to inoculate your substrate in.
You will need equipment such as:
- Steam sterilizer or autoclave
- Laminar flow hood with HEPA filter
- Petri dishes
- Agar solution
- Parafilm
- Scalpel
- Glass bottles for grain spawn
- Magnetic plate stirrer (if doing liquid cultures)
- Tyvek suits
- Surgical mask
- Surgical gloves
- Isopropanol alcohol
Doing lab work is more advanced, so we always recommend to new growers that it is best to buy spawn in from a reputable supplier and focus on the rest of growing process to being with.
You can always learn culture work and spawn production later on.
You’ll also find it easier to grow on pasteurized substrate (instead of sterilized substrates), as they do not require such strict sterile inoculating conditions.
Shelving
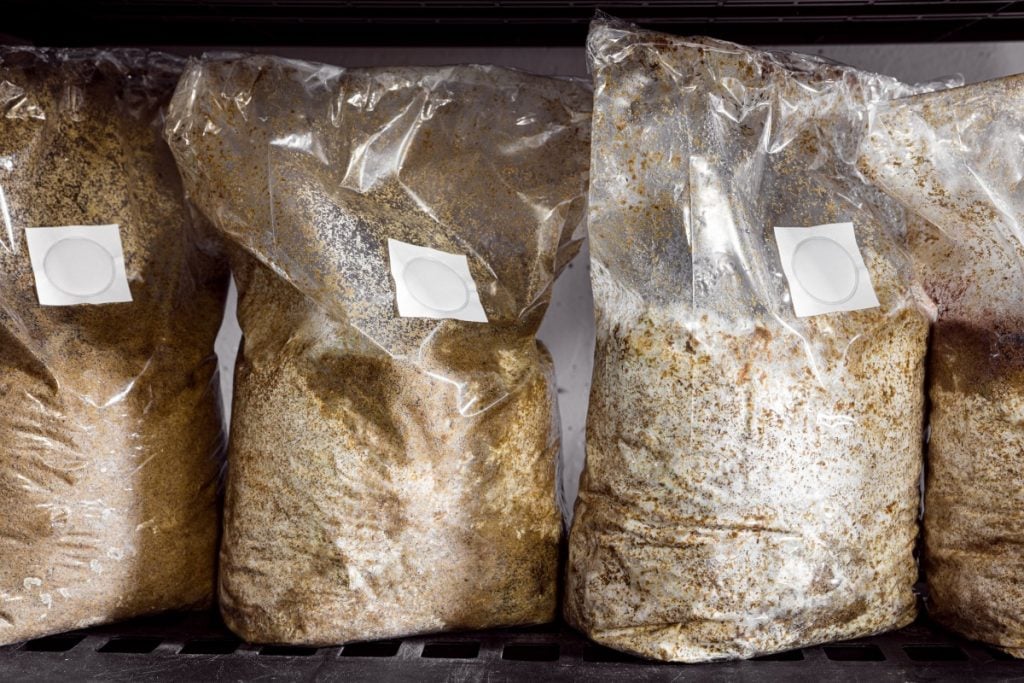
You will need somewhere to store all of your mushroom bags throughout all stages of the growing process.
Shelving helps keep your bags up off the ground and gives you more vertical space to work with. That means you can grow a lot more mushrooms in a smaller space.
Any kind of wire or industrial storage shelving will work. You can buy suitable shelving at most hardware stores.
Keep in mind that you will be cleaning the shelving on a regular basis.
Your shelving will also be subject to high levels of humidity in the fruiting stage, so wood shelving is not a good choice for this. You can use wood shelving during incubation phase, but stick with metal or plastic shelving for fruiting.
Incubation Chamber
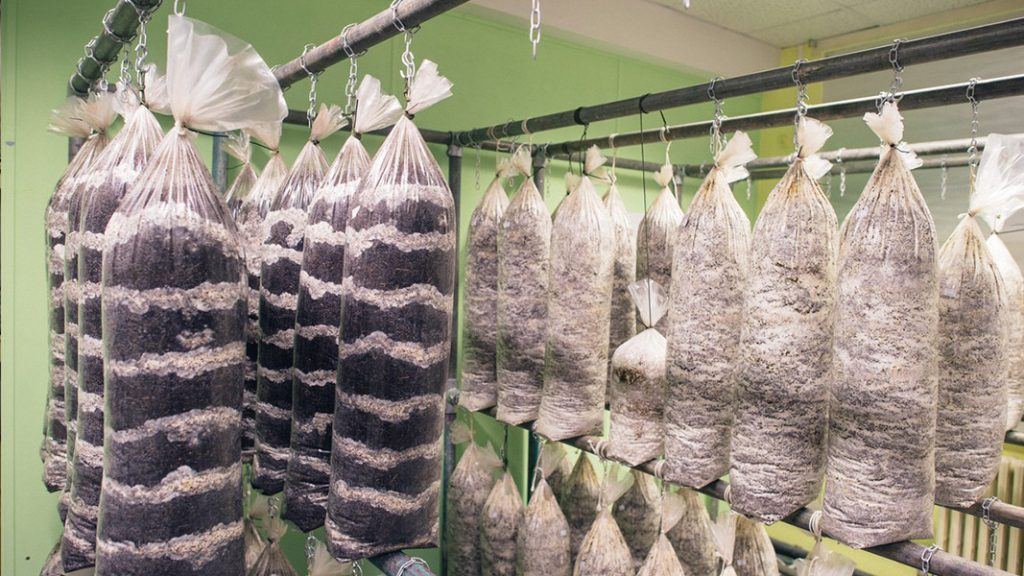
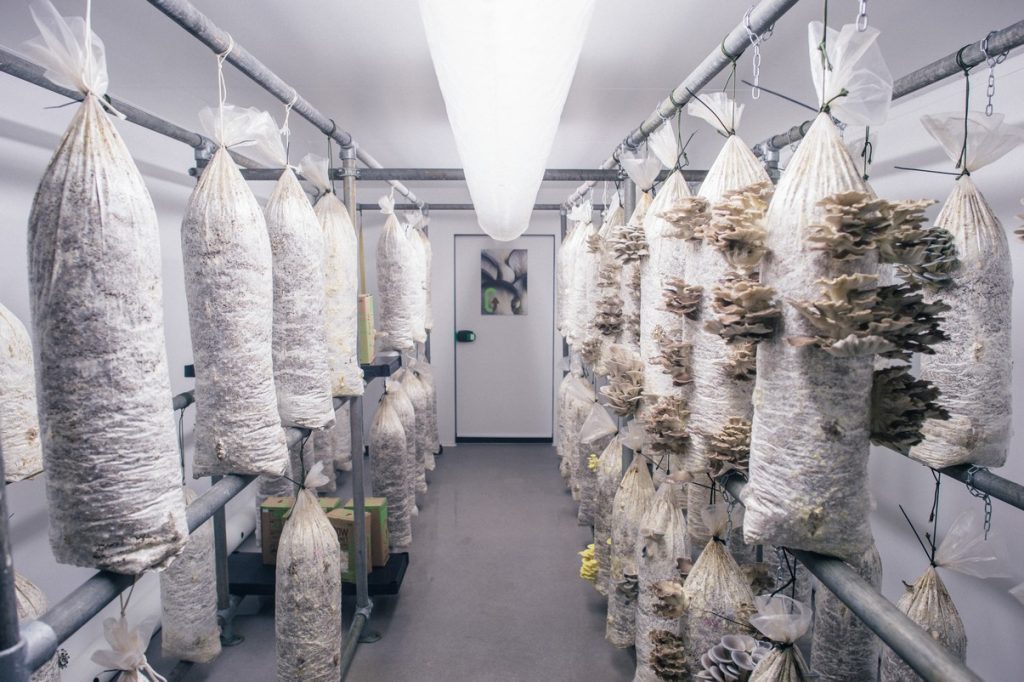
An incubation room is relatively easy to create. Its purpose is to give your grow bags a place to rest and fully colonize before they’re ready to fruit.
The key details are that you’ll need temperatures of 20 – 24 C (68 – 75 F) and darkness. Shelving or hanging rails and easily cleanable surfaces will make your job easier.
To grow 10 kg (22 lbs) of oyster mushrooms per week, we recommend an incubation room at least 3 m² (32 square feet).
You can use any spare room for your incubation chamber, as long as it’s an insulated space where you can heat and cool the area.
A walk-in fridge or insulated shipping container also make great incubation chambers.
Fruiting Chamber
A fruiting chamber is where your hard work finally pays off and the mushrooms start to grow.
A mushroom fruiting room needs to meet a few more criteria than an incubation room:
- Humidity between 80 – 90% RH.
- CO2 levels less than 900 ppm.
- Temperature control (specific temperature will depend on the variety of mushroom you’re growing).
- A light cycle of 12 hours on, 12 hours off.
- Shelving or hanging rails.
In our experience, a hydroponics tent makes a great fruiting chamber for most small or mid-sized mushroom farms.
You can buy these tents at garden centers or order one online.
If you have a bigger budget, you could also consider a cool room / fridge panel grow room, or a shipping container grow room.
For full details on creating a mushroom fruiting chamber, see our guide How to Build a Mushroom Fruiting Chamber: 7 Steps
Temperature Control
To help automate your mushroom farm, you’ll want a temperature controller.
It will automatically turn on heating or cooling if the conditions get too hot or cold compared to the range that you programmed it with.
An Inkbird brand temperature controller is good for this. You can buy one on Amazon for under $50 (approximately £35).
Controlling the temperature in your fruiting space can be more complicated though, due to the high level of fresh air exchange during this phase, so be sure to consult an HVAC specialist. We also discuss this in more detail in our Low Tech Mushroom Farming Course.
Humidifier
You will need to maintain high moisture levels in your mushroom fruiting chamber, or mushrooms may grow small and deformed.
Any humidifier will work. However, keep in mind factors such as how easy it is to clean and fill, and also that it must be sized according to the volume ir air it needs to humidify in your fruiting space.
A humidifier with a larger capacity will mean that it needs to be filled less often.
You can buy a humidifier at most retail stores that sell home furnishings. Or look at online retailers like Amazon for a larger selection.
Pair your humidifier with an Inkbird humidity controller, which you can purchase on Amazon as well.
A humidity controller works the same way as a thermostat does for temperature. Instead, it will automatically turn your humidifier on or off depending on the relative humidity you want.
LED Lighting
Inside your mushroom fruiting chamber, you’ll need some lighting to help your mushrooms to know that it’s time to grow.
Some basic strips of LED lighting in the 6500 – 9000K range will work well. Make sure they are waterproof, though!
You can buy LED lighting online, at hardware stores, or most places that carry electronics like light bulbs.
Air Exchange Fan
Your fruiting space will need a fan to exchange air and make sure that CO2 levels don’t get too high.
You can use either an RVK fan or a squirrel cage fan for this purpose.
Either one can be hooked directly up to your ducting. That way you can bring in fresh air from outside and vent stale air out.
You can buy these types of fans at hardware stores, or from companies that specialize in HVAC supplies.
Shops that stock hydroponic tents will also typically offer fans and solutions to help with ventilation as well.
You will need to size your fans according to the volume of air in the fruiting room and also the species you are aiming to grow.
For a breakdown of what all of these supplies can cost, please refer to our video below:
Can Anyone Grow Mushrooms at Home?
Growing edible mushrooms at home is easy.
If the idea of gathering up all of your own supplies to start growing seems intimidating, there is another option.
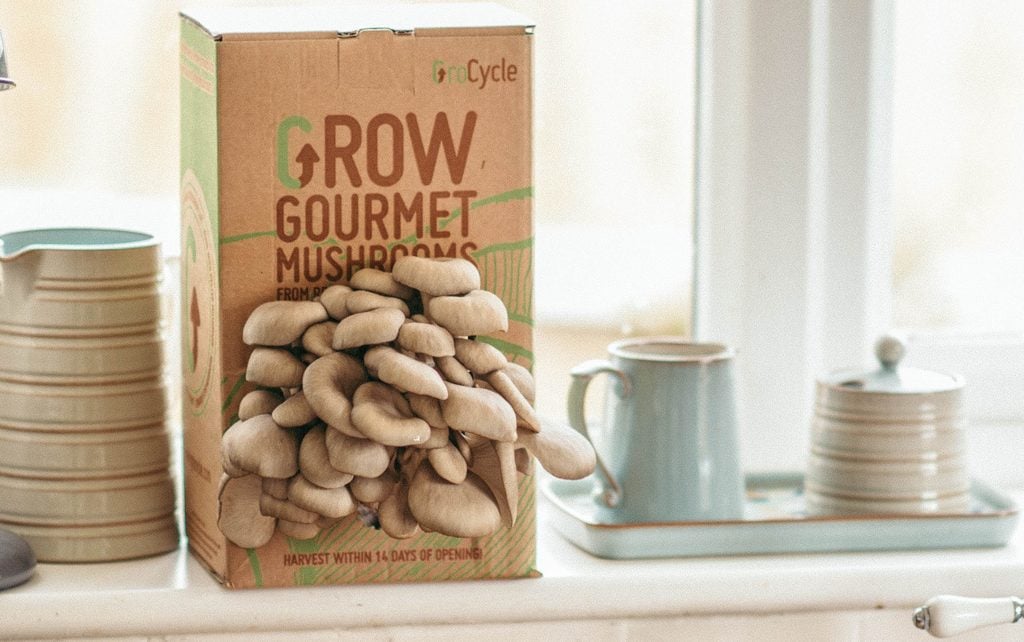
You can start with our Grocycle Mushroom Growing Kit.
Why is a mushroom grow kit the easiest way to grow mushrooms?
It contains everything you need and the most difficult parts of the process are already done.
With a mushroom kit, all you need to do is cut a hole in the grow bag. Then just mist it a couple of times per day.
Mushroom kits allow you to experience the most fun part of the process. Actually watching the mushrooms grow in real time! They’re a great choice for beginners.
Does Growing Different Types of Mushrooms Require Different Supplies?
The mushroom growing supplies list we’ve provided will give you a good general overview of what you need to grow mushrooms.
However, every mushroom growing operation will be a little different. You’ll likely need to customize your supplies to your specific situation.
Every type of mushroom has a different type of substrate that it prefers. So that is one area where your supplies will definitely differ.
How you’re growing your mushrooms also matters.
If you’re growing mushrooms outdoors on logs instead of in bags, you’ll need different supplies.
For example, instead of sawdust or spawn grain, you’ll want plug spawn. These are inoculated wooden dowels. You hammer them into logs to start the growing process.
You will also need wax to seal the logs and prevent contamination if you’re growing with that method.
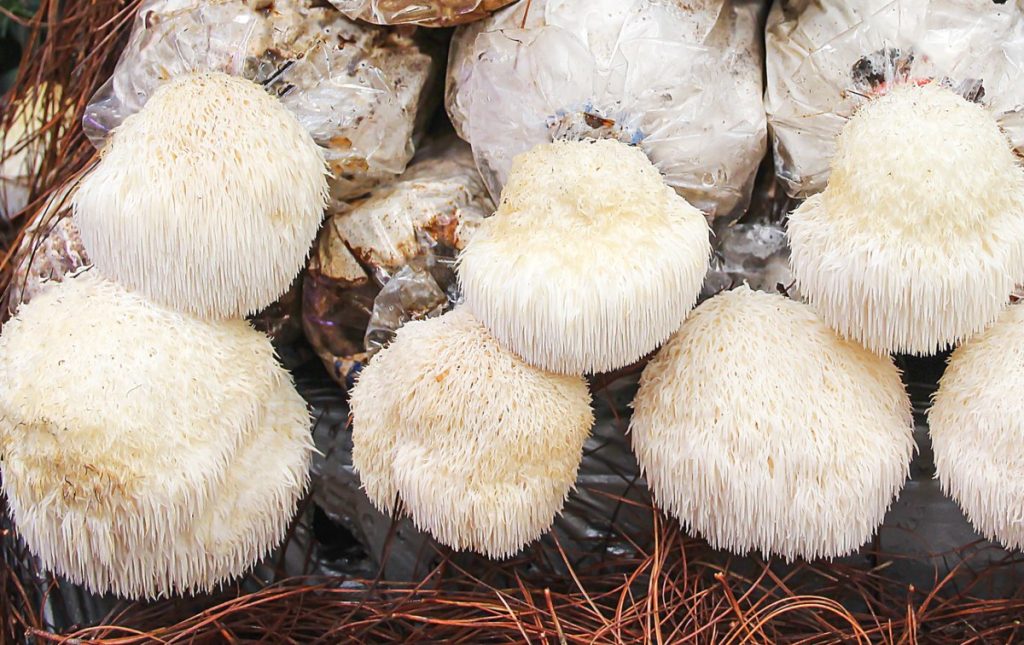
Some varieties of mushrooms like lion’s mane may prefer to grow from the top of bags, instead of from holes on the sides. So you may need bags that open on top for your operation.
Final Thoughts
Growing mushrooms is a highly flexible activity.
The five basic supplies you’ll need are:
- Mushroom spawn
- Substrate
- Something to grow in
- A thermometer
- A way to keep your mushrooms moist
Starting to grow mushrooms at home is easy and doesn’t require many supplies.
But the larger and more complicated your mushroom farm gets, the more supplies you’ll need to maximize output and productivity.
When you’re ready to get started, check out our mushroom cultivation courses.
GroCycle offers courses for all different skill levels. From growing mushrooms at home, up to our Low Tech Mushroom Farming for commercial growers.
We’ve taught thousands of people around the world how to grow mushrooms via online courses. And we’d love to teach you, too!
