
Learning how to grow mushrooms is more straightforward than you might think.
Much of the same information applies whether you want to grow a small amount of mushrooms at home as a hobby, or want to start growing mushrooms as a business.
The idea of growing your own mushrooms can seem mysterious and complicated, but after having taught thousands of new growers I can tell you it’s absolutely possible for anyone to learn.
In this article I’ll walk you through the different ways of growing mushrooms, with an emphasis on the easiest methods to get started with.
Then I’ll give you an overview of the actual process of cultivating mushrooms, and provide you with links to many other useful articles and videos on this site to continue your learning.
If at any point during this article you find yourself confused about the terminology being used, please check out our mushroom growers glossary.
How To Grow Mushrooms: An Overview of Methods
There are many different ways to grow mushrooms, and I’ll list them out here in order of easiest to most difficult:
- Mushroom growing kit
- Woodchip garden bed
- Growing mushrooms on logs
- Growing on pasteurized substrate (e.g. straw or sawdust pellets)
- Growing on sterilized enriched sawdust substrate
Each different type of mushroom has its own specific growing needs, and some species are more flexible to different methods than others.
Let’s start with the easiest options first.
1) Growing Mushrooms From A Grow Kit
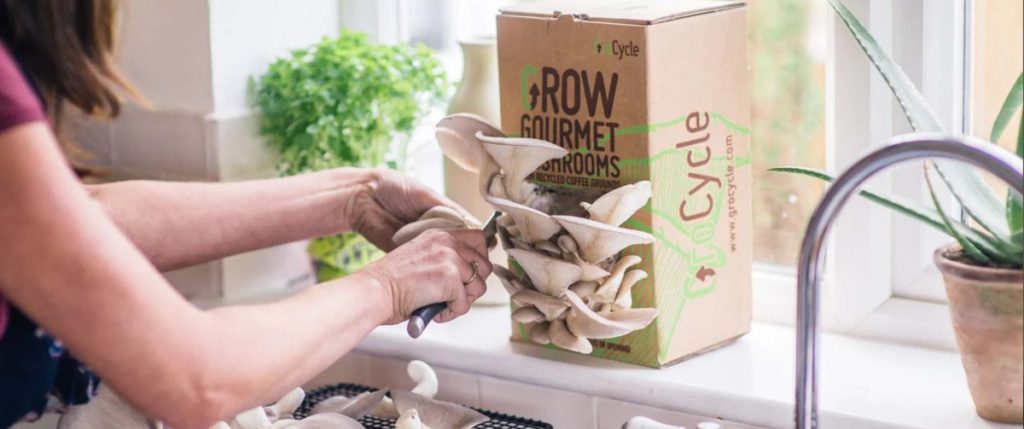
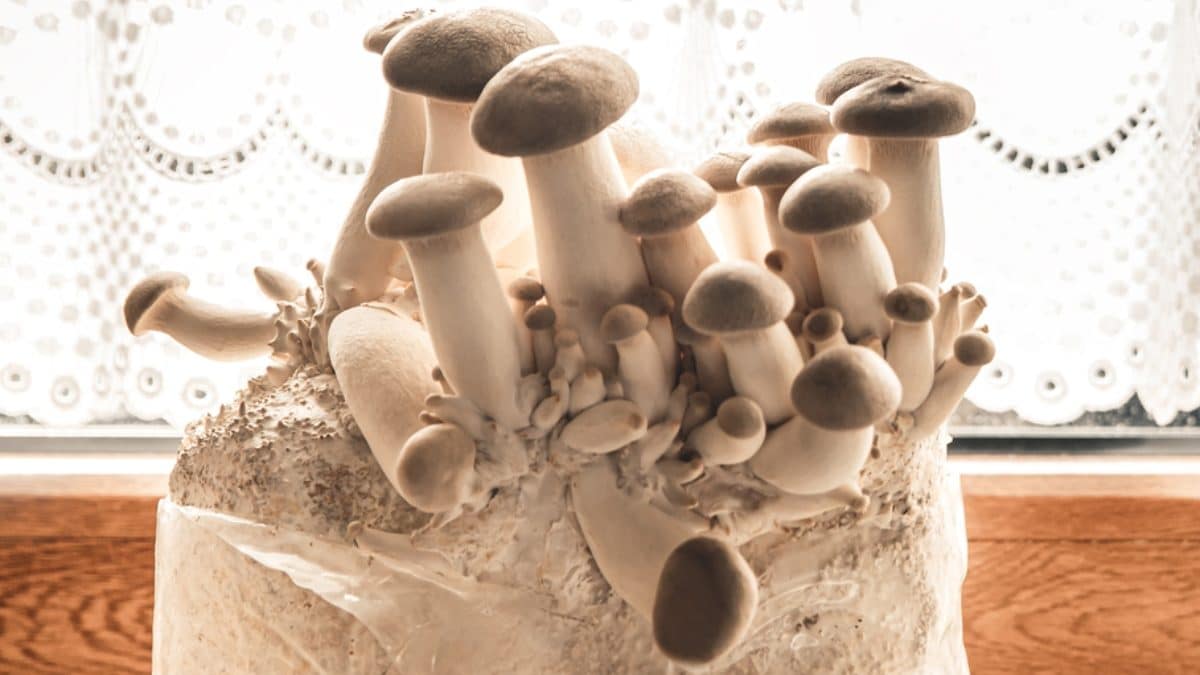
If it’s your first time growing mushrooms, you may want to just purchase a mushroom growing kit.
Mushroom kits (also sometimes called substrate blocks)come with your substrate already inoculated and incubated, so they’re ready to start growing as soon as you get them.
You simply:
- cut a hole in the bag
- place it on your windowsill indoors
- spray a few times a day with water
The mushrooms usually start to grow out of the hole within 5-10 days, and are then ready to harvest a week or so later (read about how long it takes mushrooms to grow to learn more about the timings of different species and methods).
You can get kits or ‘substrate blocks’ for many popular varieties like Oyster, Lion’s Mane or Shiitake, making it super simple to grow a range of gourmet mushrooms yourself at home.
This is a pretty fool proof method and I’d highly recommend it to anyone getting started as it’s a shortcut to success that will also get you hooked and wanting to grow more!
-> Check out our buyers guide to choosing a mushroom kit for more info.
2) Growing Mushrooms In Woodchip Beds
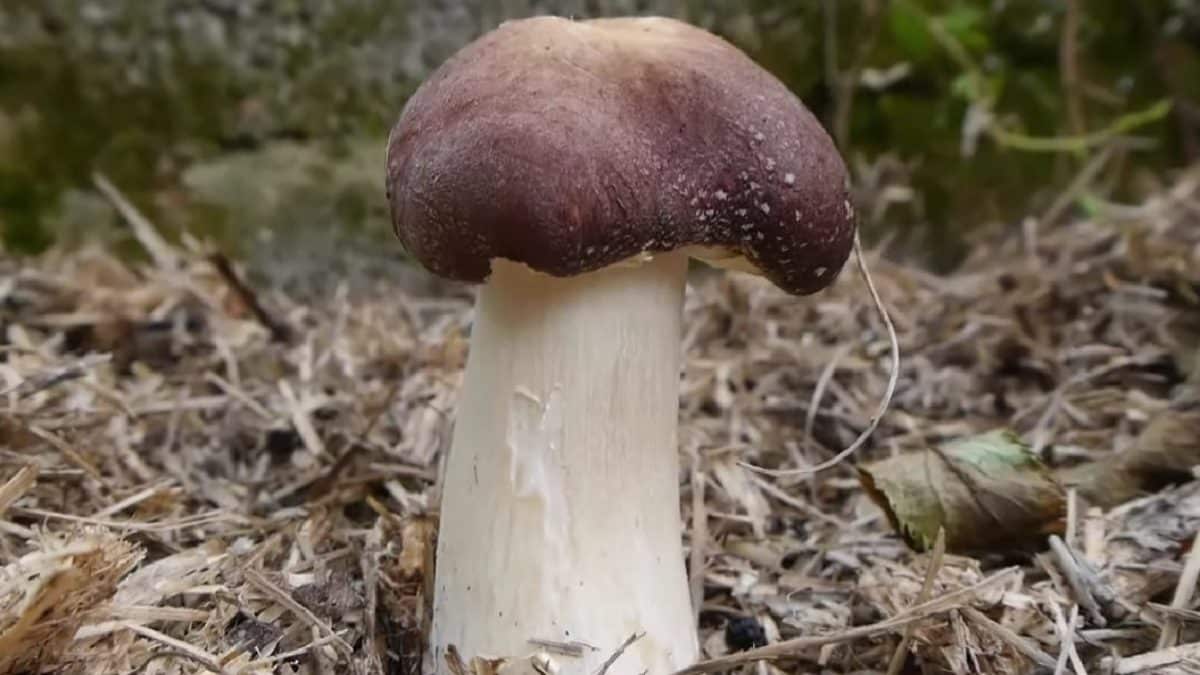
If you want to get a bit more involved and have a shaded spot outside, you could create a woodchip garden bed and grow mushrooms like King Stropharia (also called Wine Cap) or Elm Oyster.
The method looks like this:
- Dig a bed to about 20cm (8”) depth
- Add a layer of cardboard at the bottom
- Creating alternating layers of fresh woodchips and mushroom spawn (like a lasagne)
- Covering the top layer with straw or mulch to prevent it drying out
It usually takes 2-6 months to become fully colonized and then will fruit mushrooms after summer or autumn rain, or with a heavy watering.
This is a pretty simple and cheap method and you don;t need to sterilize or pasteurize the substrate.
The downside is that it takes a lot longer to harvest your mushrooms and pests can be an issue.
Still, it’s an easy one to get going whilst you try other methods and can be kept going for years by adding extra wood chips each year.
-> Check out our in-depth guide to creating an outdoor mushroom bed for more info.
3) Growing Mushrooms On Logs
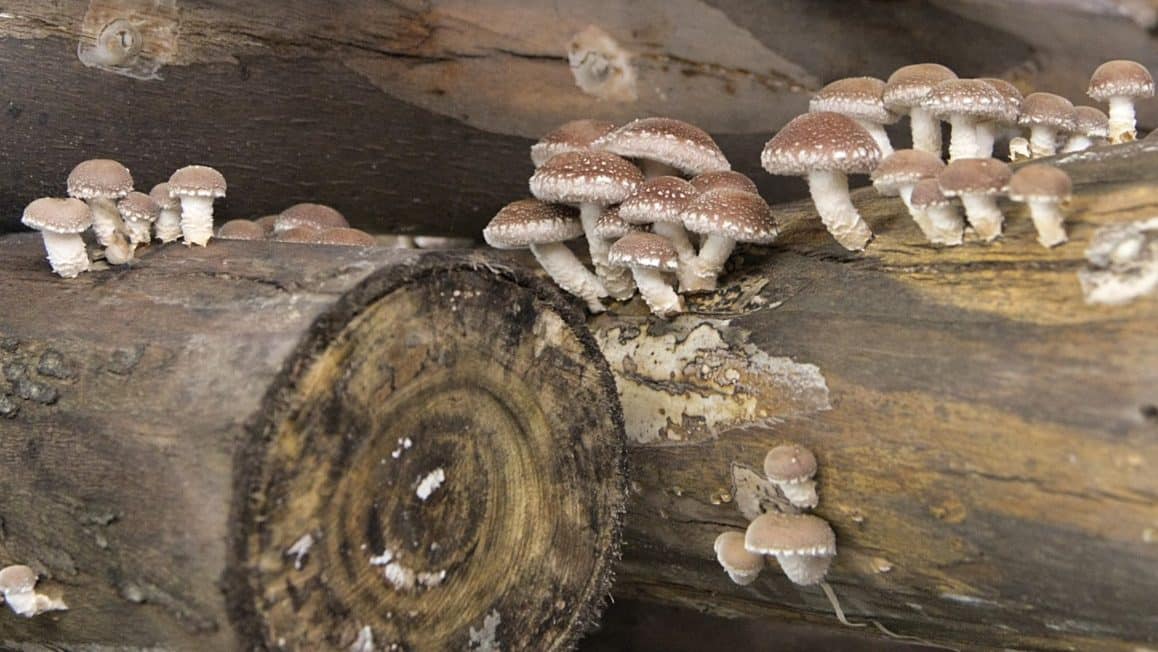
Similar to a garden bed, growing on logs can be done outside without the need to pasteurize or sterilize the substrate.
You can grow a wide range of gourmet mushrooms like this (most wood decaying fungi).
To grow on logs, you just need to:
- Select hardwood logs between 10-30 cm (4-12”) diameter
- Drill 8mm holes all over the log
- Insert dowel spawn into the holes
- Seal the holes with wax
- Stack the logs in a shaded area
The spawn then takes 6-18 months to colonize the log before producing mushrooms when the conditions are right (usually summer – late autumn with rain or high humidity).
It’s quite a long time to wait for your mushrooms to grow, but it’s a great way to utilize freshly cut logs and it can yield mushrooms for 3-5 years.
-> Read our detailed guide to growing mushrooms on logs for further info
4) Growing Mushrooms On Pasteurized Substrate
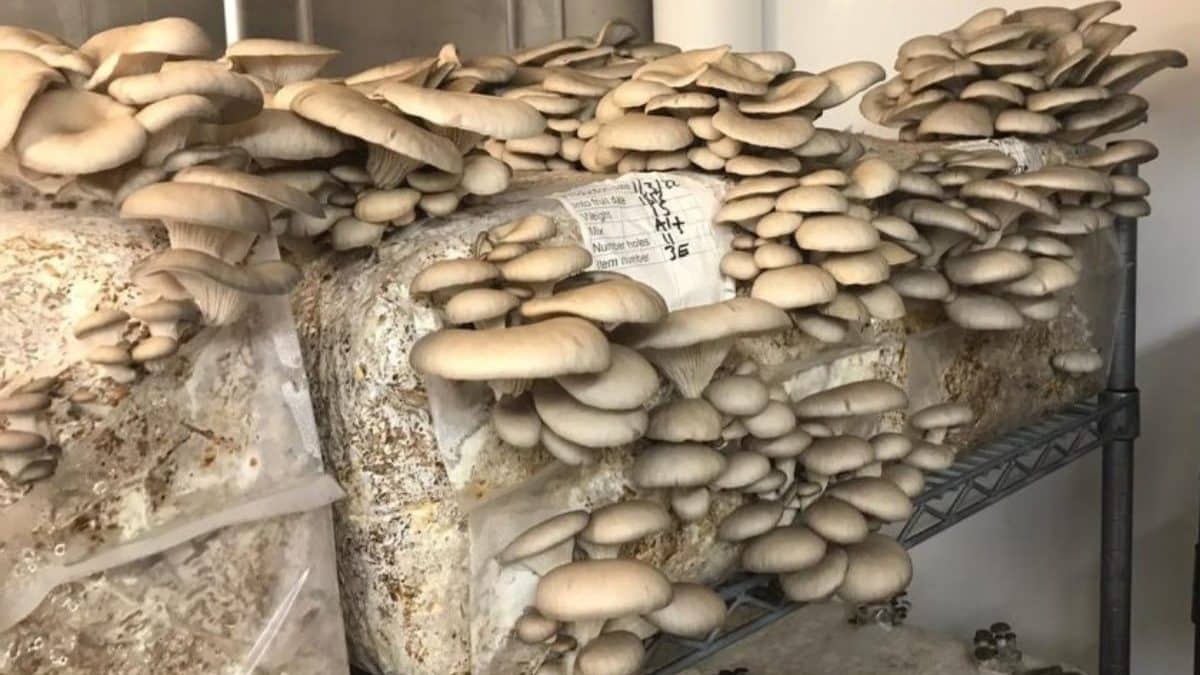
If you want to grow mushrooms indoors in a more controlled and managed way, then growing in a bag on pasteurized substrate is the simplest way to do this.
This method is how the majority of Oyster mushrooms and button/cremini mushrooms are grown.
It involves:
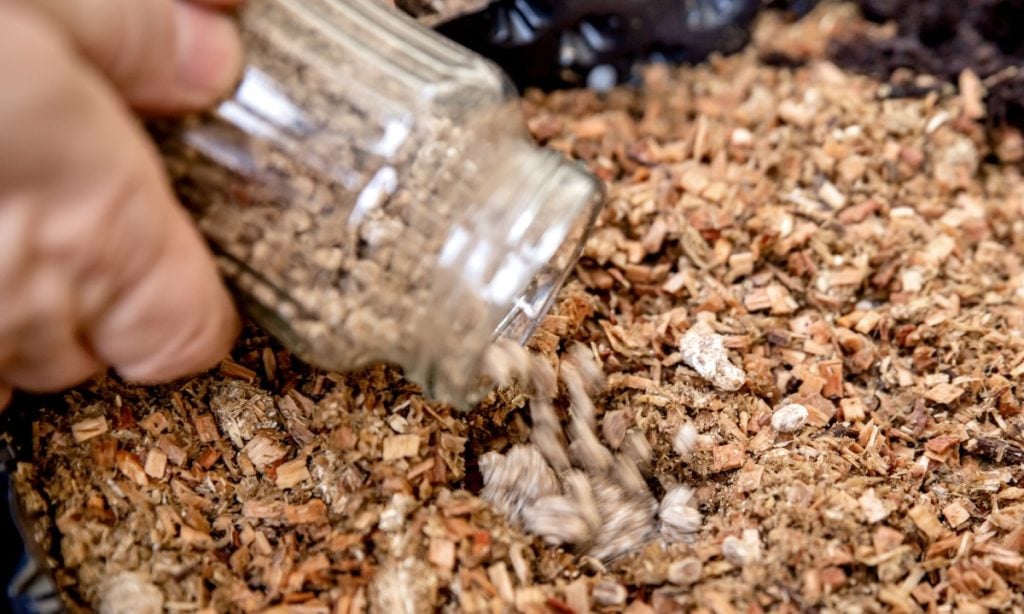
- Hydrating & pasteurizing the substrate,
- Mixing in between 2-10% mushroom spawn
- Loading the inoculated substrate into bags or buckets
- Incubating the substrate at 20-24C (68-75F) until fully colonized
- Then providing the correct fruiting conditions
The mushrooms will then grow and be ready to harvest within 1-2 weeks
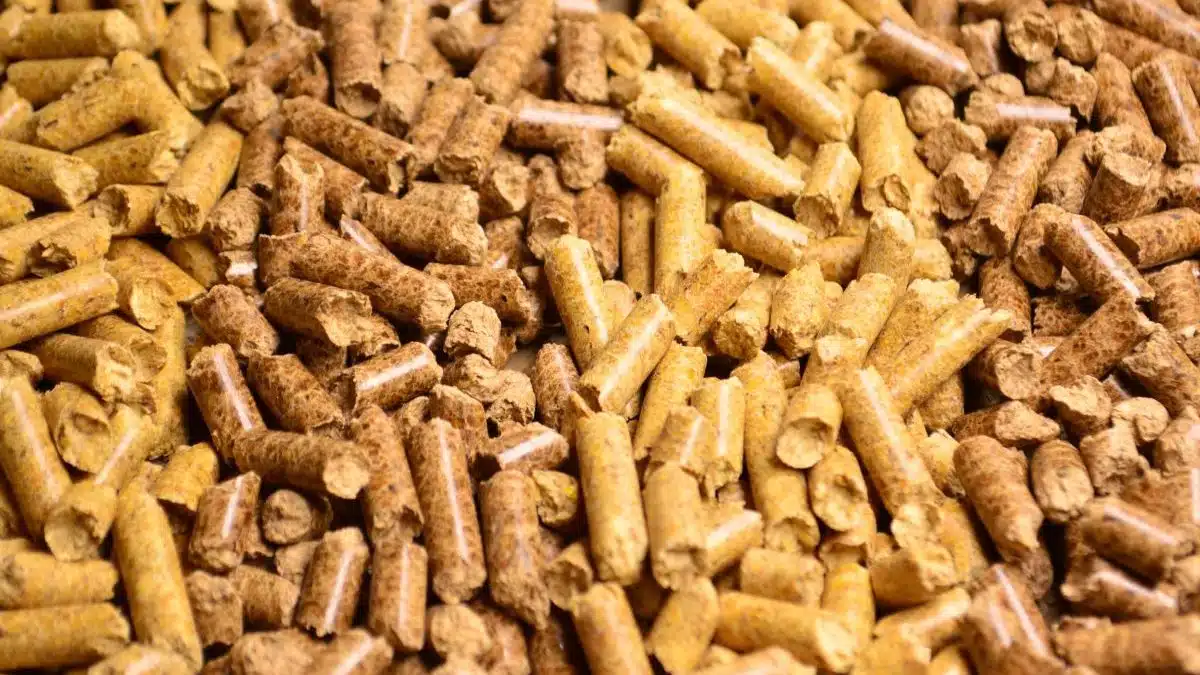
The substrate would typically be chopped straw or sawdust pellets, but some species may prefer a manure based substrate. Read our complete guide to mushroom substrates for more info on this.
Because pasteurizing is easier to do than full sterilization (and requires less equipment) it’s an ideal way for beginners to begin growing larger quantities of mushrooms at home or even as a small business (learn more about the most profitable mushrooms to grow)
Oyster mushrooms are without a doubt the easiest mushrooms to grow and I think that growing them on sawdust or straw pellets is the easiest substrate option.
-> Learn more about how to pasteurize mushroom substrate
Check out this YouTube video where I show you exactly how to grow Oyster mushrooms on straw pellets at home:
5) Growing Mushrooms On Sterilized Substrate
Growing on sterilized sawdust substrate is a step more complicated than pasteurized substrate as it requires additional equipment, a completely sterile environment, and the use of aseptic inoculation techniques.
However, once you have this equipment and knowledge it opens up the possibility of:
- growing a wider range of gourmet and medicinal mushrooms
- producing your own grain spawn
- growing on more nutrient-rich substrates such as the Master’s Mix
This is the method most commonly used to grow varieties like Shiitake, King Oyster, Reishi, and Enoki.
The technique requires:
- Hydrating your substrate and loading into autoclavable grow bags
- Sterilizing the substrate bags in a pressure cooker for 3 hrs
- Once cooled, inoculating with spawn in front of a laminar flow hood
- Then incubating the bags at 20-24C (68-75F) until fully colonized
- Finally, providing fruiting conditions for the mushrooms to grow
I see a lot of beginner growers starting off with this method and facing a lot of contamination issues early on, which can be quite disheartening.
For this reason, I only recommend newcomers growing in this way after they’ve first had some success with the other methods above.
-> Read our guide to sterilizing mushroom substrate and our guide to growing mushrooms on sawdust blocks for further info
How to Grow Mushrooms: An Overview Of The Technique
When growing mushrooms, you largely mimic the same life cycle that mushrooms go through in the wild. But with some key changes to maximize yield and other factors.
Stage 1: Mushroom Spawn
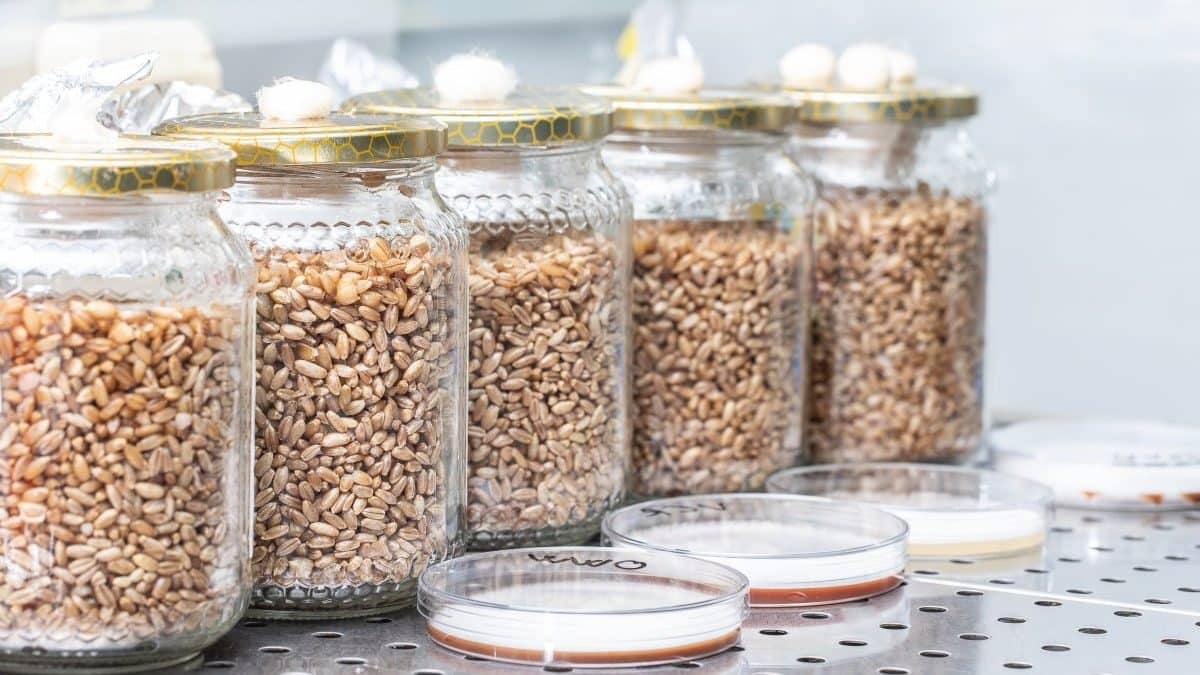
Growing mushrooms starts by obtaining spores or spawn. We already know what spores are, but what is spawn?
Mushroom spawn is any substance (typically grain) that already has mycelium growing on it. You can then transfer this into a larger mass of substrate from which the mushrooms will grow from.
Producing your own mushroom spawn is possible, but it requires a sterile environment and good knowledge of sterile inoculation techniques.
There is quite a learning curve to this, so I always recommend for beginners to simply buy grain spawn from a reliable supplier to get started and learn the technique later if it interests you.
-> Read our guide on how to make your own grain spawn at home.
Stage 2: Inoculation of Mushroom Substrate
The next step is inoculation.
This is when you introduce your mushroom spores or spawn to your substrate (also known as a growing medium).
Although not necessary, this is generally done under sterile conditions to minimize the chances of mold or other fungi species from competing with the mushrooms you’re trying to grow.
Stage 3: The Incubation Phase
Once your substrate is inoculated, the next step is to incubate it. This typically involves putting your substrate in a warm dark place for anywhere from a few weeks to a few months.
The ideal temperature range for most species is 20 – 24C (68 – 75F).
During this time, your mycelium completely colonizes your substrate and you’ll often end up with a solid white mat of mycelium on the outside of your substrate at the end of the process.
Stage 4: Fruiting The Mushrooms
You then place your substrate into fruiting conditions after the incubation period is complete.
This usually involves cutting open the bag that your substrate was stored in to expose them to fresh air. The substrate is misted with water throughout the day during this stage to keep it moist.
After a few days you’ll start to see pinheads (primordia) forming on your substrate. These will eventually grow into full-sized mushrooms.
Stage 5: Harvesting & Further Crops
The timing of your harvest will depend on the species that you’re growing.
Usually it simply involves gently pulling or twisting the mature mushroom caps away from the substrate that they’re growing on.
Some species of mushroom can be harvested and will grow back several times. Each wave of new mushrooms is referred to as a flush.
Once your substrate is exhausted of all its energy it stops producing mushrooms and can be turned into nice compost.
Of course, there’s a lot to learn and alot of things that can go wrong, so I’d recommend reading our guide to the top 12 mistakes that mushroom growers make to help you avoid a lot of the common pitfalls.
What Equipment Is Needed To Grow Mushrooms?
The list of equipment you need to grow mushrooms can potentially be as long as you can imagine. Even now after more than 15 years growing mushrooms I still find myself buying and wishing for new equipment!
At it’s most basic though you’ll need:
- A ready to fruit mushroom growing kit
- A water sprayer (to keep your mushroom humidified)
- Some woodchips or logs (if you’re making a mushroom bed or mushroom logs)
- Some mushroom spawn (if you’re making logs, beds or a simple grow bag of your own)
If you want to go a step more involved and make your own substrate and a proper fruiting chamber then you will need:
- mushroom grain spawn
- substrate materials (sawdust pellets, chopped straw etc)
- mushroom grow bags or buckets
- thermostat
- hygrometer or humidistat
- humidifier
- fruiting chamber (anything from a plastic box with holes up to a hydroponics tent or full sized grow room)
- plastic or metal shelving units
- led rope lights
- in line duct fan
- plug timers or wifi controllers to switch fans, lights, humidifier on/off
-> For a more complete list and further details, check out our Mushroom Growing Supplies List
What Environment Is Needed To Grow Mushrooms?
Mushrooms are very versatile and can be grown in all kinds of different environments and small areas.
Inside our mushroom growing course and community, we have students growing in all sorts of different spaces.
Basements, underground car parks, fridges, cupboards, greenhouses, under your bed…it’s all possible with a bit of modification to create the right conditions.
So what are the correct conditions for the indoor controlled cultivation of mushrooms?
Well it can vary a little from species to species, but generally speaking it looks like this:
Inoculation Phase
This is the space where you will introduce your spawn to your substrate
It requires clean working space to prepare and inoculate your substrate in.
It could be as simple as a utility room or garage, or a high tech laboratory, depending on your method.
Incubation Phase:
This stage generally requires a dark warm room with shelving or racks to hang bags from.
The temperature should be kept around 20 – 24C (68 – 75F).
Small scale growers can also create this environment just inside a plastic box or an existing cupboard in your house.
Fruiting Phase:
This stage is the most complicated to create as it involves providing the following conditions:
- Humidity: 85% – 95% RH (varies for each species)
- Fresh Air / Low Co2: 1000 ppm or less Co2 levels
- Light: 6500 – 9000K, 100-300 Lux at least 12 hours/day
- Temperature: 10 – 21C (50 – 70F) for most species
This can be achieved in many different ways – from the simplicity of a shotgun fruiting chamber or Martha Tent, right up to a fully automated climate controlled commercial farm with multiple different grow rooms.
-> Check out guide to building a fruiting chamber for more info
You can also take a look inside one of the simpler low tech mushroom farms we’ve built over the years to see what a small scale Oyster mushroom farm looks like:
Most Popular Types of Mushrooms To Grow
There are so many different types of mushrooms, and plenty of different options when it comes to growing edible mushrooms for yourself.
Some of the most popular mushrooms to grow include:
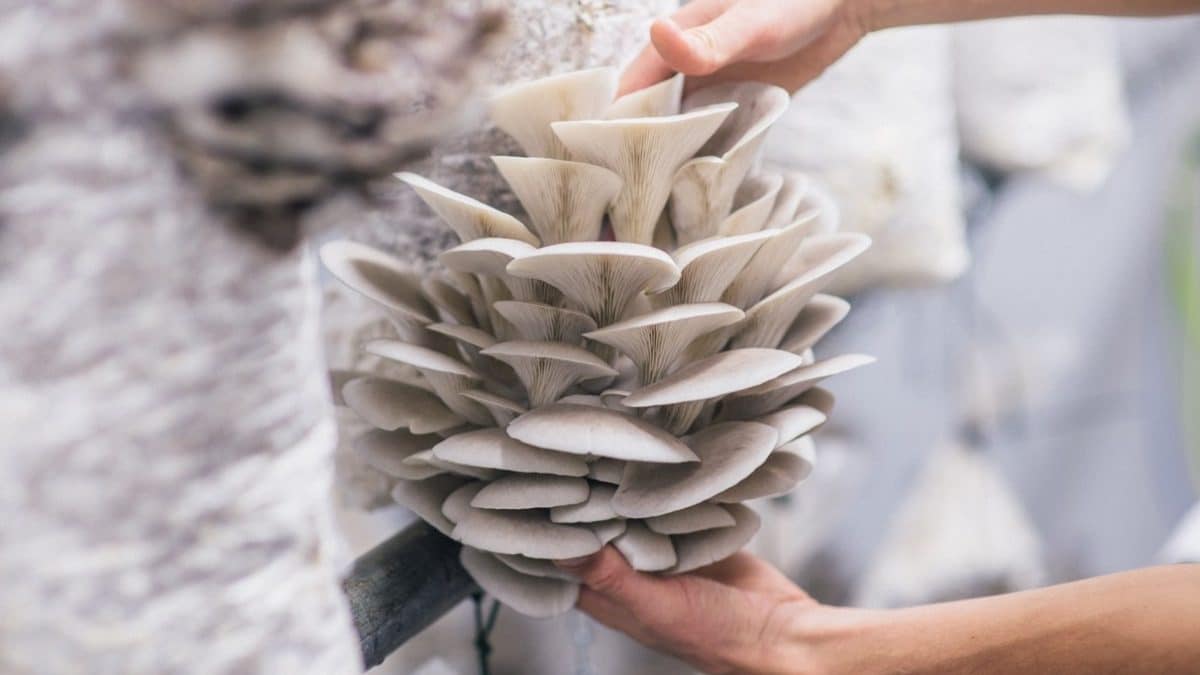
1) Oyster Mushrooms
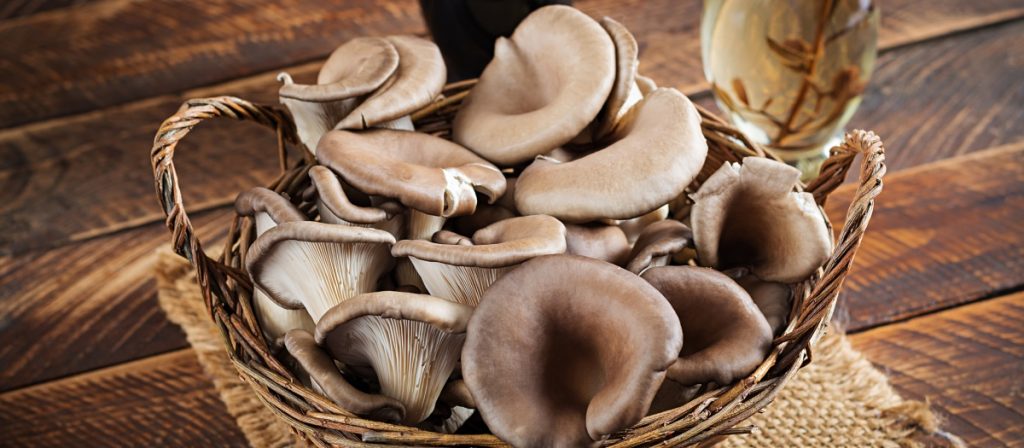
These are probably the most widely grown mushrooms by beginners.
Oysters mushrooms will grow on a variety of different substrates including straw, sawdust, coco coir and even cardboard or coffee grounds!
They are tolerant of a wide range of growing conditions and there are many different species you can choose to suit your climate.
-> Check out our Ultimate Guide To Growing Oyster Mushrooms
2) Lion’s Mane Mushroom
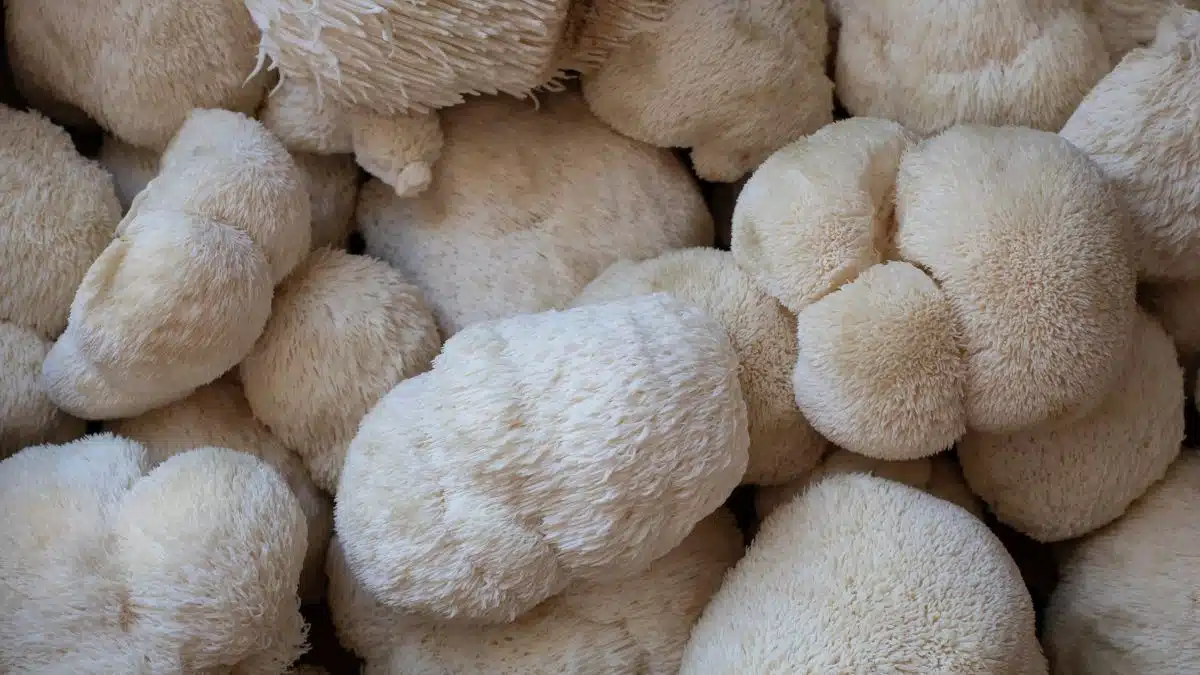
Lion’s Mane is one of the most popular mushrooms to grow, due to it’s delicious taste and medicinal health benefits
It also happens to be relatively easy to grow, with a fast colonization phase and quick fruiting cycle. You can grow Lion’s Mane on an enriched sawdust substrate or on logs.
-> Check out our Ultimate Guide To Growing Lion’s Mane Mushrooms
3) Shiitake Mushrooms
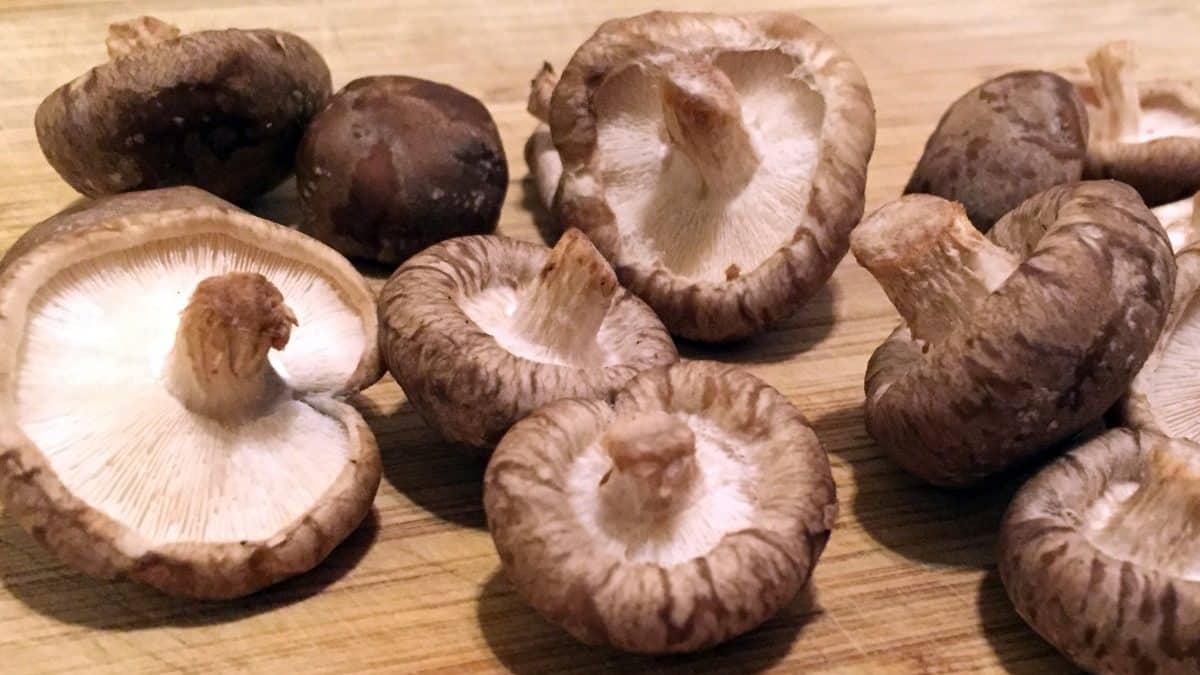
Shiitake mushrooms have a smoky, earthy flavor and a texture similar to portobellos.
In addition to being delicious, they also offer several health benefits including compounds that can help to lower cholesterol.
In stores, Shiitake are normally sold dried. But eating them fresh is a real treat.
Shiitakes are often grown outdoors on logs, but they are also increasingly common to grow indoors in a bag as well.
-> Check out our Ultimate Guide To Growing Shiitake Mushrooms
4) Enoki
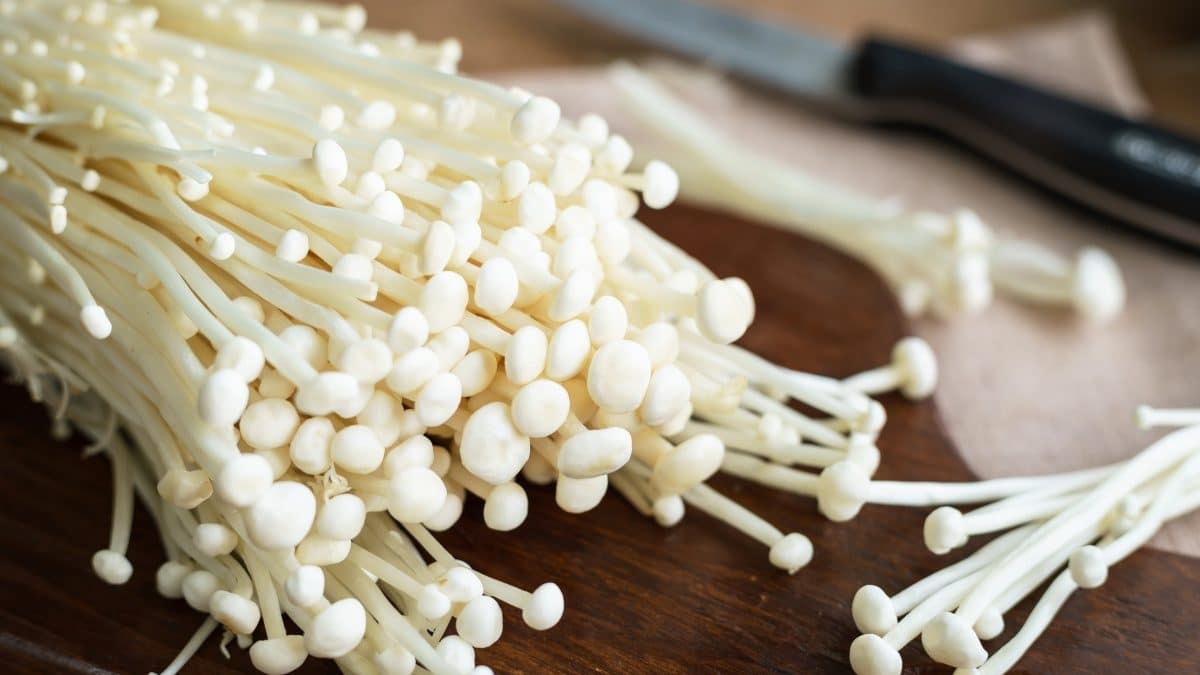
Enoki mushrooms are very small with long stems. They grow together in tight clumps. If it weren’t for their tiny caps, they would look almost like spaghetti!
Enoki are very compact so you can grow them without much space required. They’re a bit more complicated than other varieties to grow and are typically grown in jars or bottles.
-> Check out our Ultimate Guide To Enoki Mushrooms
5) Maitake (Hen of the Woods)
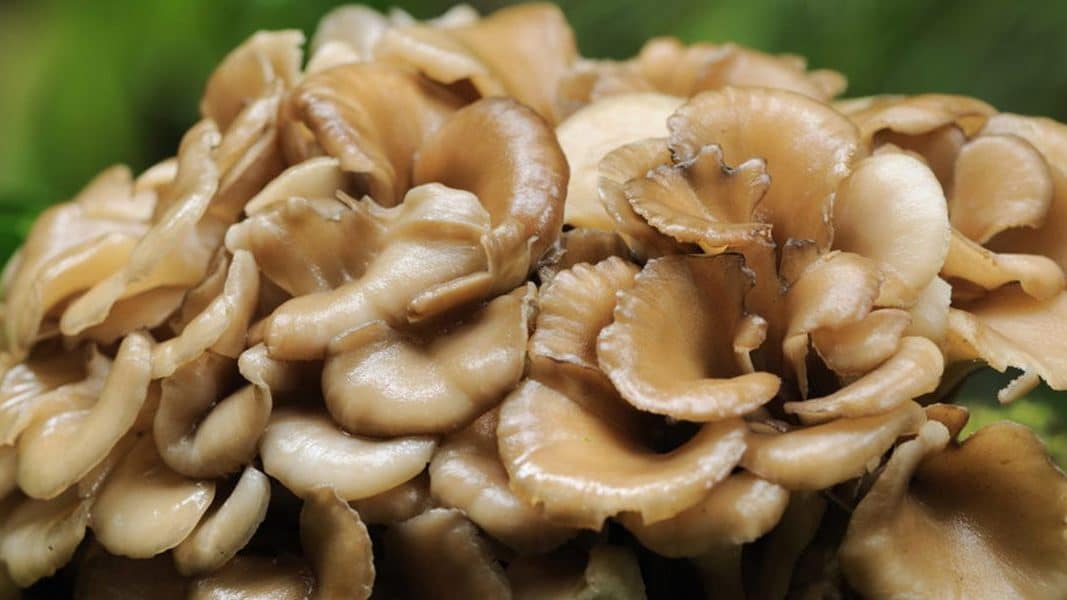
Maitake mushrooms are another variety that is both delicious and also has strong nutritional and health benefits.
Don’t be confused by this mushroom’s nickname “hen of the woods.” The name comes from its appearance which people say resembles the ruffled feathers of a hen, and doesn’t refer to its taste.
Maitake has a very strong, earthy taste and we’d recommend trying some to make sure you like it before you spend time growing it!
-> Check out our Ultimate Guide To Maitake Mushrooms
The Mushroom Growing Life Cycle
It’s important to understand the life cycle of a mushroom.
You’ll need this knowledge to have the insight necessary to cultivate your own mushrooms.
When most people think of mushrooms, they are only aware of the stem and the cap.
However, for a mushroom to form, it first needs one or more of its spores to germinate and begin to grow a healthy network of mycelium.
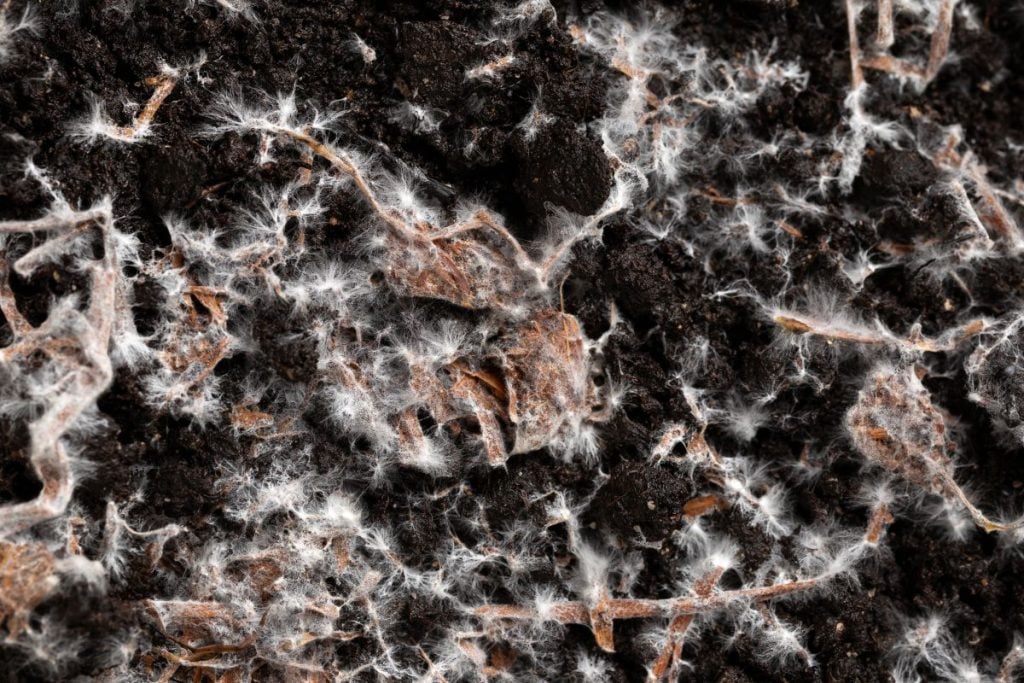
Mycelium is a network of cells that appear similar to a plant root system. It grows across a food source like sawdust, secreting enzymes that break down the nutrients so that it can absorb them into its cells.
Once a mycelial network becomes established and then gets exposed to fresh air and high humidity, it will switch into the fruiting phase.
Initially little baby mushrooms form, which then enlarge and mature so that spores can be released to start the whole cycle again.
How Do Mushrooms Grow In The Wild?
In nature, the life cycle of a mushroom both ends in one way and begins in another at the same time.
This all starts when a mature mushroom drops its spores. Spores are basically the fungi equivalent of seeds for a plant.
Spores fall to the ground and mix with other compatible spores. This starts the growth of mycelium.
Mycelium can either be a single organism or several different organisms working together as a colony.
After the mycelium has had a chance to grow, it will start producing pinheads. These are small bumps that will eventually become mushrooms.
But first they go through another stage called primordia, which look more like miniature baby mushrooms.
Eventually the primordia grow into full-sized mushrooms which then mature, drop their own spores, and the whole cycle begins again.
Conclusion
In this article I’ve provided you with a detailed overview of how to grow mushrooms.
I explained the differences between various methods, and walked you through an overview of the general mushroom cultivation technique.
I also touched on the lifecycle of a mushroom and how they grow in the wild to give you a broad context for how to successfully grow these amazing organisms.
There are many links within this article that will take you through each subtopic in greater detail and I highly recommend you taking the time to read up on each area that interests you.
We also have a thriving YouTube channel and online course community if you’d like to learn about how to set up and run a mushroom farm with us in more depth.
But don’t just read and watch videos – it’s important to put it into practice too… so go on – order a kit or some spawn and get growing!


