If you want to try growing your own mushrooms but don’t like the idea of doing it indoors, an outdoor mushroom bed is a great option worth considering.
How can you grow mushrooms outdoors? You can grow some species of mushrooms like the King Stropharia, oyster, shaggy mane, pioppino or elm mushroom outdoors in a mushroom bed. All you need is wood chips, a bag of spawn, and a place to grow where you can keep it consistently moist.
Many people ask me if they can grow mushrooms outdoors in their garden. Yes, you can! In this article, I’m going to show you a nice and easy way to do it with an outdoor mushroom bed.
It’s worth mentioning that you can also grow mushrooms in your garden on logs. We have a separate How To Grow Mushrooms On Logs guide if you’re interested in trying that as well.
How To Create An Outdoor Mushroom Bed
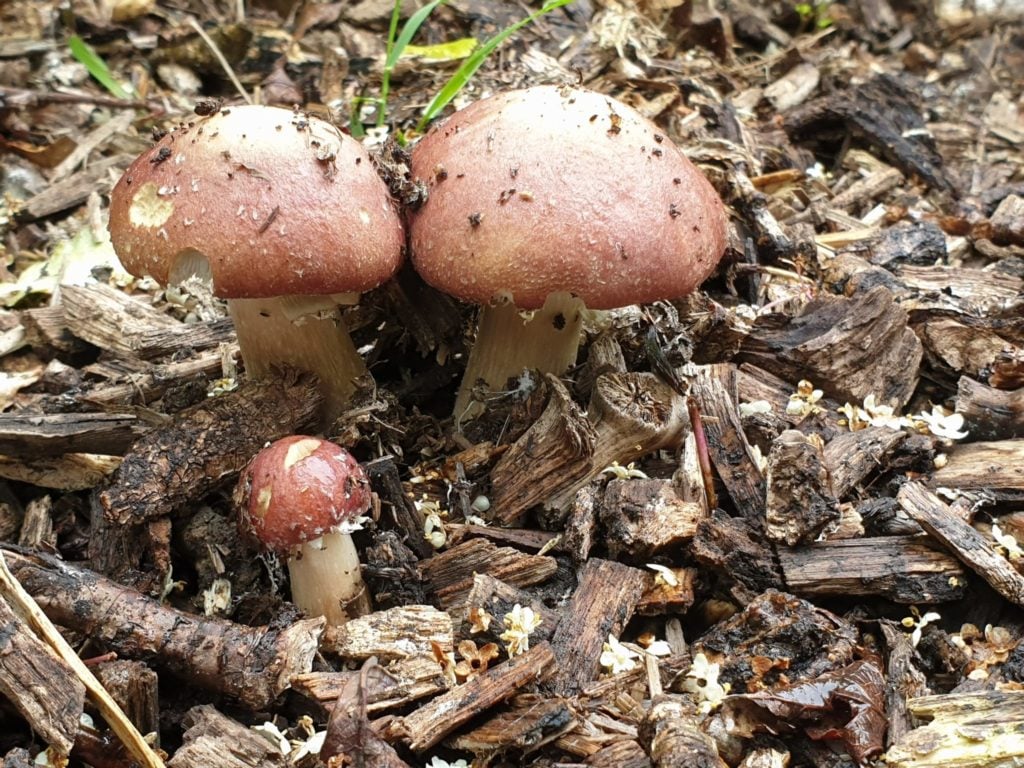
Today I’ll be focusing on how to grow the King Stropharia mushroom on wood chips outdoors. The King Stropharia is sometimes also known as the garden giant or wine cap.
It’s a lovely mushroom that grows really well on wood chip beds, so it’s excellent for beginners.
The King Stropharia is sometimes also known as the garden giant or wine cap. It’s a lovely mushroom that grows really well on wood chip beds, so it’s excellent for beginners.
1. Find A Place To Set Up Your Bed

We wanted to give our mushrooms a designated place to grow. So we started off by creating a raised garden bed, and then lined it with cardboard.
The cardboard will help keep in some moisture below everything, and also helps to suppress any weeds in the soil below.
You can do it in a raised bed, or find a spot underneath a tree or bushes that you have in your garden. People will also sometimes do it underneath where they’ve got plants growing.
The mycelium can actually have beneficial effects on the plant’s roots and boost their growth if done correctly.
It doesn’t really matter too much where or how you choose to set up your mushroom bed. The basic idea is that you need an area that you can fill with wood chips and where you can let the mushrooms grow.
Ideally, it should be somewhere that they aren’t going to dry out too easily.
2. Start Layering Your Bed With Wood Chips and Mushroom Spawn
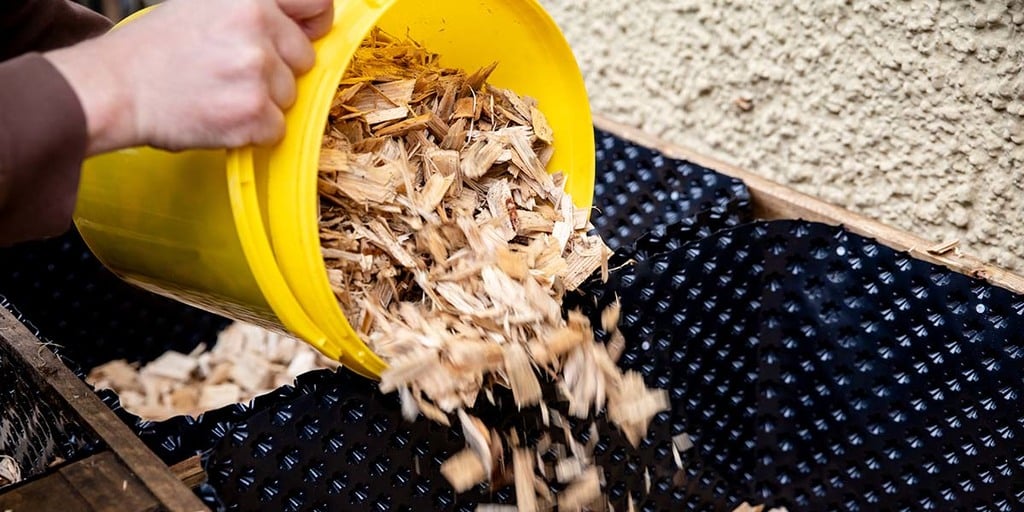
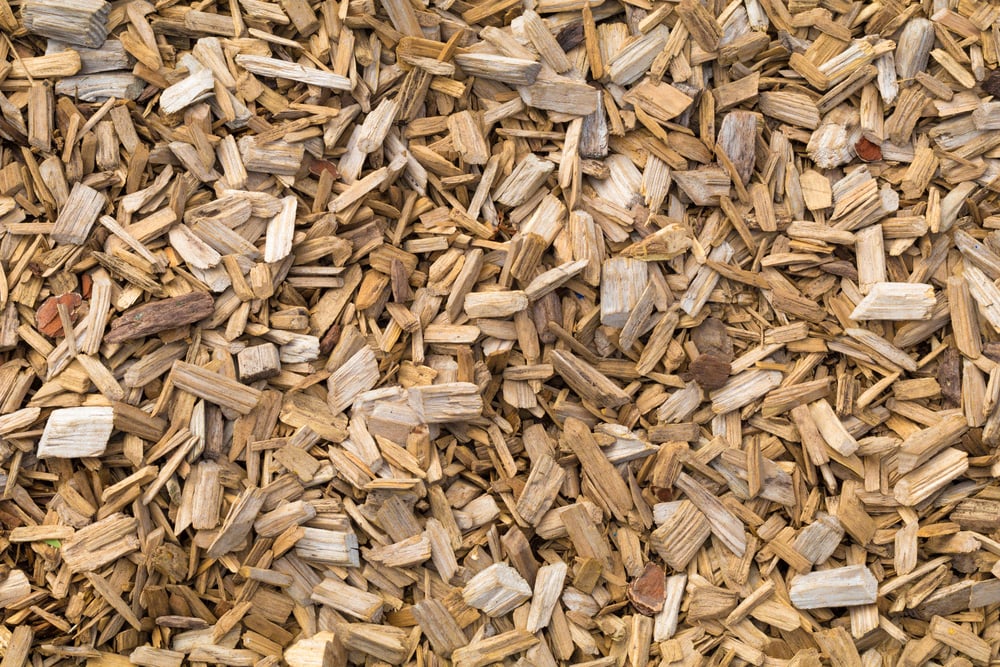
You want to start off your mushroom bed by creating a first layer of wood chips on top of the cardboard that you have set down.
You can use all kinds of shredded wood chips or garden mulch for this. Although avoid using any type of wood chips that have been treated with chemicals.
On top of your first layer of wood chips, you’re going to start creating alternating layers of mushroom spawn and wood chips, almost like a lasagna.
Put down about half of your mushroom spawn on top of your first layer of wood chips.
We used about 3 kilograms of King Stropharia spawn for an area of about four meters squared.
Then another layer of wood chips on top of your mushroom spawn. You want to sandwich the spawn between layers of wood chips.
The spawn will continue to grow over the coming months and it will use the wood chips as its food to then produce the mushrooms.
Follow up your second layer of wood chips with another layer of spawn. Be sure during this whole process to spread each layer out evenly across the entire surface of the bed.
Add a third layer of wood chips on top of your mushroom spawn and spread it all around nicely over the entire bed. Now you’re done with the wood chip and mushroom spawn part of the process.
- Read my guide of How to grow your own DIY mushroom spawn here.
3. Cover The Entire Bed In Straw
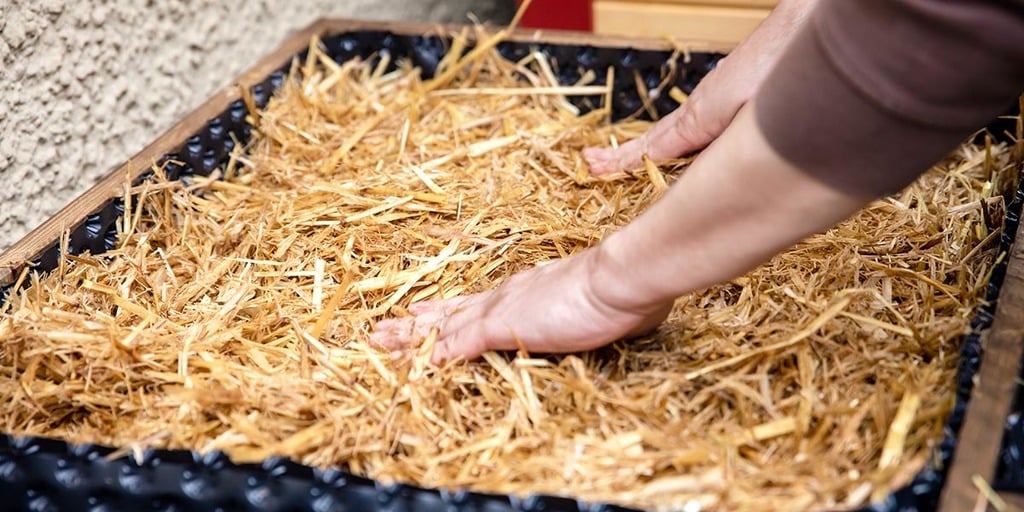
After you’ve used up all of your wood chips and mushroom spawn, you’re going to top the whole thing off with a thick layer of straw. The idea of the straw is to act a little bit like a mulch.
It’s going to stop the bed underneath from drying out too much, and it also helps to conserve any rainfall or water that falls onto it. It will also provide a little bit of warmth and insulation during the colder months.
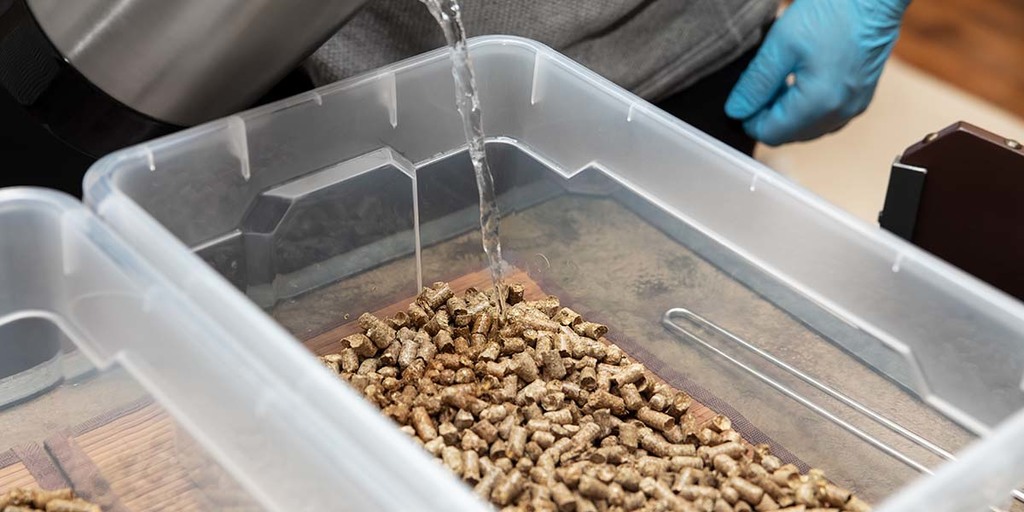
Now that we’ve got the straw layer finished, it’s time to give the entire bed a really good soaking with water. We want to make sure it’s got plenty of moisture in there for the first few weeks of growth.
We’re going to keep watering it over the weeks and months to come, so make sure that you set your bed up in a location that you can easily reach with a garden hose.
The biggest thing that can go wrong with your mushroom bed at any point during the process is that it could dry out.
So the main thing we need to do is make sure that it always has enough moisture so the mushroom mycelium underneath the wood chips can grow and feed.
To help with that, I also like to top the bed with a layer of shade netting. Underneath a big tree this isn’t as necessary. But since I chose to put my bed out in an exposed area, I added shade cloth to provide lots of extra shade.
This will also help prevent any super determined weeds that could potentially still manage grow through the straw.
4. Maintaining Your Mushroom Bed
Now your mushroom bed is complete. From here on in, soak the bed with water it at least once a week. Obviously, if it’s raining you don’t need to do that.
But just keep an eye on it, and water it regularly so that it doesn’t dry out.
For our bed, we left it for two months before we dug back into it to see how it was doing. After two months, you could see significant signs of life already.
You should be able to see white filaments of life growing through the entire bed. That’s the mycelium of the spawn that’s come alive and is eating its way through the wood chips and straw.
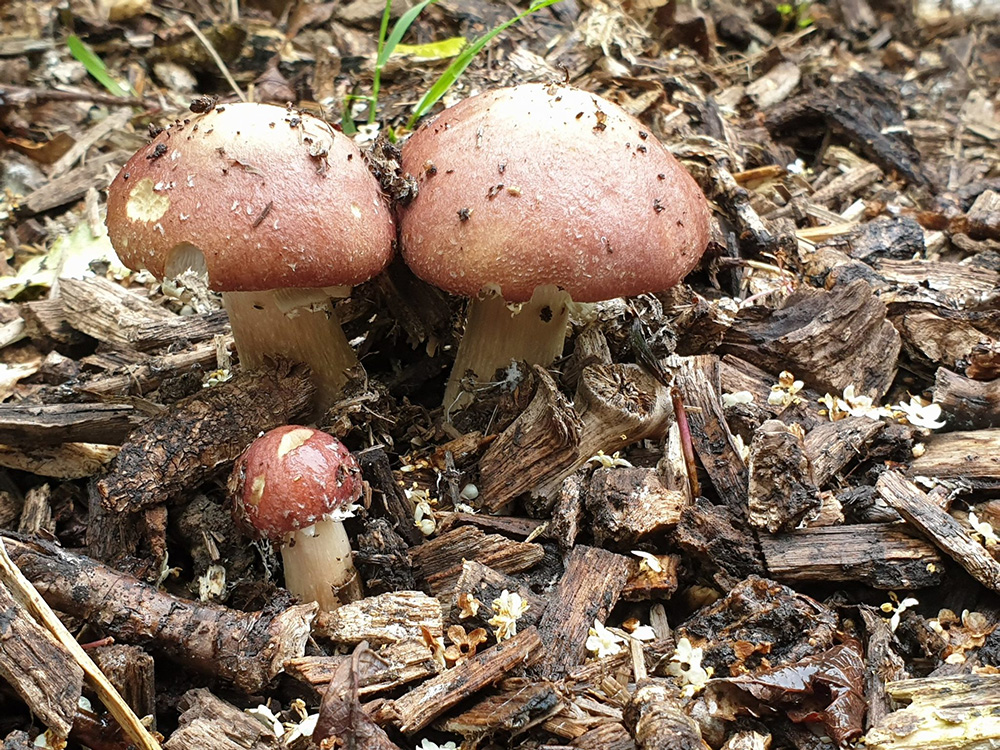
Six months after planting, we began to see the mushrooms appear. We planted in March and began to see mushrooms in September.
5. Harvesting Your Mushrooms
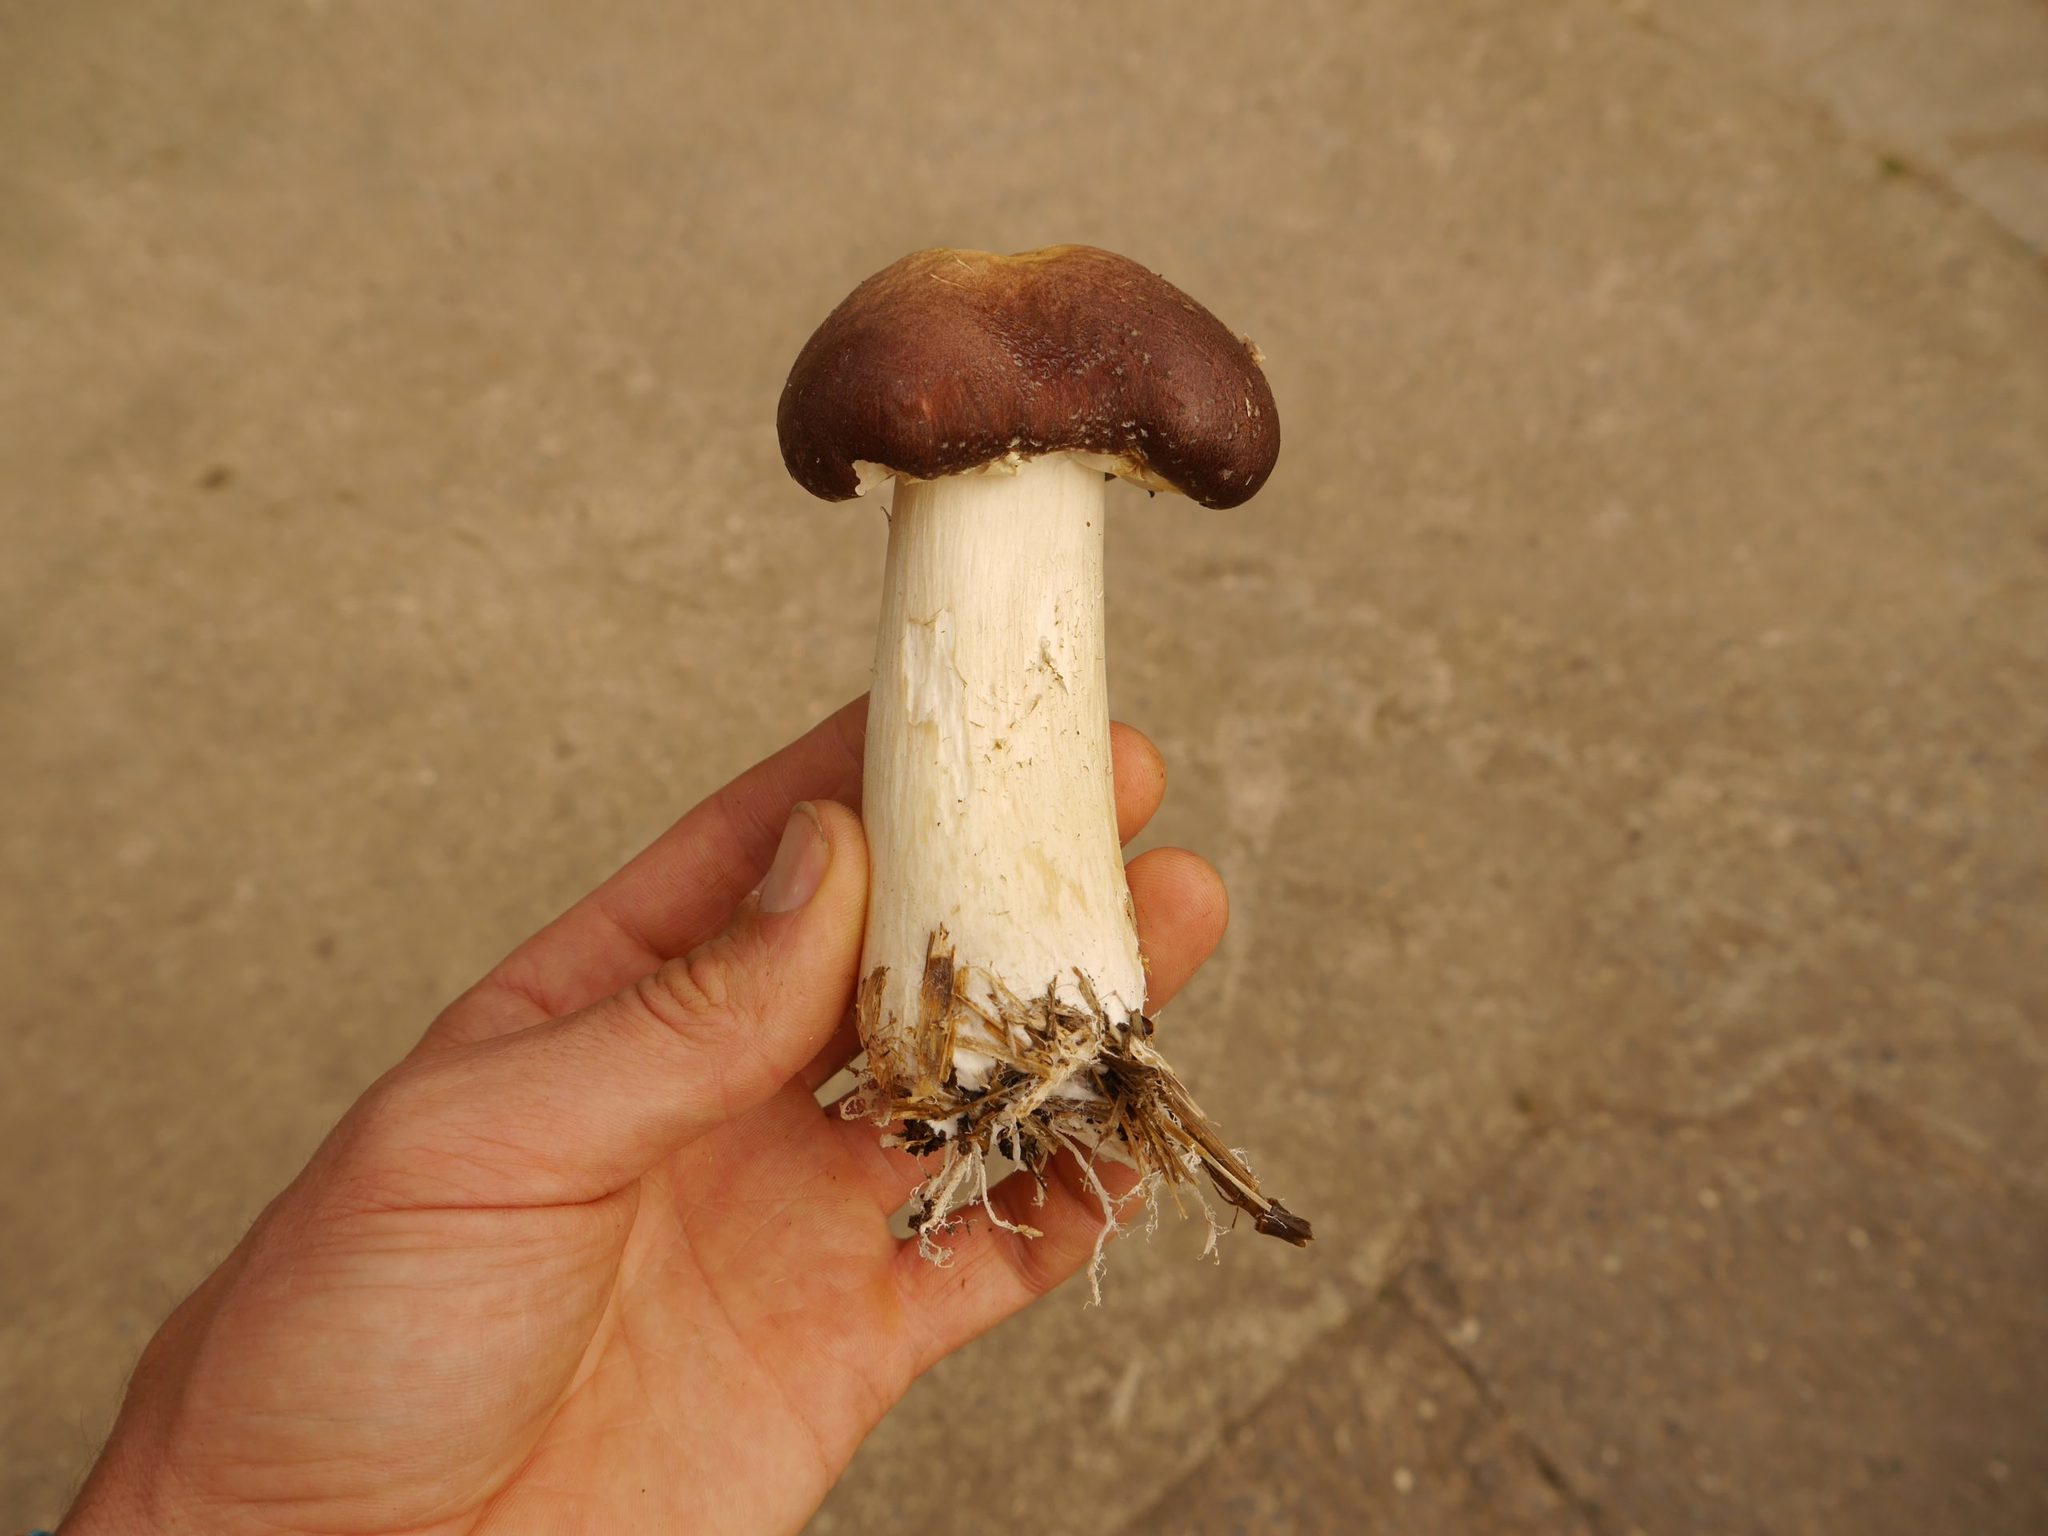
The one thing you want to make sure with garden giants is to harvest them before they get too big.
Once the cap opens up too wide, you’ll find it starts to disintegrate quite quickly, and all sorts of bugs and insects like to get in there.
We were there to pick them just about on time. If you get them nice and young, these mushrooms are absolutely delicious.
You can cook them up and enjoy them the same way you would many other types of mushrooms.
6. Identify Your Mushrooms Before Eating

Before you eat the mushrooms in your garden, do go ahead and identify them first. Make sure you’ve got the right variety that you’ve grown.
If you’re growing King Stropharia mushrooms, they should have distinct reddish caps that are difficult to confuse with most other types of mushrooms.
I would avoid growing Agaricus mushrooms (button mushrooms, cremini, portobello) in your mushroom bed. The reason for this is that they’re easily confused with several poisonous species of amanita mushroom.
While it’s unlikely, a rogue wild mushroom could pop up in your mushroom bed and end up on your plate by accident if it looks like the variety that you’re growing.
Button mushrooms are plentiful and cheap in most grocery stores. So it’s not really worth the risk of trying to grow them at home.
Stick to the more exotic varieties that you can’t find in stores to get the most out of your mushroom bed.
- Read my guide of how to identify edible mushrooms from toadstool here.
7. Annual Feeding
To keep a mushroom bed like this going, you basically just need to feed it with a fresh new layer of wood chips every year, and you should continue to get mushrooms for years to come.
You don’t need to worry about going through the entire lasagna layering process again.
Just pour on enough wood chips to cover the entire bed, and then rake the bed thoroughly to get the fresh wood chips mixed in with the established mycelium.
If you want to grow mushrooms for business or make your own mushroom farm, read these guides:
- 5 Things I Wish I Knew Before I Started Growing Mushrooms For A Living
- How To Set Up A Low Tech Mushroom Farm
- Growing Mushrooms In Coffee Grounds
Troubleshooting Mushrooms Beds That Aren’t Growing
There could be a bunch of reasons why your mushrooms might not be growing the way that you want. Here are some of the big things that you should look for.
1) It Got Contaminated
The world is full of a surprising amount of little critters. In any given sample of dirt or air, there’s likely multiple different types of bacteria, mold, and yeast.
When you grow mushrooms outdoor in a bed, you give up all the sterility and control over your environment that you’d get from an indoor grow.
It’s just a risk you take when growing mushrooms outdoors. You hope that your mycelium will take hold and out-compete anything else that might try to claim the same area.
2) Not Enough Moisture
Mushroom spawn needs high humidity levels and lots of moisture to grow. You should always keep your bed slightly damp, and mist it with water whenever it starts to dry out.
Pay close attention and check on your beds at least every couple of days. You can touch the wood chips with your hands to see if they still feel damp or not.
3) Too Much Moisture
Too Much Moisture on the other side of the equation, people sometimes become so worried about their mushrooms drying out that they water too much. Too much moisture can lead to mold.
Be sure that you have adequate drainage in your mushroom bed too. You never want standing water.
Before you create your mushroom bed, take how water flows off your property into account, and especially don’t build anywhere that’s prone to water pooling.
4) Not Enough Air Exchange
This can be a common cause for mushroom projects to fail indoors. But outdoors it’s not usually an issue. Just make sure your mushroom bed has access to lots of fresh air.
You might not want to place it in a tight courtyard between buildings where there’s no breeze at all, for example.
5) You Got Bad Spawn
Mushroom spawn is a living thing, and it can die on the way from your supplier to you. Or your mushroom spawn itself may be contaminated before it ever reaches you.
Only buy from reputable companies that have a low shipping time. Once your mushroom spawn does get delivered, try to get it into your bed as soon as possible.
If you have to wait until the weekend to get to it, that’s okay. But don’t leave it sitting for weeks at a time or it will start to weaken and possibly develop contamination.
If you don’t think you’ll be able to get it outside for more than a week, put it into your refrigerator to extend it’s life a bit.
6) Wrong Growing Environment
Mushrooms that thrive in tropical environments won’t grow as well in cooler climates. Likewise, mushrooms from cooler climates might struggle in the heat.King Stropharia, oyster mushrooms, and elm mushrooms grow well for us in the UK. And we know they grow well in similar climates in most of Europe and North America.
But if you’re in Australia, Africa, or South America, you might want to look for species that are more native to your region.
All mushrooms all have their favorite foods. Don’t try to grow wood-loving mushrooms in the dirt, or vice versa. Research your particular species in advance to see where it thrives.
7. You Aren’t Being Patient Enough
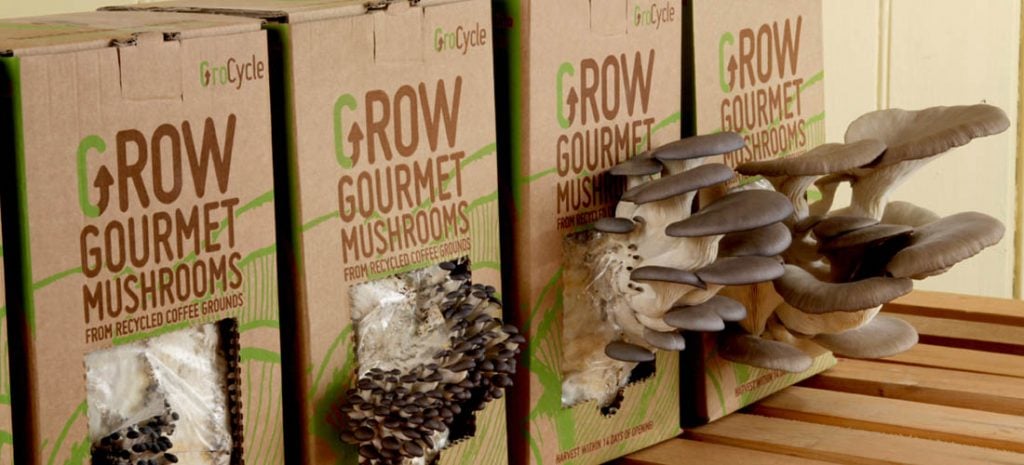
While oyster mushrooms will grow from our kits to full size in just 14 days, you can’t expect that from a brand new mushroom bed.
There’s a lot that goes on behind the scenes to make our kits ready to fruit as soon as they’re opened. You’ll have to wait while a bunch of those steps take place in your new mushroom bed.
Mycelium takes some to colonize a substrate and start producing mushrooms. Expect that it will take around six months until your mushroom bed starts to produce its first mushrooms.
Depending on what season you plant them in, it might take a full year. So be patient, and don’t expect a thick flush of mushrooms within the first couple of months after your bed is made.
Related Questions
Q: If mushrooms can grow outdoors in beds like this, why do people worry so much about sterilization, etc?
A: Our point exactly! We think the emphasis on sterilization is a bit overblown, especially for aggressive species like oyster mushrooms.
If you just give them the basics of what they need to grow, you’ll be surprised at what kind of success you can have.
But if course, you won’t get yields of mushrooms as large or consistent as growing indoors in controlled conditions either.
Q: How many pounds of mushrooms can you expect to harvest weekly growing in a raised bed of the size you used (4 meters squared?)
A: Mushroom beds like this don’t tend to produce a crop each week. It’s more sporadic, occurring usually in later summer or autumn after rain.
We harvested around 1kg of King Stropharia mushrooms from our bed last autumn. Growing mushrooms outdoors, you trade off some of the more intensive labor for lower yields.
Q: When does the shade cloth come off the mushroom bed?
A: Good question! We only took our shade netting off when we saw mushrooms starting to come up.
In late summer, we started to checked under the shade cloth a couple of times per week. We took it off and watered the bed regularly when we saw them starting to grow.
Q: How do you stop pests from destroying your mushroom crops in outdoor beds?
A: It’s difficult to stop pests when growing outside. Slugs, worms, and even larger animals like birds and squirrels all seem to love mushrooms just as much as we do.
We don’t advise using any kind of pesticides on your mushrooms, as they can get absorbed into the fungi. The best thing is to is just harvest early on before the cap opens up.
Q: Will mycelium die over the winter, or will it stay dormant and repopulate naturally when the weather warms up again? Is there a temperature range that you think would be possible?
A: Yes, mycelium just stays dormant in colder temperatures and starts growing again when it warms up. It can survive the winter even in colder climates with no issues.
The ideal temperatures for mycelium growth to occur are between 10 C and 30 C.
If you still have questions about mushrooms, read my articles below to find answers:
Conclusion
As you can see, using wood chips is a really simple method of growing mushrooms at home in a garden bed. All you need is the wood chips, the mushroom spawn, and a place to do it.
Plus a way to make sure the bed doesn’t dry out. Then you just let the mycelium do most of the work. It just wants to feed off the wood chips, so just give it the right conditions and it will do so.
You can do this same method with a few other varieties of mushrooms like oysters mushrooms and elm mushrooms. Have a look on the internet for some spawn, get some wood chips, and give it a go.
Hopefully, I’ve inspired you to try growing some mushrooms at home!


