To consistently produce high-quality mushrooms, growers must create a mushroom fruiting chamber and provide the ideal conditions for them to grow.
How do you build a mushroom fruiting chamber? You’ll need to create a space with the right humidity and CO2 levels, temperature and lighting that mushrooms prefer. To accomplish this, mushroom fruiting chambers use fans, humidifiers, heaters and walls that can retain moisture.
By the end of this article you’ll know what a mushroom fruiting chamber is. We’ll explain how to construct and use one. You’ll learn what conditions are ideal for fruiting mushrooms and common problems that growers may run into.
What is a Mushroom Fruiting Chamber and What is Its Purpose?
A mushroom fruiting chamber is an enclosed space that growers use to mimic the conditions and environment that different species of mushrooms would normally grow in — which helps the mushrooms grow successfully.
A fruiting chamber creates certain conditions for fungi that will naturally cause them to start producing mushrooms from mycelium.
Different mushrooms have different requirements. So your mushroom fruiting chamber design and its characteristics will vary depending on what kind of mushroom you’re trying to grow.
Types of Mushroom Fruiting Chambers
Monotub
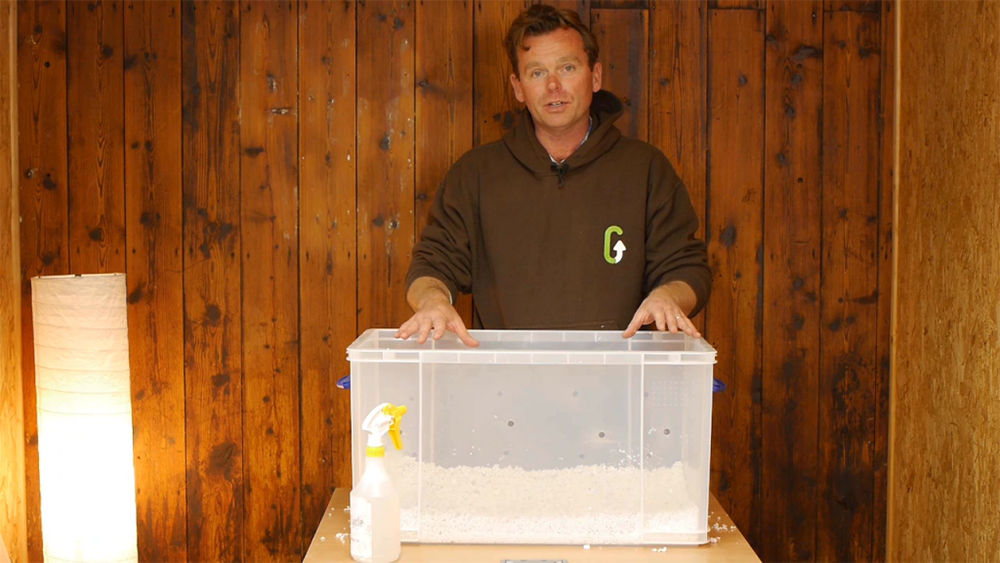
For small-scale growers, one of the most common types of mushroom fruiting chambers is called a monotub. This is where a large plastic container is partially filled with substrate and has holes drilled in the sides for ventilation. It’s a fairly simple “set it and forget it” chamber for beginners.
However the small size of a monotub isn’t practical for commercial growers or anyone growing mushrooms on a large scale.
Shotgun Fruiting Chamber
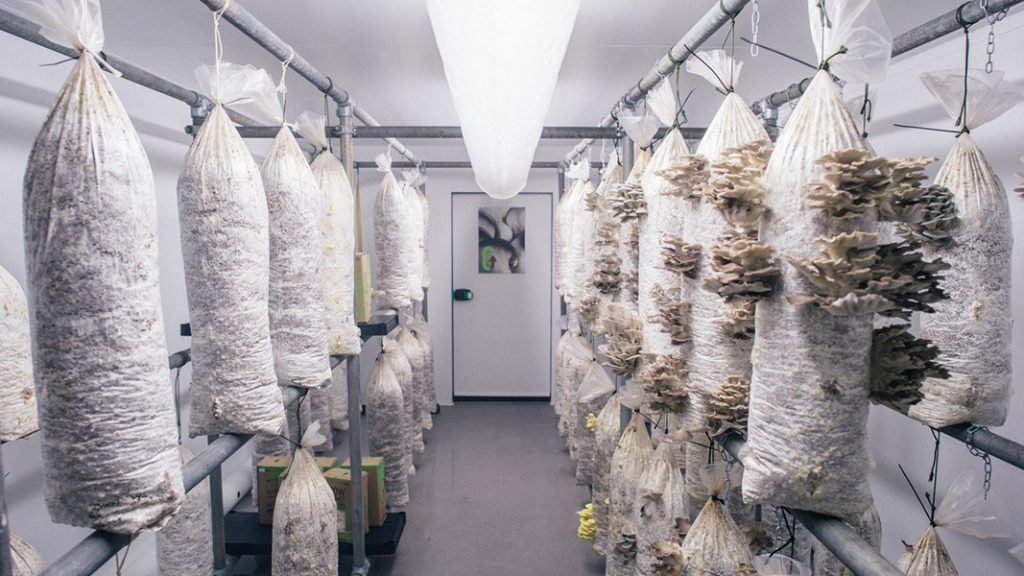
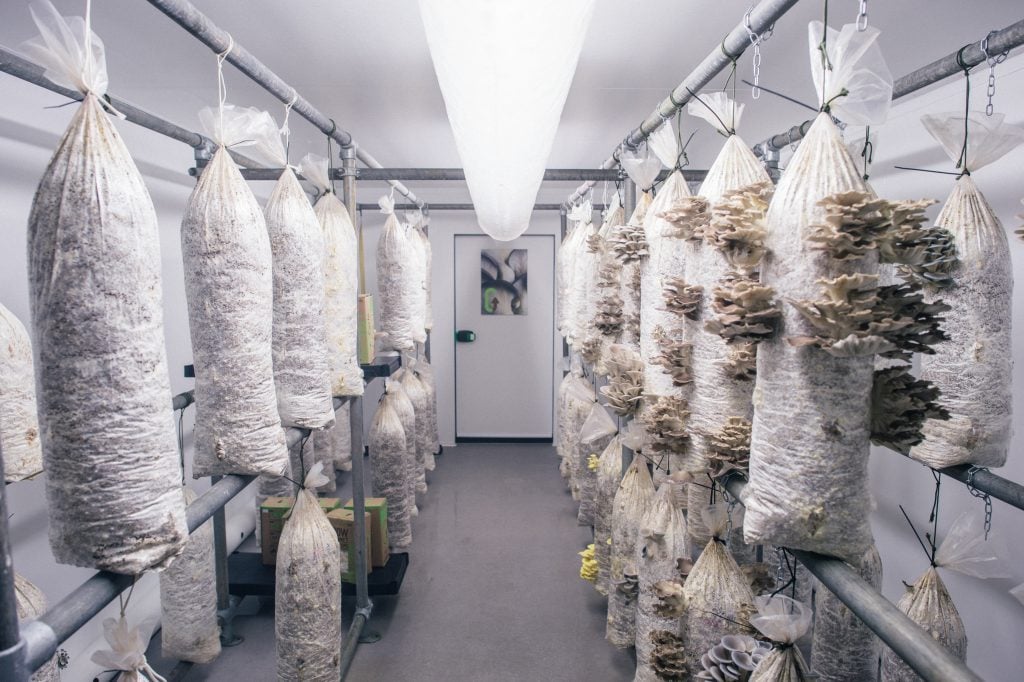
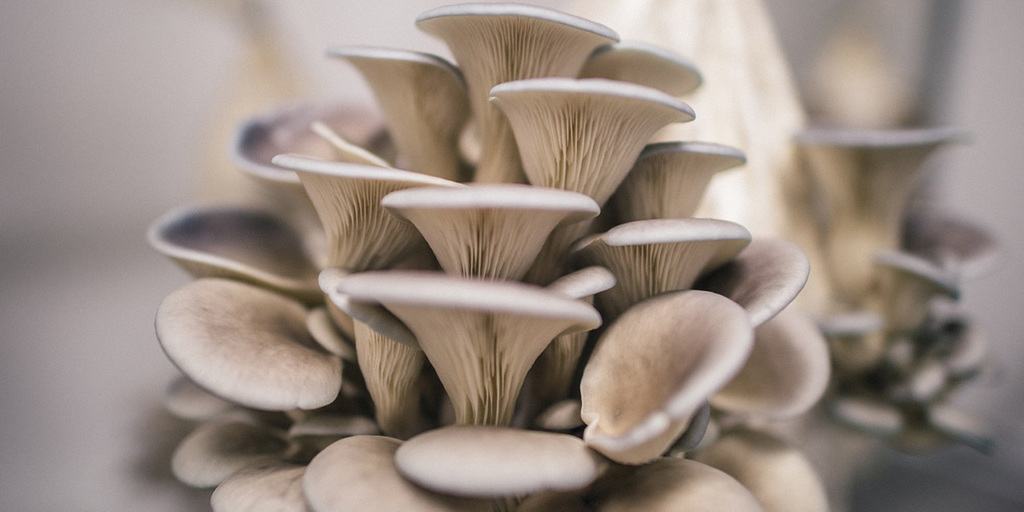
A shotgun fruiting chamber is very similar to a montub in that it’s also a large plastic container. However, a shotgun fruiting chamber is the preferable choice if you’re growing mushrooms that grow out of a bag, like oyster mushrooms or shiitake mushrooms.
For this method, you’ll fill the bottom of your chamber with Perlite and place the growing bags on top of it.
Martha Fruiting Chamber
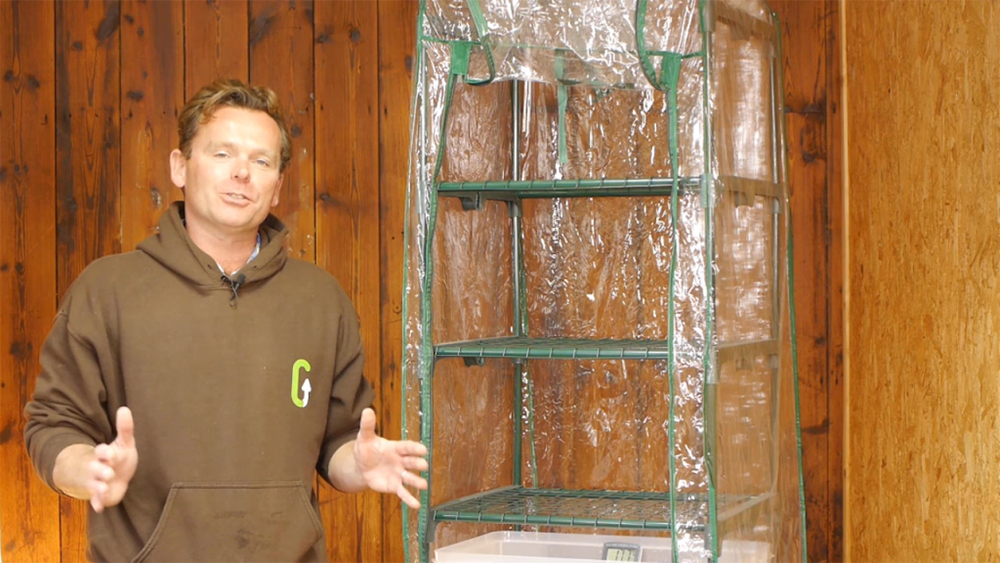
A Martha grow tent is composed of a set of shelves covered with plastic sheeting, and like the monotub, it’s only a good option if you want to grow mushrooms on a small scale.
Hydroponics Tent
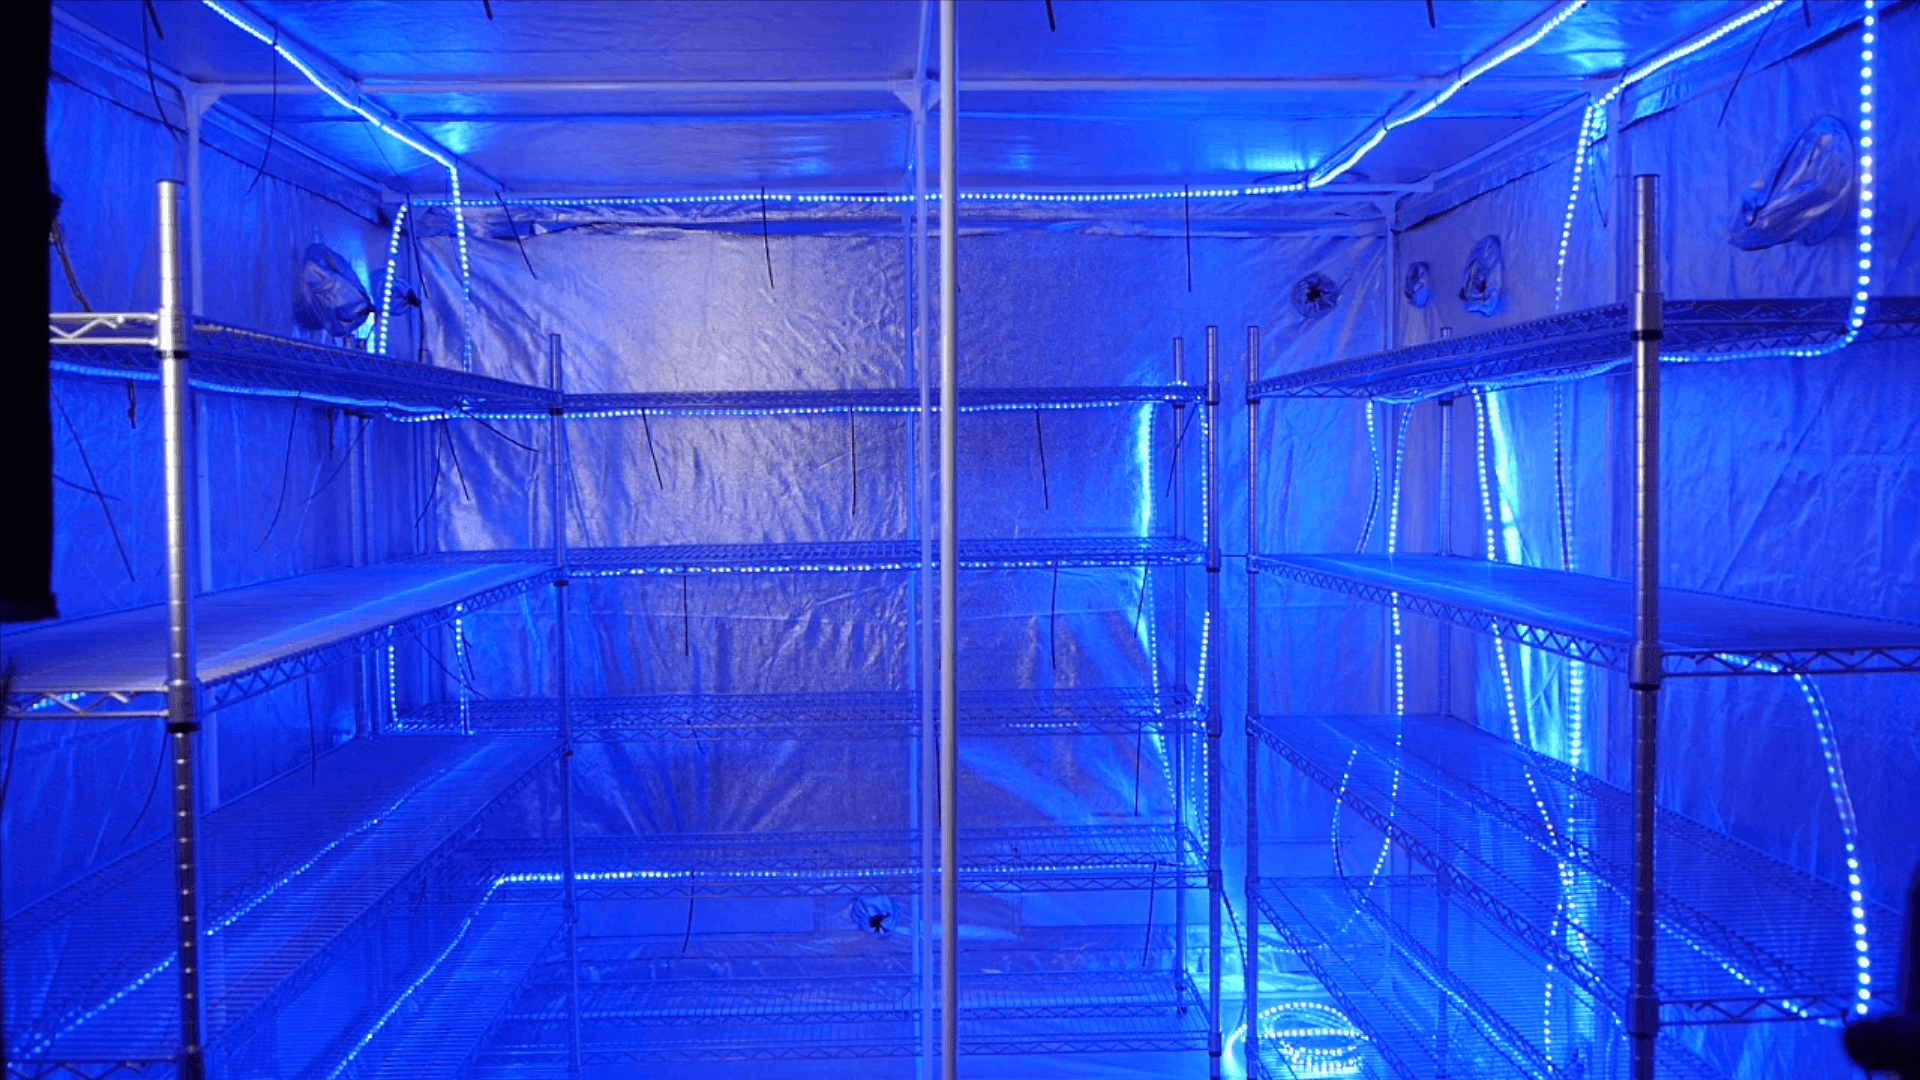
The hydroponics tent is a great option for people who are just getting started and want to grow mushrooms at a larger scale than they would be able to with a monotub or Martha fruiting chamber.
Wood Frame with Plastic Sheeting
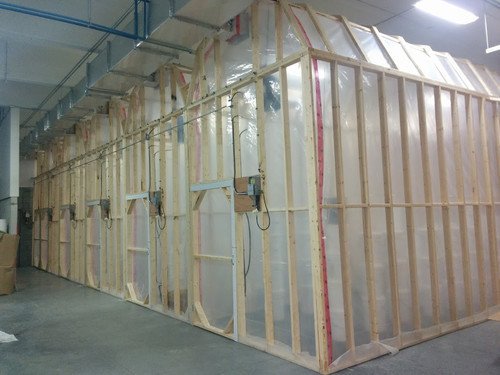
You can create a wooden stud frame and cover it in plastic sheeting, like Blanc de Gris Mushroom Farm did in Montreal. If yo do choose this method, keep in mind that plastic sheeting is harder to clean than rigid walls.
Fridge Panel Grow Room
You can build an insulated fridge panel fruiting chamber, like we did at our urban mushroom farm.
Shipping Container Grow Room
You can even recycle refrigeration shipping containers into excellent fruiting rooms. Watch the above video for more.
Most commercial mushroom fruiting chambers are created from tents, trailers, or even entire rooms. A mushroom fruiting chamber doesn’t necessarily need to be high-tech.
No matter what scale or size you’re working with, you’ll want your fruiting chamber to be a clean, controlled area. It doesn’t need to be sterile, but you should design it to be easy to clean. It will need to be cleaned regularly to minimize the amount of contaminants like mold. If you’re planning to sell your mushrooms, you’ll need to ensure they don’t get contaminated with other types of bacteria or fungi.
Mushroom fruiting chambers are also very wet places with high humidity. Setting up your chamber on a concrete floor with a drain nearby is highly recommended. The damp will ruin wood, drywall, carpet and most other common building materials over time.
You’ll also need some way to exhaust air out of the fruiting chamber and bring in fresh air.
Don’t want to create a mushroom fruiting chamber? See our articles How To Grow Mushrooms Outdoors With A Mushroom Bed and How To Grow Mushrooms On Logs: The Ultimate Guide for some outdoor alternatives.
Mushroom Fruiting Chamber Growing Conditions
There are four main parameters that you’ll want to control in your mushroom fruiting chamber to produce consistent mushroom fruiting.
- Low CO2 Content
While mushroom spawn is establishing itself in a substrate, it needs high CO2 (carbon dioxide) content. That’s why we pack it into airtight bags and containers, along with helping to keep out contamination.
See our article How To Grow Your Own DIY Mushroom Spawn to learn how to create your own spawn.
However once it’s time for mushrooms to fruit, they need lower CO2 content in the air.
Mushrooms breathe in oxygen and breathe out carbon dioxide. So in that way, they’re actually closer to animals than plants!
We recommend keeping your CO2 levels below 800 ppm (parts per million.) You can measure CO2 levels with a relatively inexpensive meter.
- Humidity
Mushrooms like to grow in a wet environment. They can grow all year round. However in nature, most mushrooms grow on cool wet days in the autumn. They often start their lives under piles of damp leaves.
Mushrooms are made of 92% water. We want to create a hospitable environment for them to grow. Keeping the humidity above 80% in your fruiting chamber is recommended. This will help prevent mushrooms from drying out.
- Lighting
Mushrooms need some level of lighting as an indication that it’s time for them to grow. While mushrooms don’t use photosynthesis like plants do, they do grow toward the sun in nature.
However you will need to find the right balance. A little bit of light is all that your mushrooms will need. If the lights are too harsh, they can dry mushrooms out or stunt their growth.
In our mushroom fruiting chambers, we like to provide just enough light to see what we’re doing, as well as to read and write notes.
- Temperature
Just like plants and animals, fungi have a specific temperature range where they will thrive.
Mushrooms like a fairly cool temperature. Again, we are trying to mimic their natural environment on a cloudy autumn day.
Mushroom fruiting chamber temperature requirements will vary a bit between different species. However between 60 and 65 F (15.5 C and 18 C) is a safe range.
Some types of mushrooms like oysters or shiitake are particularly hearty and can grow in most temperatures. We have seen them successfully fruit on days when it’s snowing outside and in summer heat as high as 86F (30 C.) So if your fruiting chamber is a bit warmer than the range recommended above, your mushrooms will probably grow fine. However if you experience problems, you may want to troubleshoot by lowering the temperature.
Warmer temperatures help mushrooms to grow quickly, but also increases the risk of contaminants. In colder temperatures, we find mushrooms grow a bit slower but produce larger mushrooms overall.
How Long Does It Take for Mushrooms to Fruit?
The entire process of growing mushrooms, from adding spawn to a growing medium until harvest, takes approximately a month.
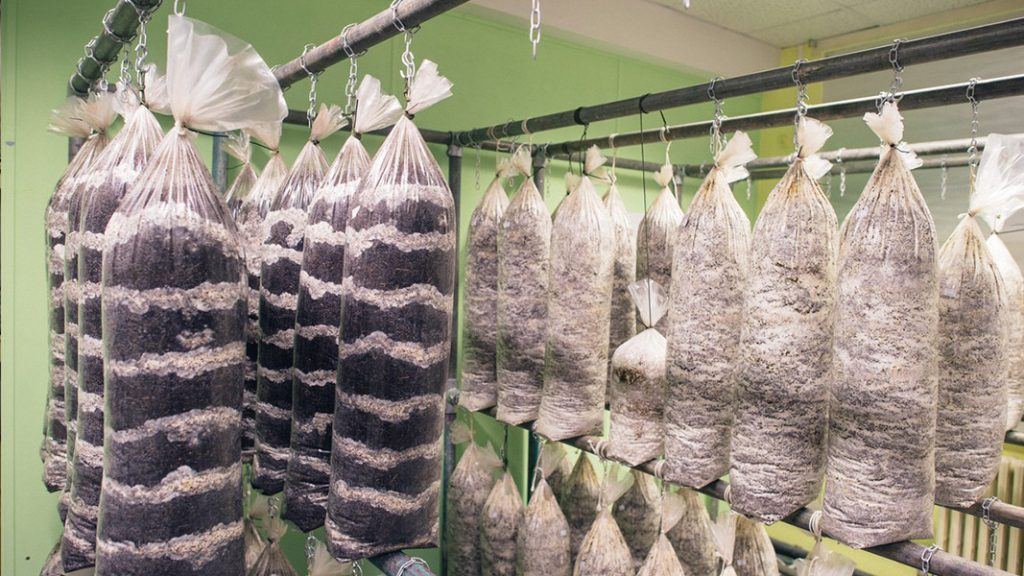
The colonization stage takes about two weeks for the mycelium to fully spread through the growing medium. This is the stage that occurs at high temperature, high humidity and high CO2 content levels.
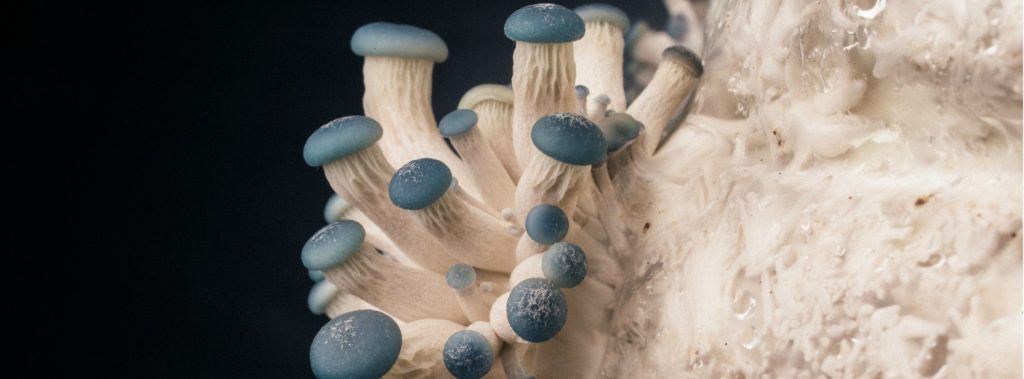
You’ll know your mushroom spawn is fully colonized when the surface is completely covered in fluffy white mycelium.
Once your mushroom bag is fully colonized, then it’s time to introduce it to your mushroom fruiting chamber so that it can fruit. A dramatic reduction in CO2 content by opening or cutting holes in the bags will help to shock the mycelium into fruiting and give the mushrooms somewhere to grow out of.
Once your mushroom bags are in the fruiting chamber, you may start to notice pinning in as little as two or three days.
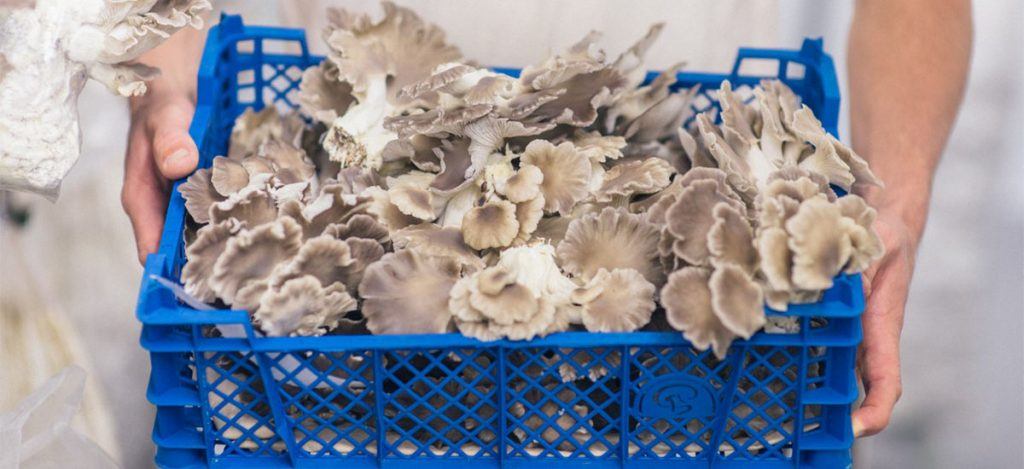
Oyster mushrooms and lions mane mushrooms will be fully grown and ready to harvest in about 14 days.
Other species like shiitakes can take six weeks or longer to fruit.
After your first harvest, mushrooms will continue to fruit two or three more times before the nutrients in the substrate are completely depleted. You can expect a new flush of mushrooms after another 10 days or so. However, the yield from each subsequent flush will be lower than the first.
List of Materials Needed To Create a Fruiting Chamber
If you only want to grow a small amount of mushrooms for you and your family at home, you may want to try the monotub or Martha fruiting chamber method. In this article, we’ll be focusing on how to grow mushrooms at a larger scale using a hydroponics tent. Here’s what you’ll need to get started:
- An empty room in which to position your hydroponics tent
- A hydroponics tent
- Plastic or wire shelving to hold bags of spawn
- LED light strips
- Fans for ventilation
Building a Mushroom Fruiting Chamber (Step by Step Instructions)
Step 1: Decide on Your Design and Size
Before you can start building a mushroom fruiting chamber, first you need to decide on a size and mushroom fruiting chamber design. It will all depend on the scale of your business and the amount of mushrooms that you want to grow each week.
The size is up to you, but we think that 25 feet by 15 feet (about 8 meters by 5 meters) is a good start for serious commercial operations. That will give you enough space to produce around 150 to 200 pounds (about 68 kilograms to 91 kilograms) of mushrooms per week.
You should have a basic idea of how you want your shelving laid out inside the chamber as well. Keep in mind that you’ll need room to navigate around, harvest mushrooms and carry them out.
You’ll also want the room to be easy to clean.
Also, you’ll need to figure out where your air exhaust will go.
Step 2: Prepare the Basic Structure
To prepare your room for the hydroponic tent, ensure the floor is clean and free of any sharp objects that may damage the tent. Then, get to work assembling the tent!
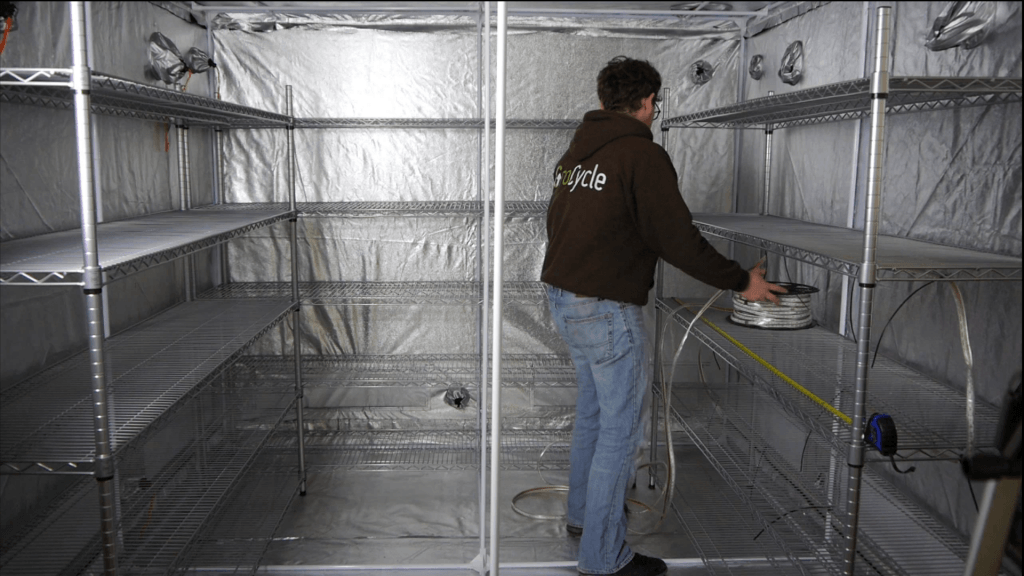
Step 3: Install Shelving
The amount of shelving that you’ll need will depend on the dimensions of your fruiting chamber and what kind of shelves are available in your area. It’s hard for us to give a set formula to follow since shelving can vary so much. So you’ll need to do a bit of math and see what the most efficient use of space in your fruiting chamber will be.
Shelving commonly comes in either plastic or wire.
Plastic shelving is lighter and easier to move.
Wire shelves are stronger and can hold more weight. Plus they’re easier to clean. However they may be prone to rusting in a high humidity environment if they aren’t made of the right material. You can overcome their heavier weight by purchasing shelving on wheels.
One other upside to metal shelving is that it’s strong enough to support hanging bags off of it instead of just resting them on the shelf. So it can offer more flexibility that way.
Wooden shelving is not recommended inside a fruiting chamber as it will quickly begin to warp and rot from the high humidity.
Step 4: Install Lighting
We found that LED lighting strips worked best for what we needed. They provide just enough light to do your work without being overwhelming. Plus they’re very energy efficient.
Step 5: Install Ventilation
Your fruiting chamber will need fans, plus vents to blow stale air out of the chamber and to bring new air in. If your chamber is set up inside an existing building, you’ll also want some way to get all of that excess moisture to the outside too.
Step 6: Add Access to Water and Electric
You will need to run a water hose into your fruiting chamber, as well as some kind of mister or mushroom fruiting chamber humidifier to spray the water into the air.
You’ll also need to run electricity to the chamber as well. It will be needed to power your mister, fans, plus any timers and other equipment. You don’t necessarily need to hire an electrician and it may be as simple as running an extension cord from an existing outlet.
Step 7: Install Automation Equipment
Without having some kind of electronic “brains” of your operation, you’ll have to manually monitor the CO2 levels, humidity, temperature and lighting in your fruiting chamber.
You’ll want to have a thermostat, as well as a humidity and CO2 controller that can automatically turn fans or water on and off when certain conditions are met. It’s also best to set up your lighting on a timer so you’ll never forget to turn it on or off.
Even with these features in place, it will still take you around 10 to 15 hours per week to grow 20 pounds (about 9 kilograms) of mushrooms on a regular schedule. So don’t add extra tasks and make things any harder than they need to be.
To learn about this process in more detail, check out our mushroom growing courses.
How Do I Raise the Humidity in My Mushroom Fruiting Chamber?
Here are a few ways that you can raise the humidity in your mushroom fruiting chamber:
- Spray Bottle
Using a spray bottle and manually misting your mushrooms is the most basic way to add extra moisture to your fruiting chamber. It’s extremely cheap and easy. This is what we recommend for people who buy our Grocycle Mushroom Kit.
It’s also very labor intensive and time consuming though. In a small chamber you might get away with a spray bottle. However for larger operations, it will quickly become painful for your hand!
- Wicking Humidifiers
These are the least expensive type of mushroom fruiting chamber humidifier and the next step up from using a spray bottle.
These humidifiers work by evaporating water into the air. The water wicks up from a reservoir and gets blown into the air by a fan.
This kind of humidifier will work well in a small space. They are limited in how much they can raise the humidity of the air though and aren’t the best choice for larger chambers.
- Ultrasonic Humidifier
This is the next step up from a wicking humidifier. Ultrasonic humidifiers use spinning discs to vaporize water droplets and then pump them out into the air.
It’s a much more efficient way of adding humidity to your fruiting chamber and will work for larger areas. They’re very efficient and you’ll likely only need to run them for a few minutes each hour.
Humidity is one of the most important factors that you’ll need to control in your fruiting chamber. When humidity gets too low, mushrooms and substrate can crack. Or if they dry out too much, they’ll just die and not grow at all.
If things get too wet, this can also pose problems with bacteria and mold. However more often than not, growers struggle with keeping humidity high enough.
How To Use Your Mushroom Fruiting Chamber
If you’ve set up your mushroom fruiting chamber with all of the features we’ve listed above, then it will mostly run on autopilot. Humidity, temperature, CO2 levels and lighting should all be automated for you.
In the beginning you may need to do some tweaking to find which parameters produce the best results. After that, it’s mostly a matter of watching nature do its thing.
All that you need to do is keep adding new fully colonized mushroom bags into the fruiting chamber and letting them grow. You can use a fruiting chamber to grow oyster mushrooms, shiitake, lion’s mane and lots of other mushroom varieties.
Check on your mushroom fruiting chamber regularly to make sure that everything is still running well. If a piece of equipment stops working, you’ll want to fix it right away before it ruins a whole batch of mushrooms.
Watch mushrooms and pick them at the optimal harvest time by simply twisting bunches of mushrooms off the bags.
Common Issues with Building, Using and Maintaining Your Mushroom Fruiting Chamber
Here are some common mushroom fruiting chamber issues that you’ll want to watch out for:
Not making it airtight – Your fruiting chamber needs to be able to hold in the humidity and minimize outside contaminants. If your chamber isn’t properly sealed it can be difficult to keep it humid enough.
Too much or too little humidity – If it’s too dry, mushrooms won’t grow. If it’s too wet, you’ll run into issues with mold and contaminants.
Too little or too much air exchange – Mushrooms need a high amount of CO2 while colonizing, but less while fruiting. Too much CO2 can negatively affect mushroom growth during pinning. Not having enough air exchange can also cause large amounts of spores to build up in the fruiting chamber. It can also lead to issues with mold.
Too hot or too cold – like most living things, mushrooms have a preferred mushroom fruiting chamber temperature range that they like to stay in. Either too hot or too cold temperatures can negatively impact their growth.
Too much light or not enough light – Mushrooms need some light in the fruiting chamber to signal that it’s time to grow. They won’t start growing in pitch black. However, you don’t want to overwhelm them with bright fluorescent lights either. Aim for lighting levels similar to a cloudy autumn day to simulate how they would grow in nature.
Standing water – Condensation can lead to water pooling and creating puddles on the ground. You will want some kind of drainage system to divert excess water from the fruiting chamber.
Tips for Maintaining Your Mushroom Fruiting Chamber
As mentioned earlier, be sure to use technology to automate your fruiting chamber. Take manual monitoring and guesswork out of it. Use thermometers, CO2 monitors, humidity sensors, misters and other technology. That way if certain parameters fall outside of the range that you want, they will immediately re-adjust.
Get into the habit of cleaning your fruiting chamber whenever you remove old spawn bags before adding new ones. Spores, mold, mildew and other contaminants can build up in your fruiting chamber over time.
We recommend growing in batches and harvesting all at once. That way, once your bags are done fruiting you can remove them all at once and give your fruiting chamber a good clean. Scrub down your shelving and walls with a diluted bleach solution to kill any natural fungi or bacteria.
For larger operations, you can have multiple chambers running on an offset schedule so that there is no interruption in your mushroom production.
Final Thoughts
A mushroom fruiting chamber is a necessary structure for any mushroom grower.
For smaller home growers, a fruiting chamber may be as simple as a plastic tote.
For large commercial growers, entire rooms or shipping containers can be converted into fruiting chambers to produce very large amounts of mushrooms per week.
A mushroom fruiting chamber doesn’t need to be high-tech. It just has to be capable of keeping temperature, humidity, CO2 levels and lighting within a desired range. It may be as simple as a concrete slab with wooden studs and a vapor barrier affixed as a wall.
Mushroom fruiting chambers can come in all sorts of shapes and sizes. Ultimately you’ll need to decide what size and design makes sense for your mushroom growing operation.
To learn everything you need to know about mushroom fruiting chambers and the entire mushroom growing process, check out our mushroom growing courses.


