Growing mushrooms at home can be fun, rewarding, and easier than you may think.
A good place to begin is with easy-to-grow mushroom species like oyster mushrooms, and if you go the low-tech route, you’ll already have most of the equipment you need.
You can grow these mushrooms on local agricultural waste products, like straw or sugarcane bagasse, used coffee grounds or even cardboard.
We recommend purchasing grain spawn from a reputable supplier, but if you want to make your own grain spawn, popcorn tek is ideal for beginners.
And yes, you guessed it, popcorn tek uses popcorn kernels.
Read on to discover what popcorn tek is, which mushrooms you can grow using popcorn, the supplies you’ll need and a step-by-step guide with tips to avoid common mistakes.
What is Popcorn Tek?
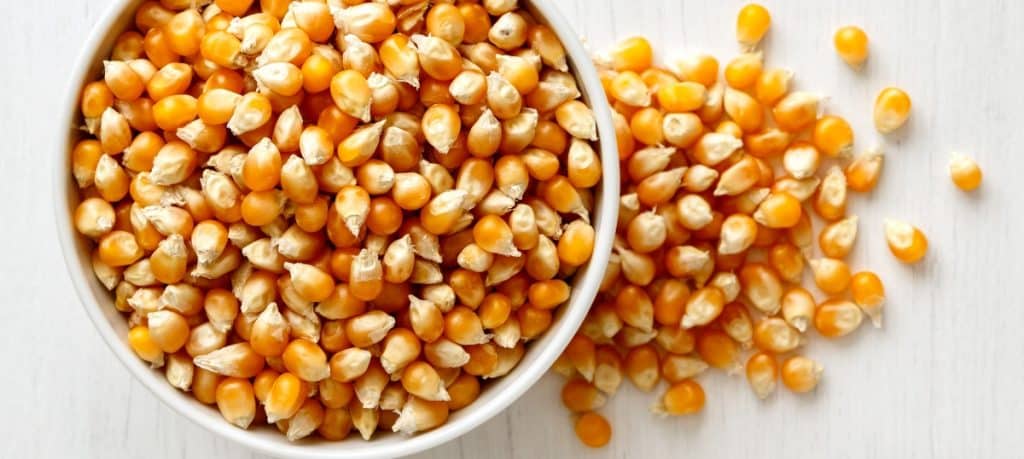
Popcorn tek is a relatively inexpensive, easy and reliable technique for making grain spawn using corn kernels.
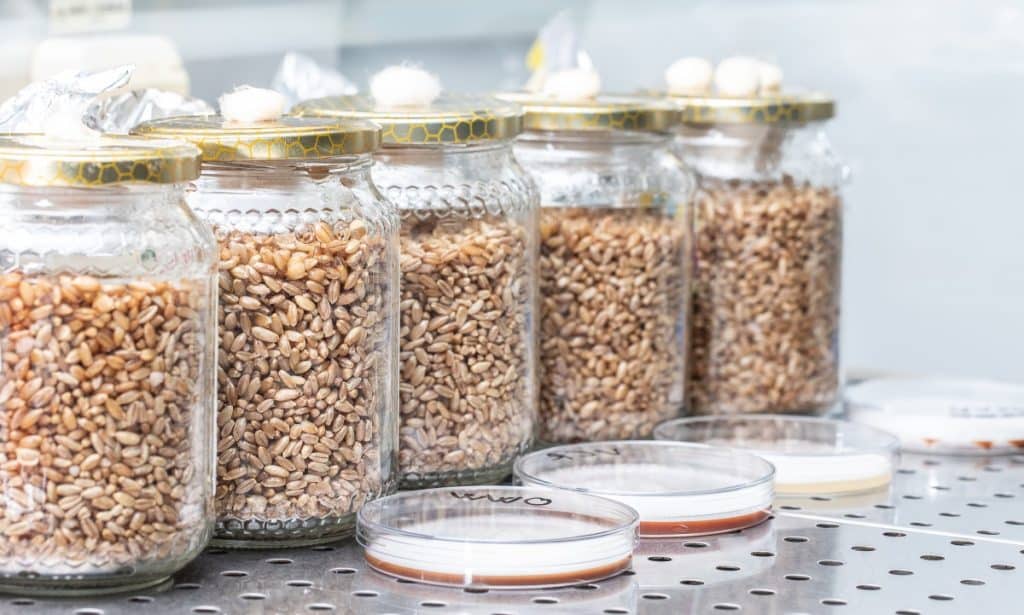
For those new to mushroom growing, grain spawn is essentially mushroom mycelium growing on sterilized grain. Growers commonly use rye, wheat and rice to create grain spawn that they then use to inoculate bulk substrates or make more grain spawn.
Popcorn tek is popular with beginner mushroom growers as corn is easy to hydrate correctly, readily available and resistant to many contaminants.
Many growers start with popcorn tek, and when they have some experience, they move on to other grains, but some think popcorn is one of the best grains to use and stick with it.
Is Popcorn a Good Substrate?
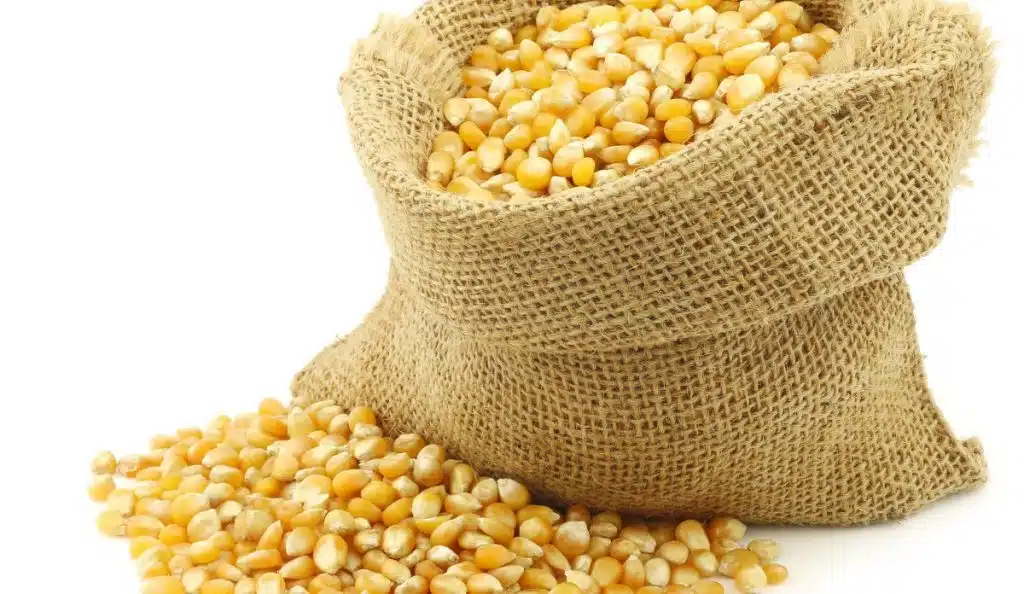
When prepared correctly, small-kernel popcorn is a popular substrate for growing and multiplying mushroom mycelium but is usually not the best for fruiting mushrooms.
It’s best to use your popcorn grain spawn to inoculate nutritious bulk substrates like amended hardwood sawdust or master’s mix to get better mushroom yields.
Which Mushrooms Can You Grow Using Popcorn Tek?
Popcorn tek is most often used to grow psilocybin mushrooms, but these are not the only mushrooms you can grow using popcorn.
You can also grow edible and medicinal mushrooms, and experiments have revealed a few easy-to-grow species that work especially well with popcorn, including:
- Lion’s Mane Mushrooms (Hericium erinaceus) – Lion’s mane mushrooms are delicious edible and medicinal mushrooms that enjoy the nutritional content of popcorn. Use your lion’s mane popcorn grain spawn to inoculate amended hardwood sawdust substrates for fruiting.
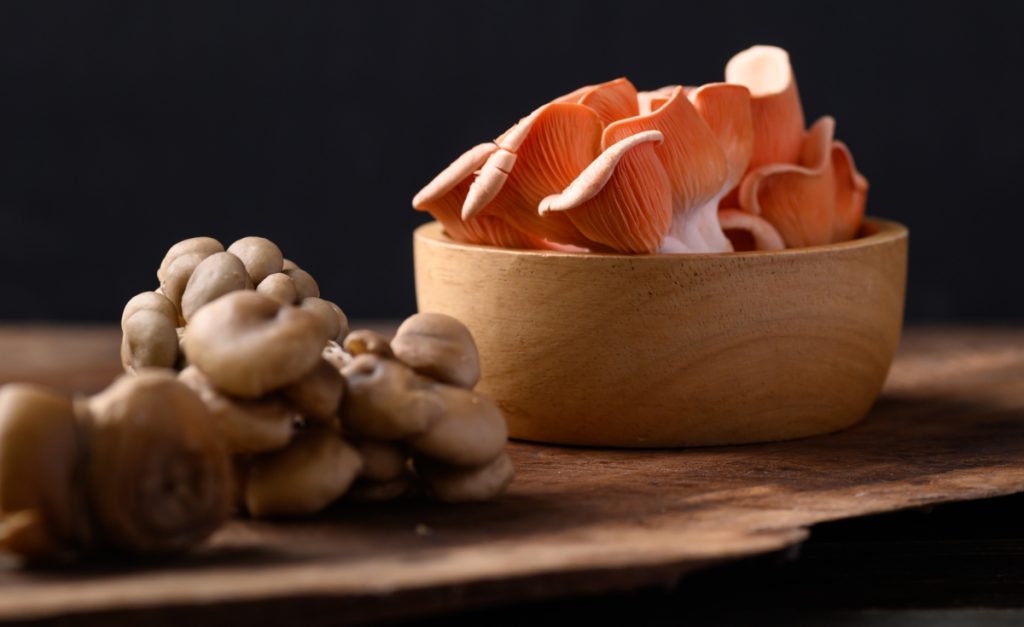
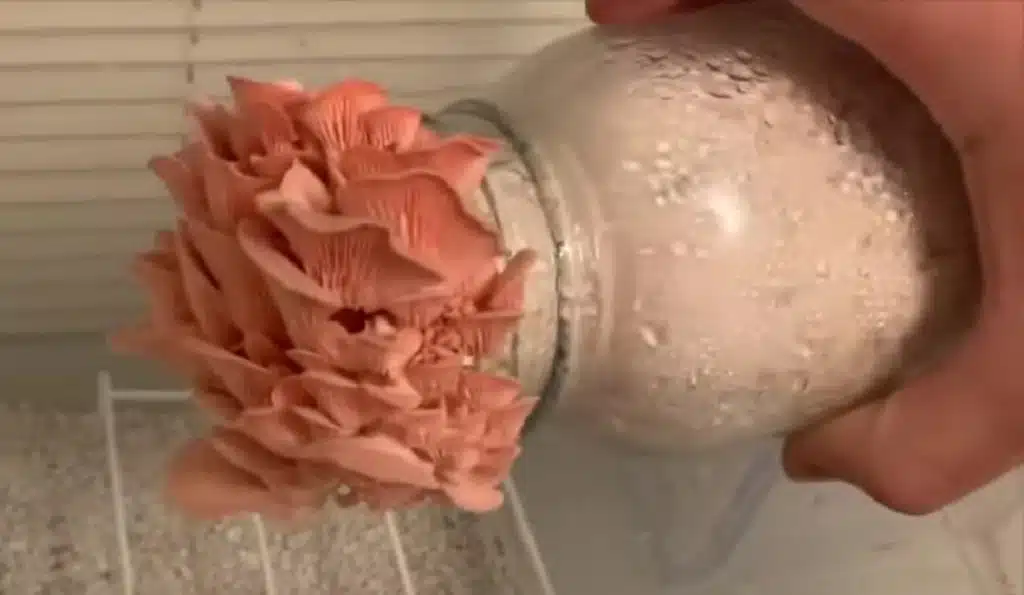
- Pink Oyster Mushrooms (Pleurotus djamor) – Known for their bright color and fast colonization speed, pink oysters are ideal for popcorn tek, but you could also grow other oyster mushroom varieties. Oyster mushrooms will grow on a wide range of substrates, and you can use your popcorn grain spawn to inoculate straw, sawdust, coffee grounds, sugarcane bagasse, etc.
- Shiitake Mushrooms (Lentinula edodes) – Shiitake mushrooms enjoy hardwood substrates but will colonize grain-based substrates like popcorn. You can use shiitake popcorn grain spawn to inoculate hardwood sawdust blocks for fruiting or to create sawdust spawn to inoculate logs.
What Type of Containers Are Best for Popcorn Tek?
The containers you use for popcorn tek need to fit inside your pressure cooker and be able to withstand the high temperatures required for sterilization.
Wide-mouthed glass jars are the most popular choice, although you could also buy autoclavable plastic bottles. But they can be expensive.
Quart jars (0.95 liters) are the most common size used for popcorn tek, and most guides provide quantities for these, but you can also use smaller pint jars (0.47 liters).
Some growers prefer the smaller pint (0.47 liters) jars as it takes less time for the jar to be fully colonized, reducing the chances of contamination.
No matter which containers you use, they will need special lids. You can modify the lids yourself or buy ready-to-use spawn jar lids online.
Our step-by-step guide to making grain spawn at home has more information with instructions for modifying your mason jar lids.
Supplies Needed for Popcorn Tek
There are several approaches to popcorn tek, including some techniques that don’t use a pressure cooker. However, we recommend sterilizing your popcorn kernels in a pressure cooker to kill any potential contaminants.
Here are the materials and equipment you’ll need for popcorn tek:
- Plain unpopped popcorn kernels – preferably without any additives or pesticides. You will need approximately 10 ounces (300 grams) of popcorn per quart (0.95 liters) jar.
- Mason jars with modified lids – you can buy ready-made spawn jar lids with self-healing injection ports and filters or modify standard mason jar lids yourself.
- Large pot – for simmering the popcorn kernels
- Strainer or colander – to drain excess water from the popcorn kernels
- Aluminum foil – to cover your mason jar lids during sterilization
- Pressure cooker – to sterilize your jars of popcorn
- A spore syringe, liquid culture, agar culture or previous grain spawn – to inoculate the sterilized popcorn
- 70% Isopropyl alcohol – to clean your tools and worktop
- Gloves – to help prevent contamination
Step-by-Step Guide to Popcorn Tek
Follow the steps below to grow mushrooms using the popcorn tek technique.
Step 1: Soak The Popcorn Kernels
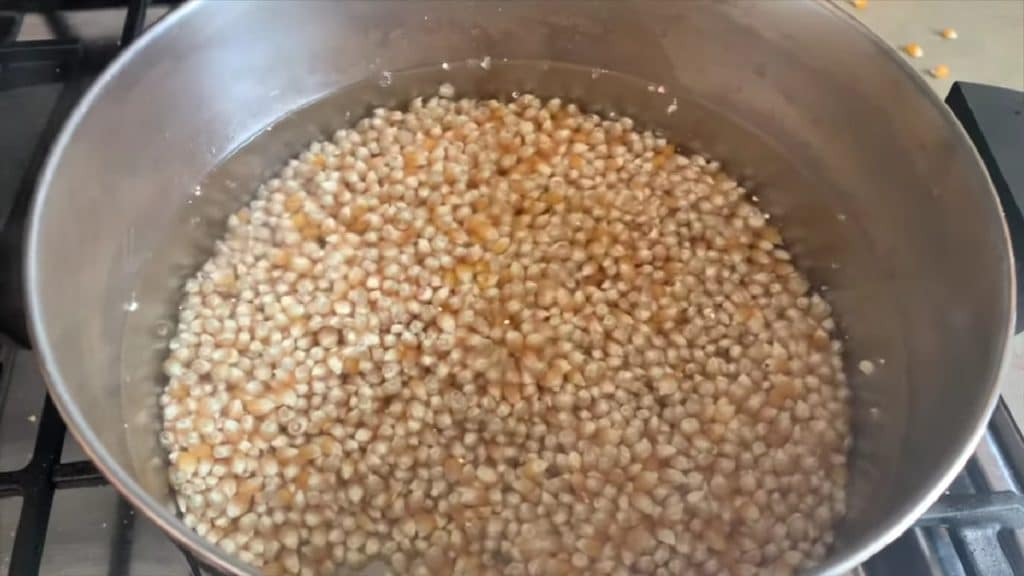
Once you have all the materials and supplies, the first step is to hydrate the popcorn kernels. This begins with soaking.
Place the popcorn kernels in a bowl or directly into the pot you plan on using to boil them, and add enough water to cover the kernels with an extra 2 inches (5 cm) above the top of the kernels.
Leave the popcorn kernels to soak for 24 hours. During this time, they will absorb water and begin to soften.
And, if there are any bacterial endo-spores on the popcorn kernels, soaking will encourage them to germinate, making it easier to kill the bacteria later.
There is such a thing as no soak popcorn tek, but many growers think it’s not as effective.
Even though popcorn for human consumption should have minimal endospores, not soaking the corn kernels could increase the chances of contamination.
If you decide to go the no-soak route, you’ll have to boil the kernels longer to soften them sufficiently.
Step 2: Boil the Popcorn Kernels
After soaking the popcorn kernels for 24 hours, the next step is to boil them.
The aim is to make the popcorn kernels absorb as much water as possible to provide moisture for the mushroom mycelium to consume while growing.
If you used a bowl or bucket to soak your popcorn, transfer the kernels to a large pot and add water. Ensure you cover the kernels and that there is around 2 inches (5 cm) of water above the top of the popcorn.
If your kernels are already in a pot, you may need to top up the water before bringing them to a boil.
How long does it take to boil corn for mushroom spawn?
Bring the water to a boil, then reduce the heat and simmer the kernels until they have reached the desired softness, usually around 40 to 60 minutes.
Make sure to stir your kernels every 10 to 15 minutes so they do not stick to the bottom of the pot and burn. You can also use this time to check your kernels to see if they are ready.
To check your kernels, do the ‘squish’ test by picking up a kernel and pressing your fingernail into it. The kernel should still be firm, and pushing your fingernail into it should indent it or split it in half, but it should not turn into mush.
If the kernel turns to mush, it is too soft, and you’ll have to start again.
Step 3: Drain the Popcorn Kernels
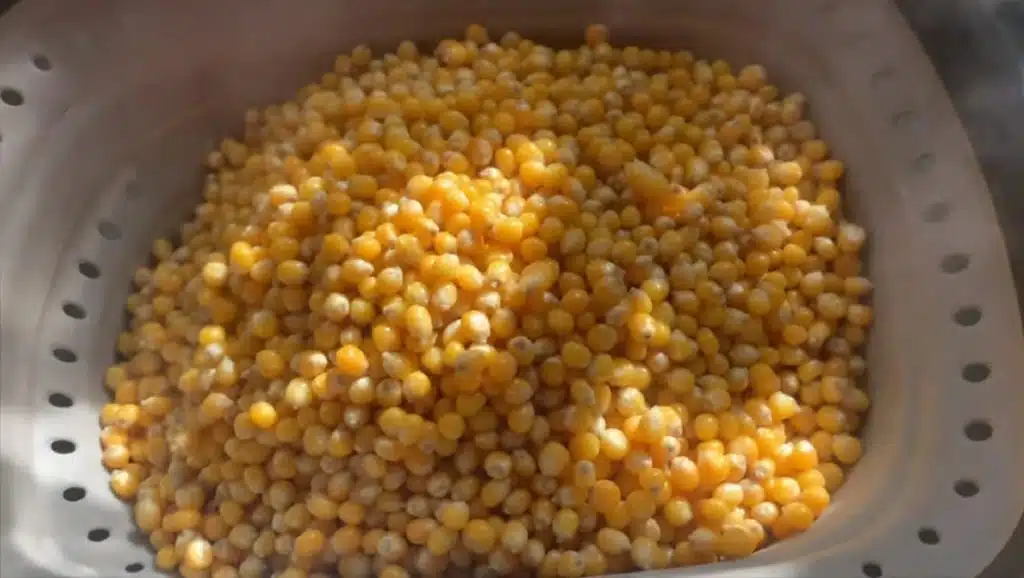
When the popcorn kernels are ready, pour them into a colander or strainer and leave them for at least 30 minutes to allow all the water on the exterior of the kernels to evaporate.
After around 15 minutes, you can shake the colander or strainer to move the kennels around and help them dry evenly.
Some growers like to spread the hot popcorn kernels on a baking sheet to aid evaporation, but most leave them to dry in a colander.
Draining is an important step when preparing your popcorn kernels as you have soaked and boiled the kernels to get the correct moisture content for the mycelium, and you don’t need any excess water in your jars.
When the kernels are dry to the touch, it’s time to put them in the jars.
Step 4: Fill Your Jars
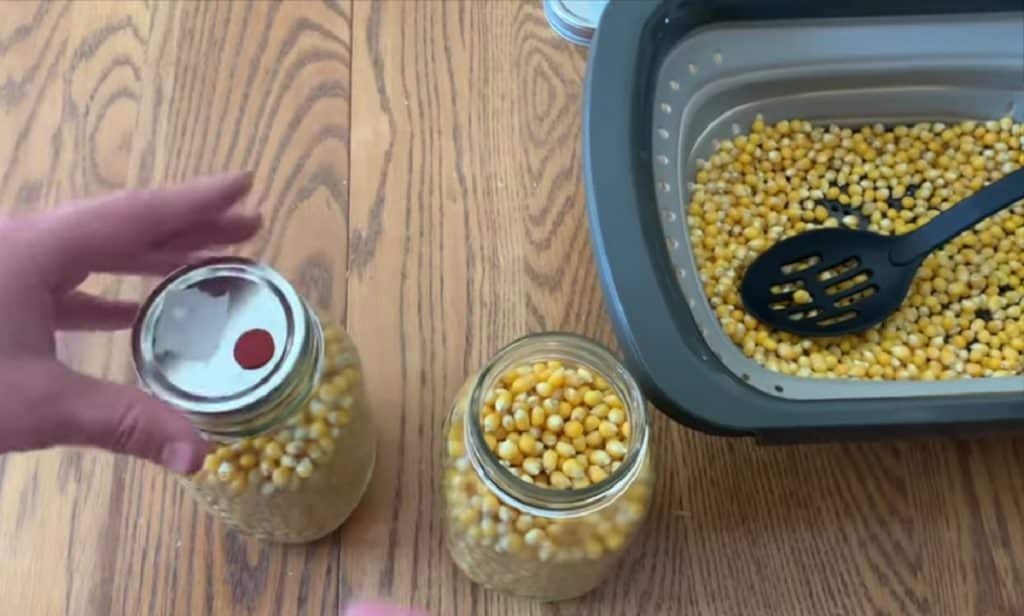
Fill your jars three-quarters full with the hydrated popcorn kernels, leaving a gap of 1 to 2 inches (2.5 to 5 cm) at the top.
This space allows you to shake the popcorn kernels during colonization to break up the mycelium and speed up colonization.
Ensure the glass inside the jar, between the popcorn kernels and the lid, is clean and free of any bits of corn, as this helps to prevent contamination.
Close the jars with lids with a port for introducing the mushroom culture and a filter that allows the mycelium to breathe while keeping out contaminants.
Step 5: Sterilize The Popcorn Jars
The next step is to sterilize your jars of hydrated popcorn for 90 minutes at 15PSI to kill any fungal spores or bacteria that may compete with the mycelium during colonization.
It’s a good idea to get the pressure cooker ready and pre-heat the water while you’re waiting for the popcorn kernels to drain.
This shortens the time it takes for the pressure cooker to get to the correct pressure once the jars are inside, reducing the chances of moisture loss from the jars.
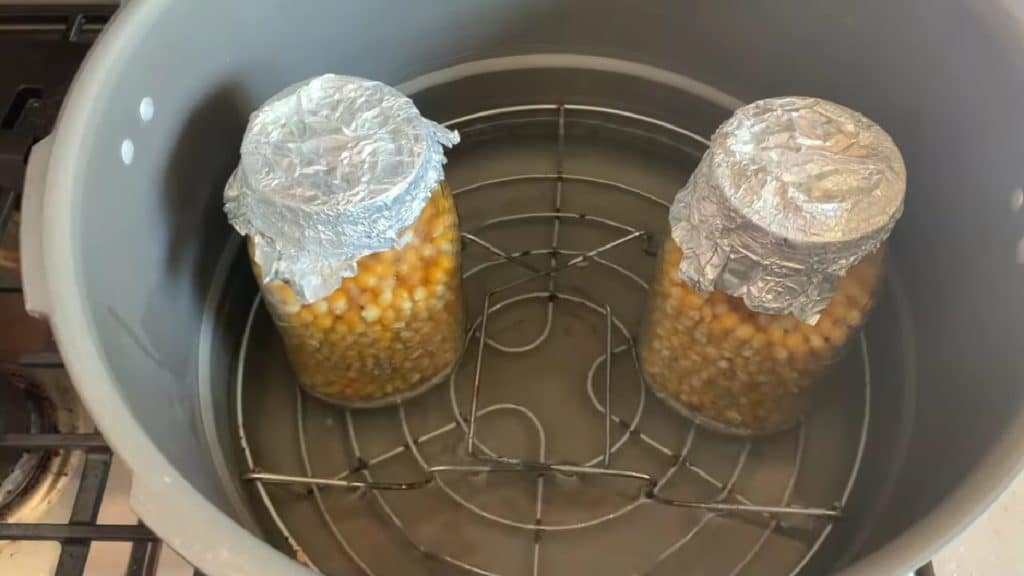
Before putting your jars in the pressure cooker, cover their lids with tin foil to prevent water from getting in through the filter.
Now, place the covered jars in the pressure cooker, but remember to use a rack or jar lids to prevent the jars from coming into direct contact with the pressure cooker’s base, as this could cause them to crack.
When you place your jars in the pressure cooker, arrange them so they do not touch each other or the sides of the pressure cooker.
Start timing when the pressure cooker reaches 15PSI and not before.
After 90 minutes, turn off the pressure cooker and leave the jars of popcorn inside the pressure cooker to cool down.
We recommend leaving them for at least 8 hours to ensure the popcorn has cooled to room temperature.
Popcorn Tek Without a Pressure Cooker
Popcorn tek is ideal for beginner mushroom growers, and those just starting out often wonder if you can do popcorn tek without a pressure cooker.
The answer is yes, although the alternative, fractional sterilization, takes longer, and you may still have an increased chance of contamination.
Fractional sterilization takes several days and involves repeatedly steaming the foil-covered jars for 1.5 to 2 hours in a large pot or steamer.
If you’re using a pot, you’ll need a rack to keep the jars away from the bottom of the pot and out of the boiling water so they are only exposed to steam.
After steaming the jars for the first time, you leave them for 24 hours, repeat the steaming, leave them for another 24 hours, and repeat the steaming a third time.
The idea behind this method is that the first round of steaming kills most contaminants, and any spores or endospores that survive will start germinating during the 24-hour break.
This makes them easier to kill during the second and third steaming, as contaminants that require higher temperatures to kill in spore form are easier to kill after germination.
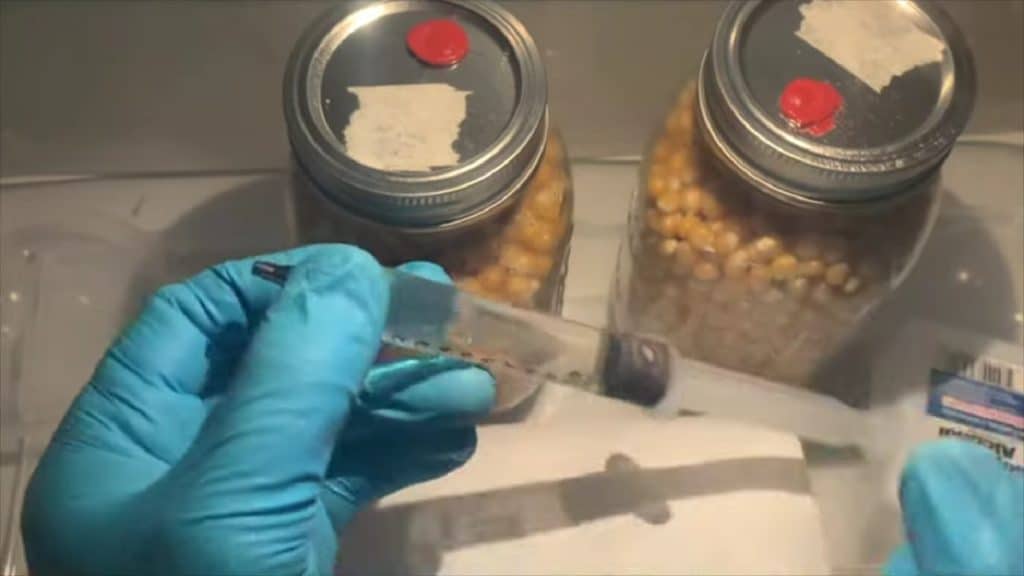
Step 6: Inoculate Your Sterilized Popcorn
When your jars of sterilized popcorn have cooled to room temperature, they are ready for mushroom spores or mycelium.
Growers call the process of inserting mushroom mycelium into your popcorn jars inoculation. This is just one of many rather unusual mushroom-growing terms.
Although popcorn is relatively resistant to contaminants, it’s always best to inoculate your jars in an environment that’s as sterile as possible.
Mushroom growers usually use a still air box or laminar flow hood to help prevent contamination.
You can use a spore syringe, liquid mushroom culture, agar culture or other mushroom spawn to inoculate your jars of sterilized popcorn.
Our article, “Mushroom Inoculation: Spawn, Substrate, Logs & Beds,” has more information for you and tips for successful inoculation.
Step 7: Incubate Your Inoculated Popcorn
After inoculation, the next step is incubation. During incubation, the mushroom mycelium will grow and spread throughout the popcorn kennels, consuming the moisture and nutrients they provide.
Place your inoculated jars in a room temperature spot, out of drafts, and away from direct sunlight for incubation.
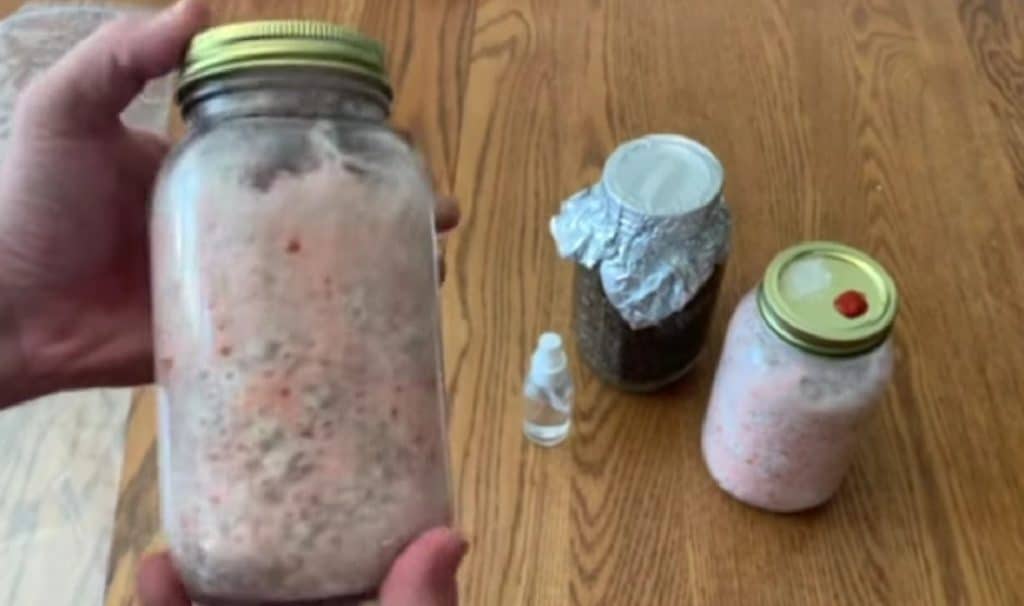
After about a week, you should see fluffy, white mycelium starting to form.
Once the mycelium has colonized 30 to 50% of the jar, you can shake it gently from side to side to break up the mycelium and spread it evenly through the popcorn.
Although shaking the jar can help to speed up colonization, shaking it too often will have the opposite effect and slow colonization.
When the popcorn is completely covered with white mycelium, your spawn is ready to use.
Growers normally use popcorn spawn to inoculate bulk substrates or make more mushroom spawn, but you can also grow some mushroom species directly from your popcorn jars.
Popcorn Tek Colonization Time
Colonization times vary depending on the temperature in your area and the mushroom species you’re growing, but generally, mycelium takes 2 to 3 weeks to colonize a jar or popcorn kernels.
Pros and Cons of Popcorn Tek
Like many mushroom growing techniques, growers have divided opinions on popcorn tek. Some growers swear by popcorn tek, while others feel it is only for beginners.
Here we look at some of the pros and cons of using popcorn to make grain spawn:
Pros
- Popcorn is widely available.
- An easy way for beginners to learn about mushroom growing.
- Popcorn does not clump and is easy to shake during colonization.
- Low contamination rate.
Cons
- Popcorn kernels are relatively large, making it difficult for the mycelial threads to move from kernel to kernel. You can fix this by adding coffee or gypsum to the corn.
- Popcorn has low nutritional value, resulting in poor yields unless you add supplements.
- Needs sterilization.
Common Issues When Growing Mushrooms Using Popcorn Tek and How to Avoid Them
Growing mushrooms is a skill. And like other skills, it takes practice and some trial and error to get it right.
Here are some common issues that you may encounter with popcorn tek:
1. Boiling the Popcorn for Too Long
If you boil your popcorn kernels too long, they can become over-hydrated and mushy.
Over-hydrated popcorn can mean too much moisture in your jars. This slows colonization and increases the chances of contamination.
If you do the ‘squish’ test on a popcorn kernel using your fingernail, and it splits apart when you apply pressure, it’s ready.
But if the entire kernel is soft and mushy, you have overhydrated your popcorn, and you will need to start again and boil the kernels for a shorter time.
2. Incorrect Moisture Content in The Jars
Achieving the correct moisture content in your jars is extremely important.
If you do not hydrate your popcorn kernels enough, it will slow mycelial growth. And if the kernels are over-hydrated and mushy or not left to drain long enough, it increases the chances of contamination.
To help prevent this, ensure you do a squish test to check your kernels are correctly hydrated, and leave them to drain for at least 30 minutes until the outside of the kernels is dry to the touch before placing the kernels in your jars.
3. Inoculating the Popcorn While it’s Still Hot
If you inject mushroom culture into your popcorn kernels when they’re still hot, the high temperatures may kill the mycelium.
When it comes to mushroom growing, you can’t be impatient. We recommend leaving the popcorn to cool for at least 8 hours after sterilization.
4. Contamination
Mushroom contamination is one of the most common issues encountered by beginners. Using popcorn helps with this as popcorn is relatively contaminant-resistant.
During incubation, check your jars regularly for any green, black or yellow spots, funny smells or slimy-looking patches. These are sure signs that you have contamination in your grain spawn.
To avoid contamination, follow the popcorn preparation steps carefully and ensure your kernels are hydrated and sterilized correctly.
When inoculating your kernels, it’s best to work in sterile conditions and, if possible, use a still air box or laminar flow hood to help prevent contamination.
Our article, “Top 12 Common Mistakes Mushroom Growers Make,” has more information on these and other mushroom-growing issues with tips on how to solve them.
Final Thoughts
We suggest first-time mushroom growers start with a mushroom grow kit as you can focus on getting the fruiting part of the growing process right before trying your hand at everything.
Once you have successfully grown and harvested mushrooms from a grow kit, you may want to move on to the next phase, preparing, inoculating and incubating bulk substrate to make your own fruiting blocks.
We recommend buying high-quality grain spawn from a reputable supplier at this stage of your mushroom-growing journey.
Many small-scale mushroom farmers buy ready-made grain spawn as it is less time-consuming than making your own mushroom grain spawn.
But, if you’re the type of person who likes to understand and try the entire mushroom-growing process, popcorn tek is a great way to create your first grain spawn.
To learn more about growing mushrooms at home, visit our Mushroom Growing Hub or enroll in one of our mushroom cultivation courses.
