You can grow delicious gourmet and medicinal mushrooms at home all year round, but to do so, you’ll need to provide ideal fruiting conditions for your mushrooms.
And depending on the climate in your area, you’ll often need to use a fruiting chamber for at least part of the year.
So how do you make a fruiting chamber?
The good news is that a low-tech fruiting chamber is easy and inexpensive to make, and many indoor mushroom cultivators start with monotubs.
In this article, you’ll discover what a monotub fruiting chamber is, its pros and cons, which mushrooms grow in a monotub and how to make and use a monotub fruiting chamber.
What is a Monotub Fruiting Chamber?
A monotub fruiting chamber is a low-cost, low-maintenance incubation and fruiting chamber made from a large plastic tub.
Monotub fruiting chambers are ideal for small-scale mushroom growers as they’re affordable, easy to make and don’t need much space.
But, a monotub is not the only option when considering mushroom fruiting chambers.
What is a fruiting chamber?
A fruiting chamber is an enclosed space that mushroom cultivators use to create conditions that mimic the natural conditions that mushrooms need to thrive.
These conditions include specific temperatures, humidity and lighting and plenty of fresh air exchange.
There are several options to choose from when deciding which fruiting chamber to use.
Which is best for you will depend on the type and quantity of mushrooms you hope to grow and your experience.
A monotub, dubtub, shotgun fruiting chamber, martha grow tent, greenhouse or hydroponics grow tent are all worth considering.
Pros and Cons of a Monotub Fruiting Chamber
When deciding if a monotub is going to be the best fruiting chamber for you, consider these pros and cons:
Pros
- Affordable
- Needs minimal space
- Components are easily accessible
- Don’t need specialized tools to build one
- They’re reusable, unlike grow bags which you can only use once
Cons
- Not enough space for large-scale production
- Only suitable for some mushroom species
Shotgun Fruiting Chamber vs Monotub
A monotub and a shotgun fruiting chamber are similar in that they’re both inexpensive, use bins or totes and are great options for beginner mushroom growers.
But you use them very differently.
So, how do you decide which is best for you?
In our opinion, one of the biggest considerations is the type of mushrooms you want to grow.
Here are some of the differences between the two:
- Type of mushrooms – A shotgun fruiting chamber is ideal for fruiting mushrooms that grow on substrate blocks or in bags, while a monotub works best for top fruiting hardwood and manure-loving mushrooms.
- Method of use – When using monotubs, you commonly add grain spawn and substrate directly to the monotub for incubation and fruiting.
But when using shotgun fruiting chambers you place fully colonized PF Tek cakes, substrate blocks, grow bags or grow kits in the chamber for fruiting.
- Surrounding airflow – A Shotgun fruiting chamber needs a location without competing airflow for the natural currents to work.
A monotub, however, benefits from having a fan in the room. Although not aimed directly at the tub.
- Ease of use – It’s slightly more complicated to calculate quantities of substrate and spawn for a monotub but often easier to maintain airflow and humidity.
A shotgun fruiting chamber is easier to set up but it’s often more difficult to keep airflow and humidity at optimal levels.
- The number of holes – Shotgun fruiting chambers have lots of small 0.25 inch (0.6 cm) holes on all 6 sides, including the top and bottom, whereas monotubs only have a few 2-inch (5 cm) sized holes on the sides.
- Hole covering – There’s no covering on shotgun fruiting chamber holes, but monotub holes are completely covered during incubation and have filters applied during fruiting.
- Use of perlite – A Shotgun fruiting chamber uses damp perlite at the bottom of the bin to maintain high humidity levels while a monotub does not.
People often use a monotub with a bulk substrate that contains vermiculite or add a casing layer to help hold moisture.
- Ease of cleaning – Using a liner inside a monotub makes it easier to clean as you can lift the spent substrate out in one piece.
But, you need to clean the tub very carefully before adding more substrate and spawn to prevent contamination of your next crop.
When cleaning a shotgun fruiting chamber, you can remove the grow bags or PF Tek cakes and give the chamber a quick wipe before adding more grow bags. You only need to clean your perlite once a month or after a mold outbreak.
Which Mushrooms Can You Grow in a Monotub?
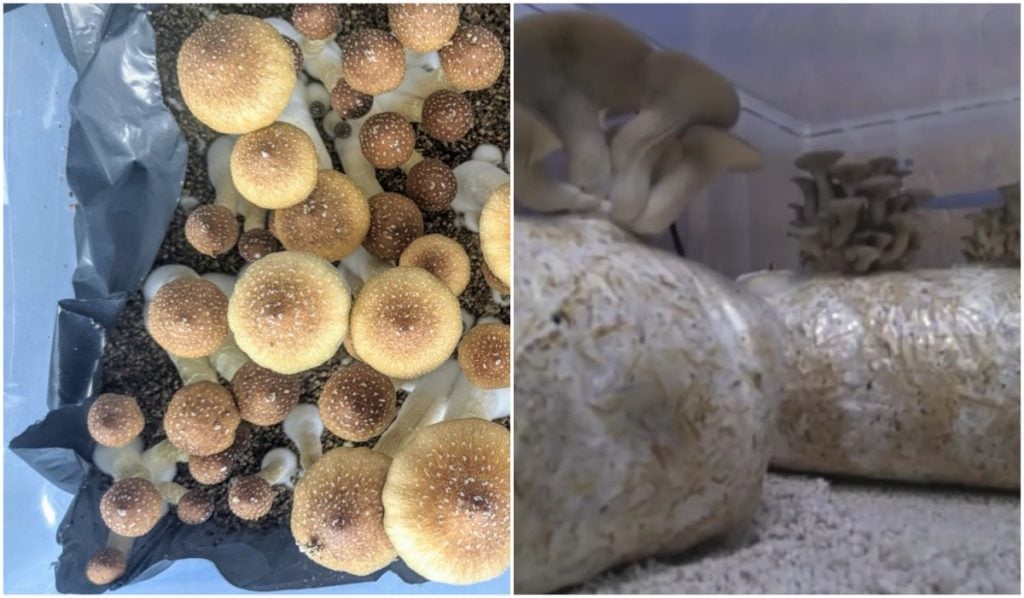
People commonly use monotubs to grow Psilocybe species of mushrooms, but they also work for manure-loving edible mushrooms like button, cremini or shaggy mane mushrooms.
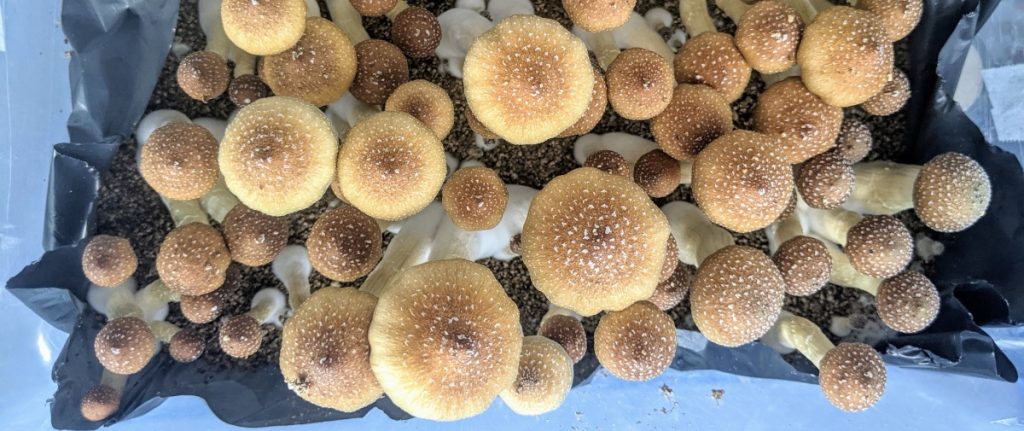
And, if you use a hardwood-based substrate in your monotub, you can grow top fruiting gourmet mushrooms like king oysters, wine caps, enoki, pioppino and chestnut mushrooms.
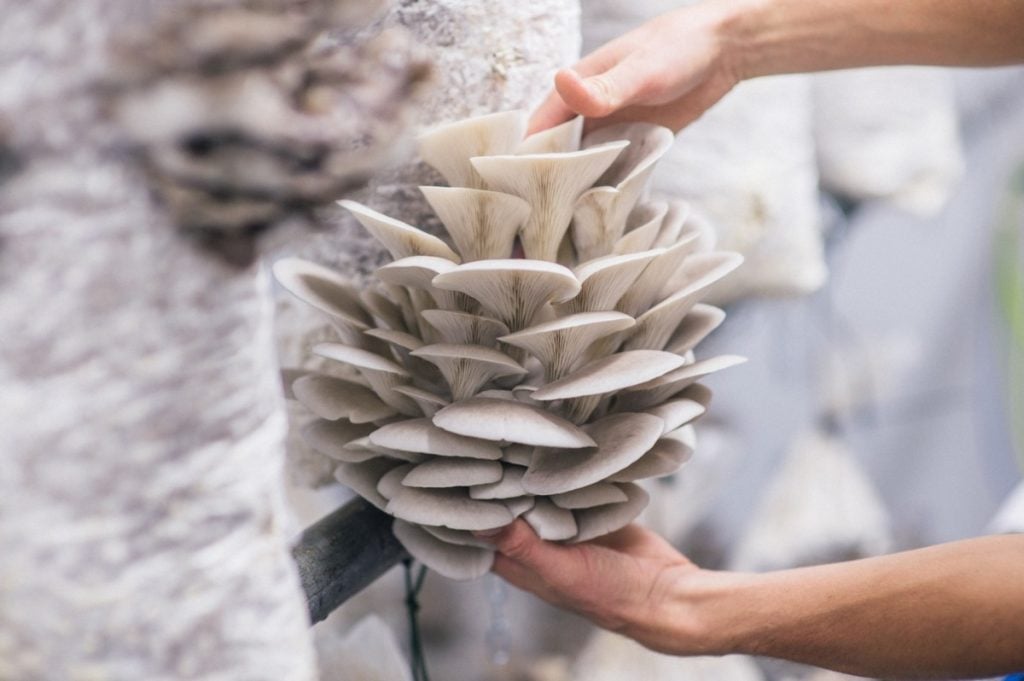
People also grow side fruiting species of oyster mushrooms in monotubs, including pearl oysters, pink oysters, blue oysters and phoenix oyster mushrooms.
But these easy-to-grow mushrooms produce higher yields when grown in bags using a shotgun fruiting chamber or grow tent.
If it’s medicinal mushrooms you’re after, the good news is that reishi, one of the most sought-after medicinal mushrooms, also grows well in a monotub.
Now that you have an idea of the types of mushrooms you can grow in a monotub, you may be wondering, how do you make a monotub fruiting chamber?
Fortunately, it’s quick and easy to make a monotub fruiting chamber, and all you need is a tub with a lid, something to make holes, black paint or a black plastic bag and Polyfill or micropore to cover the holes.
How to Make a Monotub Fruiting Chamber
Follow the steps below to make a low-tech monotub fruiting chamber:
Step 1: Gather Materials
The first step is to gather all the materials and tools required to make a monotub. One reason monotubs are so popular is how little you need to build one.
Materials
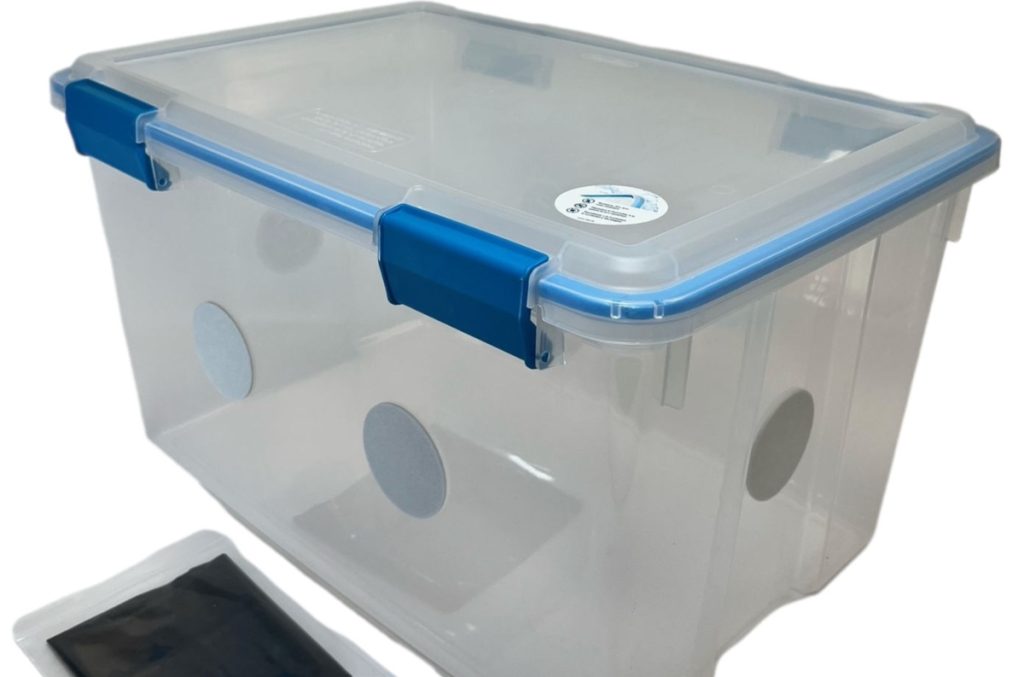
- Clear plastic bin with a lid that’s a manageable size
- Black spray paint or opaque plastic bag (garbage or contractors bags work well)
- Hand drill with a 2-inch (5 cm) hole saw (If you don’t have one, a utility knife or heavy-duty shears will do)
- Polyfill, micropore tape or monotub filters to cover the holes
- Heavy-duty tape
Step 2: Paint or Line Your Tub
When growing mushrooms in a monotub, you want the mushroom pins to form on the top of the substrate and not on the sides or bottom.
In nature, fungi use light and fresh air to know where to produce fruit.
As most monotubs are clear to allow for natural lighting, it’s important to cover the bottom and part of the sides with something to block out the light.
There’s more than one way you can do this, and you only need to cover 4 to 6 inches (10 to 15 cm) of the sides or as high as your substrate will go.
Some growers spray the outside of the tub with black spray paint to block light.
Others use black electrical tape to cover the bottom and lower sides.
Another highly recommended method is to line the bottom of the tub with an opaque plastic bag.
One of the benefits of this is that as the mycelium colonizes the substrate, the liner sticks to it.
And when your mushrooms have finished growing, you can remove the liner and substrate together, making it quicker and easier to harvest the mushrooms and clean the monotub.
If you decide to use a liner instead of paint, first complete the steps below and only install your liner just before using your monotub.
Step 3: Make Holes in The Tub
Your monotub needs holes for airflow to allow the mycelium and mushrooms to breathe while they’re growing.
The easiest way to make 2-inch (5 cm) diameter holes in your tub is using a drill with a hole saw, but you can also cut them by hand with heavy-duty shears or a utility knife.
When it comes to monotub holes, the generally accepted rule is that you need one hole every 8 inches (20 cm) of length on the long sides of the tub and one on each short side.
The holes on the long sides should be just above the top of the bulk substrate, which will also be just above your paint or liner.
The holes on the short sides should be near the top of the tub.
The hole placement allows air to flow into the tub from the lower holes and out through the higher ones.
Step 4: Cover or Fill The Holes
One of the main reasons growers use fruiting chambers, other than to control the conditions, is to help prevent contamination.
When you create ideal growing conditions for fungi, it’s not only the mushroom-producing kind that grows.
By covering the holes, you aim to prevent other fungal spores from getting into the chamber and competing with your mushroom mycelium.
To allow fresh air exchange while keeping out contaminants, you’ll need to use something as a microfilter.
One of the simplest options is to fill the holes with Polyfill, a polyester stuffing commonly used for stuffing pillows and cushions.
But you can also cover the holes with micropore tape or buy adhesive monotub filters specially made to fit 2-inch (5 cm) monotub holes.
If you decide to use Polyfill, keep it in place with some heavy-duty tape.
Your monotub fruiting chamber is now ready for use.
You can automate a monotub fruiting chamber by adding accessories like a fan, cycle timer, humidifier, humidity regulator and LED lighting.
But you don’t need these accessories to grow mushrooms in a monotub successfully.

How to Grow Mushrooms in a Monotub Fruiting Chamber
Follow the steps below to grow gourmet or medicinal mushrooms in your monotub:
Step 1: Prepare
Before you begin, you’ll need to gather supplies and make a few decisions.
To grow mushrooms in a monotub, you need the following:
- Mushroom grain spawn
If you’re planning on growing popular edible mushrooms, you can buy fully colonized grain spawn, and we highly recommend going this route.
But if you want to grow unusual or manure-loving mushroom species, you’re going to have to make your own grain spawn
- Bulk substrate
Depending on the mushroom species you’re growing, you have several choices for the substrate.
Most gourmet mushrooms are wood-loving species, and you’ll need to use a hardwood-based substrate like sawdust or wood chips.
Monotubs are also frequently used to grow mushrooms using straw, manure-based substrates or coco coir and vermiculite substrate mixes.
Our article on mushroom substrates has more information on choosing and preparing substrates.
But, if you want a quicker option, you can also buy sterile, ready-to-use hardwood and manure-based bulk substrates.
- Monotub fruiting chamber
It’s quick and easy to make a monotub fruiting chamber using the steps above and we recommend going this route as you can adjust the monotub to suit your needs.
But, you can also buy ready-to-use monotubs online.
- 70% Isopropyl alcohol (rubbing alcohol or surgical spirits)
- Two spray bottles, one for alcohol and one for water
- Latex gloves
Step 2: Clean Your Workspace and Monotub
This step is important as you want to do everything possible to prevent contamination while inoculating your substrate.
Choose a clean, dust-free room where you can close windows and doors.
Put some alcohol into a spray bottle and spray the work surface, bulk substrate and grain spawn bags and any tools you plan on using.
Also, wipe down your monotub and lid with alcohol, inside and out, and allow them to dry.
If you are using a liner inside your monotub to block light, you would now place your liner in the tub, wipe it down with alcohol and allow it to dry.
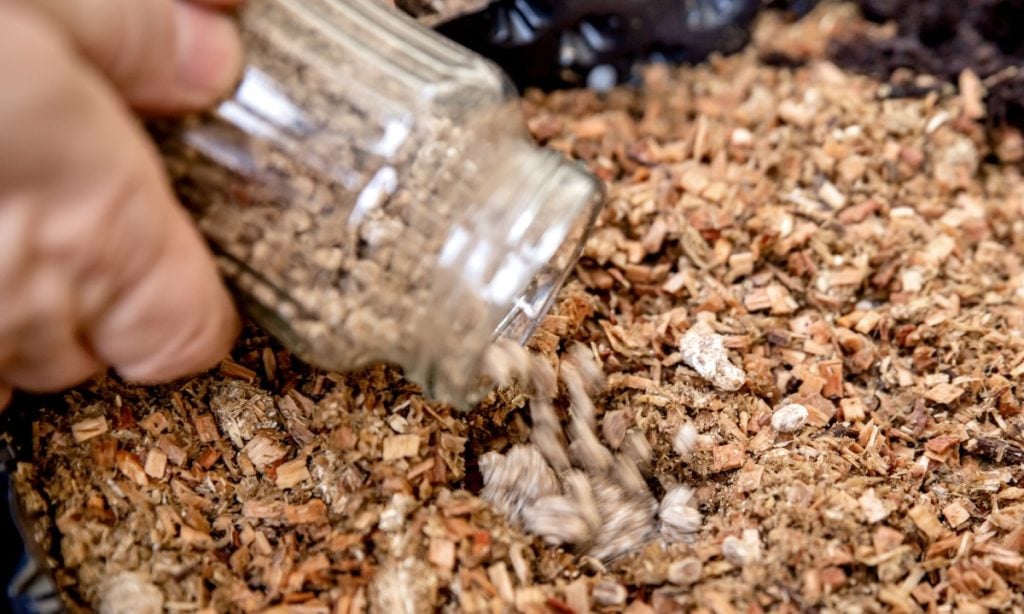
Step 3: Inoculate the Substrate
Now that everything is clean, you can load your bulk substrate into the tub and inoculate it with the grain spawn.
The amount of substrate required will depend on the size of your monotub, but growers recommend using at least 3 to 5 inches (7.5 to 12.5 cm) of substrate in a monotub.
Growers commonly use a ratio of 1 part spawn to 3 parts substrate when spawning bulk substrate.
But, depending on the type of mushrooms you’re growing, some growers recommend using a ratio of 1 part spawn to 2 parts substrate.
Before you begin, check that your substrate has the correct moisture content. It should be at field capacity.
To test for field capacity, squeeze a handful of substrate lightly. It should hold together and release a few drops of water.
If it’s too dry and does not hold together or release a few drops of water, add a little sterilized water to your bulk substrate as you put it in the monotub.
There are two ways to mix your grain spawn and substrate.
The first option is to add your substrate and grain spawn to the tub and then mix them using your hands or a spoon.
Mix them well to ensure you evenly distribute the spawn throughout the substrate.
The second way, and the best if using a liner, is to add the substrate and grain spawn to the tub in layers.
Start by adding a 1-inch (2.5 cm) layer of your substrate to the bottom of the tub, and then sprinkle on a layer of colonized grain spawn.
Add another layer of substrate followed by more spawn, and continue in layers until you have the desired amount of substrate.
Finish with a thin substrate layer, and cover all the grain spawn.
When looking down into the tub, you should only see substrate.
You can never be too careful when it comes to contamination.
Before closing your tub, spray a paper towel with alcohol and wipe down the inside of your monotub above the substrate again.
Put the lid on your monotub, and leave it to incubate in a warm, room temperature spot with some indirect light.
Step 4: Incubation
Don’t open the lid or disturb your tub during incubation, but do check it daily for signs of colonization.
How Long Does it Take for a Monotub to Fruit?
Generally, manure-loving species of mushrooms take 2 to 3 weeks to colonize a substrate, but colonization rates for wood-loving gourmet species vary.
For example, king oyster mushrooms could take 10 to 14 days for full colonization, reishi 7 to 14 days and chestnut mushrooms up to 25 days.
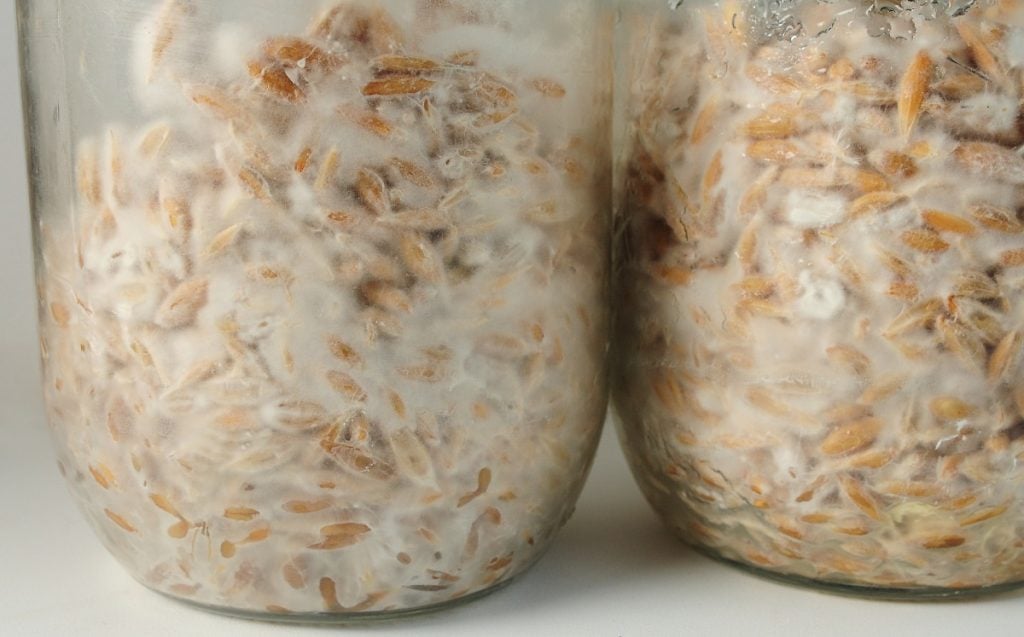
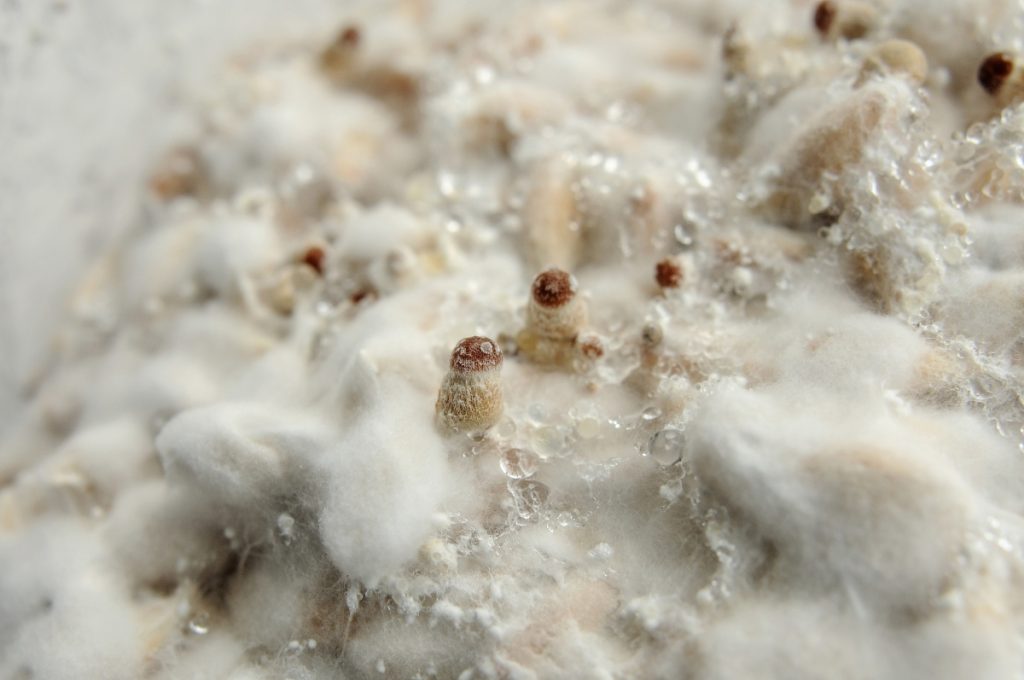
Initially, you’ll see spots of white mycelium forming around the grain spawn. These will expand outwards and, over time, completely cover the substrate.
How Do You Know When to Fruit a Monotub?
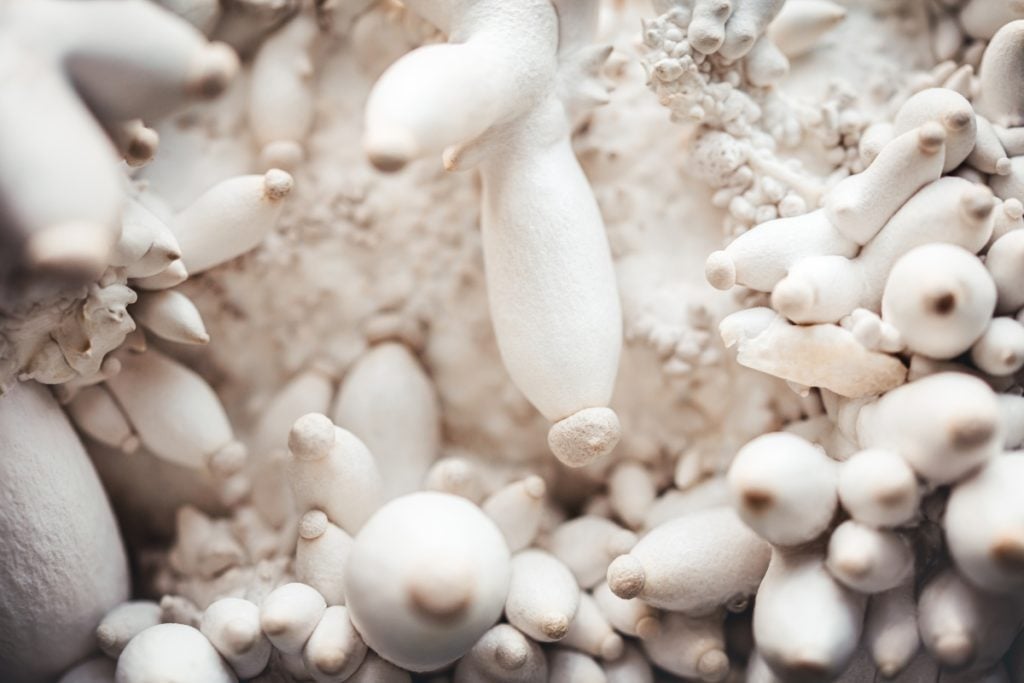
Some species differ slightly, but for most, when the entire substrate is white and hyphal knots have begun forming, they’re ready to fruit.
Hyphal knots are the first stage in the development of mushroom fruiting bodies and form when strands of mycelium bunch together.
They look like dense knots or bumps of white mycelium extending upwards from the surface of the substrate.
Step 5: Casing and Fruiting
When you see hyphal knots, put your tub into fruiting conditions.
At this stage, some growers like to add a thin casing layer of coco coir or vermiculite to help the mycelium remain moist.
But this is completely optional.
While fruiting, ensure the tub is near a window where it gets indirect daylight. Avoid direct sunlight as this will dry and heat the tub.
Mist the monotub once or twice a day with a fine mist until you see tiny droplets on the surface of the substrate.
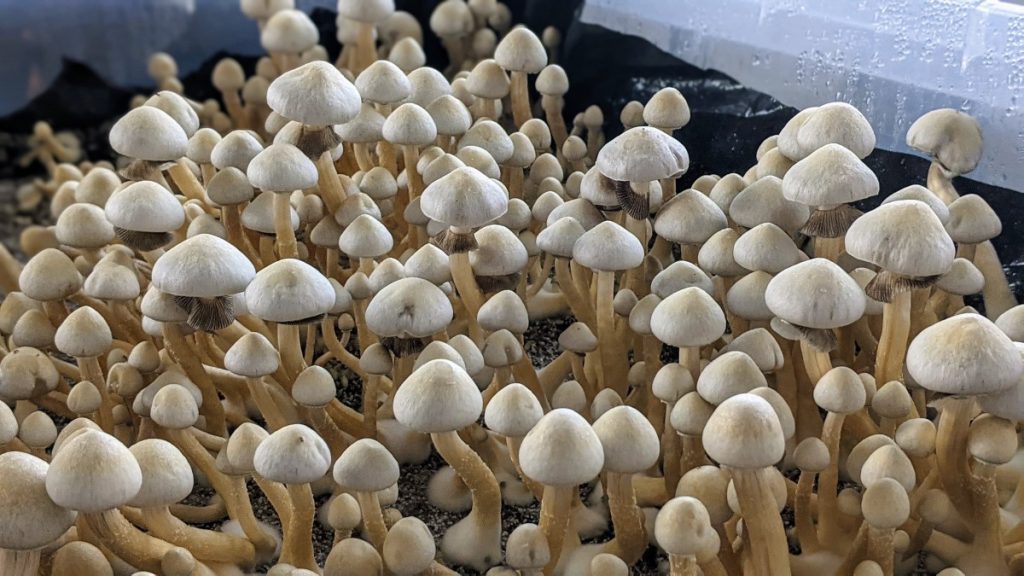
Over the next few weeks, mushroom pins will form, and you can watch your mushrooms increase in size daily.
Our article, “How Long Does It Take To Grow Mushrooms? All Questions Answered.” has more information on different species of gourmet mushrooms and how long they take to grow.
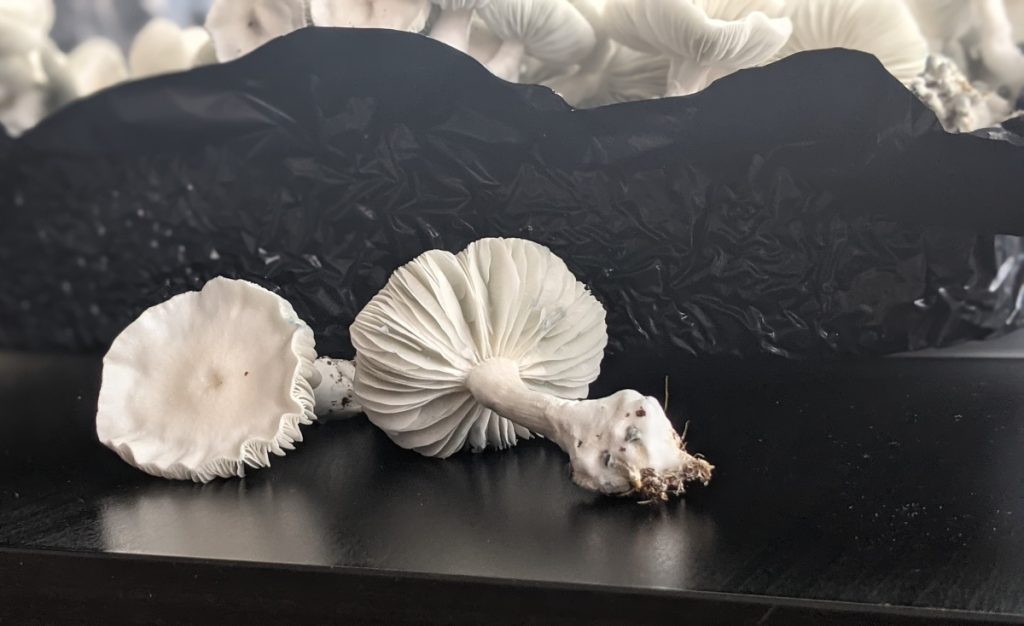
Harvest your mushrooms before they reach full maturity and release their spores.
For mushroom species with caps, this is usually just before the mushroom caps flatten out.
Final Thoughts
Monotubs are versatile, inexpensive fruiting chambers that you can customize to suit your requirements.
As you gain experience, you can adjust your tub to need less monitoring and will know what works best for your climate and the mushrooms you’re growing.
Many mushroom cultivators start with monotubs and invest in larger fruiting chambers when they’re ready for large-scale production and want to start a mushroom growing business.
To learn more about mushroom growing, visit our Mushroom Growing Hub or enroll in one of our online mushroom cultivation courses.


