Mushroom growers with some experience who’ve advanced beyond grow kits and want to prepare their own bulk substrates need to make a couple of decisions.
One of the decisions is whether to pasteurize or sterilize the mushroom substrate, and another is what method to use.
Depending on which type of mushroom you want to grow, cold water lime bath pasteurization could be the perfect option.
Read on to learn more about cold water lime pasteurization for mushroom substrate and how to pasteurize mushroom substrates in a lime bath step by step.
What is Cold Water Lime Bath Pasteurization?
Cold water lime bath pasteurization is a low-tech, inexpensive and effective way to pasteurize organic material for growing mushrooms.
All you need is hydrated lime, water and some time for the substrate to soak.
It’s best to use cold water lime pasteurization to prepare less nutritious substrates like straw and sugarcane bagasse.
But you can also use it to pasteurize unsupplemented sawdust and hardwood pellets.
How Does Lime Pasteurization Work?
Lime pasteurization works by significantly increasing the pH of the water that you use to soak the substrate.
The high Ph level of the water kills off most organisms that may be competition for your mushroom mycelium.
When you submerge the substrate in the lime bath, the rapid change in pH ruptures the cell walls of living organisms, causing them to die.
Leaving the substrate to soak in the lime bath has two purposes, destroying mold, bacteria and other potential contaminants and hydrating the substrate.
What Type of Lime is Best for Lime Pasteurization?
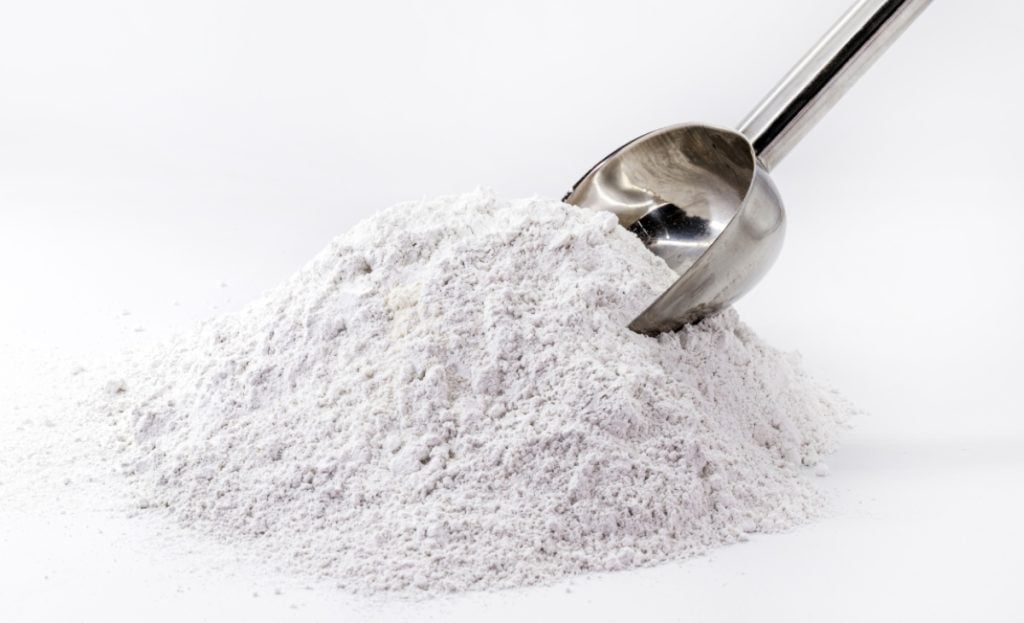
You can’t just use any lime to pasteurize mushroom substrates. You need to use hydrated lime that’s low in magnesium and high in calcium.
Hydrated lime is calcium hydroxide Ca(OH)2, and its chemical structure is not the same as the agricultural or garden lime found at garden centers.
Agricultural or garden lime is calcium carbonate lime that won’t work for pasteurization because it doesn’t raise the Ph of the water fast enough or high enough to kill living organisms.
And, agricultural or gardening lime usually contains high levels of magnesium that affects the growth of your mushroom mycelium.
You sometimes find hydrated lime for garden use, but you cannot use it for pasteurization as it also contains lots of magnesium.
The correct hydrated lime, with less than 5% magnesium, is often sold as builders lime, and you’ll usually find it in the construction section of your local hardware store.
Does Mushroom Substrate Need to be Pasteurized?
Yes, you will need to pasteurize or even sterilize your mushroom substrate.
A mushroom substrate consists of organic material that provides mushroom mycelium with the moisture and nutrients it needs to grow and fruit.
But, nutritious organic material is not only appealing to mushroom mycelium. Other organisms like mold and bacteria also enjoy moist, nutrient-rich environments.
You pasteurize or sterilize a substrate to get it as contaminate-free as possible and give your mushroom mycelium a head start.
Bacteria and mold can grow faster than mushroom mycelium, and without pasteurization, they may take over the substrate before the mycelium has a chance to get established.
Pasteurization and sterilization give your mushroom mycelium a chance to colonize the substrate before any other mold, bacteria or fungi.
When deciding whether to pasteurize or sterilize your substrate, the most important factor to consider is the nutritional value of the substrate.
The more nutrients a substrate contains, the greater the chances of contamination.
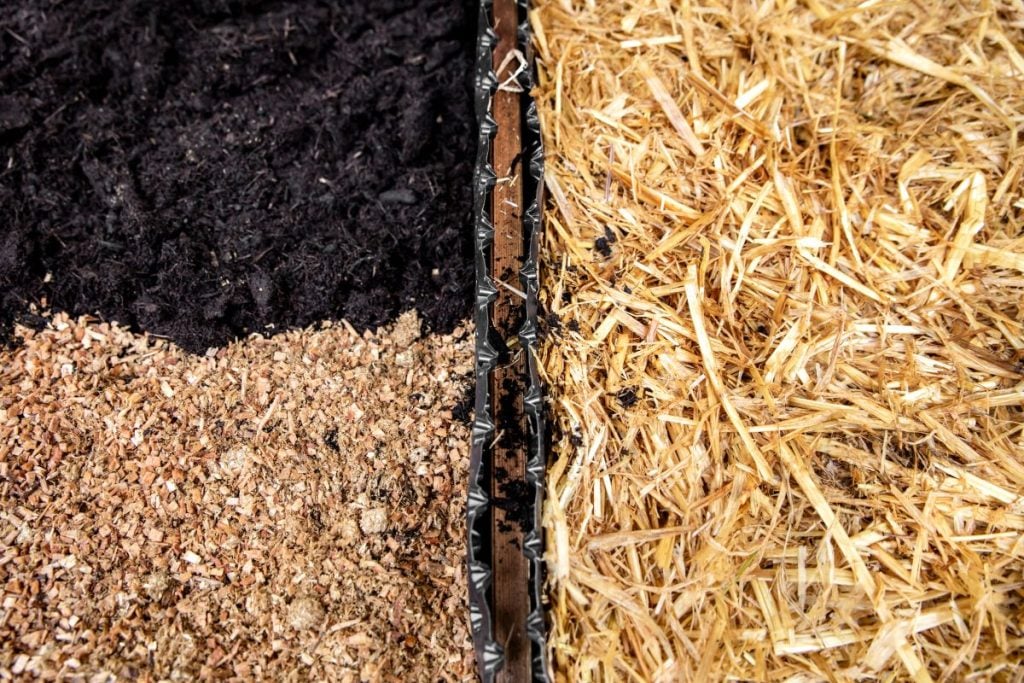
You don’t need to sterilize less nutritious substrates like straw, sugarcane bagasse, coco coir, hardwood sawdust and cardboard.
Pasteurization will remove most potential contaminants in these substrates and give the mushroom mycelium a head start.
But you will need to sterilize high nutrient substrates or substrates with high levels of supplementation like manure, soy hulls, grains and master’s mix.
Pasteurization does not provide as much head start as sterilization, so it’s best used for hardy, fast-growing species like oyster mushrooms.
Low Tech Methods of Pasteurization
There are two main ways to pasteurize mushroom substrates. These are hot water pasteurization and cold water pasteurization.
Hot water pasteurization involves submerging the substrate in boiling water above 176°F (80°C) for at least 2 hours.
Many consider hot water pasteurization more effective, but cold water methods are often easier, safer and more energy efficient.
Especially when pasteurizing larger quantities of mushroom substrate because you don’t need to heat lots of water or maintain high temperatures for long periods.
There are several different cold water pasteurization methods, including:
- Hydrated lime pasteurization – This method uses hydrated lime to raise the pH of the water and kill living organisms.
- Wood ash pasteurization – Wood ash, like hydrated lime, raises the pH of the water and works in the same way.
- Soap pasteurization – A method that uses osmotic pressure to break down the cell walls of microorganisms causing them to rupture, which kills the organism.
- Chlorine pasteurization – Uses bleach or swimming pool chlorine to kill any microorganisms.
- Vinegar pasteurization – This does the opposite of lime and wood ash, as vinegar lowers the pH. But it also kills most living organisms.
Pros and Cons of Cold Water Lime Bath Pasteurization
Cold water lime bath pasteurization is one of our favorite low-tech pasteurization methods, and we use it on our mushroom farm.
Although this method is ideal for beginner mushroom growers and has several pros, like all pasteurization methods, there are also a few cons.
Pros
- low tech, simple and easy
- Cheap and energy efficient as you don’t need heat
- Effective and reliable pasteurization method for oyster mushrooms
- Allows you to pasteurize large quantities of substrate
Cons
- Doesn’t kill all potential contaminants
- Not as reliable for slower-growing mushroom varieties
- The pasteurized substrate has a high pH that some mushrooms species won’t tolerate
How to Pasteurize Mushroom Substrate With Lime Step by Step
Follow the steps below to pasteurize your mushroom substrate using a cold water lime bath.
Step 1: Gather Supplies
Before you begin, you’ll need to prepare and gather supplies, including sourcing a few materials and gathering equipment.
Many of the things you need are common household items, and you won’t need to buy much, except perhaps a pH meter.
Materials:
- Hydrated Lime
- Water
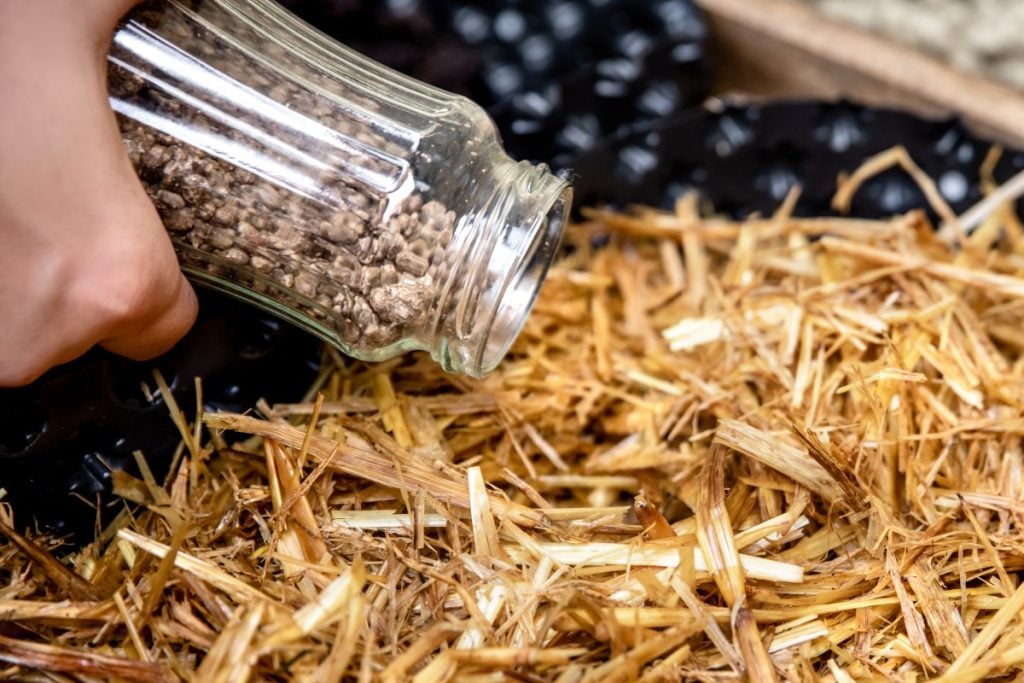
- Substrate – wheat or oat straw, sugarcane bagasse, sawdust or hardwood pellets
Equipment:
- A container for the lime bath. A 55-gallon (200 liter) drum, large tote or 5-gallon (20 liter) bucket will all work. The size of the container will depend on the amount of substrate you want to pasteurize.
- A net or mesh bag, old pillowcase or plastic laundry basket to hold the substrate.
- A weight of some sort to keep the substrate submerged
- Gloves, safety glasses and a face mask
- PH meter
Step 2: Prepare Substrate
Depending on your choice of substrate, there may be some preparation involved.
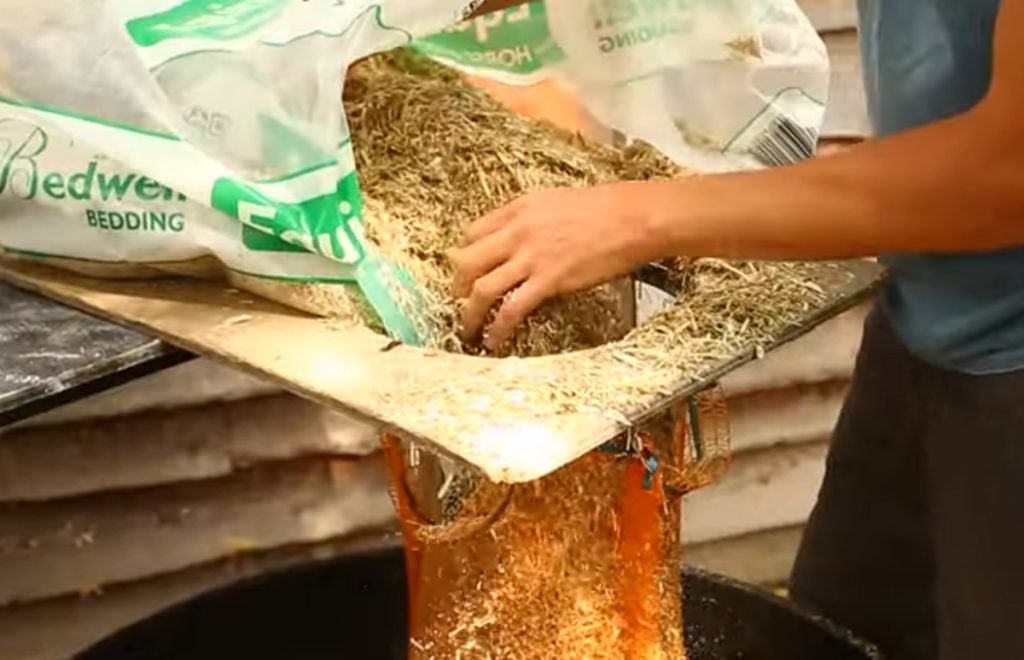
If you plan on growing oyster mushrooms indoors using straw, we recommend chopping the straw into 1 to 3-inch (2.54 to 7.62 cm) pieces to make colonization easier.
Then place the chopped straw into a net or mesh bag for pasteurization.
If you’re pasteurizing sawdust or hardwood pellets, using a tied pillow case to hold the substrate makes it easier to retrieve and drain.
You can submerge unchopped straw in the lime bath using a plastic laundry basket with holes.
Step 3: Prepare Lime Bath
The first step when preparing the lime bath is to add water to your container until it is around (60%) three-quarters full.
If you put too much water in the container, it will overflow when you submerge the substrate.
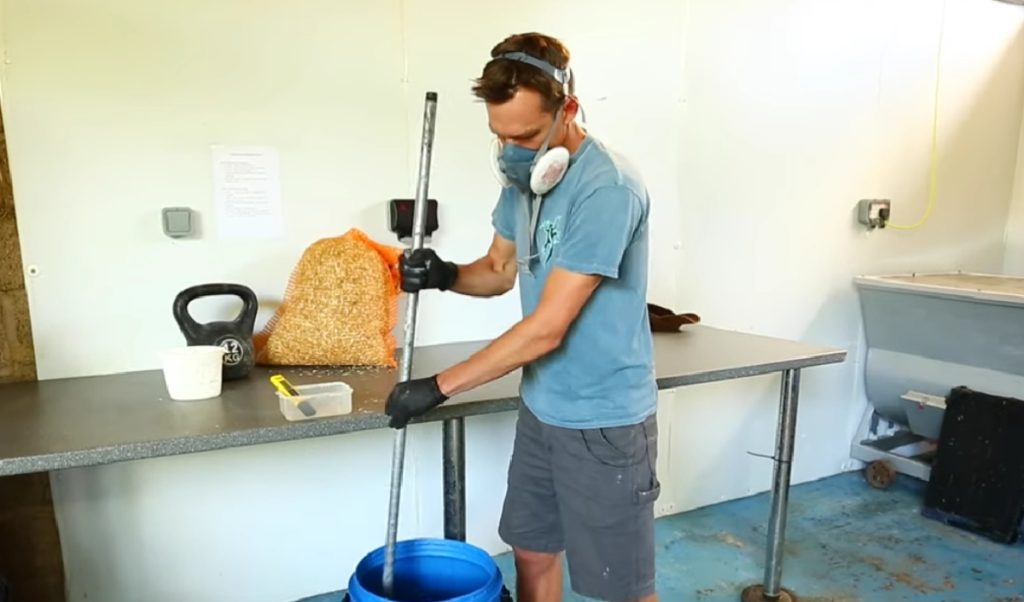
Next, you need to add the hydrated lime to the water. We recommend using gloves, safety glasses and a mask, as hydrated lime is potentially dangerous for your skin, lungs and eyes.
Sprinkle the hydrated lime into the water while stirring, and continue stirring until it’s thoroughly mixed.
Then leave the mixture to settle for around 10 minutes. You may see some white lime residue at the bottom of the container. This is normal and nothing to worry about.
Take a water sample and test the pH level. If the pH is correct, your bath is ready, and you can move on to the next step, submerging your substrate in the water.
How Much Lime do I Add to Mushroom Substrate?
Generally, growers recommend adding 0.2% lime to water content. This equates to 0.07 ounces (2 grams) of hydrated lime for every liter of water.
Using this ratio, you should get a pH level of between 11 and 13.
At our farm, we’ve found that the right amount of hydrated lime to add is 175 grams per 100 liters (22 gallons) of water to get a pH of 13 to 14. Which equates to 1.75 grams per liter of water.
Step 4: Soak Substrate
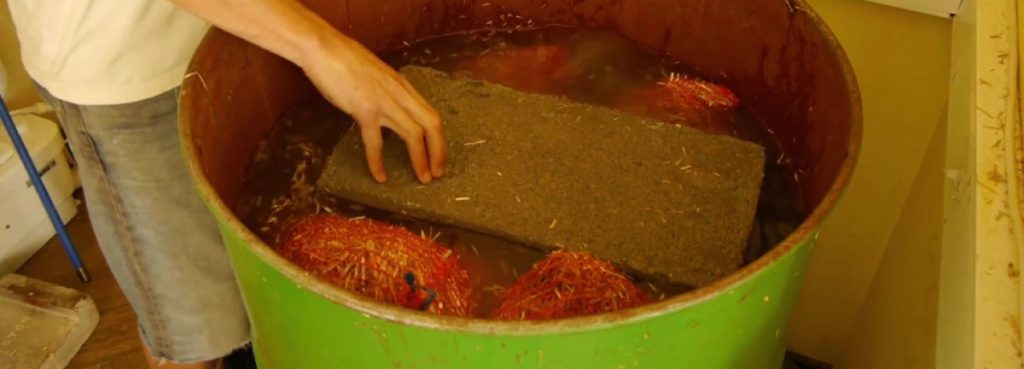
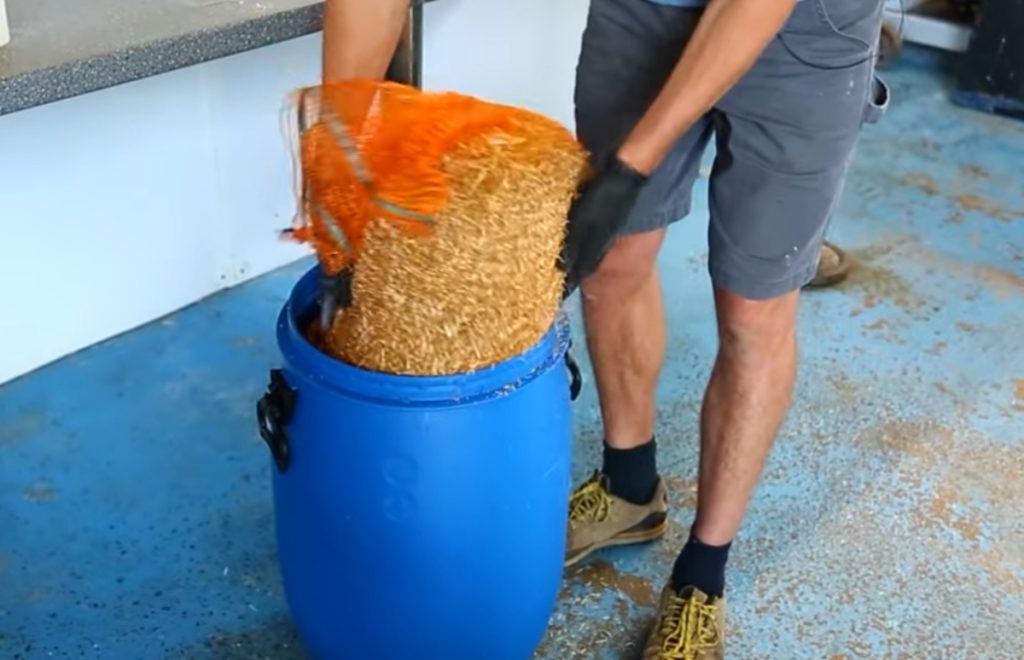
Carefully submerge your mesh bag, pillowcase or basket of substrate in the lime water.
You may need a weight of some kind, especially when pasteurizing straw, to keep the substrate under the water as it tends to float to the top when dry.
Leave the substrate to soak for 16 to 20 hours.
Step 5: Drain Substrate
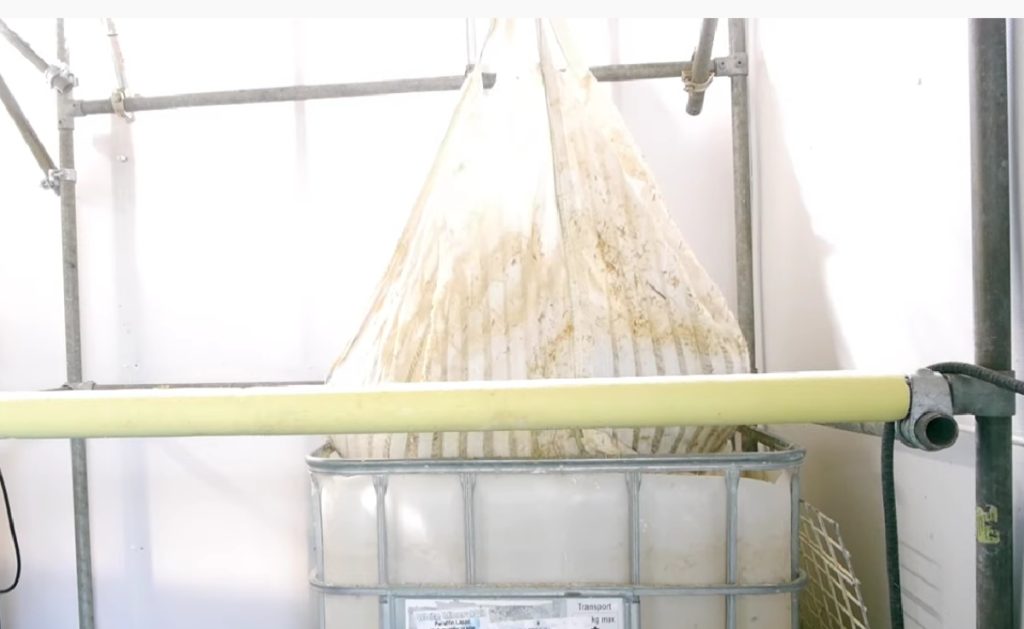
Remove your substrate from the lime water and hang it up to drain for at least an hour.
If you’re pasteurizing sawdust or hardwood pellets, you’ll need to squeeze out as much water as possible after pasteurization so that the substrate is not too wet.
Mushroom substrates should have a moisture content of 50-70%, and the proper hydration level is often referred to as the substrate being at field capacity.
A low-tech way to check the moisture content is to pick up a handful of your substrate and squeeze it.
Ideally, if the substrate has the correct moisture content, a light squeeze will cause a few drops of water to drip out, and a hard squeeze, a small stream of water.
If too much water comes out, your substrate is too wet. If no water comes out and the substrate isn’t staying together in your hand, it’s too dry.
When your substrate has finished draining and has the correct moisture content, it’s ready for you to inoculate it with mushroom culture or spawn.
Can I Use the Lime Water for Another Batch?
We do not advise reusing the lime water again to pasteurize another batch of substrate.
We have tested this, and although it’s possible to reuse the leftover lime water a second time if you really need to, you can face problems if you do this regularly.
With time, a population of high-pH tolerant anaerobic bacteria begins to build up in the water, leading to increased infections in your substrate.
For this reason, we recommend discarding the water after each pasteurization and making a fresh batch each time.
Where Should I Dispose of the Leftover Lime Water?
If you’re connected to mains sewerage, the easiest option is to pour the leftover waste water down the drain into mains sewerage, where it will go through the water treatment works.
Lime is often used as part of the water treatment process, so there are no issues when pouring lime water into mains sewerage.
If you’re off-grid, you can neutralize the high pH first using an acid such as acetic acid, citric acid, vinegar or pH down.
To neutralize the lime water, use a pH meter to monitor the pH level and slowly add acid to bring the pH down to around 7.
Then you can safely pour the water into whatever waste water drainage system you use for other gray water.
Final Thoughts
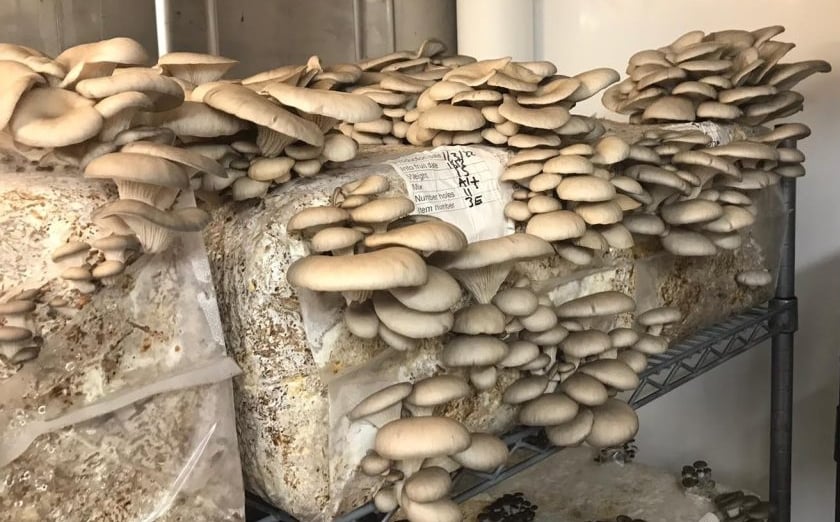
Cold water lime bath pasteurization is a low-tech, inexpensive and effective way to pasteurize substrate for growing mushrooms.
We recommend beginner mushroom growers start with easy-to-grow oyster mushrooms and use lime pasteurization, as you don’t need any specialized equipment.
Cold water lime bath pasteurization works well when growing oyster mushrooms as they’re fast growing and don’t mind the substrate’s higher pH level.
To learn more about growing mushrooms at home the low-tech way, visit our Mushroom Growing Hub or register for one of our online mushroom cultivation courses.
