One of the most important factors for success when growing mushrooms is providing the correct growing conditions.
In the wild, mushrooms will only fruit when they have a suitable growing medium and ideal temperatures and humidity levels are present.
Mushroom cultivators need to mimic these ideal conditions if they want to grow mushrooms indoors, and it’s not always easy.
Balancing fresh air exchange and humidity levels can be tricky, and having an enclosed space helps control these factors, making it much easier.
There are several ways to create an enclosed environment, and dubtub tek is one of them.
Read on to learn what dubtub tek is, the advantages of dubtub tek and how to grow mushrooms at home using the dubtub tek method step-by-step.
What is Dubtub Tek?
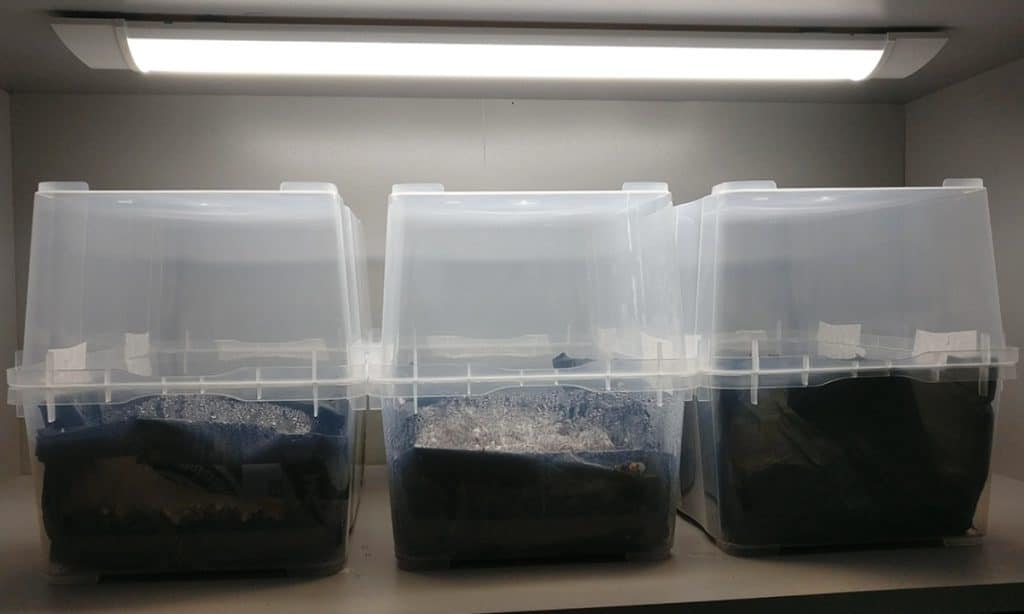
Dubtub tek is the short name for a mushroom-growing technique that uses two identical plastic storage tubs, called the double-tub technique.
When using this method to grow mushrooms, growers place one tub upside down on top of the other to create a fruiting chamber.
Dubtub tek is an inexpensive technique that allows beginner mushroom growers to create a miniature growing chamber and provide ideal fruiting conditions for their mushrooms.
Dubtub tek is very similar to growing mushrooms in a monotub, except a monotub only uses one tub.
Both monotub tek and dubtub tek use a tub to hold bulk substrate that growers then inoculate with grain or sawdust spawn.
The tubs contain the substrate and the air above it, allowing growers to control fresh air exchange and humidity levels.
You use one tub with a lid when growing mushrooms in a monotub or a shotgun fruiting chamber. Dubtub tek is different because it uses a second upside-down tub, instead of a lid, to cover the bottom tub.
Dubtubs provide extra height and a more stable climate as there is more air space inside the enclosed chamber.
Dubtub vs. Monotub
There are two main benefits of a dubtub over a monotub.
Firstly, a dubtub provides more growing room for taller varieties of mushrooms that may reach the lid of a monotub and then grow sideways, complicating harvesting or pushing the lid off the tub, reducing humidity levels.
And secondly, dubtubs create a larger space and contain more air. This creates a more stable growing environment, meaning growers don’t need to open a dubtub as often as monotubs for ventilation or misting.
The one disadvantage of dubtub tek is that it is more expensive because you need to buy two tubs instead of one.
What is a Fruiting Chamber?
Dubtubs, monotubs and shotgun fruiting chambers are ideal for beginner mushroom growers, and all use plastic tubs or totes to create mini fruiting chambers.
But what exactly is a fruiting chamber, and why do you need one to grow mushrooms?
To grow mushrooms successfully, you must mimic the natural conditions they would normally grow in.
A mushroom fruiting chamber is an enclosed space that allows growers to control temperatures, humidity levels and fresh air exchange to create ideal fruiting conditions for different types of mushrooms.
Without a fruiting chamber, you would only be able to grow mushrooms seasonally when your local climate is suitable, and people in hot, dry climates may not be able to grow mushrooms at all.
To learn more about fruiting chambers and how to build one, have a look at our article, “How to Build a Mushroom Fruiting Chamber: 7 Steps.”
Step-by-Step Guide to Growing Mushrooms Using Dubtub Tek
Follow the steps below to grow mushrooms using the double-tub technique.
Step 1: Gather Supplies
The first step when growing mushrooms is gathering all the equipment and materials you’ll need, no matter which technique you’re using,
To grow mushrooms using dubtub tek, you’ll need the following:
- Mushroom Grain Spawn
You can grow many mushroom species using dubtub tek, and if you plan on cultivating one of the more popular edible species, you’ll find it easy to order grain spawn online.
Remember to buy your grain spawn from a reputable supplier, preferably someone in your area, so the spawn does not have to travel long distances.
If you plan on growing more unusual species or don’t have access to ready-to-use grain spawn, you can make mushroom grain spawn using liquid culture or mushroom spores.
And with easy-to-grow species like oyster mushrooms, you can grow mushroom spawn using the stem butt method. - Bulk Substrate
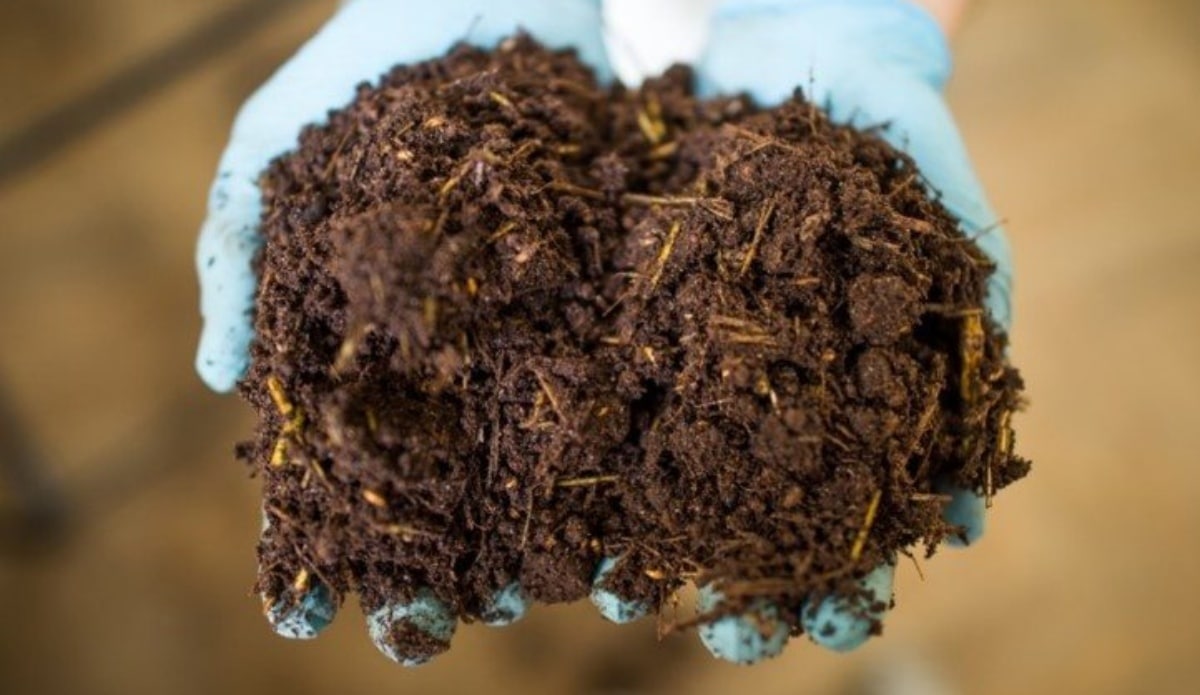
A mushroom substrate is the nutritious growing medium you provide for your mushroom mycelium to consume so that it will produce mushrooms.
The substrate will vary depending on the types of mushrooms you want to grow in your dubtub.
Growers frequently use dubtubs to grow mushrooms on less nutritious substrates like straw, sugarcane bagasse, coco coir and vermiculite mixes, or manure-based substrates that only require pasteurization.
But hardwood-based substrates provide more nutrients for wood-loving gourmet species, and hardwood pellets for pellet stoves are another popular option as their production process sterilizes them.
Depending on where you live, you may also have the option to buy sterile, ready-to-use hardwood and manure-based bulk substrates. - Materials to Prepare Your Dubtub
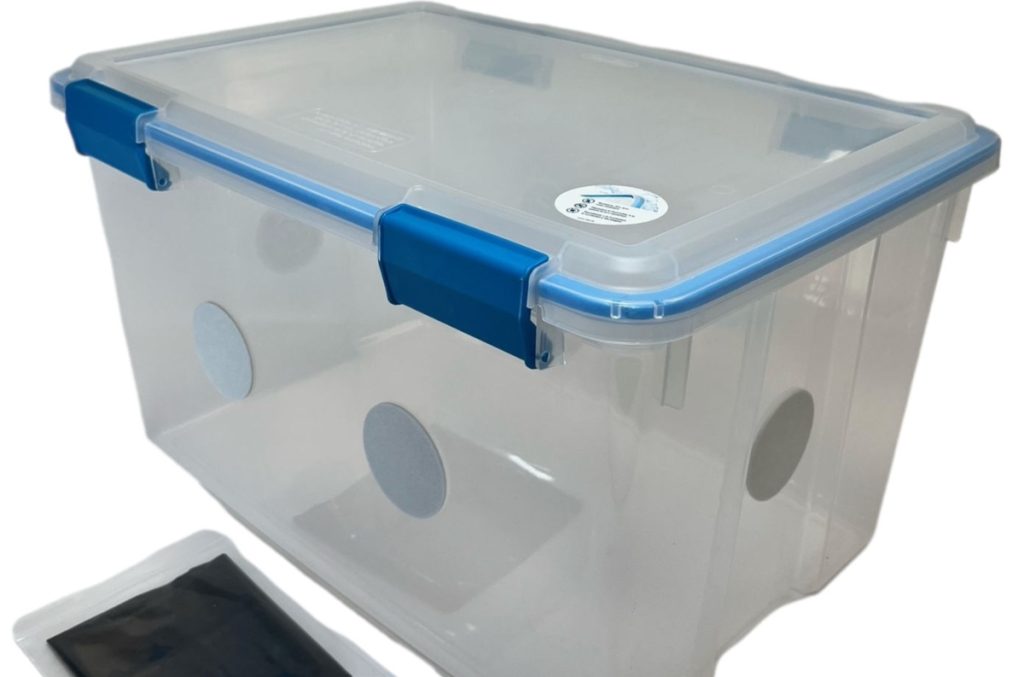
- 2 clear plastic tubs or totes that are a manageable size for you. One of them needs a lid.
- Black paint or a black plastic bag (garbage or contractors’ bags work well)
- Hand drill or a utility knife to make holes in the lid and Micropore tape
and/or - Hand drill with a 1-inch (2.5 cm) hole saw for making holes in the tubs
- Polyfill to fill these holes
- 70% Isopropyl alcohol
- A spray bottle for water
- Latex gloves
Step 2: Prepare The Tubs
Preparing your tubs is relatively easy and won’t take much time, but how you prepare them may vary slightly depending on the type of mushrooms you would like to grow.
If you plan on growing mushroom species like psilocybe cubensis that enjoy high CO2 environments, you won’t need holes in your tubs, but if you plan on cultivating species that need more fresh air exchange, drilling some holes in your tub is a good idea.
Make holes in the tubs or lid
Making holes in your dubtub will help with fresh air exchange and allow you to grow a broader range of mushroom species.
You’ll need four holes in each container, two on each of the long sides of the tub. The height of these holes from the bottom is more important than how far they are from the end of the tub.
Plan the location of your holes based on how much substrate you plan on using.
You want your holes to be close to the top of your substrate in the bottom tub, as this helps to reduce CO2 levels but remember to leave space for a casing layer if you’re going to use one.
The holes in the top tub will allow air, filtered by the polyfill, to enter the tub, providing fresh air exchange.
You can make these holes in the top tub the same height from the bottom as the other tub, so they’re interchangeable.
When you have finished drilling your holes, you’ll need to stuff them with polyfill. The best way to do this is to take a wad of stuffing and push it into the hole from the outside.
This should result in the polyfill on the tub’s interior looking like large round cotton balls. This looks neat and helps to prevent them from getting in the way of the growing mushrooms.
Fill the holes with enough polyfill to fit snugly, but not so much that it’s too tight and the tub is bending while you push it in.
If you aren’t going to make holes in your tub, you’ll need to drill or cut some holes in the lid for the bottom tub and cover them with micropore tape.
You will use the lid to cover the tub during incubation.
The micropore-covered holes are for fresh air exchange and allow the mycelium to breathe during colonization without drying the substrate.
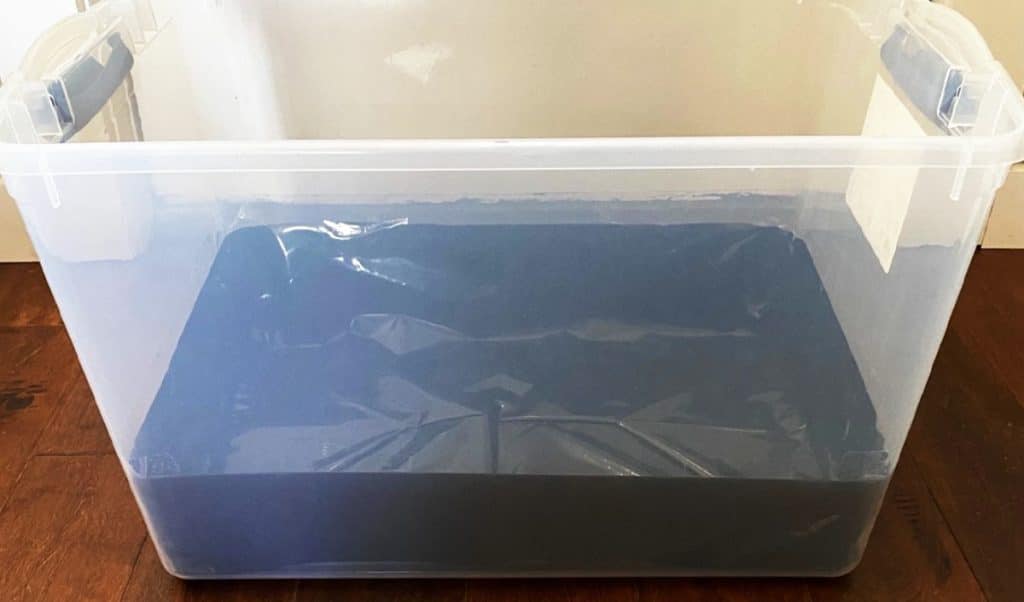
Paint or line the bottom tub
Apart from making holes, you’ll need to paint part of the bottom tub black or line it with a black bag.
This will encourage your mushroom mycelium to form pins on the top of the substrate and not on the sides or the bottom.
In nature, light and fresh air signal to the fungal mycelium that it has reached the surface of the substrate and can produce fruit.
Because you are using a clear plastic tubs to make your dubtub, it’s best to cover the area below the substrate with something to block out light.
Depending on the size of your tub, you only need to cover 4 to 6 inches (10 to 15 cm) of the tub’s sides or as high as your substrate will go.
There are several ways to do this, including spraying or painting the outside of the tub with black paint, using electrical tape to cover the bottom part of the tub, or lining it with a black bag.
When using smaller shoebox-size tubs, many growers line the entire bottom tub with a black plastic bag, as the top tub will provide enough space for fresh air and light.
One of the benefits of lining the tub with a plastic bag is that it makes it easier to remove the substrate and clean the tub when your substrate is no longer producing mushrooms.
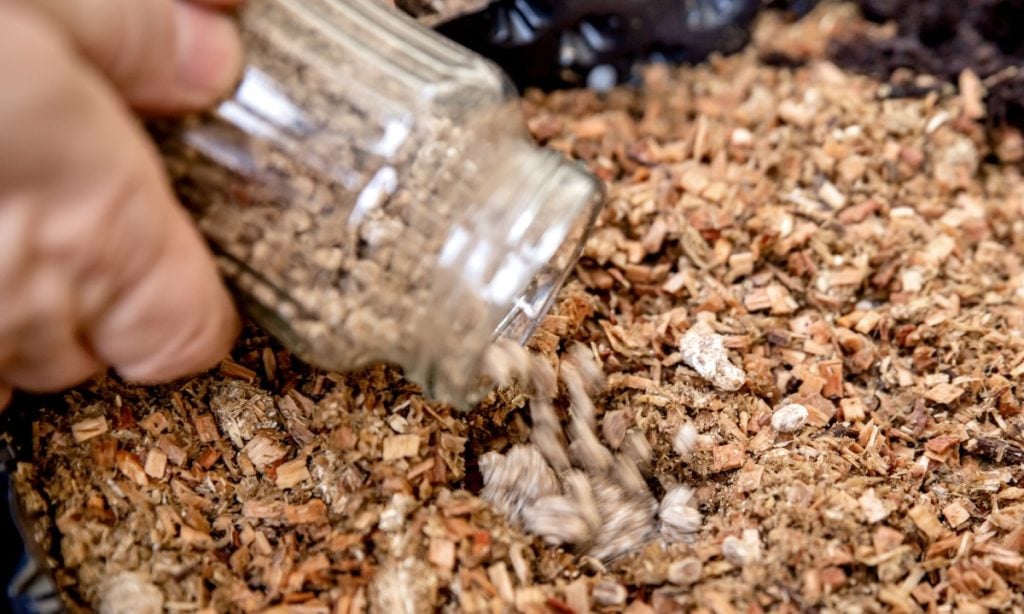
Step 3: Prepare The Substrate
To prepare a substrate to grow mushrooms, you first need to hydrate the substrate to field capacity and then pasteurize or sterilize the substrate to reduce the amount of competitor organisms.
Generally, when growing mushrooms in monotubs or dubtubs, beginners use less-nutritious substrates like coco coir and vermiculite that only need pasteurization.
Our article, “How to Pasteurize Mushroom Substrate: 5 Easiest Methods,” has details on some easy, energy-saving pasteurization techniques that don’t need specialized equipment.
Used coffee grounds are also great for beginners as they’re already pasteurized by the brewing process, so you only need to ensure they’re hydrated correctly.
Many gourmet mushrooms enjoy hardwood-based substrates that contain more nutrients and thus you’ll need to sterilize these substrates in a pressure cooker.
Our article on mushroom substrates has more information on different substrates and how to prepare them.
Step 4: Load Tubs and Inoculate the Substrate
Before you load your tub and inoculate your substrate, you must clean your workspace, equipment and tubs to help prevent contamination.
It’s best to inoculate your tub in front of a laminar flow hood, but if you don’t have one, find a clean, dust-free room where you can close any windows or doors to prevent drafts.
First, ensure your hands and clothes are as clean as possible, then use the alcohol to wipe down your work surface, tools, grain spawn bags or bottles, and tubs inside and out.
If you are using a plastic bag to line your bottom tub, wait until the tub is dry, place the bag in the tub, wipe it down with alcohol and wait for it to dry.
Now, you can load your bulk substrate into the tub. The amount needed will depend on the size of your tubs, but growers generally recommend using 3 to 5 inches (7.5 to 12.5 cm) of substrate.
Finally, it is time to add mushroom grain spawn to your prepared substrate. Mushroom growers call this process inoculation.
Mushroom growers commonly use a ratio of 1 part spawn to 3 parts substrate, but depending on the type of mushrooms you’re growing, this ratio may vary.
It’s best to research beforehand to find the recommended ratio for the mushroom species and substrate you have chosen.
Mix the substrate and spawn thoroughly using your hands or a spoon, making sure to break up any clumps of spawn.
When mixed, level out the inoculated substrate so it lies flat in the tub, as this makes fruiting easier, but remember to keep it loose and airy.
If you compact your substrate too much, the mycelium will have trouble growing through it.
If you’re using tubs with holes, you can now place the top tub onto the bottom tub and seal it with duct tape to avoid knocking it off.
Using the other method, you would now cover your bottom tub with the lid containing micropore-covered holes.
Your dubtub is ready for incubation.
Step 5: Incubation
Place your dubtub in a warm location, out of drafts, where it can sit undisturbed for at least 5 days, and do not open your tubs at all during incubation.
A closet works well for incubation as there are no drafts, and the temperature is usually relatively stable.
The mycelium does not need light during incubation, but the temperature is important as it can affect the colonization rate.
Ideal colonization temperatures vary from species to species, but generally, normal room temperatures of 68-75°F (20 – 24°C) are perfect for many popular species.
Leave your tubs undisturbed for five to six days, and then start checking them every two to three days to see how colonization is progressing. But don’t open the tubs.
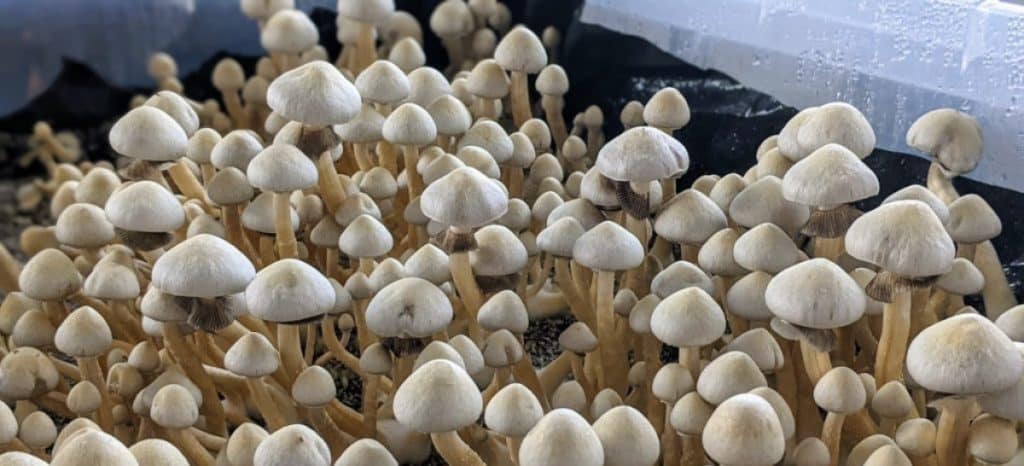
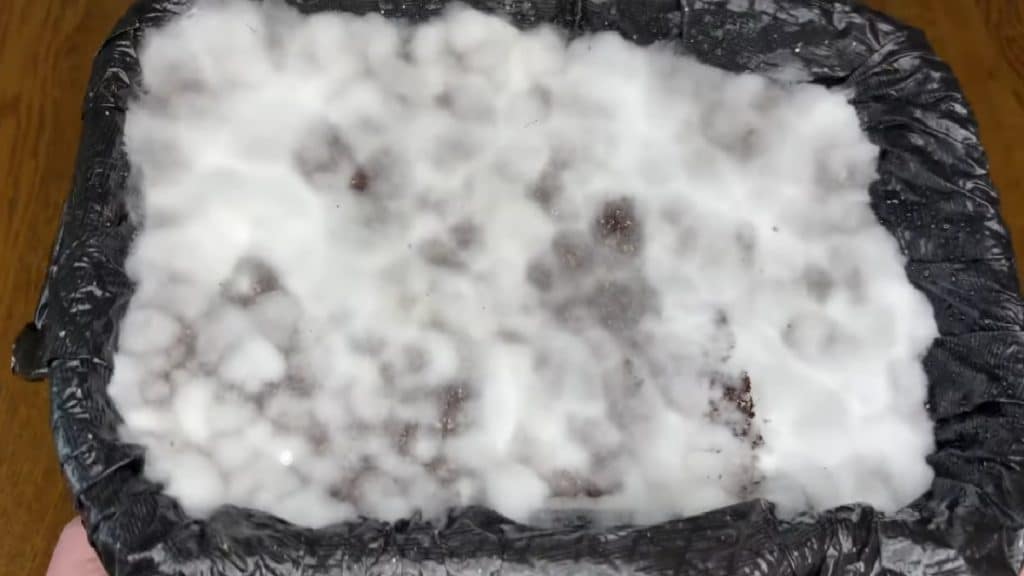
You will know your tub is ready for fruiting when the entire surface of the substrate is covered in mycelium and dense knots or bumps of white mycelium, called hyphal knots, are visible on the surface of the substrate.
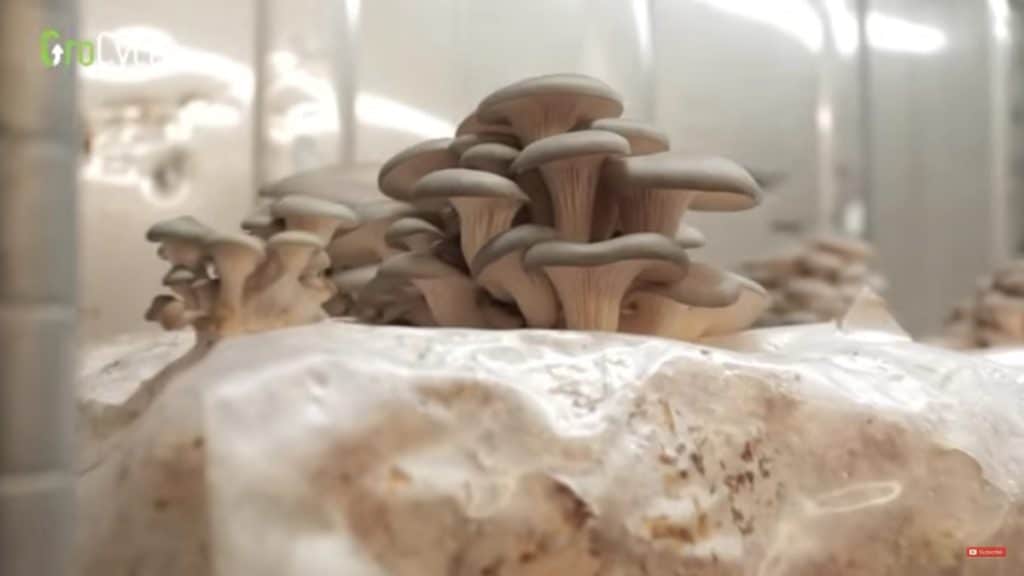
Step 6: Fruiting
Now it is time to place your dubtub in fruiting conditions, exposing it to more fresh air and some indirect light, but avoid direct sunlight.
Most growers add a thin casing layer of coco coir or vermiculite when growing mushrooms in a dubtub, as this helps to maintain moisture levels for the developing mushroom pins, but this is optional.
If you used a lid on your tub during incubation, you would now remove the lid, mist the inside of your second tub and place it upside down on top of the bottom tub to form a mini fruiting chamber.
If you already have the double tub setup, you’ll need to open your tubs, add the casing layer and mist the inside of the top tub with water before placing it back on the bottom tub.
Depending on the species you’re growing, you’ll need to open the tubs twice a day to fan the mushrooms and mist the inside of the top tub with water to maintain humidity levels.
After pinning, mushrooms grow quickly. Depending on the species, you could harvest your first flush of mushrooms in less than two weeks,
We recommend harvesting your mushrooms before they reach full maturity and release their spores.
The ideal harvesting time varies from species to species, but it’s usually best to harvest just before the mushroom caps flatten out.
Which Containers Are Best for Dubtub Tek?
The best containers for dubtub tek are sturdy, clear plastic tubs. What size you choose depends on the space you have and the mushroom species you want to grow.
Many home growers use small six-quart (5.6 liters) tubs as they don’t take much space, but these don’t hold much substrate, meaning you’ll have a much smaller yield.
Generally, growers recommend a minimum tub size of 19 quarts (18 liters) and a maximum tub size of 64 quarts (60 liters) for dubtub tek.
Final Thoughts
Dubtub tek is a cost-effective, easy way for beginner mushroom growers to create ideal fruiting conditions and grow mushrooms at home.
We recommend first-time mushroom growers start with a mushroom growing kit, but once you have a little experience, you may want to move on to a monotub or dubtub.
Later, if you decide to expand your production and start selling mushrooms for profit, you’ll need to set up a mushroom grow tent or grow room to increase your yields.
To learn more about mushroom growing and low-tech mushroom farming, visit our Mushroom Growing Hub or sign up for one of our mushroom cultivation courses.