Growing your own mushrooms at home is extremely rewarding, and fresh gourmet mushrooms are delicious and provide many health benefits.
Mushroom grow kits are an excellent way for beginners to get started, and easy-to-grow mushroom species like oyster mushrooms can be cultivated with minimal equipment.
But, if you want to grow fussier types of mushrooms or medicinal mushrooms that need nutrient-rich substrates, you’ll need to sterilize your mushroom substrate.
Read on to learn what sterilization is, how it differs from pasteurization and how to sterilize mushroom substrate with a pressure cooker step-by-step.
What Is Sterilization?
Sterilization of mushroom substrates is a method of preparing substrates using a combination of steam, time, temperature and pressure to kill living organisms and spores.
To sterilize a substrate, you need temperatures higher than 250°F (121°C) for at least 2 hours.
Boiling water or steam on its own is not hot enough to sterilize a substrate as the boiling temperature of water at sea level is 212°F (100°C), and at higher altitudes, it’s even lower.
Increasing the heat does not increase the temperature of boiling water any further. You’ll need to add pressure to raise the temperature to 250°F (121°C) or above to kill off bacteria and fungal spores.
Most mushroom growers will need 15 PSI of pressure to increase the temperature of the steam to 250°F (121°C).
If you have equipment that can increase the temperature higher than this, sterilization will take less time.
Small-scale mushroom growers generally use pressure cookers for sterilization and upgrade to an autoclave, retort or pressure canner as their mushroom business grows.
Does Mushroom Substrate Need to Be Sterilized?
You don’t need to sterilize all mushroom substrates.
The nutritional value of a substrate and the type of mushrooms you want to grow will dictate whether the substrate needs sterilization or if pasteurization will do.
The more nutrients a substrate contains, the greater the chances of contamination.
Moist, nutrient-rich substrates are not only appealing to mushroom mycelium. Other organisms, like mold and bacteria, also enjoy them and often grow faster than mushroom mycelium.
Sterilizing a substrate kills all living and dormant organisms and fungal spores and gives your mushroom mycelium the best possible head start.
You’ll need to sterilize high nutrient substrates or substrates with high levels of supplementation like manure, soy hulls, grains and master’s mix.
But less nutritious substrates like straw, sugarcane bagasse, coco coir, hardwood sawdust and cardboard only need pasteurization.
Our article on mushroom substrates has more information on different mushroom substrates and how to prepare them.
What’s the Difference Between Sterilizing and Pasteurizing Mushroom Substrate?
The main difference between the two is that sterilization aims to kill all potential contaminants, while pasteurization eliminates most, but not all, competing organisms.
There are several pasteurization methods that reduce the competing organisms in less nutritious substrates, like straw and sugarcane bagasse, enough to give fast-growing mushroom species an advantage.
But mushroom species that require more nutritious substrates, or slow growers with longer colonization times, need sterilized substrates with as little competition as possible.
How to Sterilize Mushroom Substrate With a Pressure Cooker
If you have some mushroom growing experience and are ready to try growing medical mushrooms or fussy gourmet species, you’ll need to sterilize your substrate.
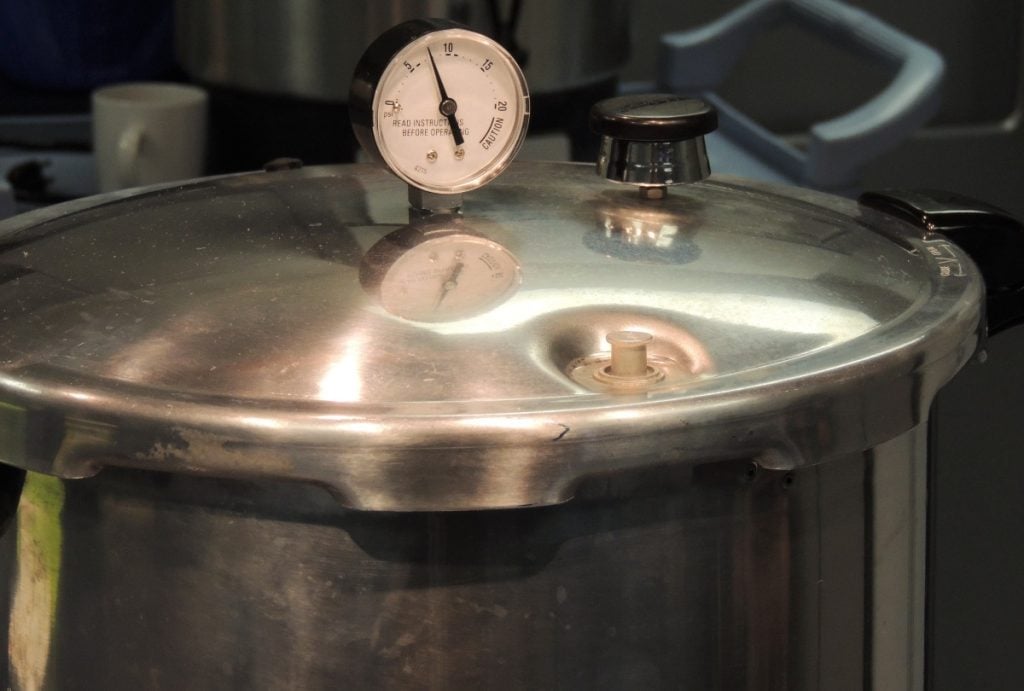
For small home growers, the easiest way to do this is with a pressure cooker that can maintain a pressure of 15 PSI.
To sterilize a substrate with a pressure cooker, you’ll need the following items:
- A pressure cooker – Ideally, you want a pressure cooker that’s big enough to hold more than one bag at a time.
- Jars or bags of prepared substrate – Mushroom grow bags and bottles can withstand high sterilization temperatures and are designed to make mushrooms growing easier, but you can also use jars for substrate.
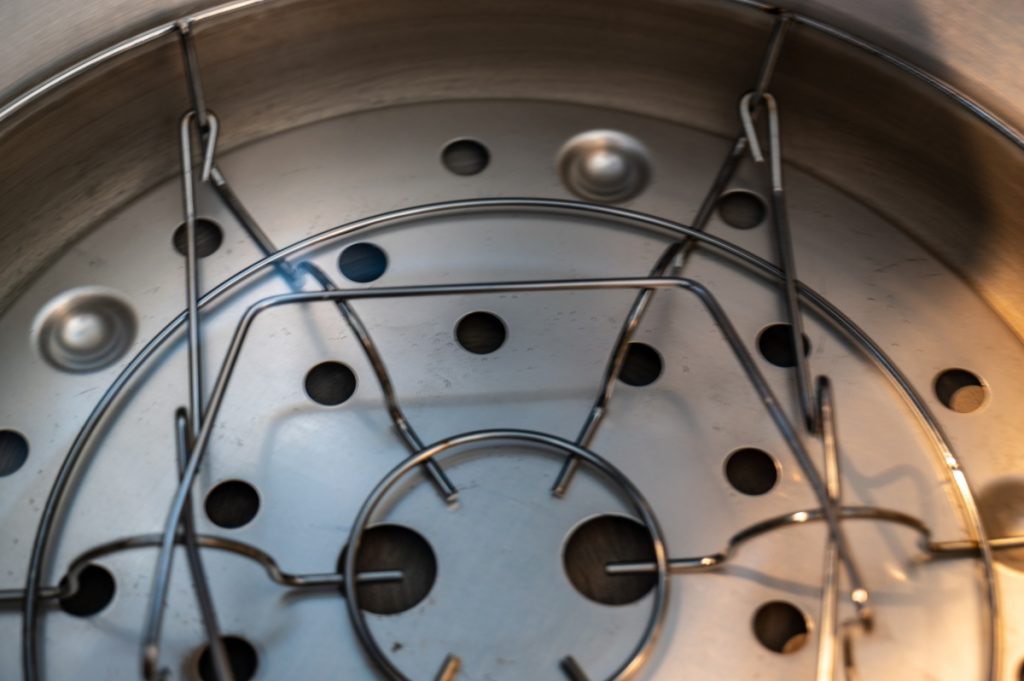
- Metal cooking rack -You’ll need a wire rack of some sort or jar lids for the bottom of the pressure cooker.
- Water
Follow the steps below to safely sterilize mushroom substrate using a pressure cooker:
Step 1: Check Your Pressure Cooker
Before using your pressure cooker, check it carefully to ensure that all the parts are in good working order and there are no dents, bulges or cracks.
Some pressure cookers have rubber seals. Over time these can degrade and cause the pressure cooker to leak. Check any seals for signs of damage.
Check the cooker lid and ensure nothing is obstructing the vent pipe, all screws are tight, and the pressure gauge reads zero and has no signs of damage.
Step 2: Put Your Substrate in the Pressure Cooker
Before you place your jars or bags in the cooker, fold your bags in a way that prevents steam from entering through the filter patch and cover any jar filters with foil.
This helps to prevent extra moisture from entering through the filters and oversaturating the substrate.
Then place your metal rack or jar lids at the bottom of the pressure cooker and put your substrate jars or bags on top.
Although mushroom growing bags can withstand high temperatures, prolonged contact with the pressure cooker’s base may cause melting or brittle bags.
The same applies if you are using jars, as direct contact with the cooker’s base can cause the glass to crack.
Also, ensure your jars or bags are not touching the sides of the pot. You can line the lower sides with a kitchen towel or cloth if necessary.
Step 3: Add Adequate Water
Pour the required amount of water into the pressure cooker. You need enough water to last the duration of the sterilization without running dry.
Larger substrate blocks take longer to sterilize and will need more water.
Most growers recommend starting with around 3 quarts (2.8 liters) of water or enough water to go and 1 to 2 inches (2.5 to 5 cm) up the side of the bags or jars.
With practice, you’ll learn how much water to use, but initially, you’ll need to keep an eye on the cooker and take notes.
Before you close the lid, remember to weigh down grow bags with a heavy plate or something similar. This will prevent them from blocking the pressure relief valve on the pressure cooker lid.
Step 4: Close the Lid and Turn up the Heat
Place the lid on your pressure cooker and seal it. Next, place the pressure cooker on a stove or gas cooker set to maximum heat.
It will take a while for the water to boil and heat up the pressure cooker. As it gets hotter and pressure builds up, steam will begin to come out of the vent pipe.
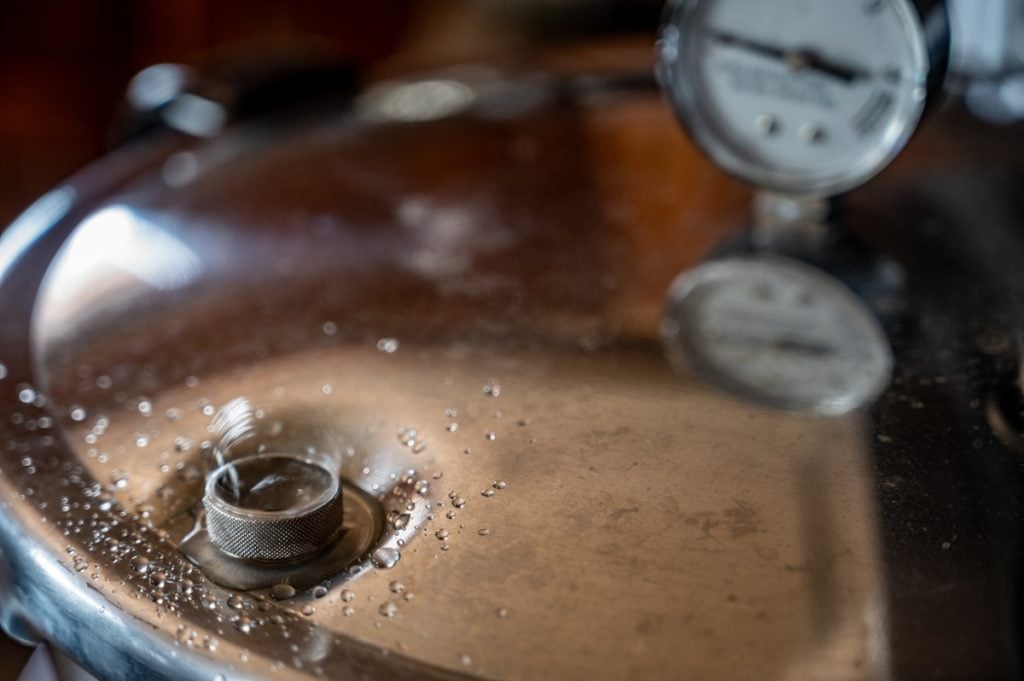
Once the steam stops spluttering and there’s a steady flow, place a 15 PSI pressure regulator weight on the vent.
Step 5: Monitor Pressure and Sterilize the Substrate
Pressure will continue to build up in the pressure cooker, and when it reaches 15 PSI, the pressure regulator weight will start jiggling around, releasing steam.
Turn down the heat and adjust it until the steam has just enough pressure for the weight to bob gently.
At this point, you can set a timer or alarm and start your sterilization time.
Step 6: Turn Off the Heat and Leave to Cool
Once the time is up, turn off the heat and allow the sterilized substrate to cool in the pressure cooker for at least 8 hours.
When completely cool, your substrate is ready for inoculation with mushroom spawn.
It’s best to do this in front of a laminar flow hood to help prevent contamination.
How Do You Sterilize a Mushroom Substrate Without a Pressure Cooker?
Most growers use pressure cookers or autoclaves to sterilize mushroom substrates because without pressure, you won’t reach temperatures above 250°F (121°C).
But it’s possible to get results very close to sterilization without a pressure cooker.
To achieve this, you need to maintain high temperatures for long periods.
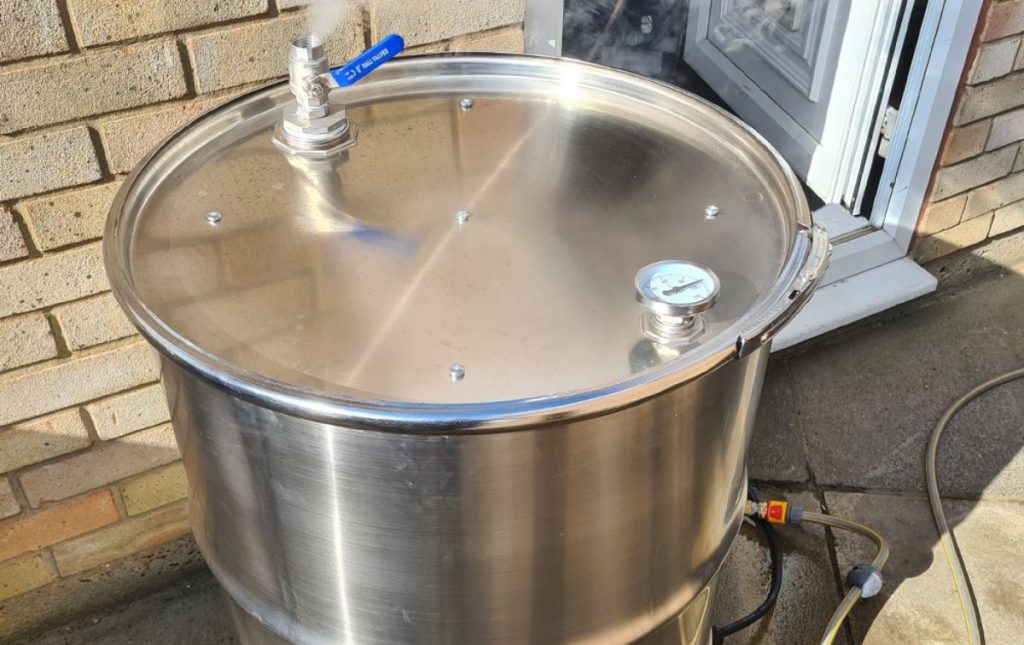
Barrel steam sterilizers are ideal for this and popular with small mushroom farmers who don’t have the funds for an autoclave.
As they operate without pressure, they’re less expensive, and it’s possible for growers to build their own DIY barrel steam sterilizer.
This article from Archer’s mushrooms shows you how to build a barrel sterilizer step by step.
But you can also buy ready-to-use barrel steam sterilizers online, like these mushroom substrate steamers from Bubba’s barrels.
When using a steam sterilizer, the substrate is super pasteurized rather than sterilized.
Super pasteurization is also known as atmospheric sterilization and involves keeping the substrate as close to 212°F (100°C) as possible for long periods.
When using a barrel steam sterilizer, you’ll need to keep the substrate between 194 and 212°F (90 and 100°C) for up to 18 hours.
It takes much longer, but the results are almost identical to classic sterilization and suitable for most mushroom species.
Can You Sterilize Mushroom Substrate in an Oven?
You cannot sterilize mushroom substrate in the oven, but you can pasteurize it. This method is sometimes used for small quantities of substrate or casing material.
One of the challenges when using an oven to pasteurize mushroom substrate at 250°F (121°C) for 30 minutes is that you can’t use bags.
This means that as soon as the substrate cools down, it’s often exposed to airborne contaminants.
The oven’s dry heat also dries out the substrate and may burn it, reducing the nutrients available for the mycelium.
If the substrate dries out too much while in the oven, you’ll have to rehydrate it using distilled water to help prevent contamination.
Can You Sterilize Mushroom Substrate in a Microwave?
As with the oven, you can pasteurize small quantities of mushroom substrate in the microwave. But it’s not a reliable way to sterilize substrate as it doesn’t kill all fungal spores.
Microwaves work by causing the water molecules in substances to vibrate, creating heat that cooks or heats the food.
This means a microwave can’t reach temperatures much higher than boiling point 212°F (100°C). Additionally, the substance you’re heating needs water content for the microwave to heat it effectively.
Fungal spores don’t contain much water, making them difficult to heat. And steaming alone will not create temperatures high enough to kill them.
But, you can use a microwave steamer to pasteurize small quantities of substrate and reduce the number of competitors.
How Long Does it Take to Sterilize a Mushroom Substrate?
The time required to completely sterilize mushroom substrate depends on the amount of substrate and the temperatures used.
Generally, sterilizing substrate blocks in a pressure cooker at 250°F (121°C) takes anywhere from 1 to 4 hours.
The minimum sterilization time for small blocks of substrate is one hour, and for large blocks, 3 to 4 hours. If you leave the blocks for too long, there’s a danger of over-sterilization.
Once sterilization is complete, you’ll need to leave the substrate until it’s cool enough for inoculation. This can take up to 8 hours.
Atmospheric sterilization in a barrel steam sterilizer takes up to 18 hours, and you’ll also need to allow time for the substrate to cool.
Pros and Cons of Sterilizing Mushroom Substrate
Sterilizing mushroom substrate has several benefits, but there are also a few cons to consider.
Pros:
- Kills all competing organisms
- Increases yields as you can add supplements to provide more nutrients for the mushrooms
- Allows you to grow a wider variety of mushrooms on various nutrient-rich substrates
- Reduces spawn costs as you can use less spawn to inoculate sterilized substrates
Cons:
- Uses a lot of energy
- High-pressure equipment is more expensive
- Needs careful monitoring during the heating stage
- It can take a long time
Final Thoughts
Many mushroom growers use pressure cookers, autoclaves or barrel steam sterilizers to sterilize mushroom substrate.
But you don’t need lots of experience or expensive equipment to start growing mushrooms at home.
You can grow delicious gourmet mushroom species like oysters and shiitakes using simple methods and minimal equipment.
To learn more about growing mushrooms the low-tech way, visit our Mushroom Growing Hub or sign up for one of our mushroom cultivation courses.
