So you want to learn how to grow microgreens?
Perhaps you’re looking to start a microgreens business that you can earn a part or even full-time income from.
Or maybe you’re just want to grow microgreens at home as a way to add some more healthy greens to your diet. Whatever your reasons for growing microgreens is, this article will help you get started.
Growing microgreens is quite simple and straightforward once you learn the basics. However, there are some common pitfalls you’ll want to avoid.
- What varieties of microgreens should you grow?
- Should you use soil or hydroponics? Grow lights or natural sunlight?
- How and when do you harvest them?
This article answers all of those questions for you and more.
See Inside Our Microgreens Farm
Before we jump into all the details, check out this short video of our microgreens that shows how simple the growing setup can be:
Has that inspired you? Read on to find out how to get started growing some microgreens yourself.
Also, check these 21 Of The Best Small Scale Farming Ideas for inspiration;
The Best Varieties of Microgreens To Grow
There are many different types of microgreens that you can grow. Some are more challenging for beginners than others, so here’s a list of the top 5 best varieties to get started with:
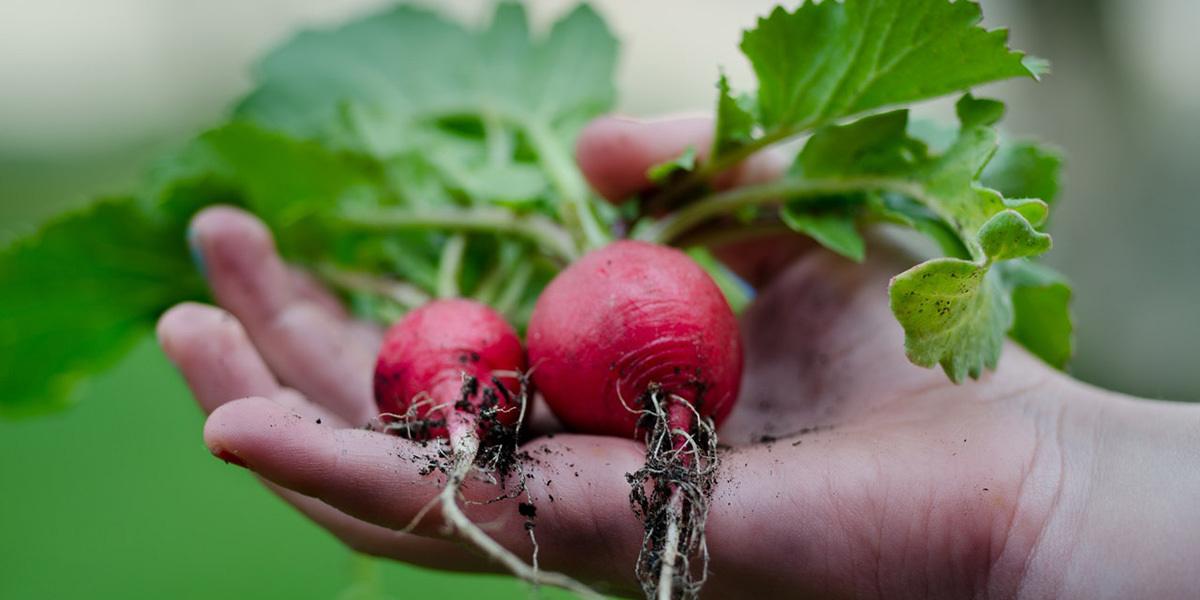
1) Radishes
Radishes are an awesome microgreen to start with. They germinate fast (1 to 2 days) in both warm or cool conditions, and grow quickly. Usually they’re ready to harvest in just 5 to 10 days.
Radish microgreens are high in vitamin C but also contain all sorts of vitamins and nutrients across the board. They even offer a good amount of protein. Radish microgreens don’t need to be pre-soaked and prefer to be grown hydroponically, although they’ll also thrive in soil.
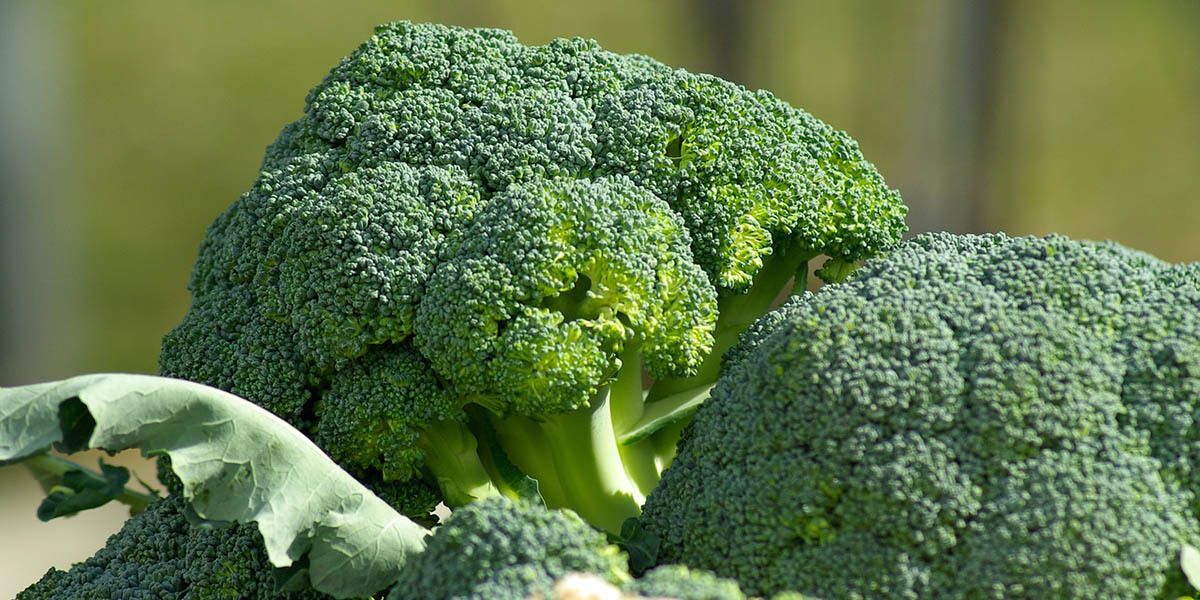
2) Broccoli
Broccoli microgreens are one of the healthiest varieties around.
Like radishes, broccoli microgreens are extremely easy to grow.
They’ll even grow in a well-ventilated jar if you just rinse them with water a couple of times per day. But sow them thickly on soil for really high yields.
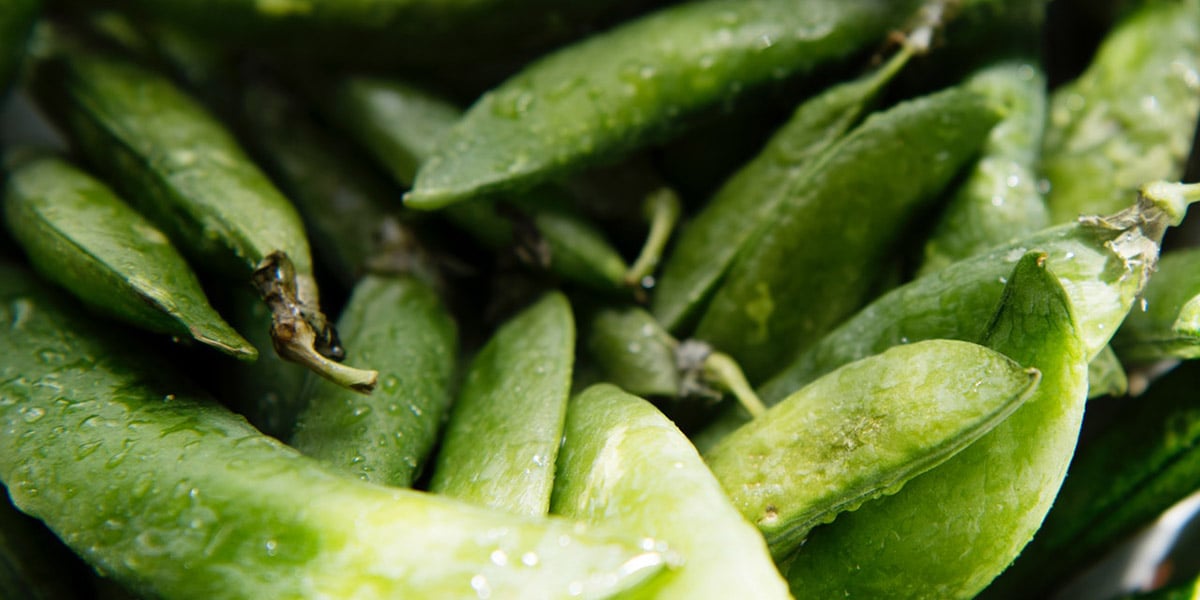
3) Pea
Kids love pea shoots because they’re crunchy and sweet. They taste just like tender young snow peas.
Pea seeds should be soaked for up to 24 hours and then sown at a high density. They should be harvested once they reach about 5 centimeters.
Pea shoots are high in vitamin C, vitamin B1, niacin, iron, magnesium, and zinc. They’re great either cooked or eaten raw.
If you’re growing them outdoors, you’ll want to cover them with some kind of protection. They’re so tasty that birds and other wildlife will likely want to come munch on them too!
4) Mustard
People have been growing mustard for thousands of years. Normally its grown for its seeds, but you can grow it for its leaves and add them to salads or stir fries too.
Mustard microgreens are bright lime green and have a distinct mustard flavor. You can either harvest them as microgreens, or let them grow a bit longer to get baby greens for salads.
They add a nice peppery zest to salad mixes.
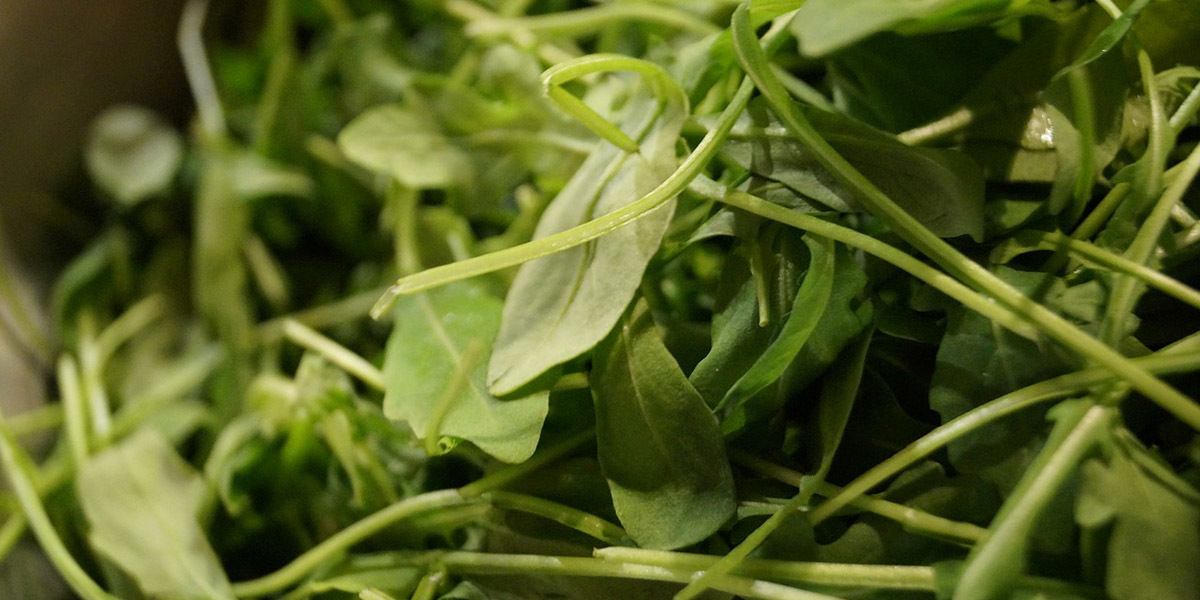
5) Rocket
Rocket is also known as arugula. It has been a popular salad since ancient times and is used to add a bit more of a bitter spicy taste to milder greens.
Rocket loves cool weather, so it’s great to grow even in the autumn or winter as rocket can germinate at temperatures as low as 5 degrees C.
Don’t sow rocket seeds too densely or they can rot. These microgreens have fragile stems so you also need to take care when watering.
They bruise easily so harvesting and washing needs to be done with care as well.
- Read about The most profitable crops to grow on a small farm.
Step 1: Soaking Microgreen Seeds
How To Soak Seeds
Pre-soaking your microgreen seeds isn’t hard.
Simply measure out the amount of seeds you want to use.
It’s a good idea to rinse off your seeds and drain them in a strainer or colander to remove any residue.
Then fill a bowl with water to cover the seeds with an inch or more of water above the seeds.
Some seeds like wheat grass absorb a lot of water during this step, so you might need even more water depending on the kind of seeds you’re using.
Cover your bowl and let your seeds soak for 12 hours or overnight.
Some seeds prefer warmer weather, while others germinate better in colder weather.
As a rule I’d soak all seeds in cold water. Depending on the type of microgreen seed you’re using, you may want to refrigerate your seeds as they soak, especially if it’s a hot day.
Seeds don’t need any light to sprout, but while soaking I recommend leaving your seeds where you can see them. That way you won’t forget about them. Oversoaked seeds go bad and are no longer viable.
After Soaking
Once your seeds have soaked, drain off the excess water in a colander. Give them a quick rinse, and drain them again.
After this you can now return your seeds to the bowl that they soaked in. You don’t want them to dry out, but you don’t want them standing in water either.
Cover your bowl with a wet paper towel or plastic wrap to keep the moisture in, and let them continue sprouting for another 12 to 24 hours.
You’ll want to keep your seeds from drying out. They need to be kept damp, but not wet. Usually this is achieved by misting them with a spray bottle 2 or 3 times per day.
Transferring To Growing Medium
Depending on the variety of seed, you should start to see little sprouts coming out of your seeds after about 36 to 48 hours from when you first wet the seeds.
Once they reach this point, they’re ready to transfer to their growing medium. Usually either soil or a natural fiber pad.
We’ll cover this in more detail in the next section.
Monitor pH Levels Of Your Water (Optional)
Ideally you should use water throughout the soaking process which is pH balanced.
Although if you’re just starting out, tap water will normally work just fine. If you do want to use pH balanced water, you can test your water using litmus strips.
An ideal pH for most seeds is a little bit less than 6.0. If your pH is a bit high, such as 7.0, you can add 2 teaspoons of lemon juice per gallon of water (about 3.7 liters) to bring the water’s pH into the ideal range.
Additional Benefits of Pre-Soaking
Pre-soaking your microgreen seeds lets you monitor them and make sure that you’re using viable seeds. That can save you time and effort compared to sowing them directly on to soil without soaking.
Normally when you pre-soak seeds, any that float to the top of the water aren’t likely going to sprout, so you can skim them off.
Step 2: Germinating Microgreens
Germination is the process of a dormant seed sprouting and beginning to grow into a living plant.
A small plastic container usually works well as a home for your microgreens. You can start by using plastic take-out containers, pie plates, or clear salad or fruit boxes.
If you’re going the DIY route, just make sure to poke some holes in the bottom of your container for drainage.
Fill the bottom of your container with a high quality potting soil, and level it out with your hand. Be careful not to compress the soil too much.
Now simply scatter your sprouted seeds onto the surface of the soil. You don’t want to completely bury them, just press them down gently into the soil with your hand or a sheet of cardboard. Then mist your seeds and soil with a spray bottle.
In the early stages of germination, your microgreens don’t require any light.
In fact, microgreens usually perform better if you put them somewhere not exposed to sunlight, or cover them with something to prevent light from getting in.
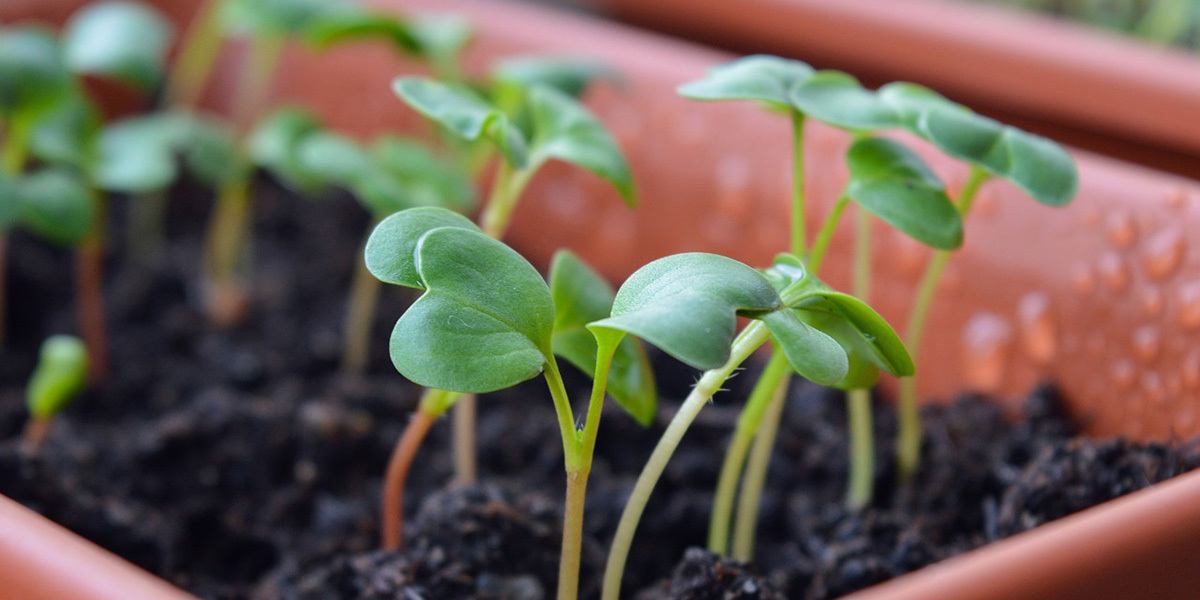
Once they start getting bigger, it’s time to uncover them and give them access to sunlight. This will turn them from pale spindly sprouts into healthy green baby plants.
You can leave your microgreens exposed or cover them with a clear lid and place them on a sunny windowsill.
If you put a lid over them to keep moisture in, just make sure your greens don’t get too hot and start to cook.
If you use a lid, you may not need to water your greens at all. If your greens are exposed to the open air, you’ll likely want to mist them a couple of times per day to keep them moist (but not wet).
Your microgreens will need to get about 4 hours of sunlight per day.
During the winter when the sunlight isn’t that strong, they might need even more than that.
If your greens are pale and spindly, it is likely that they aren’t getting enough light. In that case, you might want to use a grow light to supplement light levels.
To Use Soil, Or Not To Use Soil?
The majority of microgreen growers use soil or a natural fiber like coconut coir.
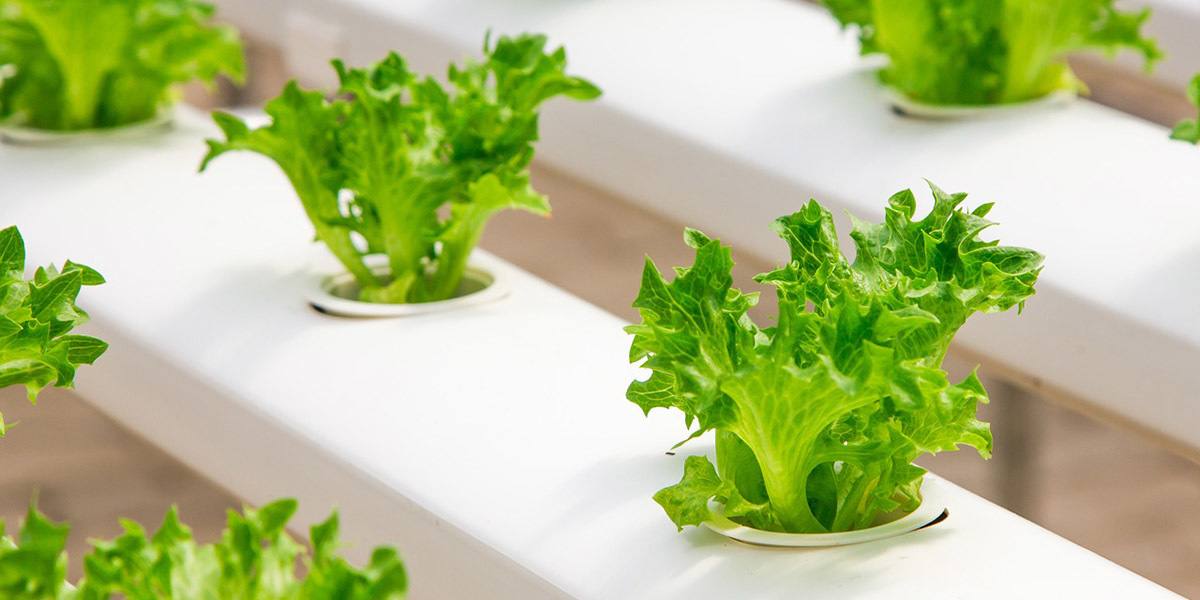
I’m not aware of any large-scale microgreen operations that use hydroponics or aquaponics, and I don’t see much of a need to bother with these techniques. It’s too much cost and hassle to get set up.
If you already have hydroponics equipment though, you can read here for more info on how to grow microgreens without soil.
Filling a tray with potting soil and starting your microgreens is much easier. Even on a large scale. With a 200 square foot greenhouse, it’s pretty easy to get enough soil trays to generate $500 per week or more.
Scaling up with soil is easy. You just need a larger space, or you can even start stacking flats on top of each other vertically.
The cost of growing microgreens in soil is really low. You can likely get your costs down to $1 or $2 per flat. I think that would be hard to match using aquaponics or hydroponics.
So for this reason I’d suggest using soil whether you’re just growing microgreens at home as a hobby, or trying to do it on a commercial scale.
It’s just much easier to get up and running using soil, and there’s less to go wrong. After all, soil is where plants are naturally meant to grow!
Soil Pros and Cons
Pros
- Logically makes sense – plants grow in soil!
- You can compost your growing medium, creating a “closed loop” where all nutrients and organic matter are recycled.
- Can be organic.
- Cheaper and easier. Especially for beginners.
Cons
- It takes longer to wash your crops after you harvest them to get all the dirt off.
- More material to deal with. Both in terms of buying and using soil, and cleaning up.
Hydroponics Pros and Cons
Pros
- It’s cleaner. Less dirt in your workspace, and less time spent harvesting and washing your microgreens.
- There are minimal inputs.
Cons
- Hydroponically grown microgreens can’t be organic since they’re grown using fertilizer and water additives.
- You can’t bring in nutrients from local waste (composting, etc.)
Step 3: Giving Your Microgreens Light To Grow
Once your microgreen seeds have sprouted, you need to expose them to 4 to 8 hours of light per day. Either from sunlight or LED grow lights.
But which is better?
To Use Lights, Or Not To Use Lights?
Before we go any further, it’s worth pointing out that both options can work extremely well, but there are some pros and cons to each.
The Argument For Artificial Light
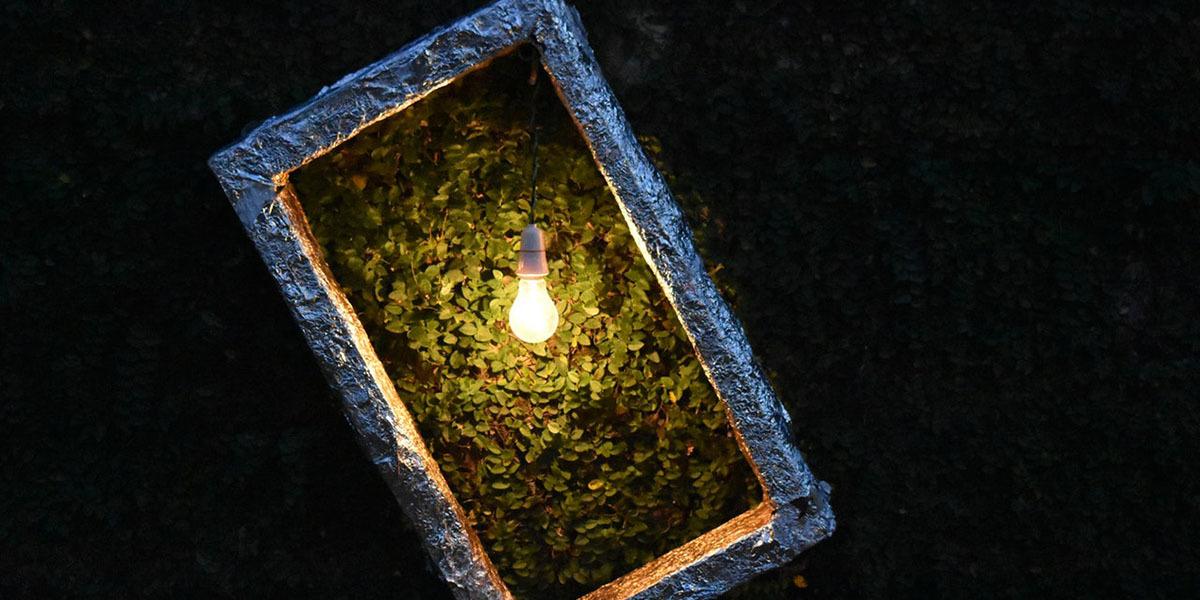
I would argue that using grow lights is better for beginners. It gives you more precise control over the growth of your microgreens.
You can set your lights on a timer and you know that your greens are getting the exact same amount of light every single day, regardless of what time of year it is. You can even grow them in a basement!
What Kind Of Artifical Lights To Use?
You want to avoid incandescent (tungsten) light bulbs or any kind of bulb that generates just as much heat as light.
This also includes CFLs or compact fluorescent lights. You need to place your bulbs very close to your microgreens, and these kinds of bulbs can get too hot and burn your plants.
Fluorescent lights are a better option. They give off more light than heat, and the light is more dispersed. There are also LED bulbs that you can use as grow lights.
Unlike fully grown plants that require broad spectrum lights while flowering and producing fruit, microgreens can get by with standard fluorescent lights that you might already have lying around your house.
Using broad spectrum light bulbs may result in more full and vitamin-rich microgreens though if you’ve got the money to spare.
Lighting follows an inverse square law. That means the further your lights are away from your microgreens, the exponentially less bright they’ll be.
When a light is 2 feet away, it’s only 1/4 as bright as at the source. At 4 feet away, light is 1/16th as bright!
So you want to get your light bulbs as close to your microgreens as you can without burning them. At least within a foot, and some growers even position their lights within an inch or two of their plants.
The Argument For Sunlight
Sunlight is free and natural. You can just place your microgreens on a sunny windowsill or even plant them outside and let them grow in sunlight. That way your plants won’t have an impact on your electricity bill.
To grow your microgreens in sunlight, you’ll need a window where they get direct sunlight for at least 4 to 8 hours per day.
If you’re planning to grow many trays of microgreens, then placing them all on a windowsill in your home likely isn’t feasible. You’d need to make shelves to hold them or create a small greenhouse outside.
This will cost more up front, but if you plan on growing microgreens for years to come, then the one-time investment will save you money on your electric bills every month.
Growing in sunlight is better in warmer and sunnier areas like the southern US and Australia that get plenty of sunlight year-round and have mild winters.
It’s less feasible to use natural light in the UK or Canada where it may be cloudy or cool for most of the year.
Some home windows feature UV protection which limits the type of light that enters your home, but this isn’t an issue for microgreens as they don’t need the full spectrum of light to grow.
If you’re growing microgreens in sunlight, you need to watch to make sure they don’t get too hot and start to wilt or burn. You should provide them with some form of ventilation if they’re in a confined space as well.
Why Light Is Important
Whether you use artificial or natural light, the amount of light your microgreens get will have a big impact on how they taste, and how rich they are with vitamins and minerals.
Think about a head of lettuce. The outer leaves exposed to sunlight are a dark green and often much more flavorful. Inner leaves are pale and usually devoid of any flavor, and contain less nutrients as well.
So to get the best possible microgreens we can grow, ensuring they get enough light is critical.
The greener your microgreens are, the more chlorophyll they have. This is a good indication of a plant’s sugar content, as well as other phytonutrients.
Aside from taste tests, there is a more scientific way to test the nutrient density of food called a BRIX meter, also called a refractometer. A Brix (Bx) is a measure of how much sugar a plant has, in the same way we use calories to measure food energy.
A higher BRIX reading indicates that your microgreens are high in nutrients.
Plants grown in ideal lighting conditions will almost always have higher BRIX readings than those that get insufficient light. Although other factors like soil quality can also play a role.
What Is Reflected Light?
Microgreens growers can use reflectors to intensify artificial light.
You can create inexpensive reflectors using aluminum foil. Even white cardboard will help reflect some light.
By reflecting light, you can get away with using less powerful bulbs.
Of course, sunlight can also be reflected. You can put reflectors on the sides and behind your microgreens to give them a bit of extra light.
If you don’t want unsightly aluminum foil reflectors in your window, painting the shelves that hold your trays with a glossy white paint will help reflect some additional light as well.
Check How Much Light Your Microgreens Need
Different varieties will want different amounts of light. So be sure to check your packet and follow growing instructions to see how much light they like.
Some plants want less light and grow best in indirect sunlight. If you’re growing in winter, you’ll probably want to switch to growing these varieties if you rely on natural sunlight.
- Most varieties of lettuces
- Herbs like cilantro and dill
- Some brassicas, such as arugula and mustard greens
- Other plants like amaranth
Step 4: When To Harvest Microgreens
When it’s time to harvest your microgreens will depend on the type of seeds you’ve selected.
Most microgreens are ready to harvest about two or three weeks after you plant them.
What you’re looking for is the first set of true leaves that your greens produce. Once the first two leaves are a rich green color and have reached a good size, it’s time to harvest.
Step 5: How To Harvest Microgreens
Harvesting microgreens is simple.
Just grab a pair of sharp scissors and cut straight across your plants, just above the soil line.
If you want to regrow multiple harvests from one tray, cut a bit higher to leave some extra stem.
Never pull your microgreens straight out of the soil. That will disturb the plant roots.
Washing
After you’ve cut your microgreens, it’s time to wash them.
Wash them in water and pat them dry with a paper towel. If you’ve got a salad spinner, you can gently spin to remove excess water.
Ideally you should serve your microgreens right away for the freshest flavor. So harvest them right before meal time if possible.
You can add them to sandwiches, stir fry’s, salads..pretty much anything! Check out our favourite microgreens recipes here for more ideas on how to eat your delicours greens.
If you’ve got lots of extra microgreens, you can store them in a plastic bag in your refrigerator for a few days. Putting them in a paper towel first can help keep them fresh for longer.
How To Grow Microgreens At Home Indoors
If you’re just getting started growing microgreens at home, either get a small inexpensive grow light (a regular T8 fluorescent light will do) or plan to grow in a south-facing window if you’re using natural sunlight.
You can mount a light under your kitchen cabinets if you want to grow microgreens right on your kitchen counter.
Find a container with drainage holes, or poke a few holes in the bottom of a tray or planter yourself.
Spread your seeds evenly on the soil. Don’t worry if it feels like you’re using way too many seeds.
Remember that your microgreens will only get to 1 to 2 inches tall, so they can be planted much closer together than if we planned to grow our plants to full size.
You can soak your seeds overnight before you plan to plant them. This will make your seeds sprout faster, but it makes them harder to scatter them properly.
Mist your greens a couple of times per day until they’re ready to harvest.
Once one crop is done, you can dump the entire tray in your compost or remove the roots by hand and replant.
- Check out our article on how to grow sunflower microgreens for a step by step guide on how to grow this popular grow-at-home variety.
How To Grow Microgreens Outside
In warmer months, you can grow microgreens outside directly in the ground.
During your main growing season, this is a cheap and fast way to produce a lot of microgreens.
The downside is that you might have to deal with insects, squirrels, rodents, and birds.
Microgreens grown outdoors might also take a bit longer to grow since temperatures and the amount of sunlight they’ll receive is less stable.
But the benefit is that outdoor microgreens usually end up being a lot bigger and hardier since they’ve had to deal with the elements.
Start by dumping high quality soil on to your garden and spread it out, if your garden doesn’t already have good quality soil to begin with.
- Read this guide of how to grow miscrogreens in sustainable way here.
Next spread your seeds over the surface of the soil. Use wooden boards to gently press down on them so that they make good contact with the soil.
Next, water them heavily using a soft sprayer attachment on your garden hose.
Press down with your wooden boards again. You’ll want to leave the boards laying on top of your seeds for a few days. This will block out the light and allow them to germinate, and also protect them from most larger pests.
It’s a good idea to pull up dirt on the side of your garden beds next to your boards. This will help prevent your microgreens from drying out later.
After a couple of days, take your wooden boards off. Your microgreens should be starting to sprout and establish roots now. Rub them around a bit to uncover them from the dirt.
Let your microgreens grow like normal until they’re ready. Gently overhead water them to keep them moist. Microgreens don’t do well with drip irrigation, so it should be avoided.
Once your outdoor microgreens are ready to harvest, you do it the same way as indoors. Get a sharp pair of scissors or a chef’s knife and simply cut across the stems between the dirt and the leaves.
Unlike if you’re growing microgreens in a greenhouse or indoors, you’ll need to wash them a bit more to get all of the extra dirt off.
FAQ (Frequently Asked Questions)
Do Microgreens Regrow?
Yes, most types of microgreens will re-grow. Cut the shoots off just above ground level with scissors and they should regrow. Most varieties can be cut several times.
After a few harvests, your greens will start to get weaker and weaker.
Afterward the tray contents can be emptied into your compost heap.
What Are The Best Microgreens To Grow?
It really depends. There are a lot of different factors to consider such as nutrition content, yield, ease of growing, etc.
- If you’re new to growing microgreens I’d recommend starting off with radishes, broccoli, or sunflowers.
Why Should You Grow And Eat Microgreens?
- Microgreens are a great way to get some extra vegetables in your diet.
- Although they’re small, microgreens still offer great flavor and freshness.
- Microgreens are packed full of antioxidants and offer a wide range of health benefits.
- Microgreens are super nutritious, packing up to 40x more vitamins, minerals, and other health-promoting properties per bite when compared to their full-grown counterparts.
- Microgreens only require a small investment of time and money. They’re easy and quick to grow.
- Plus you can use them in a wide variety of dishes including smoothies, sandwiches, soups, salads, drinks, or just as a garnish.
- They add vibrant colors to make dishes more visually appealing, and lend unique flavors to them as well.
Microgreens Safety Precautions
Most people can safely consume microgreens without any risk. However there are a few things to keep in mind.
- Microgreens are grown in quite moist environments and may harbor E. Coli and other bacteria if not properly handled. So it’s important to thoroughly wash all microgreens before consuming them.
- Microgreens can come from a wide range of different herbs and vegetables. If you have a food allergy to a specific vegetable, you may also be allergic to it in microgreen form. For example, if you’re allergic to soybeans, you may want to avoid soybean microgreens too.
- However, some plants that would normally contain gluten such as alfalfa, wheatgrass, barley, and buckwheat are usually fine to eat for the gluten-intolerant since they haven’t had a chance to start producing gluten yet in their microgreen form.
- Regardless, if you develop an allergic reaction after eating a microgreen, you should stop consuming it immediately and talk to your doctor.
- If you’re taking blood thinning medication like Warfarin, eating large amounts of microgreens may interfere with your medication. That’s because many kinds of microgreens are high in Vitamin K, which is a vitamin that’s essential for blood clotting.
Microgreens really are such a healthy, easy fun crop to get going with.
Happy growing!







Pingback: Are Microgreens Sustainable? - Gardening Venture
Pingback: Growing Mushrooms Vs Microgreens (& Why They Work Well Together) - Gardening Venture
Pingback: Mushrooms vs Microgreens: Similarities, Differences, and How They Can Work Together - GroCycle