Looking to get started with growing microgreens at home? Sunflowers are a great way to start.
These microgreens have a sweet nutty flavor and a thick crunchy texture to them. Plus they’re easy and inexpensive to grow!
Sunflowers are a great microgreen to start with, even if you’re brand new to gardening. You can easily grow microgreens at home in just about any kind of container.
Providing them with quality soil, the right amount of water, and plenty of light will help them to grow fast and strong. They go great in sandwiches, soups, smoothies, and plenty of other recipes.
In this article you’ll learn how to grow sunflower microgreens. Including how to soak your seeds, how to sow and water them, and how to harvest them.
Most importantly, you’ll learn all the delicious ways that you can enjoy eating them!
How To Buy Sunflower Seeds In Bulk
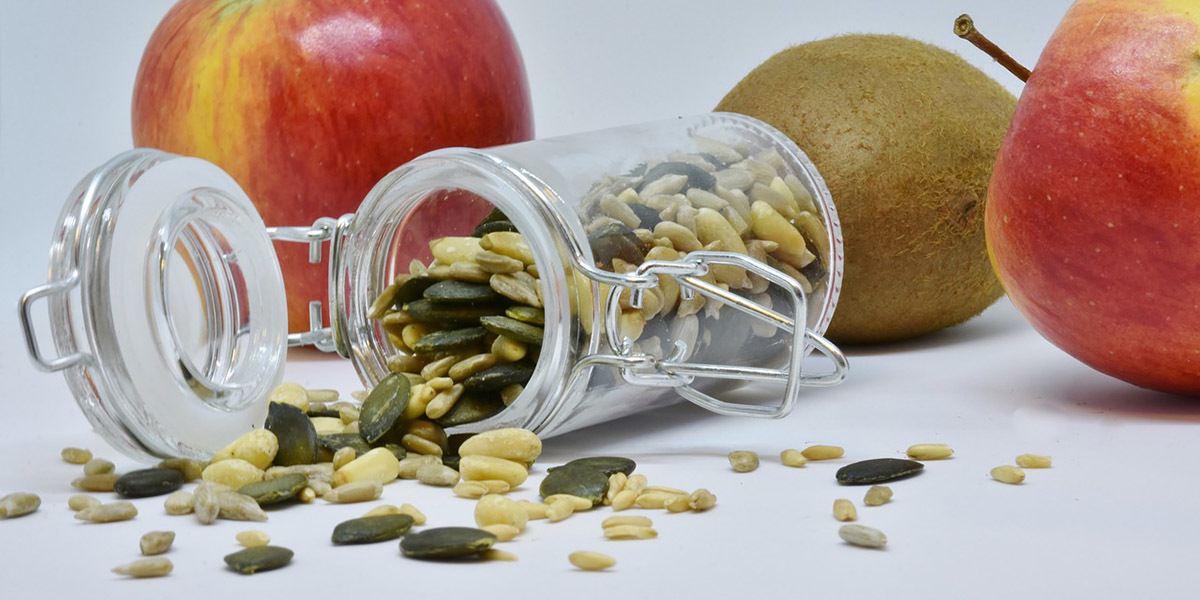
You can buy sunflower seeds from garden centers or online retailers. But I find the cheapest way to get some uncooked sunflower seeds to use for growing microgreens is actually in the form of bird food!
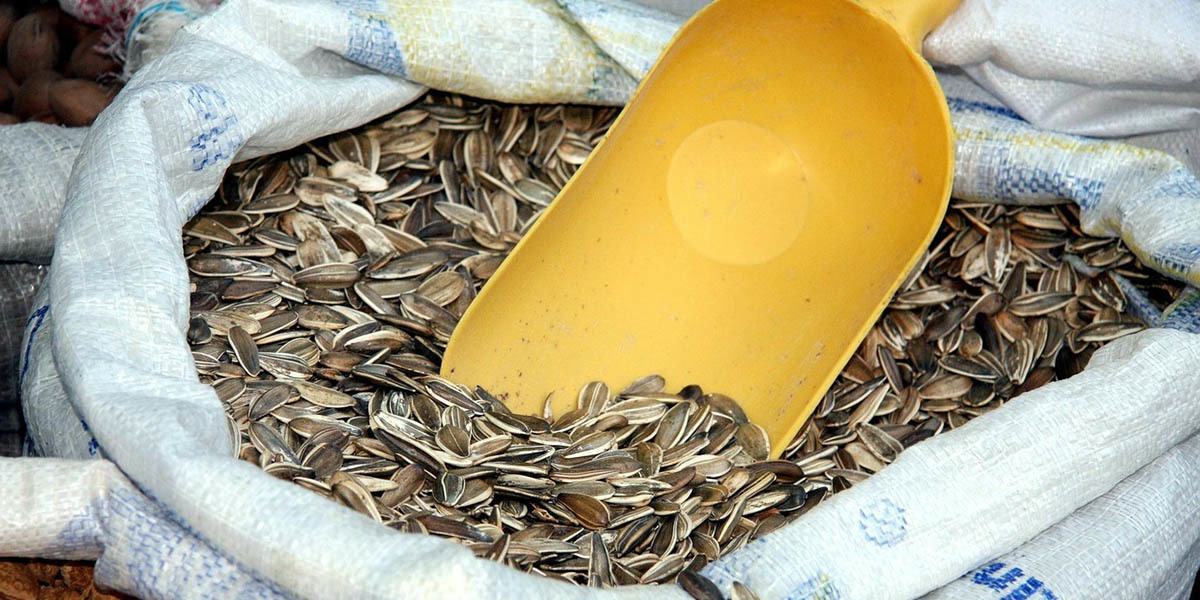
If you look wherever wild bird seed is sold in your area, you’ll find bags of 100% black oil sunflower seeds. At around $0.50 per pound, these are some of the cheapest microgreens seeds you’ll be able to find.
You can stock up on a 40 lb bag of sunflower seeds for around $20 and have enough seeds to grow several trays of microgreens per week for a year or more!
Since these seeds are meant for birds to eat, they haven’t been treated with any chemicals.
What Can You Grow Sunflower Microgreens In?
You don’t need anything fancy to begin growing microgreens.
You can recycle vegetable or berry containers from the supermarket, like those large plastic tubs that salad mixes come in.
You can also cut a milk carton in half lengthwise to make a pair of microgreen containers that you can re-use over and over.
Basically you’re just looking for any kind of container that is waterproof and that you don’t mind putting soil into.
You can even use old mugs and bowls, but I’d recommend using longer square or rectangular containers instead. It makes harvesting easier, and you’ll be able to grow more sunflower microgreens in a single batch.
Take a look at our simple microgreens setup where we grow in rectangular trays:
1) Getting Your Soil
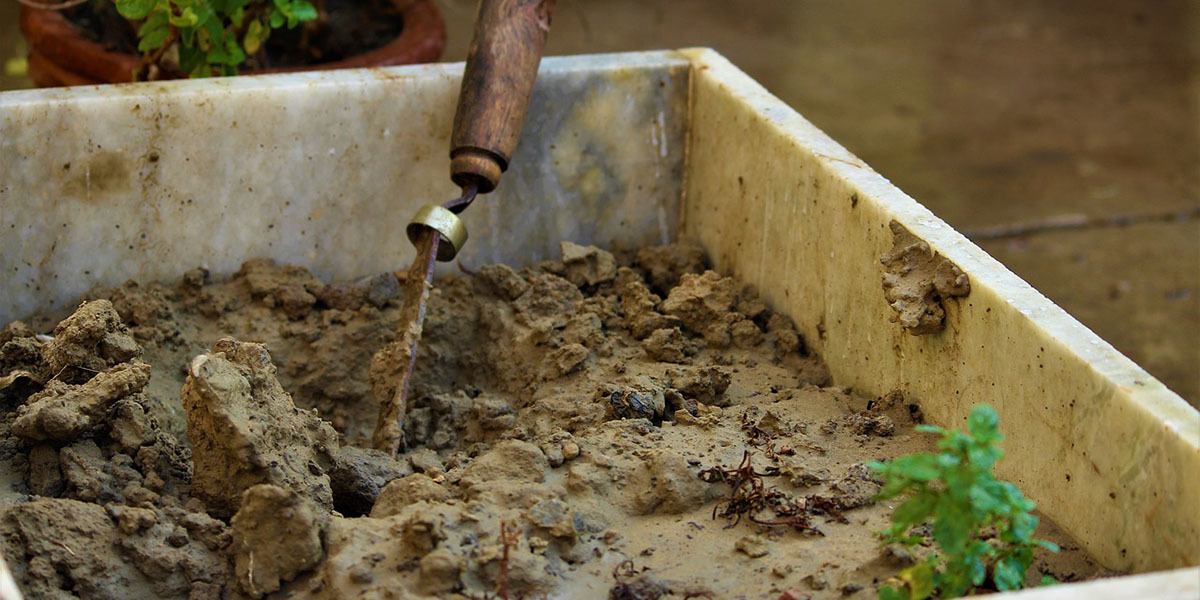
If you’re really on a shoestring budget, you can simply go outside to your garden and dig up a bit of soil to take inside and grow your microgreens in.
But if you’re planning on growing your microgreens indoors, I’d recommend against this.
The soil in your yard is full of organic life. If you bring it inside, you might be bringing in eggs of fruit flies, gnats, ants, and other creepy crawlies that can be difficult to get rid of once they establish a colony inside of your home!
In addition to the bugs you can see, you’ll also be bringing in fungus spores, bacteria, mold, and microbes.
These all have a place in the natural outdoor ecosystem. But if you’re growing microgreens indoors, all of these extras might kill off your plants before they really get a chance to grow.
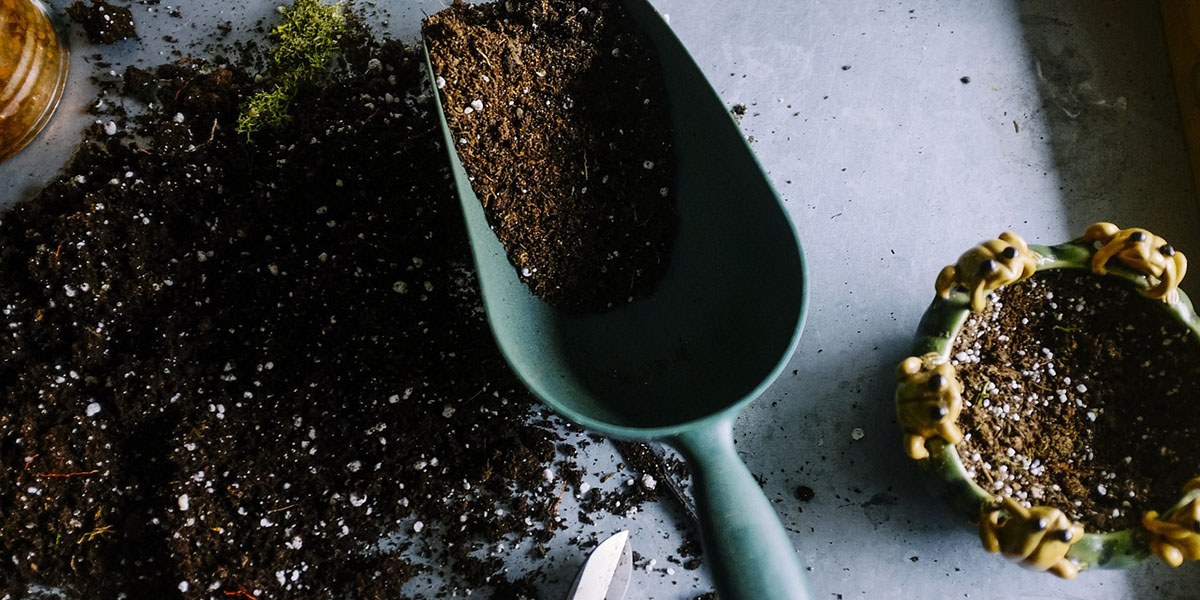
So instead, spend a few dollars to go buy a bag of organic potting soil or seedling mix from the store. You’ll be glad you did!
If you absolutely have to use your own soil, you can sterilize it by putting it in your oven at 180 degrees for about 30 minutes.
Also check out our guide on different microgreens growing mediums that you could use, which includes other options such as hydroponics and coir matting.
2) Soaking Your Seeds
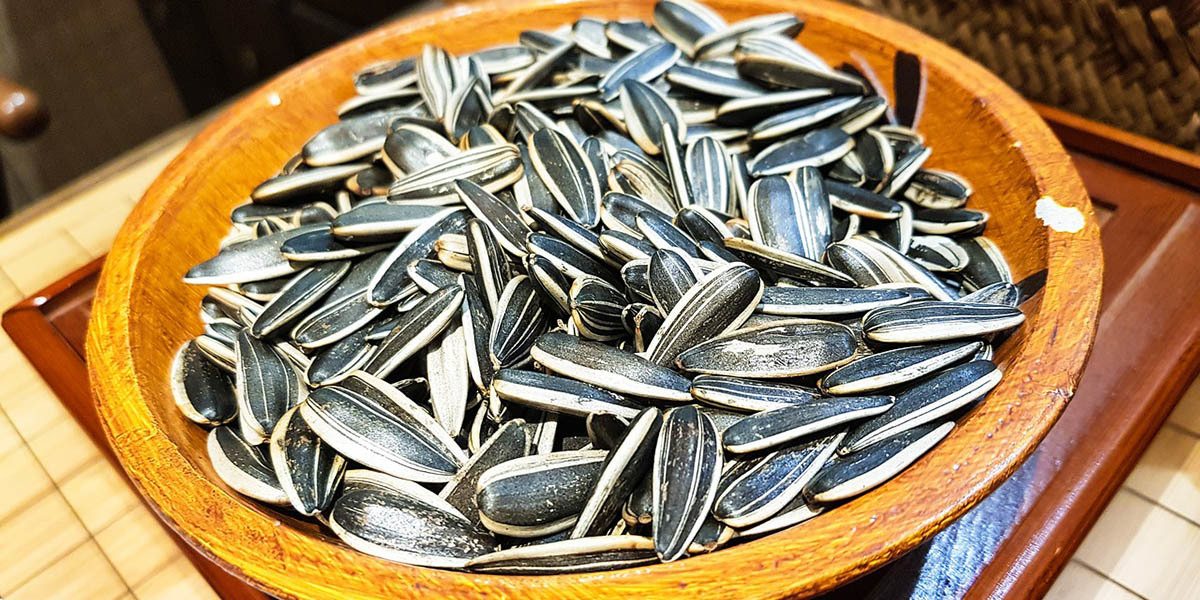
Some microgreens don’t need to have their seeds pre-soaked. But sunflower seeds have an especially hard shell, and they really benefit from pre-soaking before you try to grow them.
This softens the sunflower seeds’ shell and makes it easier for them to sprout.
Soak your sunflower seeds in cold water overnight or for about 12 hours for optimal results.
Then drain your seeds, rinse them off, and allow them to soak again for an additional 8 to 12 hours. After about 24 hours of soaking, you should start to see your seeds beginning to sprout.
How To Grow Sunflower Microgreens
If you’re using a regular 10″ x 20″ planter tray, you’ll want to soak about two cups of seeds to get the right seed density for growing.
Here are some general proportions of how many sunflower seeds you’ll need for different size containers:
- Use a quarter cup of seeds to cover 25 square inches.
- Use between 1 and 1 1/2 cups to cover 100 square inches
- Use between 2 and 3 cups to cover 200 square inches.
Not sure how many square inches your growing container is? If it’s a square or rectangular shape, multiply its length and width together to find out. If you’re using a round container, multiply the radius squared (1/2 the diameter) of your container by 3.14.
1) Sowing Your Seeds
After your seeds have been soaked, it’s time to sow them.
Fill a planter tray with about an inch of your potting soil. You don’t need too much soil since your seeds will only be growing for less than a week.
They won’t be developing long root systems or getting large enough to extract large amounts of nutrients out of the soil.
If you haven’t got a planter tray, you can use a disposable aluminum foil baking tray or any other container of a similar shape and size.
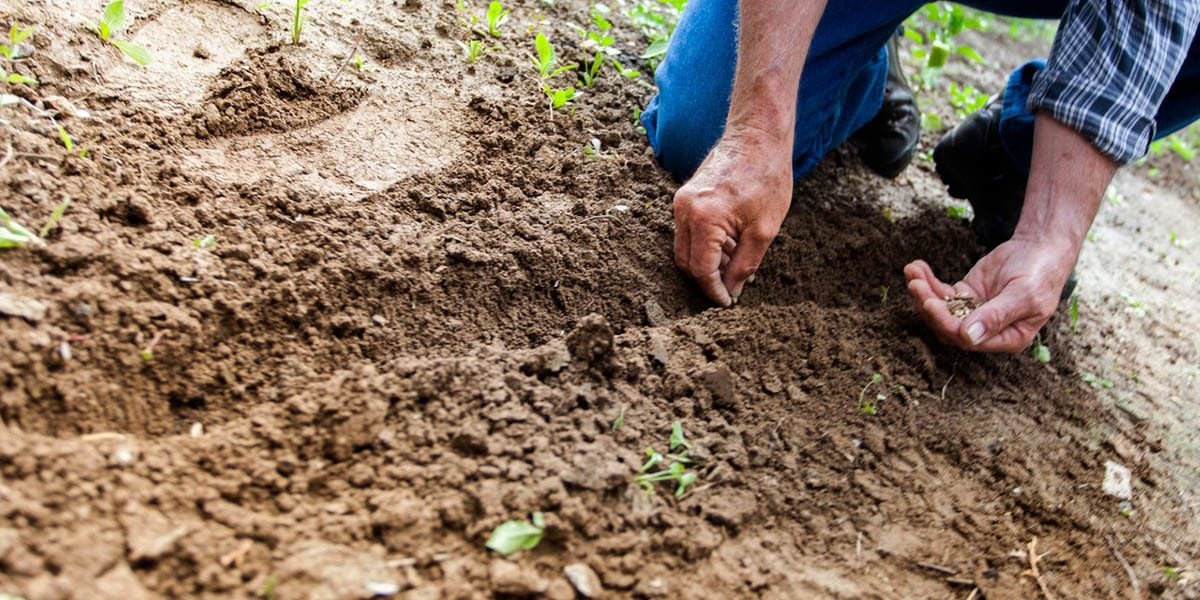
Sow your seeds evenly across the whole tray. Then use a clean spray bottle to get the seeds and soil nice and moist. You don’t need to cover your seeds with soil. Just make sure they’re pressed down lightly so they make good contact with the dirt.
Put another tray, a towel, or any other object or material over the top of your seeds to block out all light.
Your microgreens don’t need sunlight while they’re germinating and sprouting.
In fact, they do better in the dark since they’d normally be buried in the ground at this point.
Each day you’ll want to lift your cover to mist your seeds and soil a couple of times to keep them moist. You want your seeds to be damp, but not soaking wet or they might rot.
After 4 or 5 days, you can take the cover off your sunflower microgreens and allow them to be exposed to light.
At this stage they’ll be a pale yellow color, but they’ll quickly turn a deep green color now that they can photosynthesize sunlight and turn it into chlorophyll in their developing leaves and stems.
Make sure your sunflower microgreens are near a bright window where they’ll get direct sunlight for 8 or more hours per day, or use a grow light if you’ve got one.
From this point on, you can carefully water the soil directly instead of misting your plants if you wish. Continue to water them regularly, 1 or 2 times per day as needed.
As your sunflower microgreens start to grow, some of the seed shells might get stuck on the growing leaves. You can gently flick these off.
Your sunflower microgreens will be fully grown and ready to harvest in about 10 to 14 days.
2) Harvesting Your Sunflower Microgreens
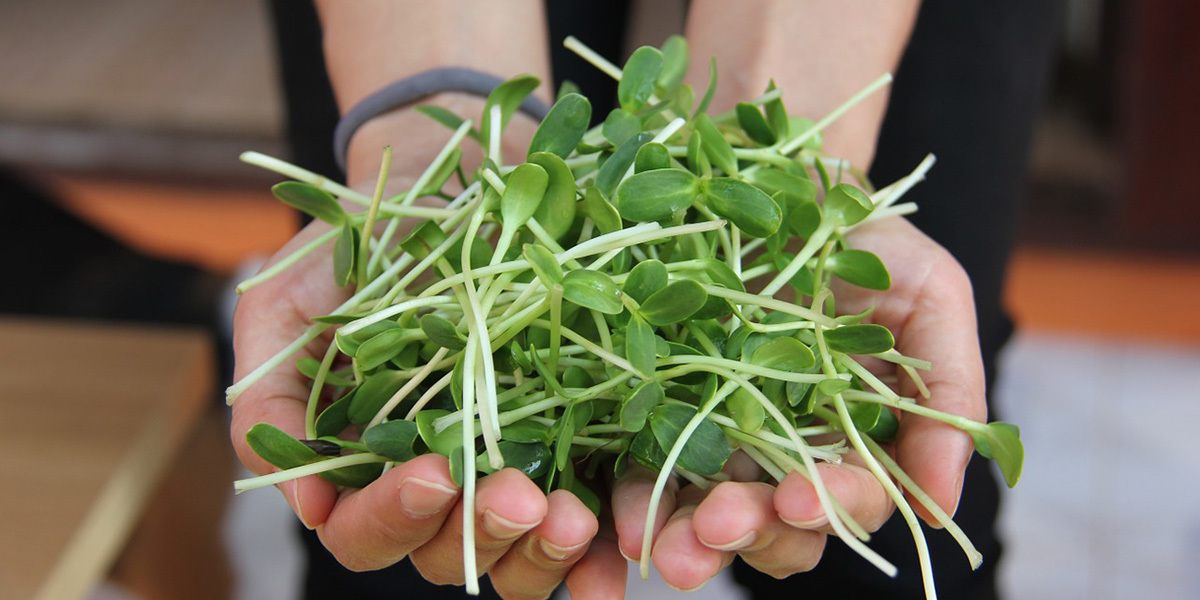
When your sunflower microgreens are ready to harvest, their shells should start falling off their leaves and they should be about 4 inches tall.
The easiest way to harvest them is to take a sharp pair of scissors or a kitchen knife and cut their stems off just above soil level.
A sharp blade is key here, as it will cleanly cut through the stems of your microgreens without bruising them in the process.
It’s best to avoid just pulling microgreens out with your hands because it can damage them, plus it’s a lot messier.
Your microgreens might be at different stages of development. Some might have true leaves, while others are still in the process of growing.
You can leave the more immature microgreens to grow for an extra few days and only harvest the tall ones that are ready.
If you’re lucky, you might even be able to harvest a second round of microgreens from the early stems that you cut off.
3) Storing Your Sunflower Microgreens
After you harvest your microgreens, you’ll want to carefully and gently wash them off. Then put them between two moistened paper towels and seal them in a plastic bag. They’ll last this way in your fridge for up to five days.
Of course, it’s even better to eat your microgreens as soon as you harvest them for optimal freshness!
What To Do With The Soil?
After you harvest your microgreens, you can re-use the soil that’s left over about 3 times before you’ll need to compost the soil or add extra nutrients to it.
You don’t even need to remove the old stems and roots from the previous batch.
Just follow the same instructions outlined above, and the remnants from your previous batch will die off and add extra nutrients back to the soil for your new sprouts!
Can You Grow Sunflower Microgreens Without Soil?
Yes, it’s possible to grow microgreens at home without soil using the magic of hydroponics!
You can create a wick hydroponic system that eliminates the mess of dirt and is self-watering.
To do this, you can cut an empty milk carton using scissors as shown here.
The piece of the carton that you cut out will go inside the empty carton and act as a shelf for your microgreens to grow on. You’ll fill the bottom of the carton with water later on.
Next you want to make a wick out of a piece of paper towel by folding it until it’s a strip about 1 inch wide.
Lay your paper towel over the top of the shelf you just created and bend the edges downward so they’ll reach into the water that you’ll eventually add.
Now lay a full sheet of paper towel on top of your little shelf and wick.
This is where your seeds will sit. Add your seeds on top of the paper towel, and you’re ready to add water.
Add water to the bottom of the container, about half an inch or so. It should quickly start to wick into the paper towel and soak your seeds.
Just leave your seeds to grow for a week or two and you’ll have sunflower microgreens!
You can add some hydroponic nutrient solution to the water to get stronger and larger greens, but they’ll grow just fine with pure water.
If your home has dry air (especially during winter), check on the water level of your container and add more if it’s getting low.
You might also want to mist your seeds with a spray bottle a couple of times per day if they start to look dry.
Preventing Damping Off
Damping off disease is a term used for types of fungi that can kill young seedlings before they get a chance to grow. It’s caused by poor air circulation and too much moisture.
Using a fan to circulate air, not getting your soil too wet, and thoroughly washing your growing containers between growing cycles can all help to reduce your chances of mold or fungus infecting your microgreens.
You can also prevent damping off by adding a drop or two of lavender oil to your water before watering your seeds, or by sprinkling a little bit of cinnamon on to the surface of your soil.
Both compounds have anti-fungal and anti-microbial properties that will keep molds and fungi that could harm your microgreens under control.
How To Eat Sunflower Microgreens?
You can eat sunflower microgreens the same way you’d use baby lettuce, arugula, or alfalfa sprouts. Both the leaves and stem are delicious.
You can eat sunflower microgreens raw or cooked. If you’re cooking them, add them to the dish after you take it off the heat so that they maintain most of their crunch and crispy texture.
They go great on a wide variety of dishes including soups, salads, omelettes and scrambled eggs, as well as sandwiches and wraps.
Adding sunflower microgreens to your smoothie or juice is a great way to add some extra nutrition, as well as a bit of nutty flavor.
You can either use microgreens as their own salad, or simply as one ingredient in a mix of lettuce and other leafy vegetables.
They even go great blended into mashed potatoes or rice.
Check out our top 30 favourite microgreens recipes here for more inspiration.
Sunflower Microgreens Nutrition Information
Like the seeds they grow from, sunflower microgreens are a good source of calories and healthy unsaturated fats. So they’re great to mix in to salads to create a more filling dish.
A quarter cup of sunflower microgreens contains about 200 calories. That same quarter cup contains about 16 grams of fat.
Sunflower microgreens are a great source of calcium and iron. One serving has about 2% of your daily calcium needs and 8% of your daily iron needs.
They’re also high in fiber and contain a wide range of other vitamins and minerals including Vitamin A, B Vitamins, C, D, and E. Plus magnesium, potassium, phosphorous, and trace amounts of zinc, copper, chromium, and manganese.
Compared to eating dry sunflower seeds, microgreens are more easily digested.
All around, they’re a healthy food to eat that can help boost your immunity and help reduce disease.
See our guide on microgreens health benefits for further info on the nutritional and health benefits of eating microgreens.
Related Questions
Can I Feed Sunflower Microgreens To My Pets?
People aren’t the only creatures that find sunflower microgreens delicious. Some people grow them exclusively to feed to their chickens or rabbits as a way to cut down on animal feed costs.
So if you’ve got pets or farm animals, consider growing an extra tray for them too. They’ll thank you for it!
Sunflower microgreens are non-toxic to every common pet I could think of. So go ahead and give them to your dog or guinea pig to try out too.
What’s The Difference Between Sunflower Microgreens And Sprouts?
Microgreens are grown in soil and sprouts are grown in plain water.
Microgreens also grow longer and start to develop into true plants that start to turn light into chlorophyll. All of this enhances the nutritional value of microgreens. Microgreens also contain a higher amount of fiber.
Both are great for you, and sprouts come with their own benefits. So eat whichever you prefer if it increases the amount of high quality greens that you’re eating!
What To Grow Next?
If you successfully grow sunflower microgreens and enjoyed the process, why not try branching out in to other types of microgreens?
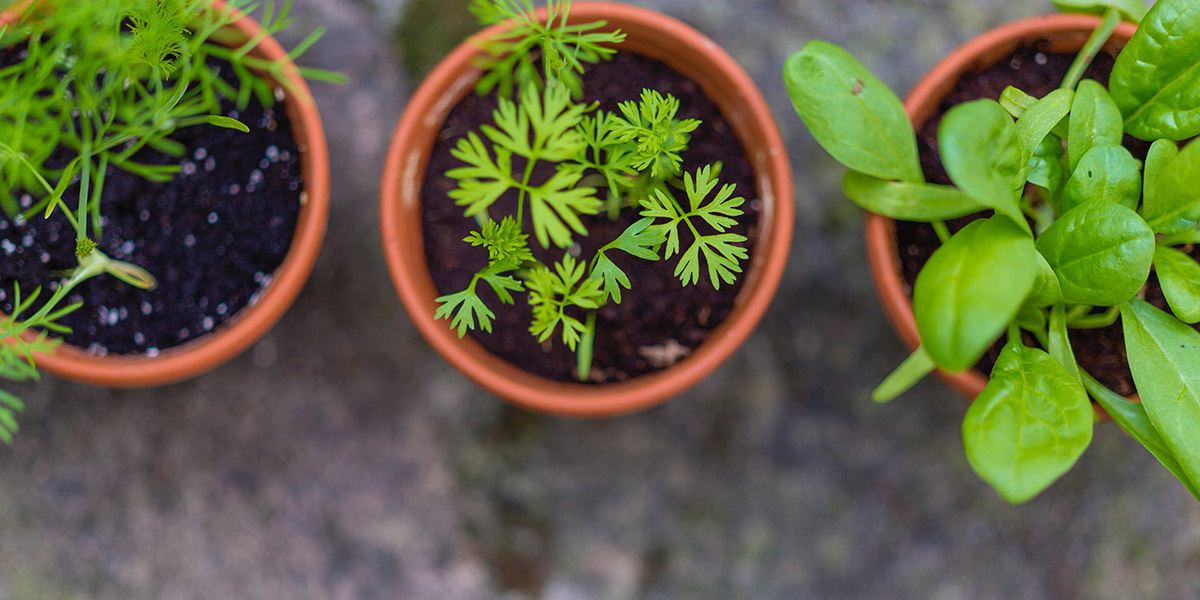
- Radish, mustard, broccoli, lettuce, and plenty of other kinds of microgreens are also inexpensive and easy to grow.
Plus each comes with their own unique nutrition and flavor profile.
Try lettuce or broccoli if you want something more mild, or radish or mustard microgreens if you’re ready to try something a bit more spicy!
Growing microgreens at home is a great way to add some additional greens to your diet.
Plus growing them is a fun and educational process for adults and kids alike.
Check out the articles below to find out more!


Pingback: Microgreens Business: How To Grow Microgreens For Profit - GroCycle
Pingback: How To Grow Microgreens: The Ultimate Guide - GroCycle