Learning how to grow a microgreens garden is very similar to any other type of outdoor gardening.
If you already have experience with growing vegetables and herbs in your garden, then much of your knowledge will transfer over.
Microgreens are simply smaller plants that have a much shorter time to maturity than conventional crops.
This article will teach you the supplies needed to grow your own microgreens garden, and the step-by-step process to do it.
We’ll discuss the pros and cons of growing microgreens in a garden instead of indoors. As well as some common microgreens garden issues and how to fix them.
What Are Microgreens?
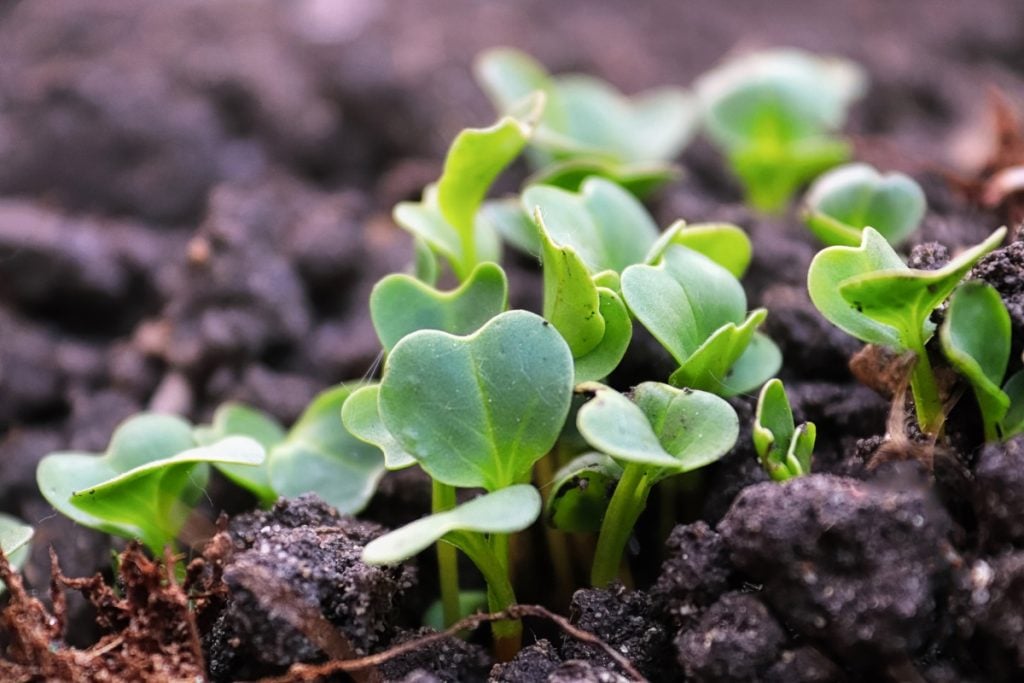
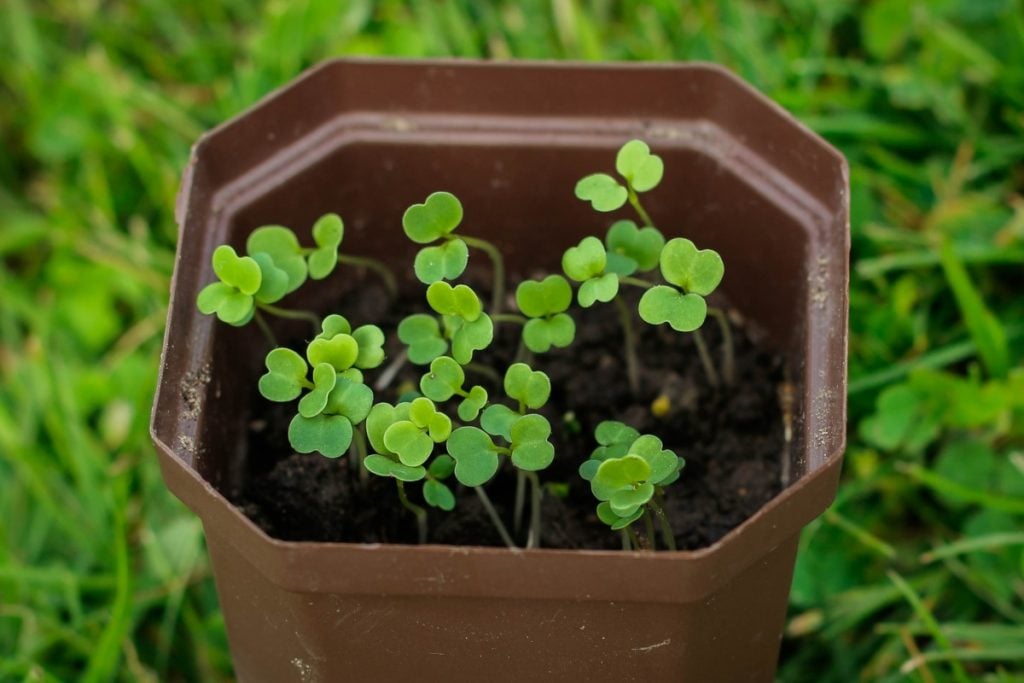
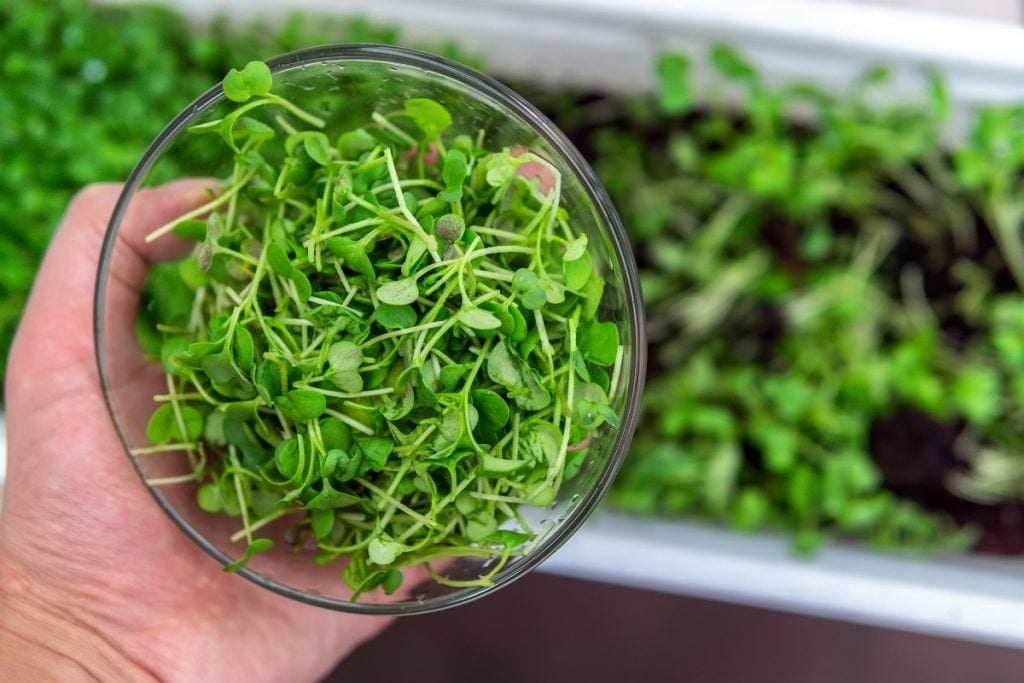
Microgreens are seedlings of edible plants that are harvested when just their first set of leaves have developed.
They can be used as a garnish or visual enhancement. But more importantly, they’re full of flavor and nutrition as well.
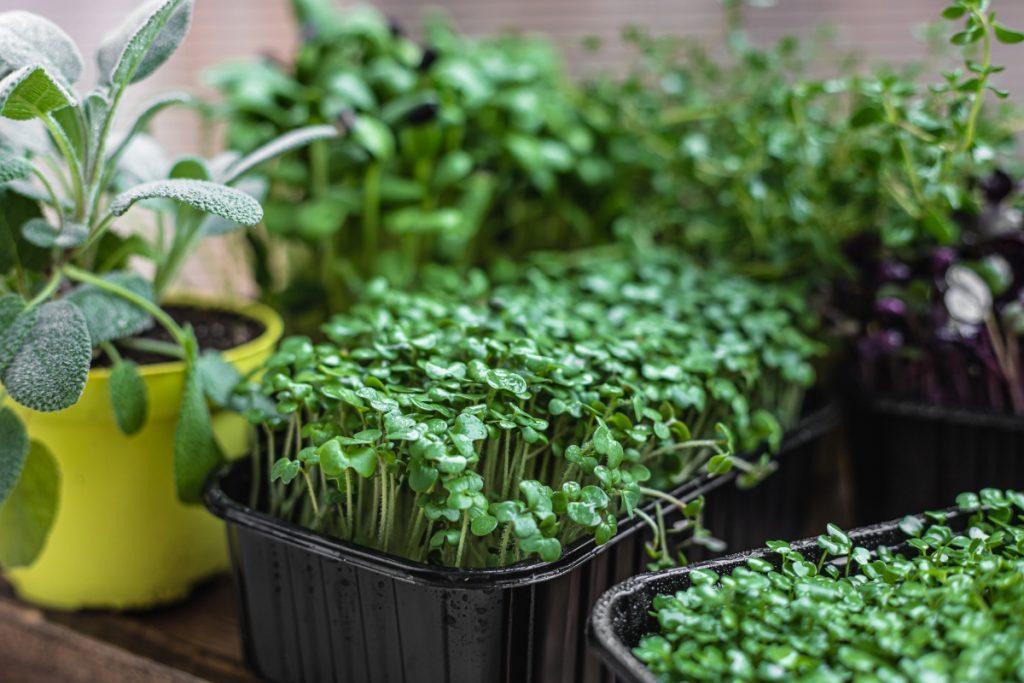
The most common way to grow microgreens is indoors. Most microgreens operations use trays full of growing medium.
These trays are placed on indoor shelves and the microgreens grow with exclusively artificial lighting.
If you’d like to learn how to grow microgreens the conventional way, check out our article called How To Grow Microgreens: The Ultimate Guide.
In this article, we’ll be focusing specifically on how microgreens can be grown outdoors, in a garden.
What Is a Microgreens Garden?
A microgreens garden is any container or patch of soil that’s used to grow microgreens outdoors.
Vegetables and herbs can be grown outdoors and harvested once they reach maturity. In the same way, microgreens can be grown outdoors in a more natural environment as well.
How Do You Start a Microgreen Garden?
The process of starting a microgreen garden is similar to starting any other kinds of plants from seed.
You can start a microgreens garden outdoors quite easily.
Simply intermix microgreens with other crops in any existing containers or gardens that you’ve got. Or you might even decide to give microgreens their own dedicated space.
Supplies Needed
Starting your microgreens garden is quite straightforward and doesn’t require many specialized supplies.
If you’ve already got a vegetable garden, you likely have many of these on hand already.
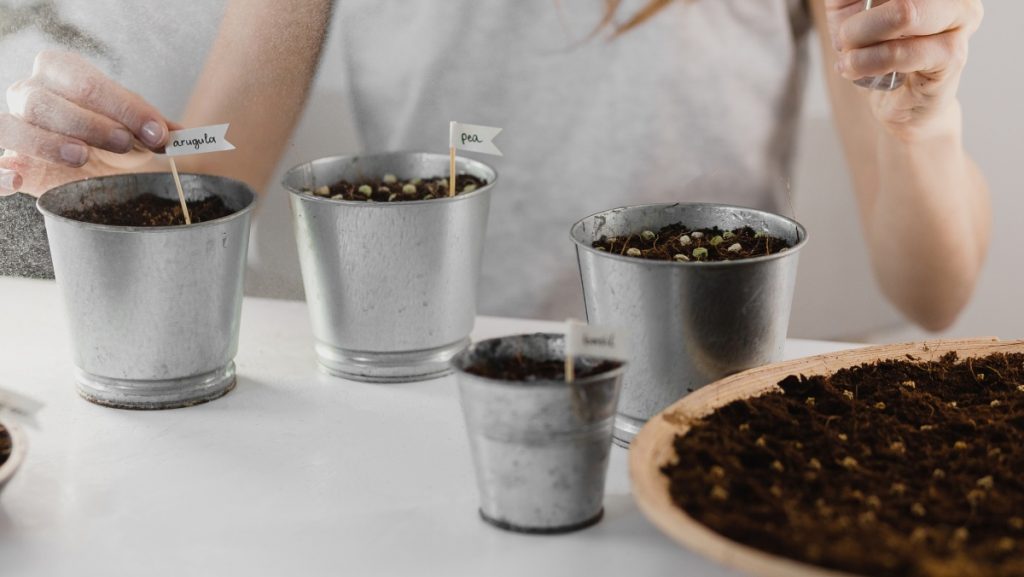
- Microgreen seeds. You can use regular seeds, but seeds specifically bred for growing microgreens are normally available in bulk for much cheaper.
- A growing medium. The easiest and cheapest growing mediums to use for microgreens are soil and compost, just with regular vegetables. Since microgreens don’t require any nutrients while they grow, you could also experiment with coconut coir and other materials in containers too.
- A container. Optionally, you may want some pots, planter boxes, or raised beds to grow your microgreens in. This is only required if you don’t want to grow your microgreens directly in the ground.
- Basic garden tools. You’ll want a small trowel and a gardening fork to help dig holes and remove weeds. You’ll also need a watering can or garden hose to water your microgreens with.
- A harvesting tool. You’ll need a sharp pair of scissors or a knife to harvest your microgreens.

How To Grow a Microgreens Garden: Step by Step
Step 1: Decide What Kinds of Microgreens You Want To Grow
If you’ve never grown microgreens before, you might not know which flavors you like best.
There may also be some microgreens that you find are easier or more difficult to grow based on your climate, soil type or other factors.
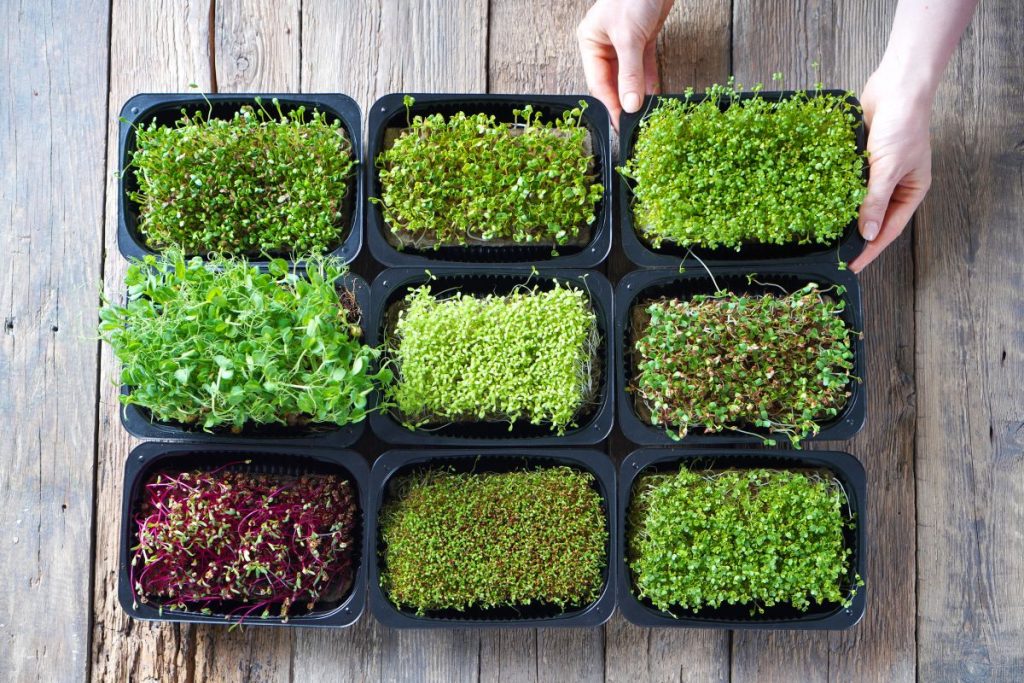
Before buying a ton of one type of microgreens seed, we recommend buying a small sampling of many different popular microgreens varieties.
That way, you can figure out what will work for you.
Step 2: Decide on the Quantity of Microgreens That You Want To Grow
To know how many microgreens you should grow, you’ll need to ask yourself why you’re growing them in the first place.
Are you planning to grow a large amount of microgreens and sell them at a local farmer’s market or to chefs?
In that case, you may want to devote 100 square feet (10 square meters) or more.
Even if you’re growing microgreens for your personal household use, the amount needed can vary a lot.
Do you plan to juice your microgreens every day? Or do you just want microgreens as a minor addition to a few salads per week?
Step 3: Prepare Your Growing Area
If you want to grow in containers, this means you’ll need to buy your soil and planters to get them ready.
If you’re growing in the ground, you’ll need to identify an area of your garden that gets a good amount of sunlight. Then you’ll need to remove any weeds or existing vegetation in that area.
Depending on your soil quality, you may need to amend it with compost or other soil additives as well.
Step 4: Plant Your Seeds
Since microgreens only grow to a few inches tall, you can plant them significantly more densely than you would with normal vegetable seeds.
Instead of digging holes or furrows, prepare an entire block of soil that you plan to grow your microgreens in. Then spread them evenly across the surface of the soil.
Take some additional nearby soil and use it to gently cover your microgreens seeds and hold them in place. Then water them thoroughly.
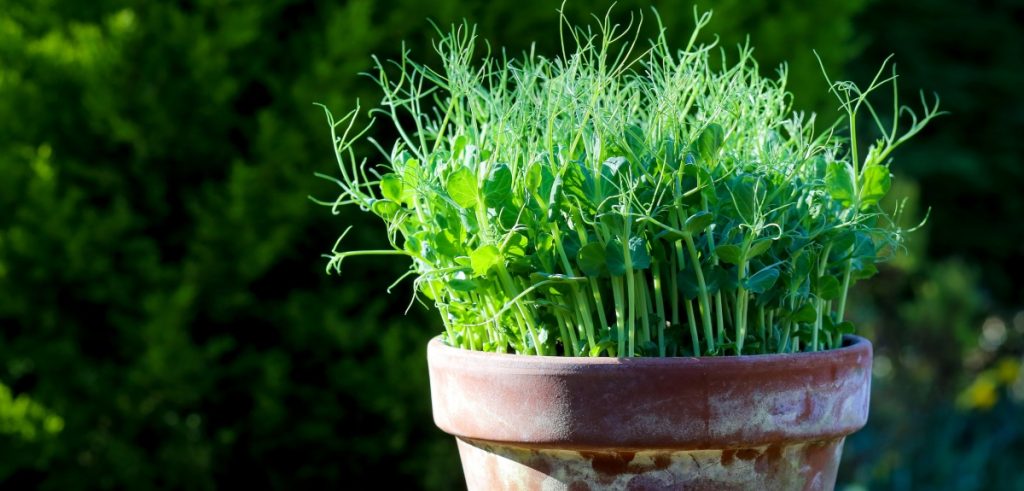
For some larger seeds like peas, you may want to soak your seeds in advance to speed up the time until they sprout.
Avoid sprouting seeds like basil as they can develop a slimy coating that makes them difficult to separate. Always plant these types of seeds directly instead.
Keep in mind that your microgreens will only take about two weeks to grow. So don’t plant an entire season’s worth at once.
You’ll be harvesting and replacing your microgreens multiple times throughout the season.
You can also use succession planting with your microgreens, which is staggering your planting over time.
That way, you’ll have microgreens at varying stages of growth, so some are always ready to harvest.
If you’re growing your microgreens commercially, you can use the demand from your customers as a good gauge for how much to plant at any one time.
If you’re growing microgreens for yourself, you’ll have to estimate how many microgreens you think your household will eat in a given week.
Step 5: Grow Your Microgreens
Once your microgreens are in the ground, most of the work is done.
The sun will provide your microgreens with all of the light that they’ll need.
You’ll only need to water your microgreens when the soil dries out.
You’ll know when the soil looks dry, and it’s dry to the touch when you press your fingertip into the soil slightly.
Since it’ll rain some of the time, there may be extended periods when you don’t need to water at all.
You may also want to periodically check on your microgreens garden to make sure there aren’t too many weeds or pests.
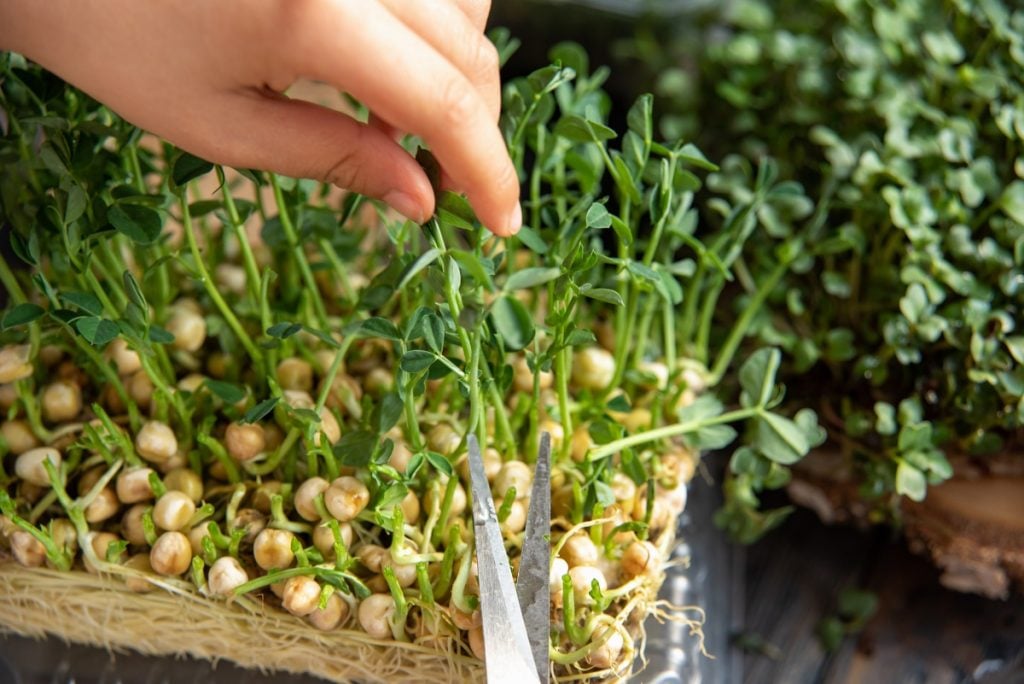
Step 6: Harvest Your Microgreens
You’ll know your microgreens are ready to harvest once they’re an inch or two tall and they’ve developed at least one set of leaves.
To harvest your microgreens, simply cut them as close to the soil as possible using a pair of scissors or a sharp knife.
When growing microgreens outdoors, it’s less of a problem if you let them grow for too long. You’ll just end up with larger baby greens if this happens.
Don’t let your greens get too large though, or they’ll start to get too crowded and shade each other out.
Step 7: Replenishing the Soil and Repeating the Cycle
After your microgreens are harvested, you’ll probably want to prepare the soil a bit before planting your next round of seeds.
The soil that you grow your microgreens in can become quite packed full of tiny little roots.
Normally when microgreens are grown indoors, we simply compost the spent soil and refill the container with fresh soil.
You can do the same thing in your microgreens garden. Pull out as many roots as you can with a rake or garden fork and toss them into a compost pile.
Alternatively, you can use a shovel and simply turn the roots into the soil. Since they’re so small, they’ll begin to break down and compost in place.
Once the soil is loosened up again, you’re ready to plant your next round of microgreens.
How To Grow Microgreens in a Raised Bed Garden
Microgreens can be grown in a raised bed garden the same way that you’d grow them directly in the ground.
A raised bed can make it easier to plant and harvest your microgreens. It makes them available at a higher level, so you won’t need to be bending down as much to reach them.
The only downside to growing microgreens in a raised bed is that you’ll tend to have less space available. But you can grow plenty of microgreens in an average-sized raised bed.

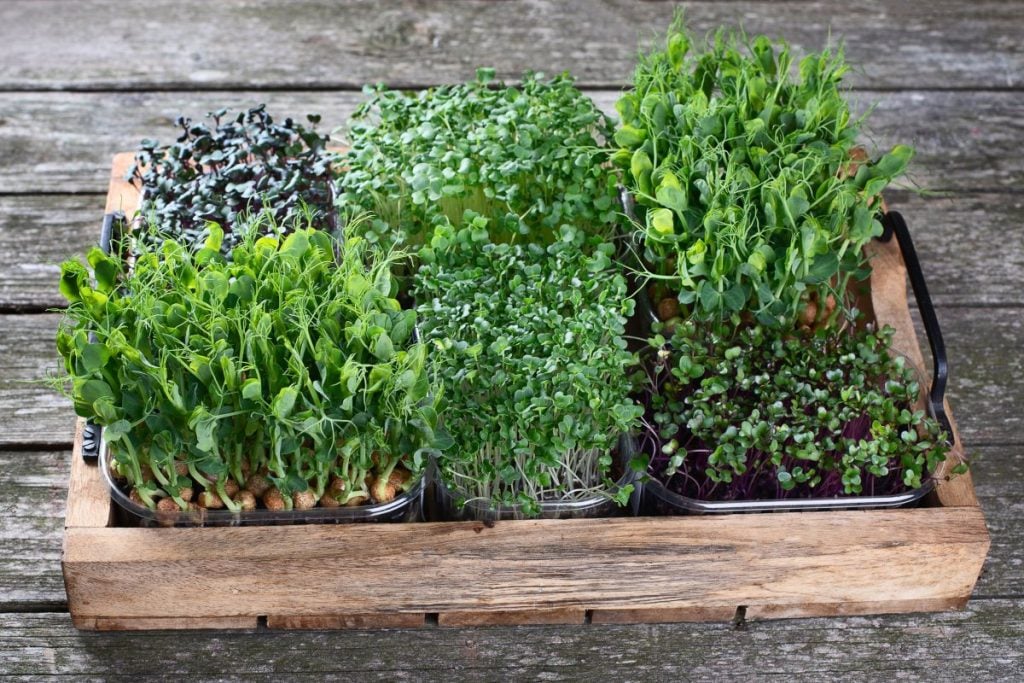
What Plants Can Be Grown as Microgreens?
Pretty much any plant with an edible stem and leaves can be grown as a microgreen.
Sunflowers and pea shoots tend to be the most popular varieties of microgreens. But most kinds of vegetables and herbs will work.
Microgreens tend to have the same flavor as their fully-grown counterparts too.
There are some plants you want to avoid growing as microgreens though.
Any vegetables in the nightshade family like tomatoes, peppers, eggplants or potatoes shouldn’t be grown as microgreens.
These plants have stems and leaves that are inedible and can make you sick.
For a comprehensive list of what you can grow, check out our Complete List of Main Types of Microgreens You Can Grow article.
Pros and Cons of Growing Outdoors in Garden Beds
Growing microgreens outdoors has some benefits, but also some drawbacks to keep in mind as well.
Pros
- It takes less resources – If your microgreens are grown outside, they only need sunlight. You won’t need to buy special artificial lighting. Since it’ll rain some of the time, you won’t need to water them as much either.
- Frees up indoor space – Growing your microgreens outdoors means you don’t have to devote a basement, garage, or spare bedroom to creating a microgreens setup.
- Possibly more nutritious greens – Outdoor microgreens are exposed to the full spectrum of natural sunlight instead of grow lights. They may also be able to get more trace minerals out of natural soil, compared to greens that are grown in coco coir, rockwool or other mediums.
- More sustainable – Growing a microgreens garden doesn’t require electricity to provide artificial lighting for your plants. There’s also no need to power fans for air circulation or heating and cooling. Plus nutrients are more likely to be composted, recycled and regenerated.
Cons
- Less control – When you grow microgreens indoors, you can control the exact temperature. Plus how much water and lighting your greens are getting. When you grow microgreens outdoors, there’s more variability.
This can make your microgreens grow faster or slower than expected. If you’re growing commercially and have orders to fulfill on certain days, this can make your job more challenging. - Pests – Microgreens grown outdoors are far more likely to be eaten by pests like slugs and beetles. Birds may even pick some of your seeds out of the soil before they have a chance to sprout.
- You can’t grow year-round – Unless you live somewhere tropical, you won’t be growing microgreens in an outdoor garden during the winter. However, you can use poly tunnels or greenhouses to help extend your growing season from early spring to late into the autumn.
Common Issues With Growing in Garden Beds Specifically and How To Address Them
1. Poor drainage – If your microgreens are constantly sitting in water, you can literally drown them and their roots will start to rot.
If you’re growing in a container, make sure that you drill some drainage holes in the bottom so that excess water can escape.
When growing directly in the ground, avoid low areas where water settles.
If you feel like your soil is holding too much moisture, you can add some coir, peat or other light fluffy materials to loosen it up and allow for better drainage.
2. Insect damage – If you’ve only got a few bugs on your microgreens and you can see them, the easiest way to deal with them is to pick them off and squish them.
But if you have a severe pest problem or can’t see what’s causing the damage, you may need a stronger option.
Neem oil is one natural product that can be used as both a pesticide and a fungicide.
3. Weeds – If you’ve got a lot of weeds in your garden and you have the time, you may want to tarp the area before planting microgreens there.
A black tarp will prevent existing weeds from getting any sunlight, so they’ll die. The temperature will also get too hot under the tarp for most weeds to survive.
Be sure to leave your tarp on long enough that any weed seeds have a chance to germinate, sprout and die before removing it.
If you can, it’s best to put a tarp over the area in the autumn and leave it on until it’s time to plant in the spring.
If you need to plant right away and you don’t have time to tarp, then you’ll simply have to deal with the weeds by hand.
Regularly weeding a little bit at a time can help keep the problem from getting out of hand.
Even natural herbicides will likely kill off your tiny microgreens as well, so avoid using any kinds of sprays.
Do Microgreens Regrow After Cutting?
Generally, microgreens won’t regrow after cutting. And if they do, it’s usually not worth the extra time and effort to try to get a second harvest from them.
It’s easier to start over with new seeds instead.
For full details, check out our article Do Microgreens Regrow After Cutting?
The main thing that keeps microgreens from regrowing is that seeds only contain enough energy to get one chance at growing. If you cut them down, there’s no energy left to try again.
However, if you let your microgreens grow a bit larger into baby greens, then you can try harvesting them with the “cut and come again” method with more success.
As long as you leave a set of leaves or two per plant, they’ll be able to photosynthesize and continue growing.
It’s important to only take a bit of growth from the top of each plant. Or with plants like lettuce, only take a few leaves per plant and leave the rest.
If you cut your microgreens right down to the ground, the chances of them regrowing are very low.
What Can You Do With Microgreens?
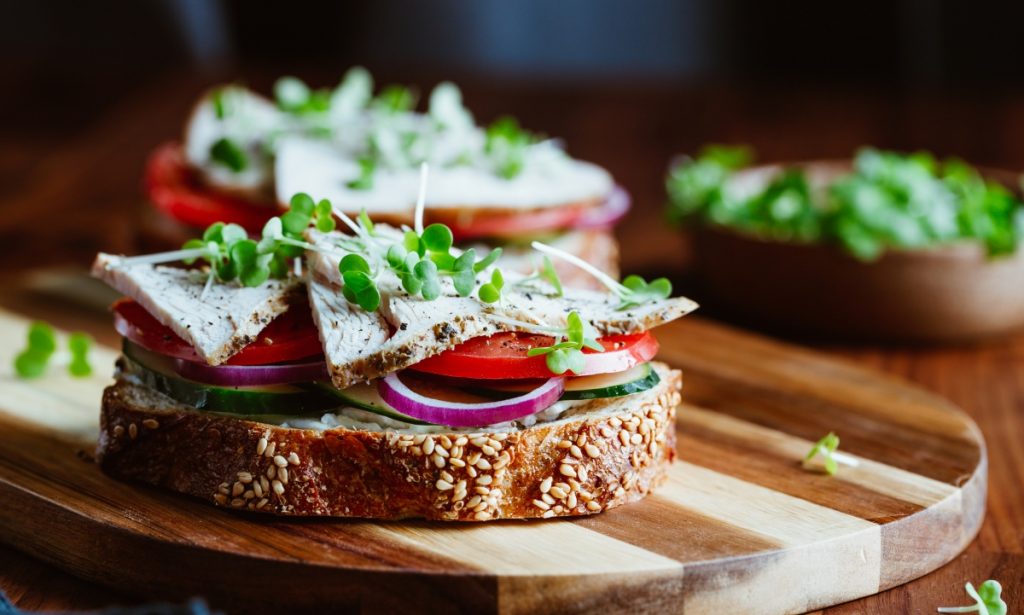
You can use microgreens for pretty much anything that you’d use sprouts for. As well as greens like lettuce, spinach or arugula.
Each kind of microgreens will provide their own unique taste.
So it’s a way of imparting the flavor of something like carrots or radishes into a dish without the crunchy texture of a full-grown vegetable.
Many people enjoy microgreens in soups, salads, as a topping on pizza and more.
Check out our article on 30 Of The Best Microgreens Recipes and start using microgreens in your cooking today.

Final Thoughts
Growing a microgreens garden outdoors can be a wonderful alternative to growing them indoors.
The sun provides all of the natural light that you need. And the rain will sometimes water your microgreens for you. So it requires less input and resources.
However, you have other challenges in the form of weeds and insects to deal with.
If you’ve got some extra space in a garden bed, we definitely think it’s worth trying to plant some microgreens outdoors. That way you can test it out for yourself.
To learn even more about microgreens, be sure to visit our Microgreens Hub.
Over there, we’ve got about a dozen microgreens articles where you can learn everything you need to know.