Microgreens aquaponics is a bit of a mouthful, and you may be wondering what exactly it entails.
If you break it down into its parts, it’s a little easier to digest. Microgreens are the edible plants being grown, and aquaponics is the eco-friendly growing system used to produce them.
A DIY microgreens aquaponics system is easy to set up, sustainable and very rewarding. It should be one of the first systems you try if you are an urban farmer or homesteader.
In this article, you’ll discover what microgreens aquaponics is, the best microgreens to grow using an aquaponics system and how to get started.
We also look at the pros and cons and provide solutions to some of the common issues encountered when growing microgreens this way.
What Are Microgreens?
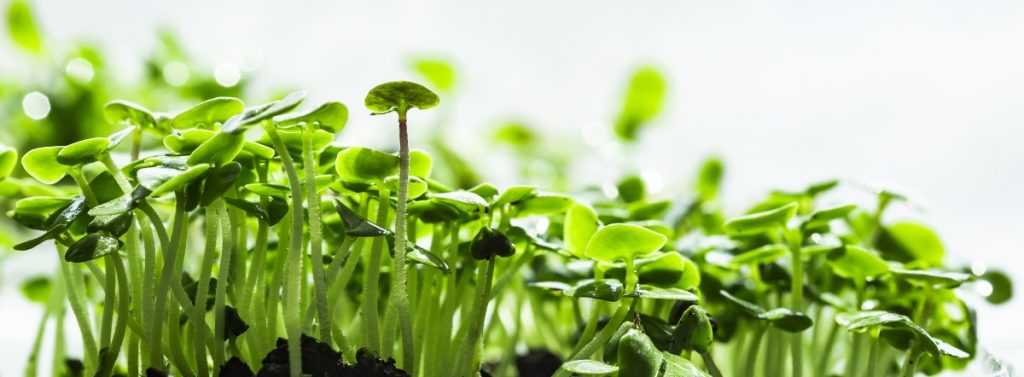
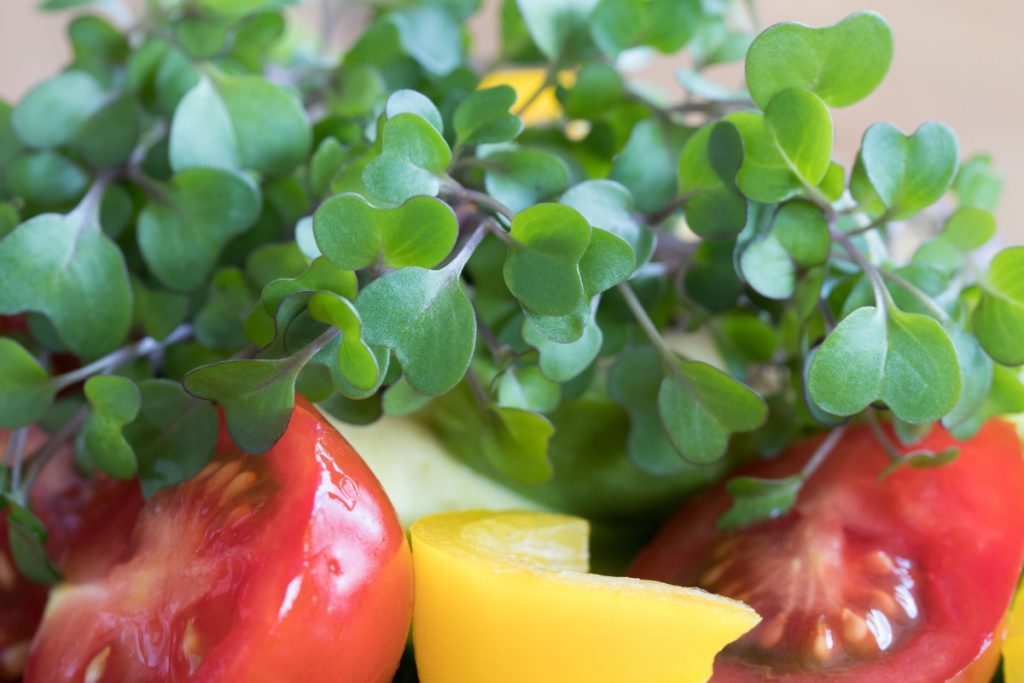
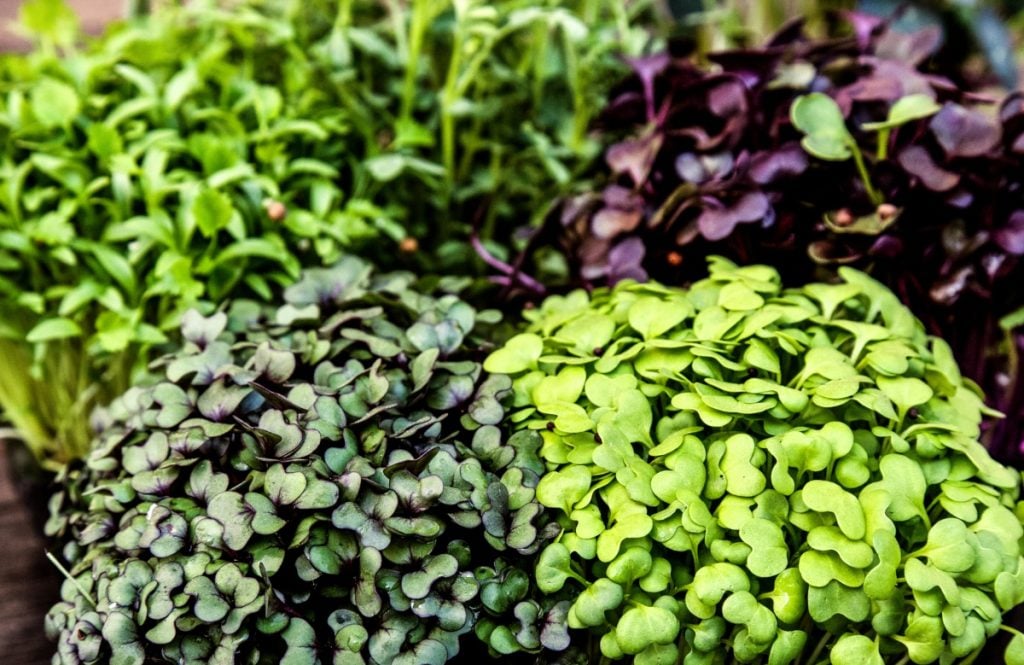
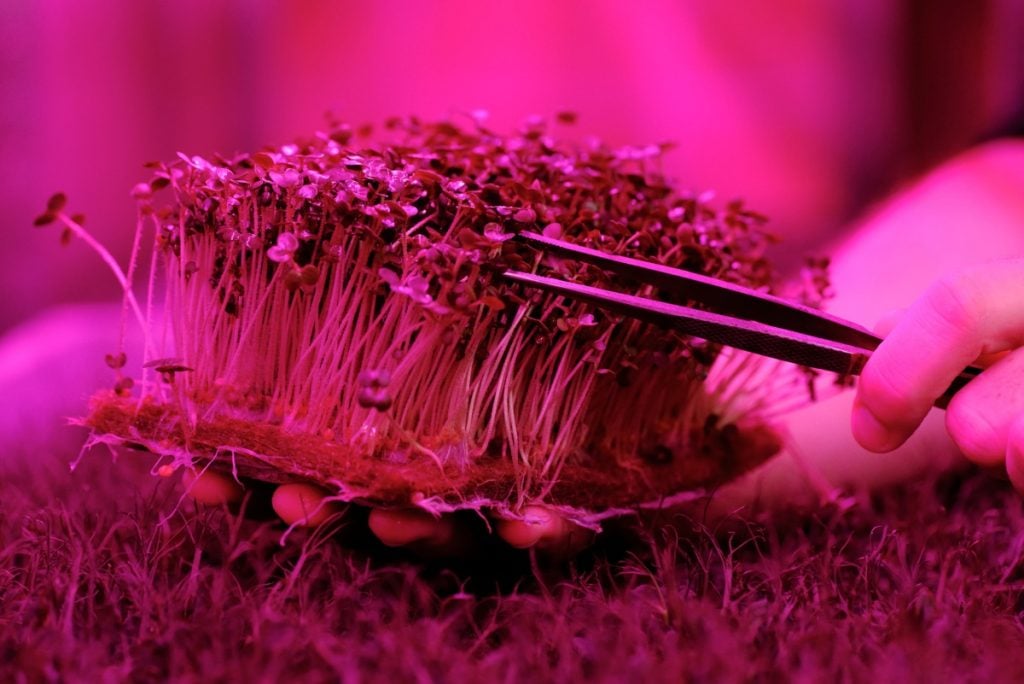
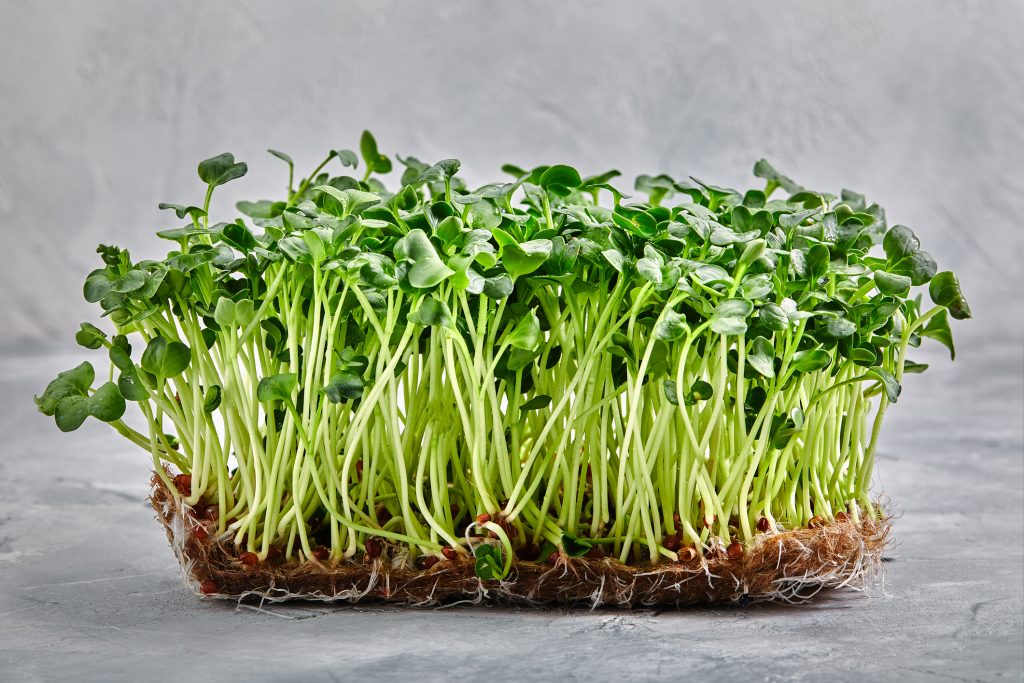
Microgreens are baby vegetable and herb plants that you harvest when they are 1–3 inches (2.5–7.5 cm) tall.
It often only takes them one to two weeks to reach this size from when the seeds germinate.
Almost any vegetable or herb can be grown as microgreens, and although they’re small, microgreens are packed full of nutrients and aromatic flavors.
Microgreens fall somewhere between sprouts and baby greens and should not be confused with sprouts. Sprouts don’t have leaves, and you consume them two to seven days after germination.
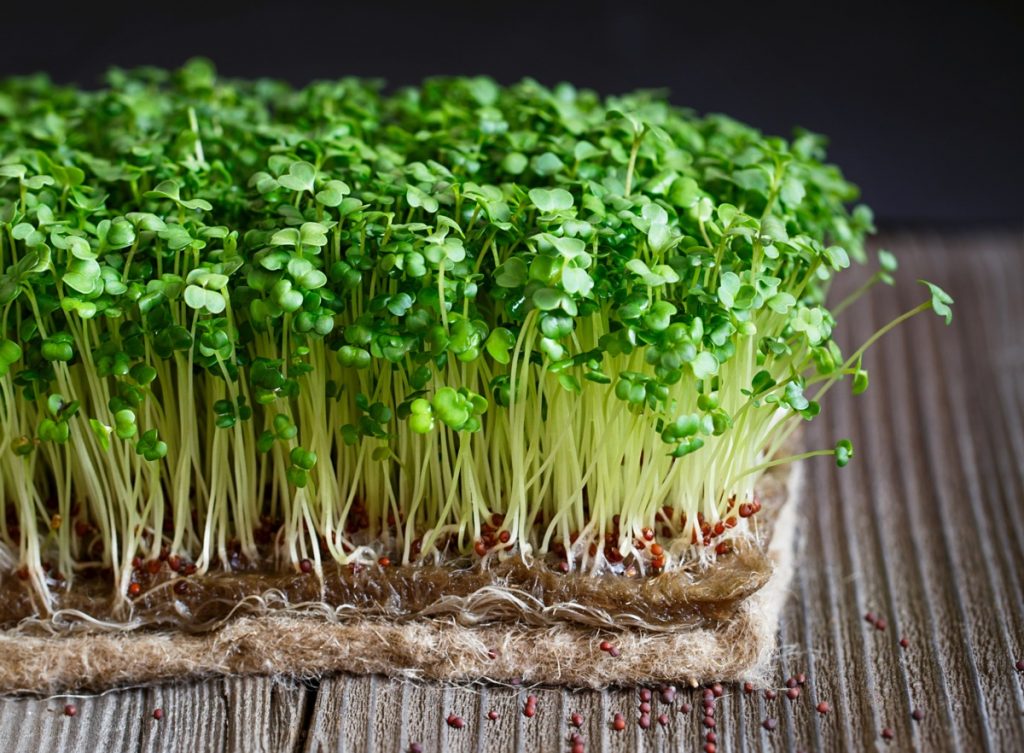
Microgreens, however, are complete plants with leaves, stems and roots and are harvested anywhere from 7 to 21 days after germination, once the plants have their first set of leaves.
Microgreens are convenient and easy to grow and one of the most profitable crops for your urban farm or homestead.
Do Microgreens Regrow After Cutting?
Although not all types of microgreens regrow after cutting, some do, and you can harvest them several times.
For more information, read our article “Do Microgreens Regrow After Cutting? Everything You Need to Know”.
What Is Aquaponics?
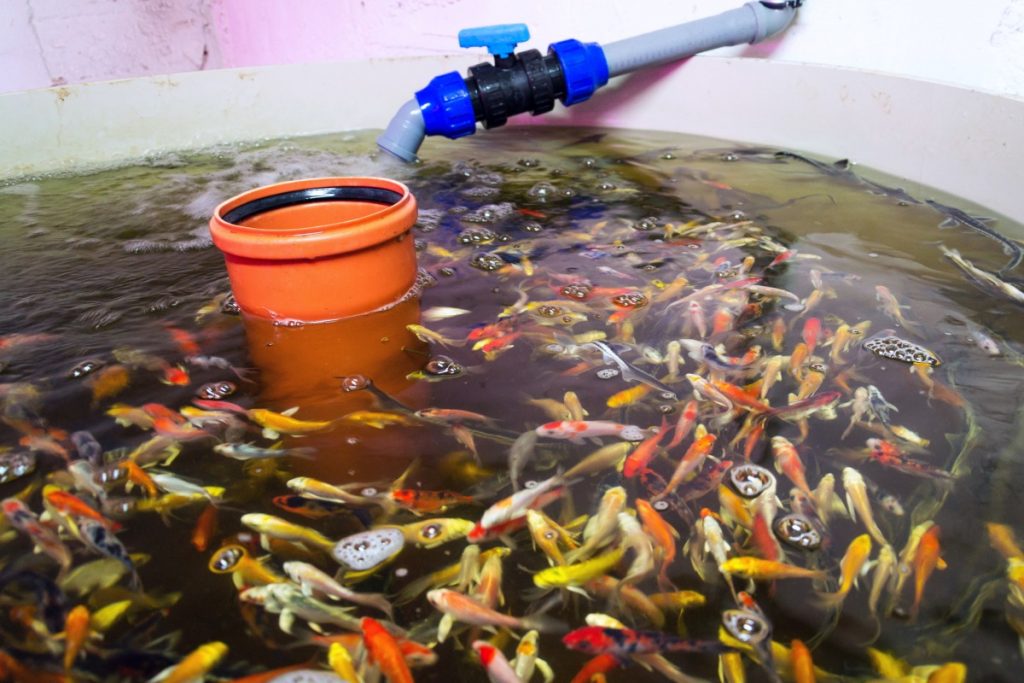
Aquaponics is an environmentally friendly, sustainable growing technique used to produce fish and plants simultaneously.
It combines elements of hydroponics and aquaculture in a space-saving, closed-loop system located inside or outdoors.
In an aquaponics system, the fish and bacteria provide nutrients for the plants, and the plants filter the water for the fish.
The only external inputs required are fish food and occasional water top-ups.
The Best Microgreens for Aquaponics
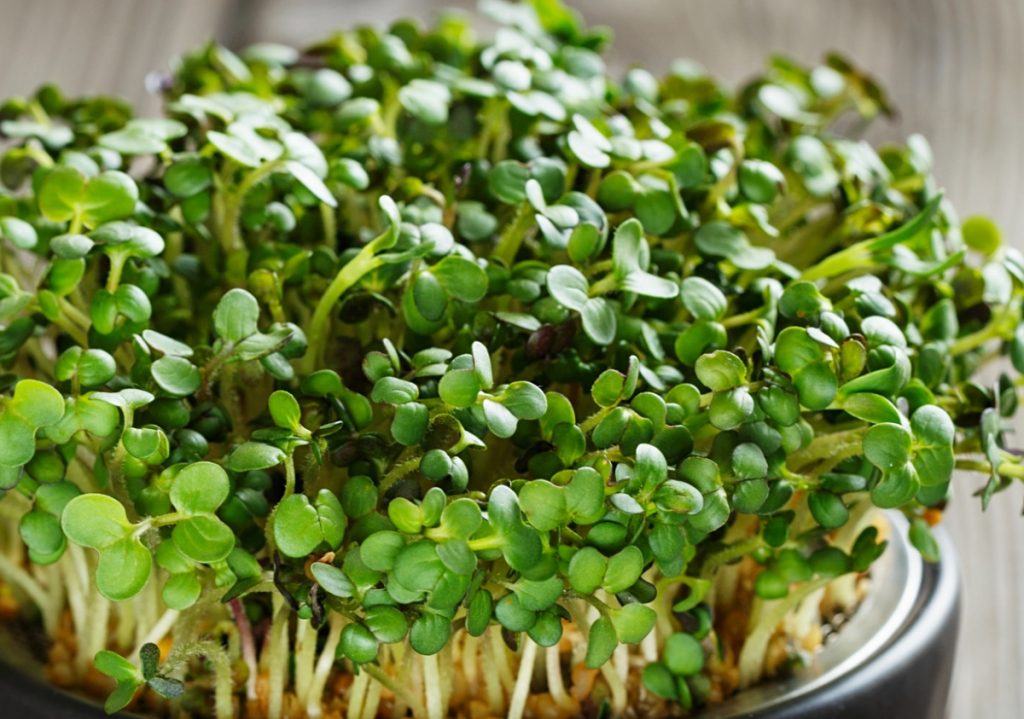
If you are just starting with microgreens aquaponics, it’s best to use easy, fast-growing plants like radish, arugula, mustard and broccoli.
It will set you up for success, and in just two weeks, you’ll be enjoying your first harvest of nutrient-rich microgreens.
Once you are a little more experienced, you can expand your selection and try some of the more exotic or colorful microgreens.
Some fast-growing microgreens are also the most popular making them the most profitable microgreens to grow.
If you are considering growing microgreens for profit, it’s a good idea to do some market research and find out what’s popular and in demand in your area.
Microgreens don’t travel well or last long once harvested, so they’re best when sold as growing plants or freshly cut to local clients and businesses.
Here are ten fast-growing, popular microgreens to grow in your aquaponics system.
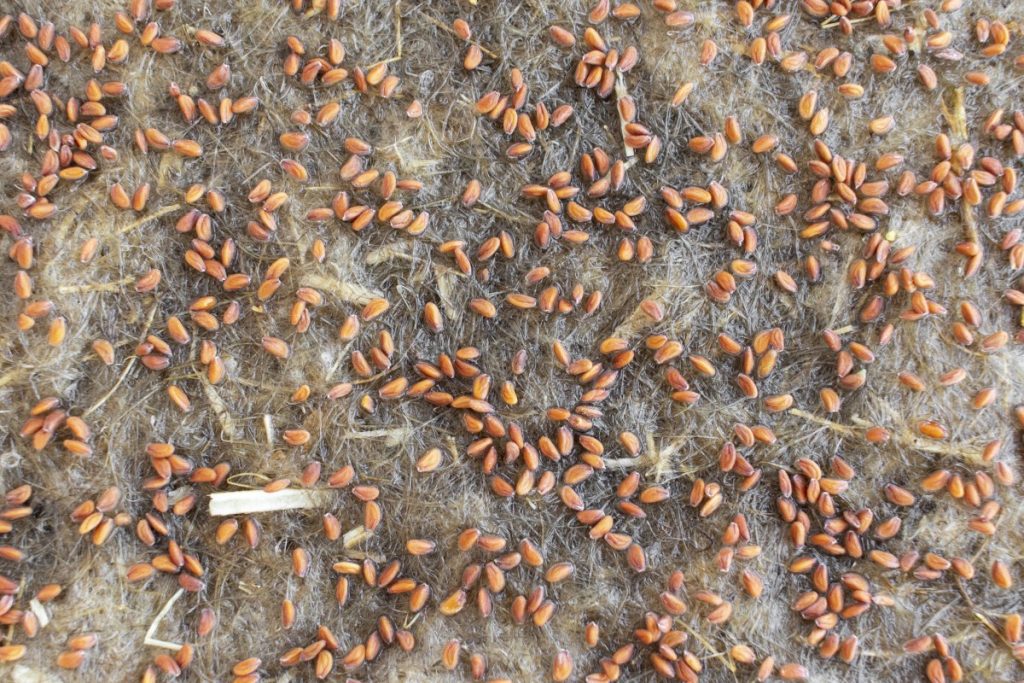
1.Radish
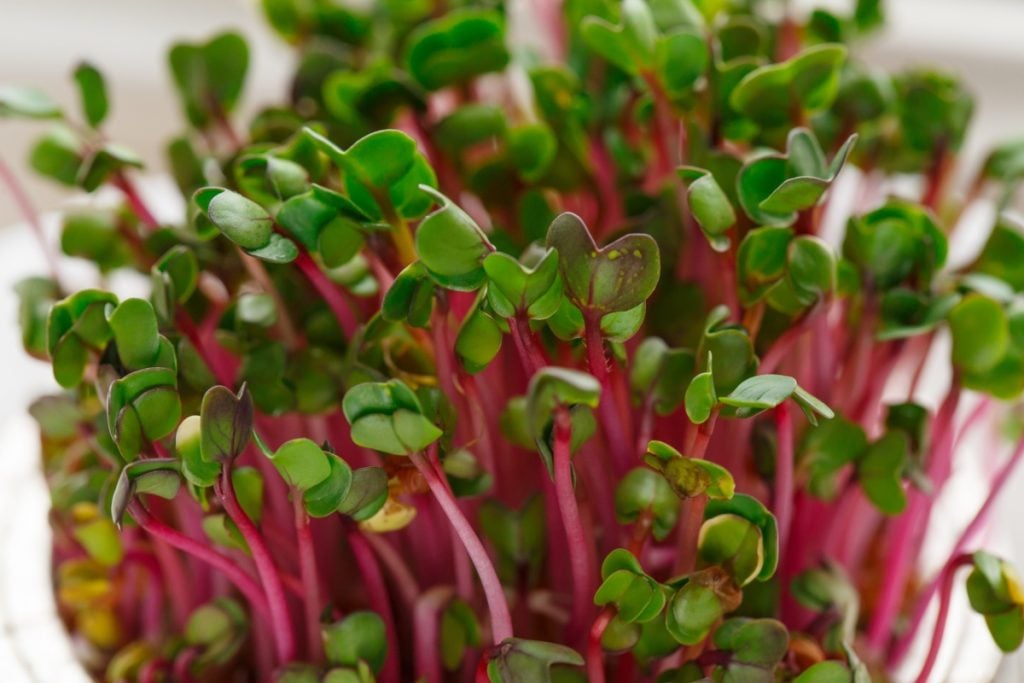
Radish are the perfect microgreens for beginners who are just getting started.
Radish microgreen seeds don’t need soaking and prefer to be grown hydroponically.
They germinate quickly, in one to two days, in both cool and warm conditions.
Radishes provide excellent yields and are usually ready to harvest in just five to ten days.
What’s more, they’re full of healthy vitamins and nutrients and have an intense spicy flavor and attractive color that chefs love.
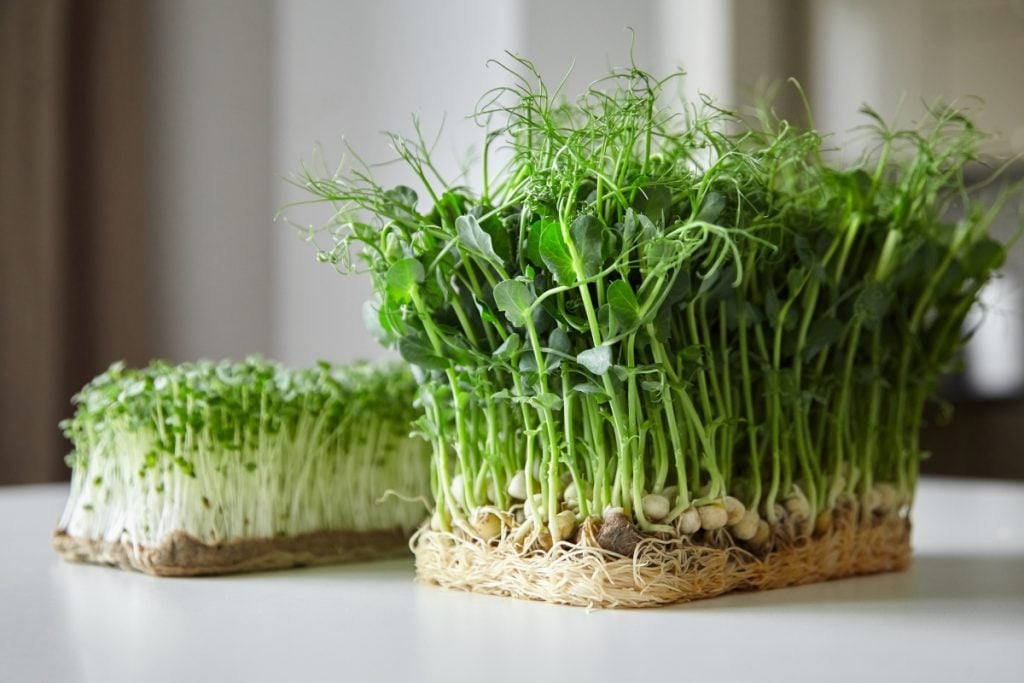
2. Pea Shoots
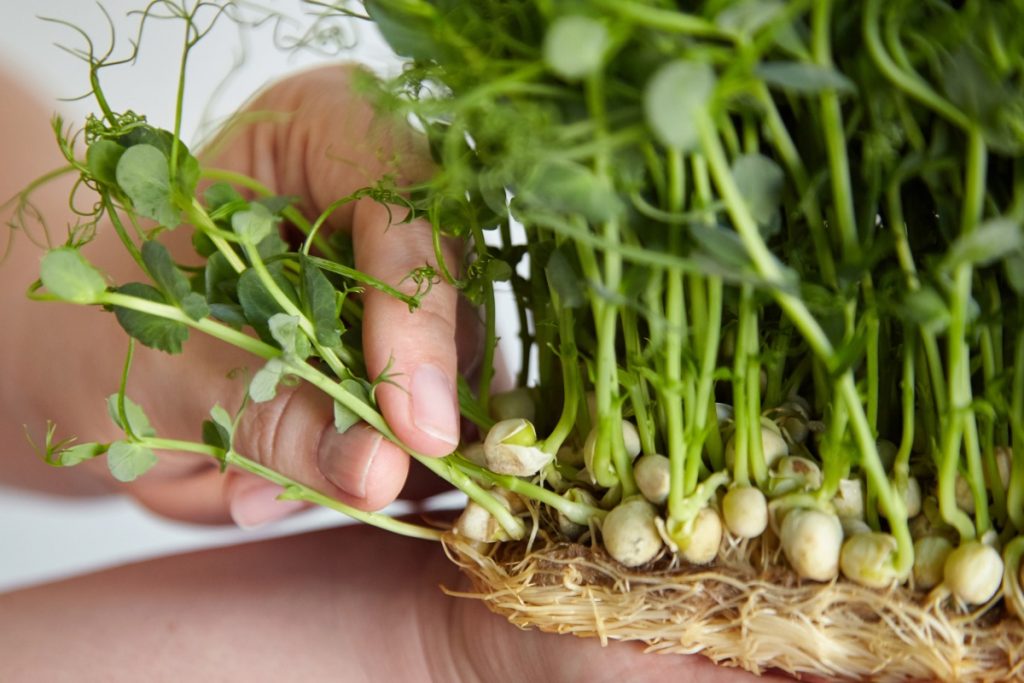
There are numerous benefits to growing pea shoots as microgreens.
They’re high yield, crunchy and sweet and taste like young snow peas, making them a hit with kids. They also look good in exotic dishes and are popular with chefs.
You need to soak pea seeds for up to 24 hours before sowing them, and can harvest them once they reach around 2 inches (5 cm) in height.
Fresh pea shoots will keep well in the fridge, and an added plus is that pea microgreens will regrow after you cut them, allowing multiple harvests per tray.
3. Sunflower
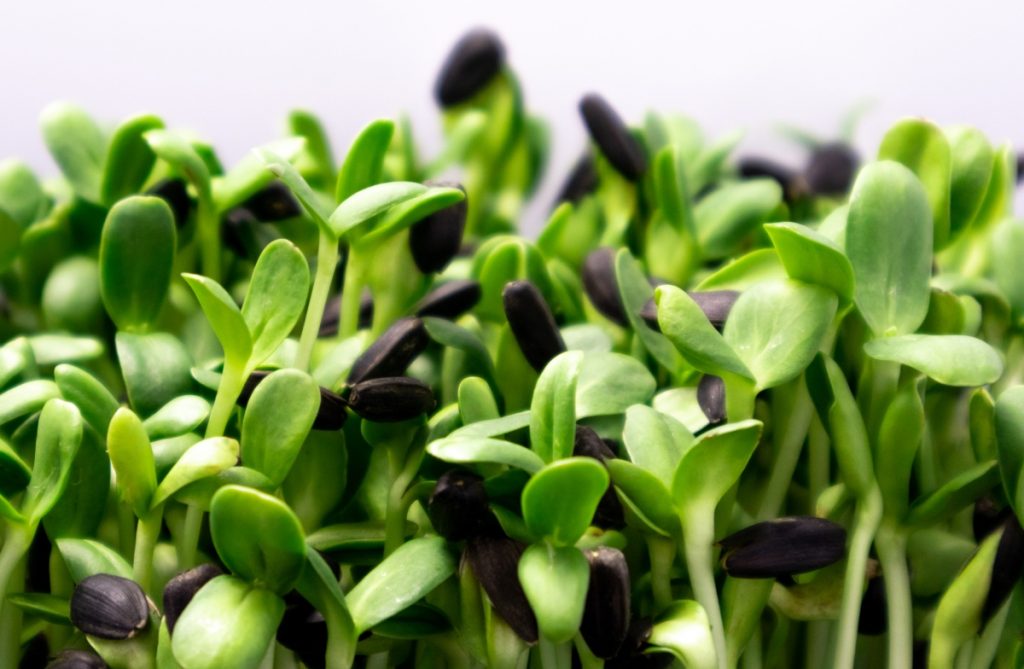
Many people are familiar with sunflower microgreens. Their crunchy texture and nutty flavor make them both popular and easy to sell.
Sunflower microgreens have a high yield per tray and are bulky and durable, making them perfect for beginners.
Like pea shoots, you need to soak sunflower seeds for 12 to 24 hours before sowing.
Sunflower microgreens also last well in the fridge after harvesting.
Our article on how to grow sunflower microgreens will teach you all you need to know to grow these easy microgreens.
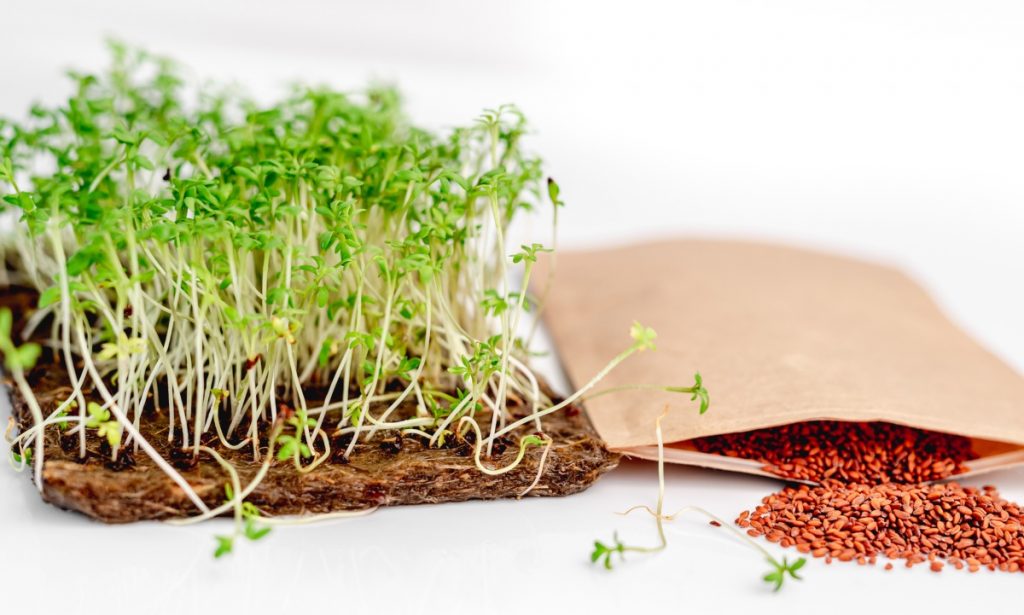
4. Arugula
Arugula, also known as rocket, is a quick-growing plant that adds a distinctive peppery flavor to salads, pizza and sauces.
Arugula enjoys cooler weather and will grow in the autumn or even winter as it can germinate at temperatures as low as 41°F (5°C).
Be careful not to sow arugula seeds too densely as they may rot. Also, take care when watering arugula microgreens as their stems are fragile.
Arugula microgreens take two to three days to germinate and may be ready to harvest in five to seven days. Harvesting and washing need to be done with care as they bruise easily.
5. Basil
Basil microgreens are some of the most popular with chefs, and they’re easy and rewarding, although they do take longer to grow.
Don’t soak basil seeds as they’ll form a gel and clump together, making it very difficult to sow them.
Basil microgreens require more heat than some other microgreens and are best grown in summer. They germinate in around two days, and the ideal harvesting time is anywhere from 15 to 20 days.
There are several different varieties of basil available that have different flavors and colors.
But Genovese basil, also known as sweet basil, is the most popular for microgreens because of its superior taste and high nutrient content.
6. Kale
Kale microgreens prefer to grow hydroponically and will produce better yields when grown this way.
You don’t need to soak kale seeds, just sow them evenly on your growing substrate and cover to block them from light for three to five days.
In eight to twelve days, you can harvest nutrient-filled kale microgreens with all the health benefits of full-grown kale.
Kale microgreens taste more like mild romaine or leaf lettuce and are perfect for those who want the nutrients but don’t enjoy the taste and texture of full-grown kale.
7. Broccoli
Like radishes, broccoli microgreens are extremely easy to grow and have a mild versatile taste that goes well with various dishes.
When sown thickly, broccoli microgreens give high yields and have as many nutrients as full-grown broccoli.
They contain a compound called sulforaphane that positively affects cancer, aging, mortality, heart disease, brain function and more.
Eating broccoli microgreens raw maximizes the health benefits.
8. Mustard
If you’re looking for spicy-tasting microgreens to add a peppery zest to your salads and other meals, mustard is a great option together with radish.
Mustard microgreens are bright green and have a distinct mustard flavor even after cooking.
They take three to four days to germinate and another six to ten days before you can harvest them.
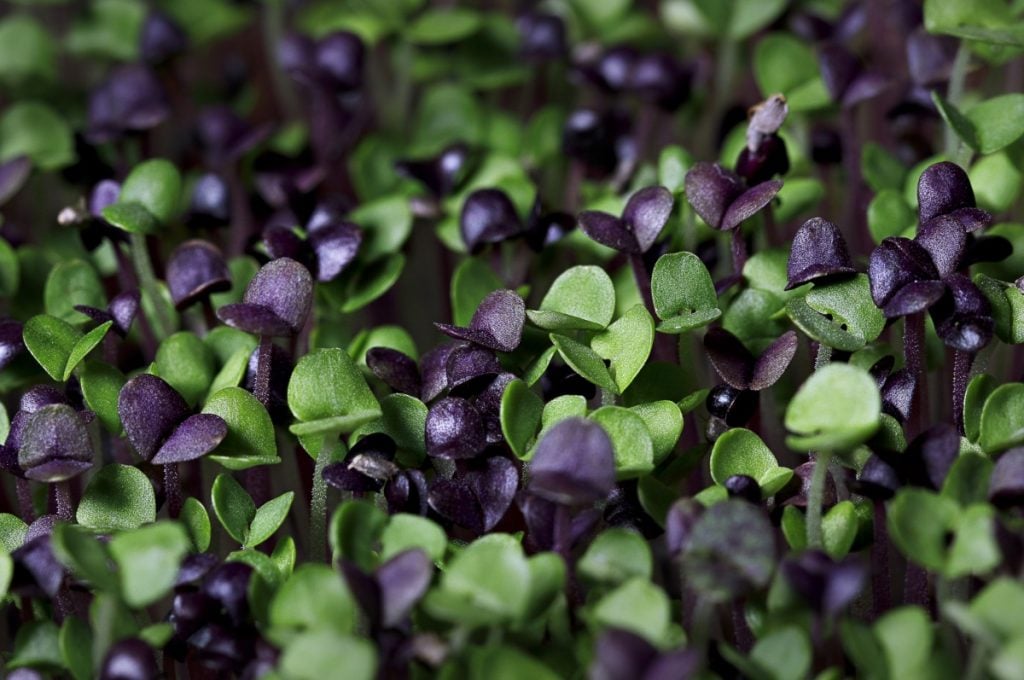
9. Kohlrabi
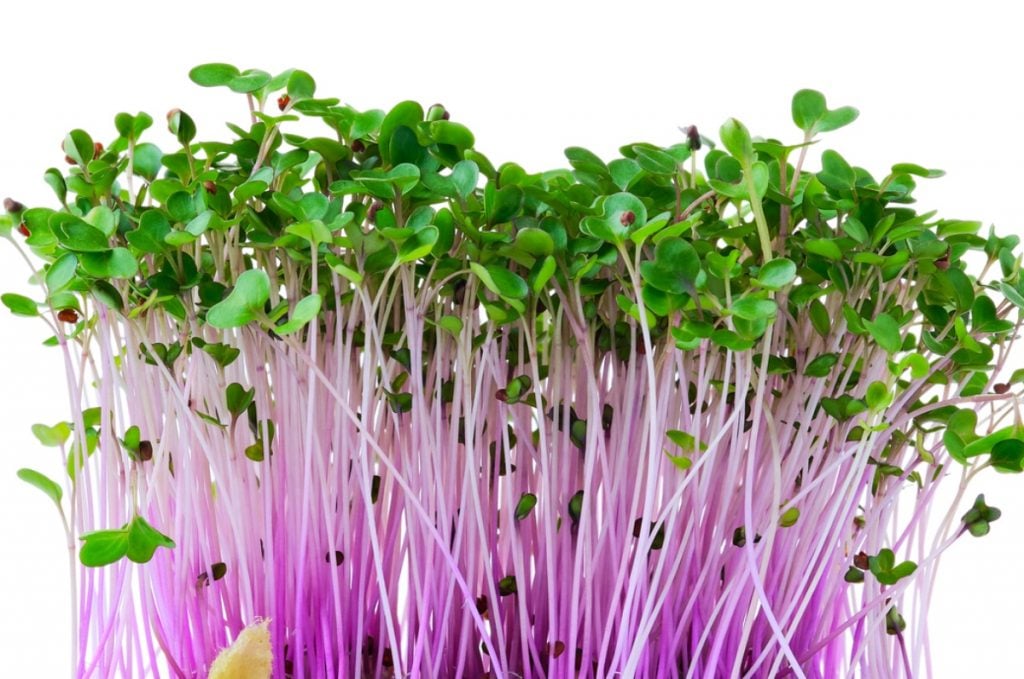
Kohlrabi microgreens, like kale, prefer to be grown hydroponically and take about eight to twelve days till harvest.
When they’re ready to harvest, they have green leaves and lavender-colored stems that add a touch of color to dishes.
Kohlrabi microgreens have several health benefits and a mild, cabbage-like flavor. They’re a great addition to sandwiches, salads or slaw.
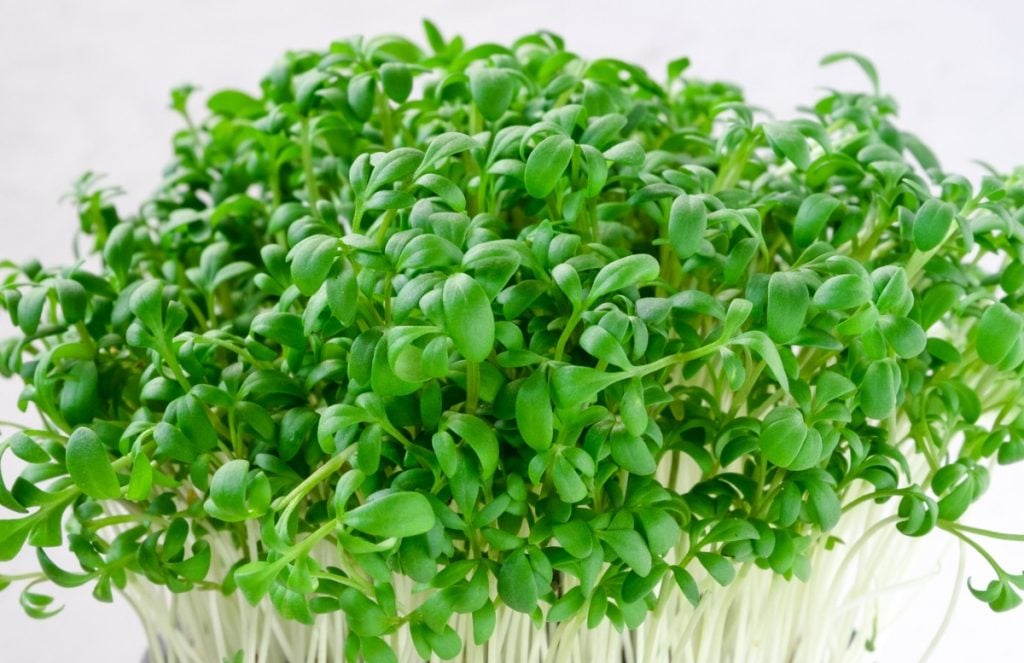
10. Mesclun
Mesclun is a mix of assorted salad greens that often have a less intense flavor than many other microgreens.
Instead of growing the different microgreens separately and mixing them after harvesting, you can simply grow them altogether from seed.
You can buy pre-made mesclun seed mixes or combine your favorite seeds to create your own custom blend.
Mesclun mixes may include arugula, lettuce, endive, chervil, baby spinach, swiss chard, dandelion, sorrel, or other leafy vegetables.
For more ideas on which microgreens to grow, read our article about the main types of microgreens you can grow.
How to Grow Microgreens in Aquaponics
There are three different aquaponic methods used to grow plants. All are based on hydroponic system designs, with adaptations to include fish in the system.
When growing microgreens, you need a large, flat surface that allows the microgreen seedlings to grow a few inches and get their first leaves.
With this in mind, the media-based or deep water culture methods are often considered the most suitable options.
However, you can successfully use all three aquaponics systems to grow microgreens. However, the NFT system requires the most adaptations and will need to be designed and built with microgreens in mind.
1.Nutrient Film Technique (NFT)
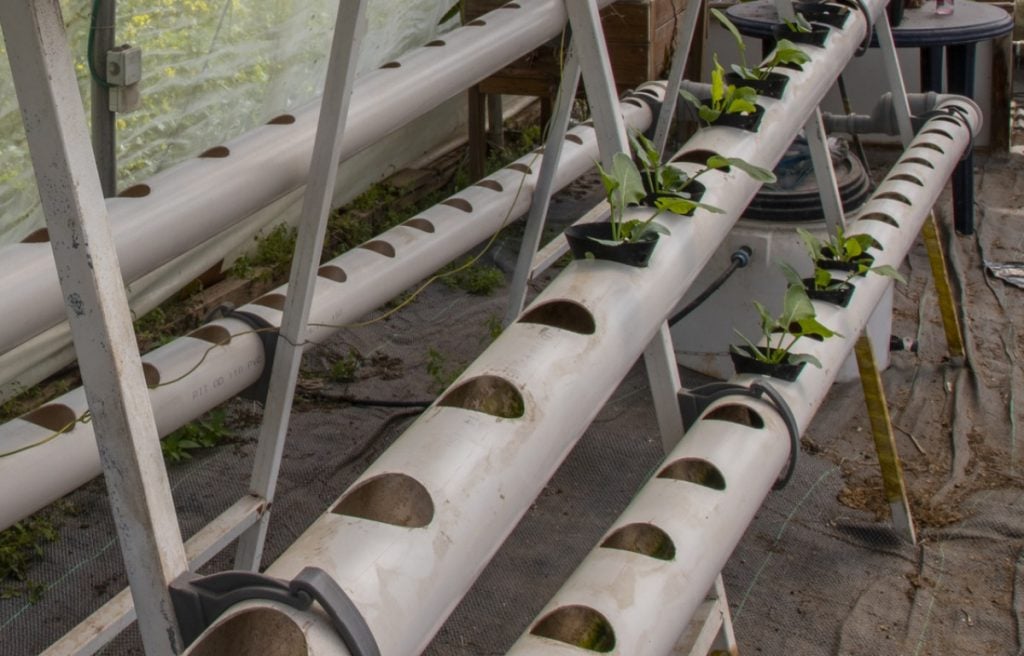
Nutrient film technique (NFT) is a growing method in which plants are grown in long narrow channels usually made from 4 inch (10 cm) wide gutters or PVC pipes with holes cut in them.
The plant’s roots dangle through the holes into the water below. A continuous, thin film of water flows below the channel, providing a constant supply of nutrients and oxygen.
Microgreens are often grown in this way, but the growing channel used for microgreens is two to three times wider than traditional channels.
This means you will have to build your system specifically for microgreens.
A grow mat is usually used as a growing substrate to support the seeds.
Nutrient film technique (NFT) systems can be set up horizontally or vertically and are ideal for small spaces.
2. Deep Water Culture (DWC)
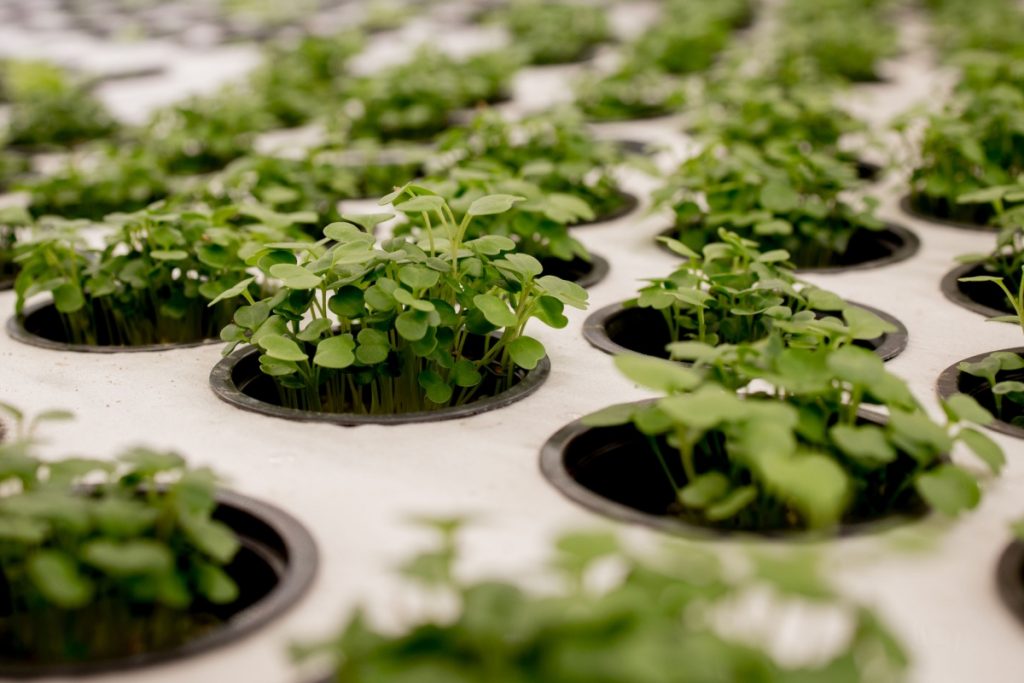
The deep water culture (DWC) method is also known as the raft or float method. This method uses floating rafts with holes to suspend plant roots into nutrient-rich, aerated water.
You will need specialized net grow bags or pots to support a growing medium or grow mat to hold the seeds while they germinate and grow.
Netting pots lined with hemp grow mats work well for growing microgreens in a DWC aquaponics system.
The netting pots allow the water to reach the roots while the grow mat prevents the seeds from being flooded.
If you are just starting, we wouldn’t recommend a DWC system for microgreens as they take up more space than the other systems.
3. Media-Based Aquaponics
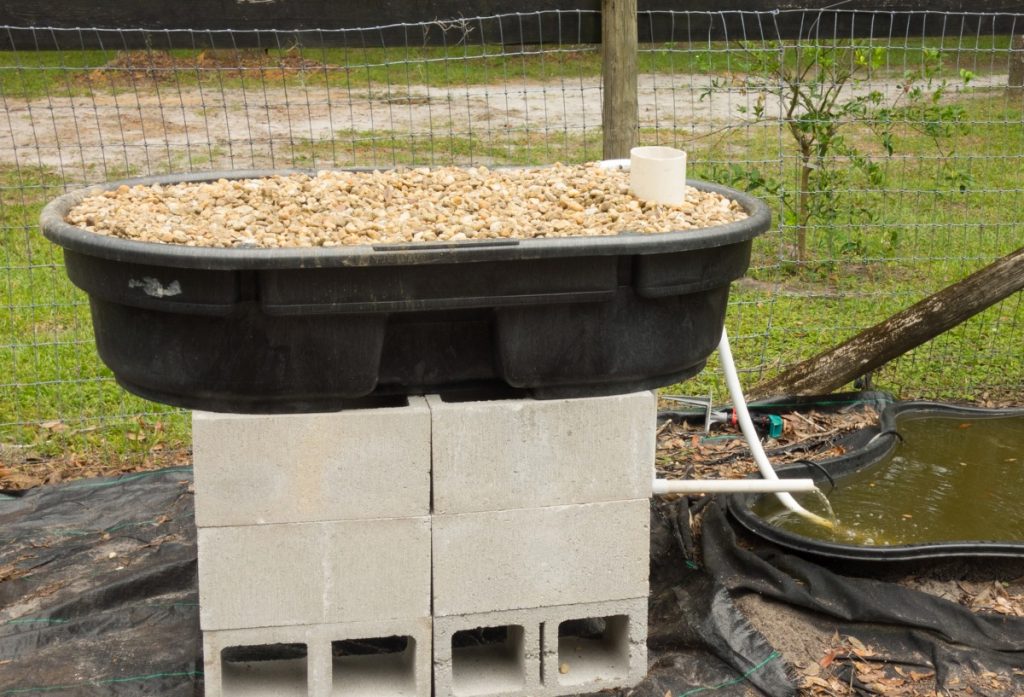
In media-based aquaponics systems, plants are grown in containers filled with growing media that supports their roots.
Water pumped from the fish tank periodically floods the media-filled grow beds and provides the plants with nutrients.
One of the advantages of this system is the large flat media bed which is perfect for microgreens.
However, the growing media commonly used in media beds for growing vegetables is not the best for microgreens.
The seeds fall into the nooks and crannies between the substrate particles making it difficult to spread them evenly and get the desired density.
A grow mat on top of your growing media will help resolve this issue as it will provide a flat surface and absorb and hold water keeping the microgreens moist.
A media-based microgreens aquaponics system is inexpensive, simple to set up, needs no additional filtration and is very productive on a small scale.
Additionally, growing beds are often located above the fish tank in a vertical design, saving space.
How to Set up a Microgreens Aquaponics System Step by Step
You can purchase larger, ready-made aquaponics systems or a DIY kit for a small system.
But, building your own DIY microgreens aquaponics system from scratch is more rewarding, and you can customize it to suit your space and requirements.
If you are homesteading, a DIY system is a must. You can use recycled objects and eco-friendly materials to create a sustainable aquaponics system in keeping with homesteading ideals.
Use the steps below to set up a media-based microgreens aquaponics system and enjoy a year-round supply of nutritious microgreens and fish.
Step 1: Find a Location
The first thing you need to do is to find a suitable location for your microgreens aquaponics system.
Microgreens can be grown using sunlight or artificial lights but if you want to enjoy fresh cut microgreens year-round, consider building your system indoors or in a greenhouse.
It is best to start with a small system and grow once you have some experience.
Initially, you won’t need much space, but if you hope to grow microgreens for profit in the future, you’ll need a location that has enough space for expansion.
The good news is that you can set up microgreens aquaponics systems vertically to maximize available floor space.
You need to monitor microgreens daily as they’re fast growers, so it’s a good idea to install your system where it is easily accessible.
Your microgreens aquaponics system will also need access to electricity to run the pump and lights. And a water source for filling and topping up the tank.
Step 2: Set Up a Fish Tank
The size of your grow bed and the type of fish you decide to raise will determine the size of the tank you need.
People often use second-hand fish tanks for small indoor systems and large opaque barrels or square bins recycled from the food industry for slightly larger systems.
However, old baths, wooden structures with pond liners or metal watering troughs all work well.
Once you have found, built or purchased your tank, place it in the location you have chosen.
Step 3: Create a Growing Bed
A growing bed is a waterproof container that holds the soilless medium that supports the microgreens.
You can install your growing bed, sometimes called a flood table, above or alongside the fish tank.
Ready-made grow bed containers are available or, you could use heavy-duty plastic trays or adapt wooden pallet crates.
You can also build your own grow beds from scratch. Shallow wooden grow beds, six to ten inches (15 to 25 cm) deep, are a simple, cost-effective solution for all types of plants.
If you only plan on growing microgreens, your grow beds don’t need to be as deep, as microgreens don’t have substantial root systems.
Remember to mount your grow bed at an angle of around five degrees, not flat. This angle will facilitate the flow of water through the media bed and back to the fish tank.
Make a hole in the lower end of the growing bed to fit a PVC pipe to take the water back to the fish tank.
Once mounted, fill the grow bed with your choice of soilless growing medium.

What Is The Best Grow Media for Aquaponics?
Hemp grow mats are widely used and considered by many to be the best option for microgreens aquaponics. However, they are not the only growing medium you can use.
There are several different growing mediums, also known as substrates, that you can use to provide support for your microgreens roots in an aquaponics system.
Some common growing mediums include hemp mats, coconut coir, clay pebbles, vermiculite, and Rockwool.
Perlite is light making it easier to elevate the grow beds, while gravel is heavy but inexpensive.
Clay pebbles are pH neutral, hold moisture well and have a large surface area for the bacteria, making them a popular choice.
Read our article “Best Growing Medium for Microgreens” to learn more about the options available.
Although we personally enjoy growing microgreens in soil, we look at the pros and cons of several soilless growing mediums that are suitable for aquaponics systems.
Step 4: Install Plumbing Components and Lighting
You require a pump, piping and plumbing fittings to get the water from the fish tank to the grow bed and back again.
Place the pump at the bottom of the fish tank to pump water up to the higher end of your grow bed.
At the end of the pump hose, install a T-fitting with a cross pipe the width of the grow bed. Make evenly spaced holes in the cross pipe to distribute the water uniformly across the entire grow bed.
You can use a timer to switch the pump on and off and control how much water goes into the grow beds.
If you are setting up your system indoors, now is also the time to install lighting above your grow beds.
Our article “How to Grow Microgreens: The Ultimate Guide” has more information on artificial lighting and how close to your microgreens the lights should be.
Step 5: Test Your Microgreens Aquaponics System
Now that you have installed all the components, it’s time to test your microgreens aquaponics system.
Fill the tank with pond or rain water. If you use tap water, you will need to leave it for at least two weeks to allow time for natural bacteria to build up before you add your fish.
Once your fish tank is full, switch on the pump and circulate the water through your system.
Check all your piping and joints for leaks.
The water should be pumped up to the grow bed, travel uniformly through the bed, and drain back into the tank.
Step 6: Add Your Fish
When you are happy that your system is running smoothly, make sure the water suits the requirements of the fish you have chosen, and add your fingerlings.
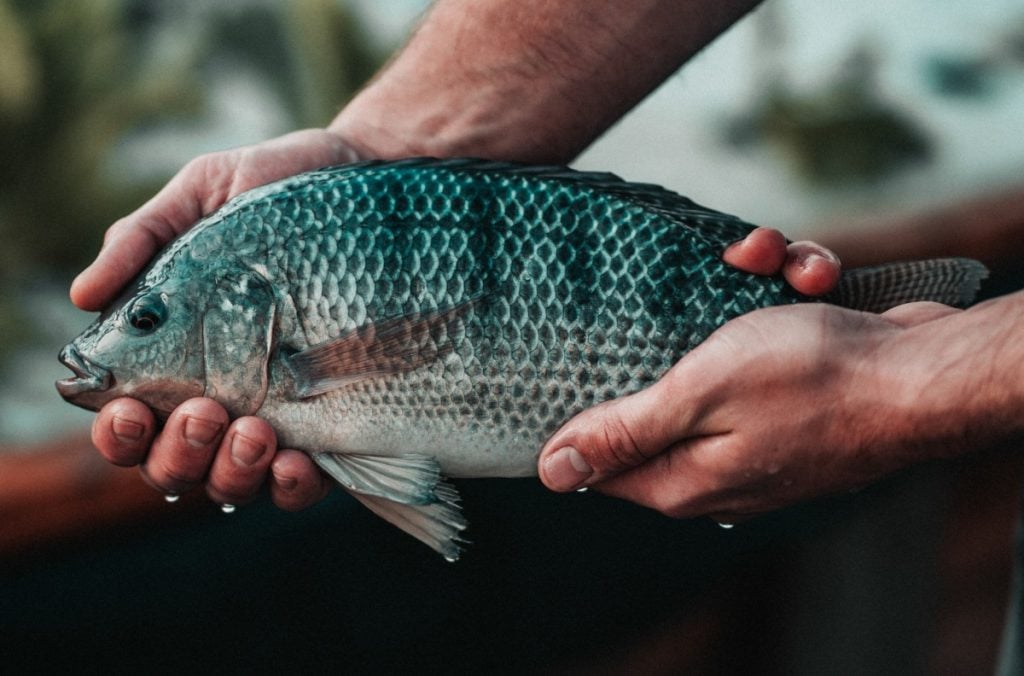
Any fish that do well in warm water can be used in a microgreens aquaponics system.
One of the easiest fish for beginners is tilapia as they are so hardy, but bluegill, catfish, koi and goldfish are also good options.
Our Beginners Guide to Aquaponics has some tips on choosing the right fish for your system and where to get them.
It takes a while for your fingerlings to grow and produce enough waste to support plants.
During this time, the water needs to circulate through the grow beds as the growing medium will help filter the water even without plants.
The good news is that microgreens do not need as many nutrients as larger plants, so it won’t be long before you can produce your first microgreens crop.
Step 7: Add the Microgreens
You can sow the microgreen seeds directly onto your growing media, but this may not provide the density required, and when you harvest the microgreens, the roots are left behind.
A better solution is to wet a grow mat, lay it on top of your media bed and sow the seeds onto the grow mat.
When you flood the media bed, your growing media will hold water and capture nutrients. These are then absorbed by the grow mat for the microgreens.
It is a good idea to cover the seeds for the first few days. Microgreens usually perform better if they’re covered to prevent light from getting in during the early stages of germination.
Step 8: Maintain Your System
Maintaining a microgreens aquaponics system is relatively simple. However, as microgreens grow so fast, you will need to check on them regularly.
Other than these checks, feeding the fish is the most time-consuming aspect, but you can program automatic feeders to do this for you.
Make sure not to overfeed your fish. Only feed them as much as they can eat in five to ten minutes, two to three times a day.
Microgreens are sensitive to pH and temperature changes, so you’ll need to test the tank water regularly.
Pros and Cons of Microgreens Aquaponics
Microgreens aquaponics is a sustainable and profitable system. But, like any growing system, it has pros and cons.
Pros of Microgreens Aquaponics
Here are a few of the pros of microgreens aquaponics systems.
1. Quick turnaround time – A microgreens aquaponics crop can be ready for harvest in under two weeks from when you sow the seeds.
2. Nutrient-dense – Microgreens have all the nutritional and health benefits of the full-grown plants packed into bite-sized plants.
3. Space efficient – You can set up microgreens aquaponics systems vertically in small spaces.
4. Easy to get started – A small DIY microgreens aquaponics system is easy to set up, and the losses are minimal if you get it wrong.
5. High demand crop – Microgreens are high demand, profitable crops, and aquaponics microgreens have the added benefit of only using organic fertilizer.
6. Multiple harvests – You can harvest both microgreens and fish from a microgreens aquaponics system.
Cons of Microgreens Aquaponics
Like all growing systems, microgreens aquaponics also has a few disadvantages, including the ones below.
1. Time-consuming – You need to check your microgreens daily and replant every two weeks for a constant supply.
2. Excess harvest – Microgreens are best eaten fresh and don’t travel or keep well, making it difficult if you have an excess of microgreens.
However, gifting them to neighbors and friends is an excellent way to distribute excess and create a potential market for future crops.
3. Sensitive to change – Microgreens are affected by small changes in temperature, light and water quality.
4. Less fish – Microgreens alone will support very few fish as they do not consume large amounts of nutrients.
However, growing microgreens with other plants in an aquaponics system will alleviate this problem and make the system more productive and profitable.
Common Microgreens Aquaponics Issues (And How to Fix Them)
Growing microgreens in an aquaponics system is rewarding and relatively easy. But, if you’re a beginner, expect some failures as you experiment and learn.
Here are some of the common issues and how to fix them.
1. Rot and Mold
There are several reasons why your microgreens could show signs of rot and mold, including the following.
- Excessive temperatures and humidity – Most microgreens grow best at around 67F (19C), although some enjoy slightly warmer temperatures of up to 70F (21C). The ideal humidity for microgreens is 50%.
If you live in a hot, humid area, you may need to use an air conditioner to reduce the temperature and humidity. You also need to make sure you have good air circulation.
- Overwatering – This not only increases the humidity but may also prevent the roots from getting enough oxygen, making your microgreens susceptible to root disease and rot.
Avoid puddles of water that extend above the root line of your crop. Ideally, the water should only be in your grow bed or channel below the grow mat giving the roots plenty of access to oxygen.
When the roots get the right mix of oxygen and water, the microgreens thrive.
- Sowing seeds too thickly – When you sow too many seeds, your microgreen crop will be very dense. Airflow between the plants is then blocked, making them susceptible to rot.
If you think your microgreens are becoming too thick, thin out the crop by carefully plucking or nipping off individual plants
- Water is too alkaline – Signs of rot can often indicate water that is too alkaline. Check the pH of your water and make sure it is as neutral as possible.
A pH of 7 is ideal, but you can get away with anything between 6.5 and 7.5. If your pH is incorrect, it will lead to a weak crop.
2. Poor Germination
There are several reasons why you may experience poor germination rates. Here are some things to check if you are experiencing this problem
- Seeds age – Some seed varieties need a dormant period after being harvested before they will sprout
- Presoaking – Some types of seeds germinate better if pre-soaked.
However, you need to check the requirements for the specific seeds you are growing as some varieties, like broccoli, may drown if you soak them for too long.
- Watering – During germination, underwatering is more of a problem than overwatering. Never let your seeds dry out, but also avoid overwatering.
Soak your grow mat before sowing the seeds and monitor them carefully during germination to ensure they do not dry out.
- Temperature – Extreme hot or cold may prevent your seeds from germinating. Most seeds will germinate at temperatures of between 55 and 75°F (13 to 24°C)
3. Uneven Germination
To prevent uneven germination, make sure you are sowing the seeds evenly across your grow mat.
The amount of air circulation, light and water should also be constant across your whole grow bed.
4. Tall, Spindly Microgreens
Tall, spindly microgreens are an indication that your plants are not getting enough light. Microgreens grow tall and leggy to try to reach light sources.
Make sure your microgreens are getting four to eight hours of direct light, be it sunlight or artificial light, every day.
5. Pale Microgreens
Pale Microgreens are another indication that your crop is not getting enough light.
Try using a stronger light source or moving your microgreens closer to your existing lights.
6. Dry Burnt Patches
If you notice dry spots or leaves with burn patches, your microgreens may be getting too much light.
Some crops are more sensitive to light than others and can get burned if your light source is too strong.
Try increasing the crop’s distance from your grow lights, reducing the wattage of the lights or decreasing the amount of exposure time.
7. Slow Growth
Air and water temperature and light all affect the growth rate of microgreens.
Cold may slow down the microgreens’ growth. However, light is more important than temperature, so always ensure that your microgreens get enough light.
A temperature range of 67 to 75°F (19 to 24°C) is ideal, and at least four to eight hours of direct light a day.
8. Wilting
Carefully watch your microgreen crop for any signs of wilting, as this is an indication of underwatering.
Your grow pad should be kept relatively soggy for the entire growth cycle. If it is merely damp, there’s more than likely not enough water going through your system.
You will need to increase the amount of water going into your grow bed or channel.
9. Generally Weak Crop
If you pamper your microgreens too much, you could end up with a weak crop.
Microgreens should struggle a bit for survival, and if they are not kept in the dark long enough when germinating, you may get a weak crop.
If you are not happy with the strength of your crop even after keeping them in the dark, try this.
Take the container or tray you are using to cover the seeds and flip it over. Spray the underside of the tray to moisten it and place it on top of your seeds.
Doing this will force the seed’s roots to penetrate the grow pad instead of growing across it as they try to lift the tray to reach the light.
Leaving the tray lying on the seeds for a day or two can help to strengthen your crop.
Final Thoughts
Microgreens are one of the most profitable crops for a small-scale farm, and you do not need a large amount of space to get started.
Microgreens aquaponics systems are a worthwhile DIY project for homesteaders. They’re environmentally friendly, sustainable and profitable.
Microgreens are not only fast-growing but also packed full of flavor and nutrients.
Now is the perfect time to learn how to grow microgreens for profit and start your own microgreens business.