Microgreens are becoming increasingly popular as people strive to improve their health by eating nutrient-dense foods.
Broccoli Microgreens are one of the best ways to do this. Not only are they easy to grow, but they are also jam-packed full of healthy nutrients.
In this article, you’ll discover what broccoli microgreens are, the health benefits of growing broccoli microgreens and a step-by-step guide to get you started.
We also look at the pros and cons of growing broccoli microgreens and solutions to some of the common problems that beginners encounter.
What Are Broccoli Microgreens?
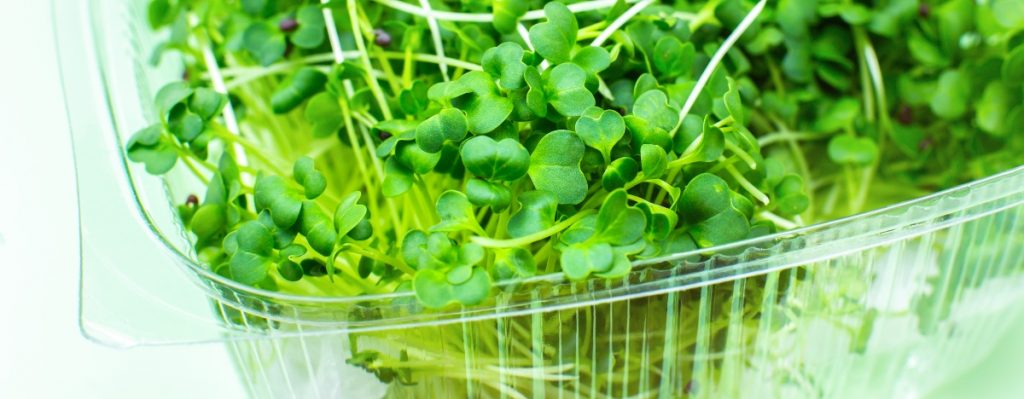
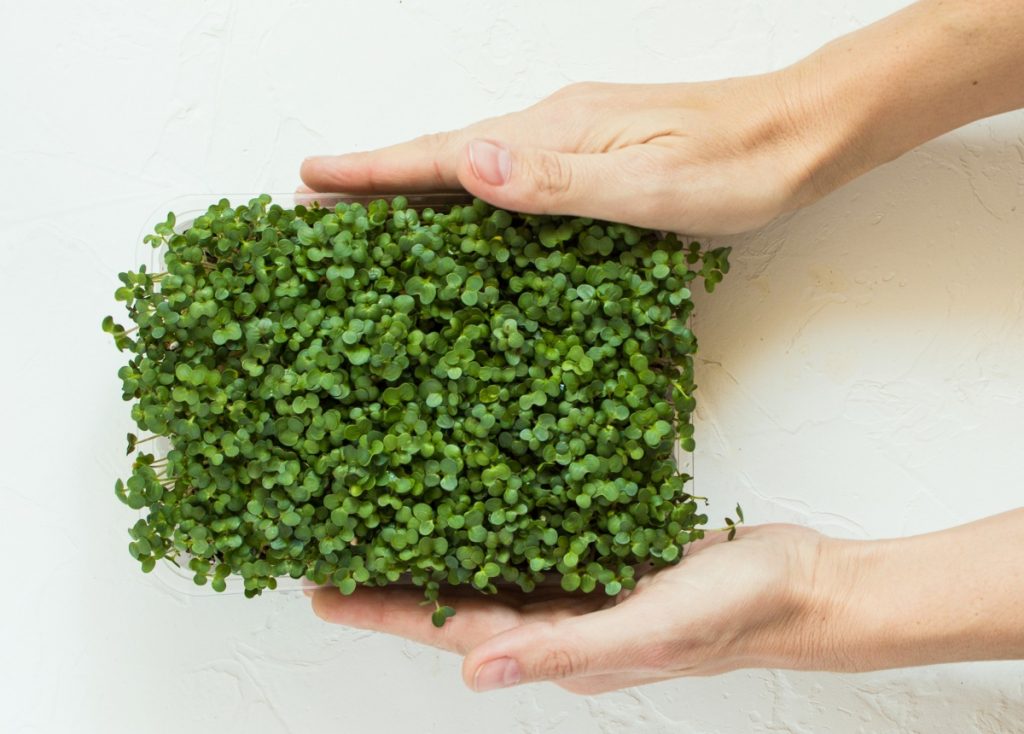
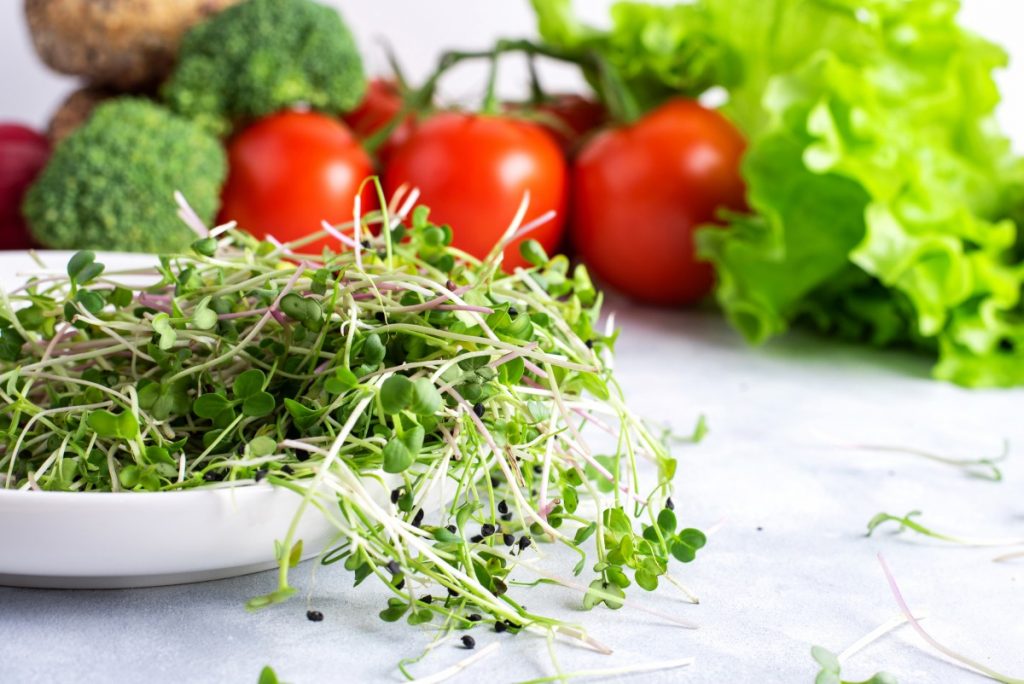
Broccoli Microgreens are baby broccoli plants that you harvest when they’re 2-3 inches (5-7.5 cm) tall.
Almost any vegetable or herb can be grown as microgreens. And although they’re small, they’re packed full of nutrients and aromatic flavors.
Broccoli microgreens are one of the easiest microgreens to grow and have many health benefits. They’re also quick-growing and can be ready to eat in as little as seven days.
Thus, they’re ideal for beginners and one of the most profitable crops for an urban farmer or homesteader.
Can You Eat Broccoli Microgreens?
Not only can you eat broccoli microgreens, but you most definitely should.
A small serving of broccoli microgreens is full of beneficial nutrients and vitamins, and they’re considered by many to be a superfood.
You can eat broccoli microgreens in the same way as full-grown broccoli but they’re not as bitter.
Try using them to add visual appeal, flavor and a crunchy texture to any dish.
Are Broccoli Microgreens the Same as Microgreen Sprouts?
Broccoli Microgreens fall somewhere between sprouts and baby greens. They are often confused with microgreen sprouts, but they’re not the same.
Microgreen sprouts don’t have leaves, and you consume them 2 to 7 days after germination.
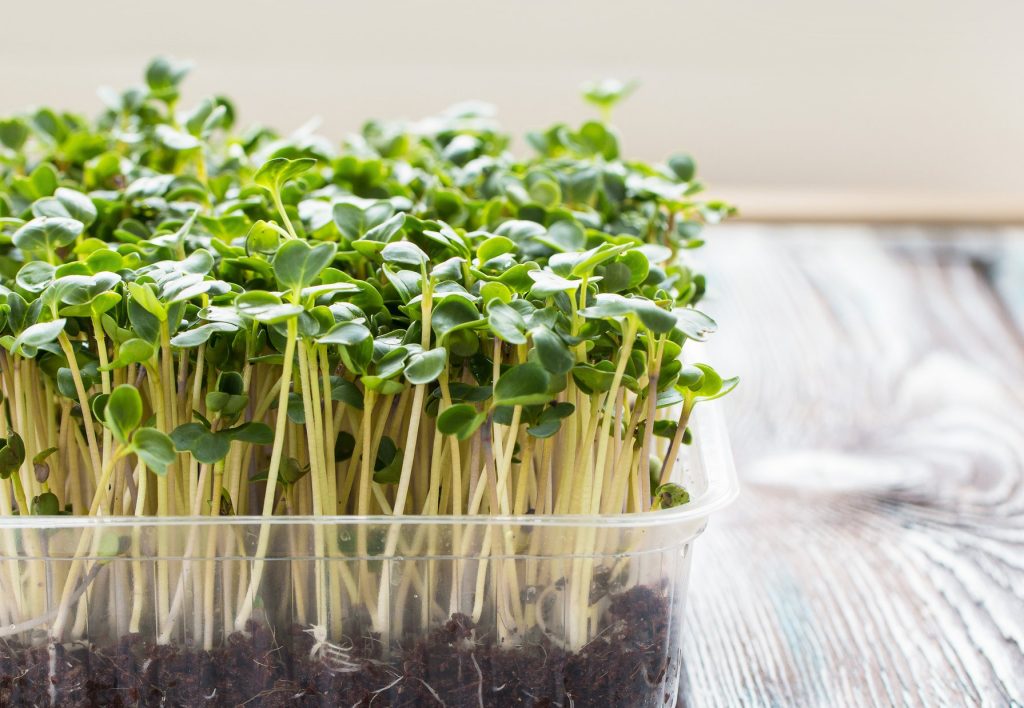
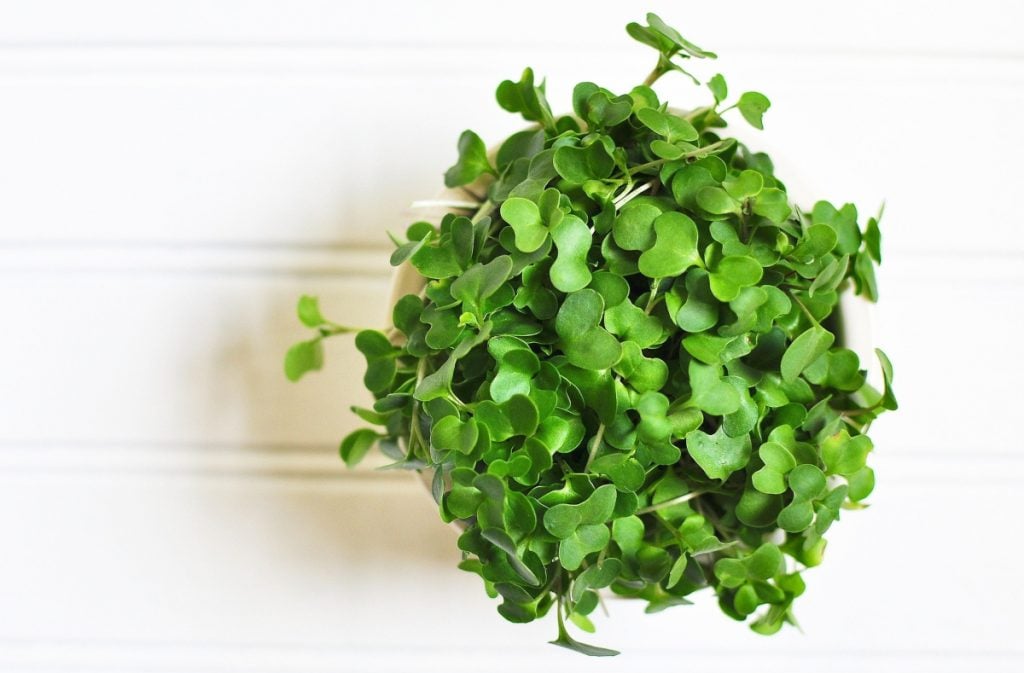
Broccoli microgreens are complete plants with leaves, stems and roots. They’re harvested 7 to 14 days after planting when they have two cotyledon leaves.
In the next section, we look at the difference between the two in more detail.
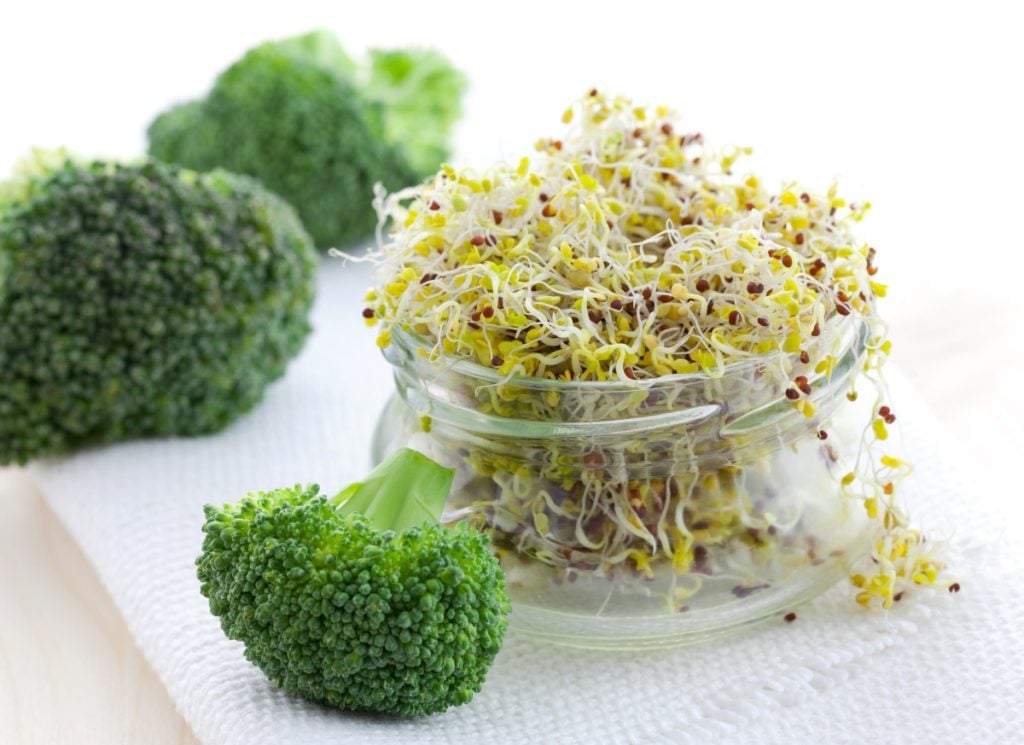
Broccoli Sprouts vs. Broccoli Microgreens.
Sprouts and microgreens both start by germinating seeds, but the methods used and results differ. Here are some of the differences.
- Growing Mediums – Microgreens need either a thin layer of soil, paper towels or grow mats in a container to sow the seeds into before germination.
To produce sprouts you only need a jar and water.
- Light Requirements – You need to keep sprouts in darkness to keep their characteristic off-white stalks.
Microgreens need exposure to light to begin photosynthesis and turn green.
- Time To Harvest – You can eat sprouts as soon as small stems appear, usually within two to seven days of germination.
Microgreens take anywhere from seven to fourteen days to be ready for harvest.
- Edible Parts – When enjoying microgreens, you eat the leaves and stems of the baby plants. When munching sprouts, you eat the seeds and tiny stem sprouts.
- How They’re Used – People use broccoli microgreens dry as garnishes and to add flavor and nutrients to various dishes. Broccoli sprouts, wet or dry, add a nice crunch to salads and stir-fries.
Health Benefits of Broccoli Microgreens
Broccoli microgreens may be small, but when it comes to nutrients and health benefits, they pack a punch
Research shows that fresh broccoli microgreens can contain more nutrients than mature broccoli.
Broccoli microgreens contain high levels of sulforaphane, a sulfur compound found in many cruciferous vegetables.
Sulforaphane may help fight inflammation, prevent cancer, boost the immune system and improve digestion.
Broccoli microgreens are also full of beneficial nutrients. Including Vitamin A, B, C, E and K, dietary fiber, phosphorus, magnesium and potassium.
How to Grow Broccoli Microgreens at Home Step-by-Step.
Now that you have a better understanding of what broccoli microgreens are and why you should grow your own. Here’s a step-by-step guide to get you started with growing broccoli microgreens.
Step 1: Gather Materials
The first thing you need to do is get your materials and supplies together. Here’s what you’ll need to grow broccoli microgreens.
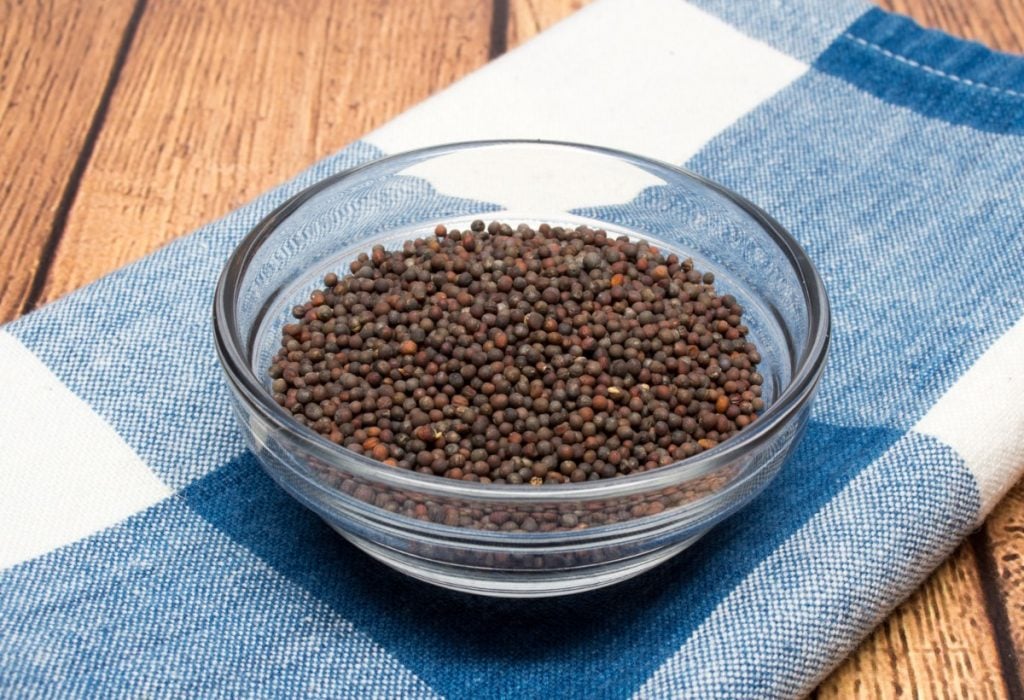
- Broccoli Seeds – There are several types of broccoli, and they can all be grown as microgreens.
Which you choose depends on your personal preference and availability in your area.
You can use regular seeds to grow microgreens, but we recommend using organic seeds as they don’t have any harmful additives.
Seeds sold as microgreen seeds are specifically chosen for their ability to germinate quickly. And will provide delicious greens that you can use in one to two weeks.
- Containers or Trays – The best way to grow microgreens is in shallow trays 1-2 inches (2.5 – 5cm) deep, as this makes it easier to harvest them.
If you’re a beginner, you can also use plastic take-out containers, pie plates, or salad and fruit containers.
Your growing container will need drainage holes, as you should water them from the bottom once the seeds have germinated.
You will need two trays of the same size and another slightly larger container for bottom watering.
- Growing Medium – You can use several different growing mediums to grow broccoli microgreens.
Our article on the best growing mediums for microgreens will give you more information on the options available.
We recommend growing your broccoli microgreens in organic potting soil.
- Spray Bottle – You will use this to water your broccoli microgreens seeds when you first plant them.
- Grow Light – You can use natural sunlight to grow broccoli microgreens both outdoors and indoors in a sunny spot.
But, when growing broccoli microgreens indoors, a grow light gives you more control over how much light the plants get and promotes uniform growth across the entire tray.
Step 2: Sow Your Broccoli Microgreens Seeds
First, fill your container with high-quality potting soil to just below the rim, level it with your hand and gently pat it down. Be careful not to compact the soil too much.
Next, use your spray bottle to spray the surface of the soil with unchlorinated water. Once absorbed, respray the surface a second time.
Now scatter your seeds evenly over the surface of the soil. Some people find it easier to put the broccoli seeds in a shaker bottle and then sprinkle them evenly onto the surface.
Cover as much soil as possible with a single layer of seeds to get a dense harvest.
Step 3: Germinate Your Broccoli Microgreens
Once you have sown your seeds, it’s time to get them ready for germination.
First, mist them thoroughly using your spray bottle, taking care not to scatter the seeds. Wetting the broccoli seeds increases the rate of germination.
Cover your tray to keep the humidity in and light out. You can do this by stacking your second tray on top of the first tray.
Now leave the seeds to germinate in the dark for two to four days.
Do Broccoli Microgreens Need Weight?
Placing a weight on top of some microgreens like sunflower, radish and kale during germination causes better germination and stronger plants.
Broccoli, however, doesn’t need any weight. It just needs a cover to keep the humidity in and light out.
Step 5: Give your Broccoli Microgreens Light
After two days, remove the cover and check your broccoli seeds to see if they have sprouted.
If you don’t see leaves on most of the seeds, mist the seeds with water, replace the cover and leave them for another day or two.
But, if small leaves have come out of most of the seeds, it’s time to remove the cover and place the microgreens in sunlight or under your grow light for four to eight hours a day.
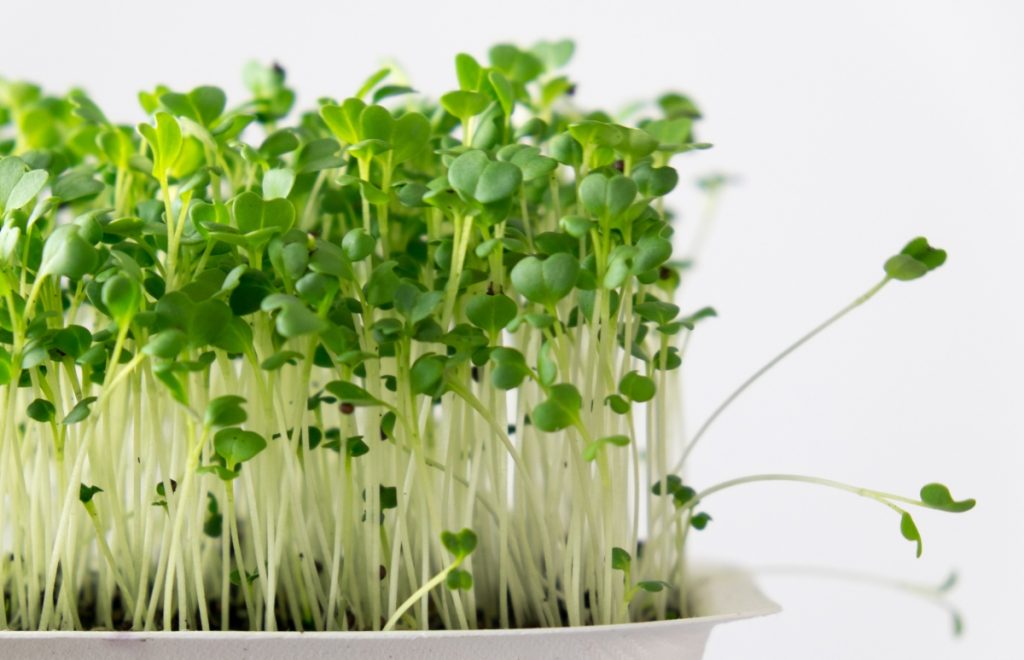
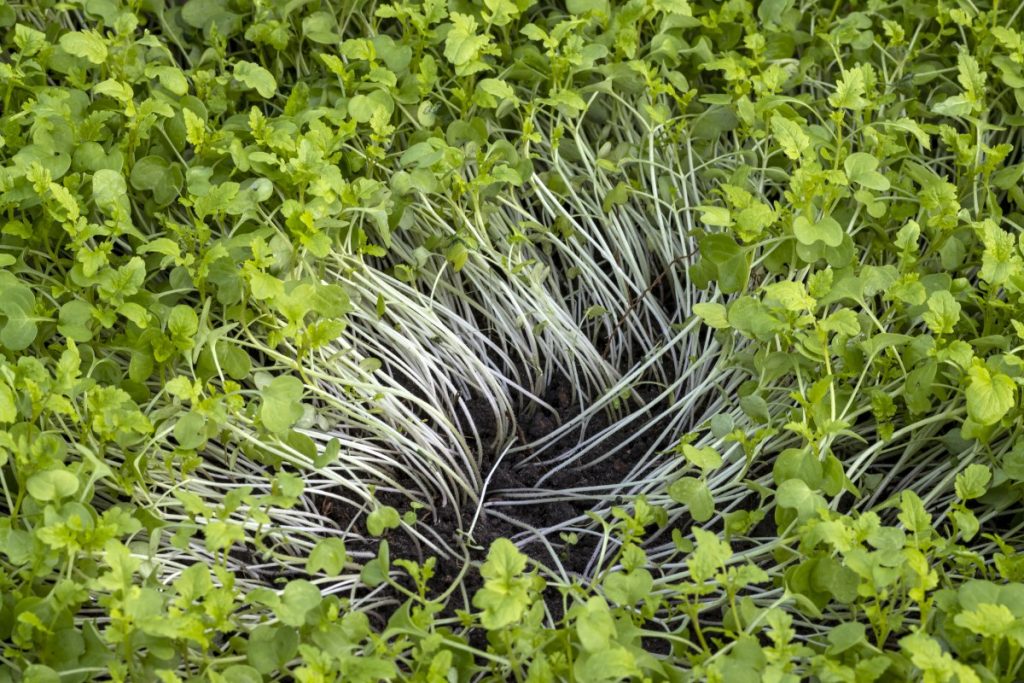
At this stage, don’t mistake the white fibers coming out of the seeds as mold. These fibers are root hairs, not fungus.
Our article How to Grow Microgreens: The Ultimate Guide has more information on lighting and why it’s important.
Step 5: Grow Your Broccoli Microgreens
When you uncover your broccoli sprouts and expose them to light, stand your growing container in a tray of water and bottom water them heavily.
For the rest of their growth, you should water them from the bottom. Doing this will keep the leaves and stems dry and help to prevent mold.
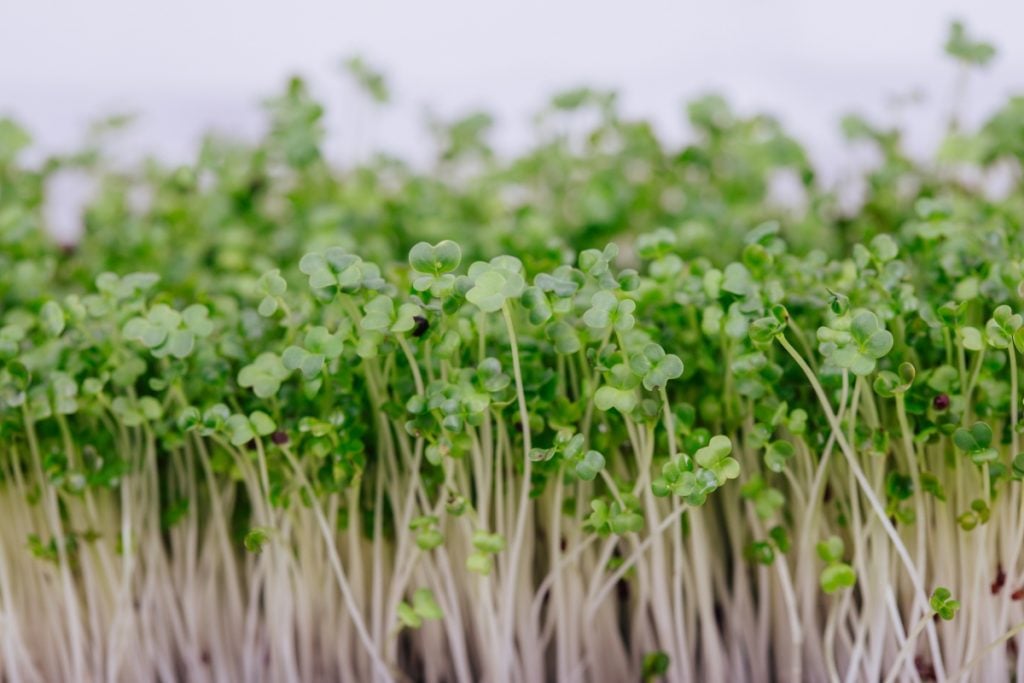
Your broccoli sprouts will grow into microgreens within a few days. At first, they may be a little pale, but they will turn green when exposed to enough light.
Step 6: Harvest Your Broccoli Microgreens
It is not difficult to know when to harvest broccoli microgreens, and they’re usually ready to harvest when they are 2-3 inches (5-7cm) tall.
Once the first two cotyledon leaves are a good size and a rich green color, it’s time to harvest.
Harvest broccoli microgreens while the leaves are in the cotyledon stage before the first true leaves form. Leaving them longer will change the flavor.
Don’t water for 12 hours before harvest to ensure the greens are dry.
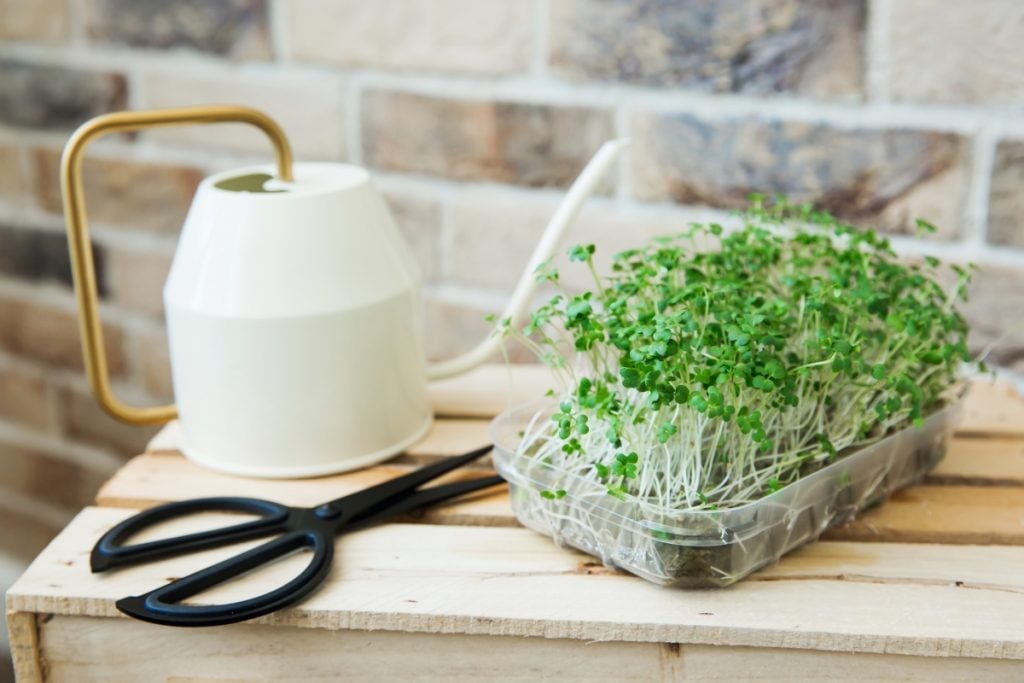
To harvest your broccoli microgreens, tip the tray around 45 degrees over a large plate or cutting board.
Then using kitchen scissors or a very sharp knife, cut the microgreens just above the surface of the soil.
If your broccoli microgreens are dry and packed in airtight bags or containers, they should keep well in a fridge for seven to nine days.
Do Broccoli Microgreens Regrow After Cutting?
Unfortunately, broccoli microgreens don’t regrow after you harvest them. Unlike pea microgreens that can give you a second crop.
Our article “Do Microgreens Regrow After Cutting? Everything You Need to Know” has more information on the microgreens that do regrow after cutting and how to get a second crop.
How to Eat Broccoli Microgreens
To get the maximum benefit from all the nutrients in broccoli microgreens, you should eat them raw and as fresh as possible.
But, you can also cook broccoli microgreens, and when added to soups or stews and cooked for five minutes or less, they will still give you around 80% of the nutrient value.
There are many ways to eat broccoli microgreens.
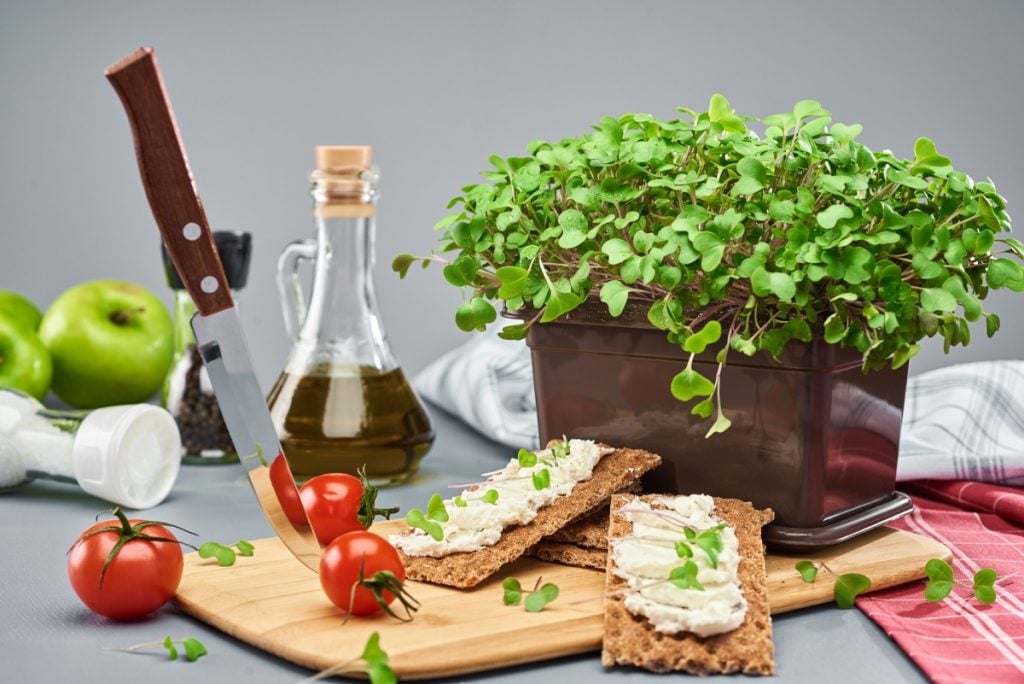
Add some crunchy broccoli microgreens nutrition to your salads, sandwiches and burgers or use them in nutrient-packed juices and smoothies.
They go well with cheese and vegetable dishes and you can also garnish omelettes, poached eggs, dips or pasta sauces with broccoli microgreens for extra flavor and nutrients.
Here are some ideas to whet your appetite.
1. Broccoli Microgreens and Avocado Snack
Try broccoli microgreens and avocado spread on your favorite health bread for a well-balanced snack.
Ingredients
- 2 oz (g) Broccoli Microgreens
- 2 slices of wholewheat bread
- Half an avocado
- Salt and pepper
Instructions
- Cut two slices of your favorite health bread.
- Cut an avocado in half and peel it.
- Put the avocado in a small bowl and use a fork to mash it into a light paste.
- Add salt and pepper to taste, and mix.
- Wash a small handful of broccoli microgreens.
- Spread the avocado on each slice of bread.
- Add microgreens on top and press lightly with a fork.
- Serve and enjoy with your favorite drink.
2. Sweet & Spicy Microgreens Slaw
This recipe from Elizabeth Sniegocki serves six and is delicious, healthy and refreshing.
Ingredients
- 1½ cups broccoli or arugula microgreens
- 1½ cups clover or radish microgreens
- ½ cup chopped pineapple
- ½ cup halved green grapes
- ¼ cup plain Greek yogurt
- 2 tablespoons mayonnaise
- 1 teaspoon Dijon-style mustard
- 1 teaspoon fresh lemon juice
- ½ teaspoon tamari (naturally brewed soy sauce)
- ¼ cup raw sunflower seeds, optional
Instructions
- Combine sprouts, pineapple, and grapes in a large bowl.
- In another bowl, combine yogurt, mayonnaise, mustard, lemon juice, and tamari.
- Pour the yogurt mixture over the sprout and fruit mixture.
- Toss and top with sunflower seeds and, if desired, half a cup chopped pineapple.
- Serve chilled.
Our article 30 Of The Best Microgreens Recipes Ideas has more great recipes for you to try.
Pros and Cons of Growing Broccoli Microgreens
Growing broccoli microgreens at home is a good idea no matter who you are, and we think the pros far outweigh the cons.
Pros
Here are a few of the pros of growing broccoli microgreens
- Fast-Growing – Broccoli microgreens are quick-growing. They can be ready for harvest in as little as seven days from when you sow the seeds.
- Nutrient-Dense – Broccoli microgreens have many nutritional and health benefits. Many people consider them the most nutritious of all microgreens.
- Space Efficient – You don’t need much space to grow broccoli microgreens. Even a sunny windowsill will do.
- Easy to Grow – Broccoli microgreens are one of the easiest microgreens to grow, and you don’t need to soak the seeds.
Cons
There are a few cons to growing your own broccoli microgreens, including the ones below.
- Time-Consuming – As microgreens are so quick-growing, they’re not a crop you can leave unattended. You need to check your broccoli microgreens daily.
- Excess Harvest – It’s best to eat broccoli microgreens fresh and raw. Like most other microgreens, they don’t travel or keep particularly well.
You’ll need to plan carefully to have an ongoing supply and the right amount for your needs.
Try giving excess broccoli microgreens to neighbors and friends. It’s an excellent way to build relationships and create a market for future crops.
- Seed Supply – To have a continuous supply of fresh, nutritious broccoli microgreens, you need a constant, reliable source of high-quality, preferably organic, broccoli seeds.
Depending on your location, this may be difficult.
Broccoli Microgreens Growing Issues (And How to Fix Them)
Every beginner has a few problems when they first start growing broccoli microgreens. But, don’t be discouraged, it is normal and most problems have simple solutions.
Here are some of the problems you may encounter and how to fix them.
1. Rot, Mold and Mildew
Rot, mold and mildew are common problems often encountered by beginner microgreens growers.
There are several reasons why your broccoli microgreens could show signs of rot, mold or mildew, including the following.
- Excessive Temperatures and Humidity – Broccoli microgreens grow best at a constant temperature of around 70F (21C). The ideal humidity for microgreens is 50%.
If you live in a hot, humid area, you may need to use an air conditioner to reduce the temperature and humidity.
- Overwatering – This increases the humidity and may prevent the roots from getting enough oxygen. Making your microgreens susceptible to root disease and rot.
- Inadequate Drainage – If your growing container does not have enough holes and the soil gets waterlogged, it contributes to rot and mold.
- Poor Ventilation – You need to make sure you have good air circulation in the area where you grow your broccoli microgreens.
Many indoor microgreens growers use a fan to ensure adequate airflow.
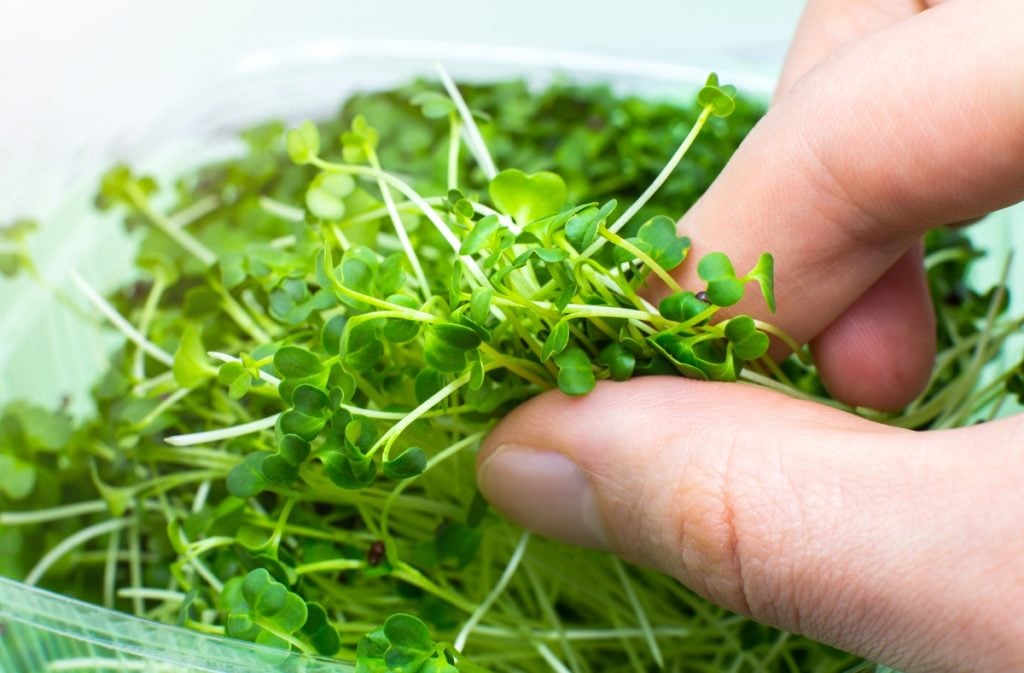
- Sowing Seeds Too Thickly – If you sow your broccoli microgreens seeds too densely, you block the airflow between the plants, making them susceptible to rot.
If you think your broccoli microgreens are becoming too thick, thin out the crop by carefully nipping off individual plants
2. Poor Germination
There are a couple of reasons why you may experience poor germination rates. Here are some things to check if you are experiencing this problem
- Watering – During germination, under watering, is more of a problem than overwatering.
Wet your soil or soak your grow mat before sowing the seeds and monitor them carefully during germination to ensure they do not dry out.
- Temperature – Extreme heat or cold may prevent your seeds from germinating. Most seeds will germinate at temperatures of between 55 and 75°F (13 to 24°C) but around 70°F (21°C) is ideal.
3. Uneven Germination and Growth
Prevent uneven germination by sowing the broccoli seeds evenly across your growing container. Putting the seeds in a shaker bottle may help you with this.
During the growing phase, the amount of light, air circulation and water should be constant across your whole container. Using a grow light makes it easier to ensure uniform exposure.
4. Tall, Spindly or Pale Microgreens
Tall, spindly and pale broccoli microgreens are a sign that your plants are not getting enough light.
Microgreens grow tall and leggy to try and reach light and don’t turn green unless they have adequate light.
Make sure your microgreens are getting four to eight hours of direct light, be it sunlight or artificial light, every day.
If the problem persists, try using a stronger light source or moving your microgreens closer to your existing lights.
5. Microgreens Falling Over
If your microgreens suddenly start falling over, don’t panic. You can more than likely revive them.
Falling over often happens in the center of the tray, but occasionally, microgreens will fall over to one side as well.
The most common reason microgreens fall over is a lack of water, and as soon as you water them, they’ll stand up again.
However there may be a few other reasons why your broccoli microgreens have fallen over, including the following.
- Too Tall and Leggy – This is usually due to them not having adequate light exposure.
- Top Watering – If you water your microgreens from the top with a hose or watering can, instead of misting them with a spray bottle, the force of the water drops can be too powerful, and they’ll fall over.
- Excessive Air Pressure and Ventilation – Broccoli microgreens need good constant airflow to prevent mold. But, if the ventilation is too powerful, it will cause the microgreens to blow over.
If your microgreens are outdoors, move them to a less windy location. If indoors, adjust the speed of your fan to reduce the pressure of the air blowing on the microgreens.
Final Thoughts
Broccoli microgreens are ideal for beginner microgreen growers. And one of the most profitable microgreen crops for an urban farmer or backyard homesteader.
Not only are they easy to grow, but they’re extremely versatile and a great way to add additional nutrients to almost any meal.
Visit our Microgreens Resource Hub to learn more about growing microgreens and how beneficial and profitable they can be.