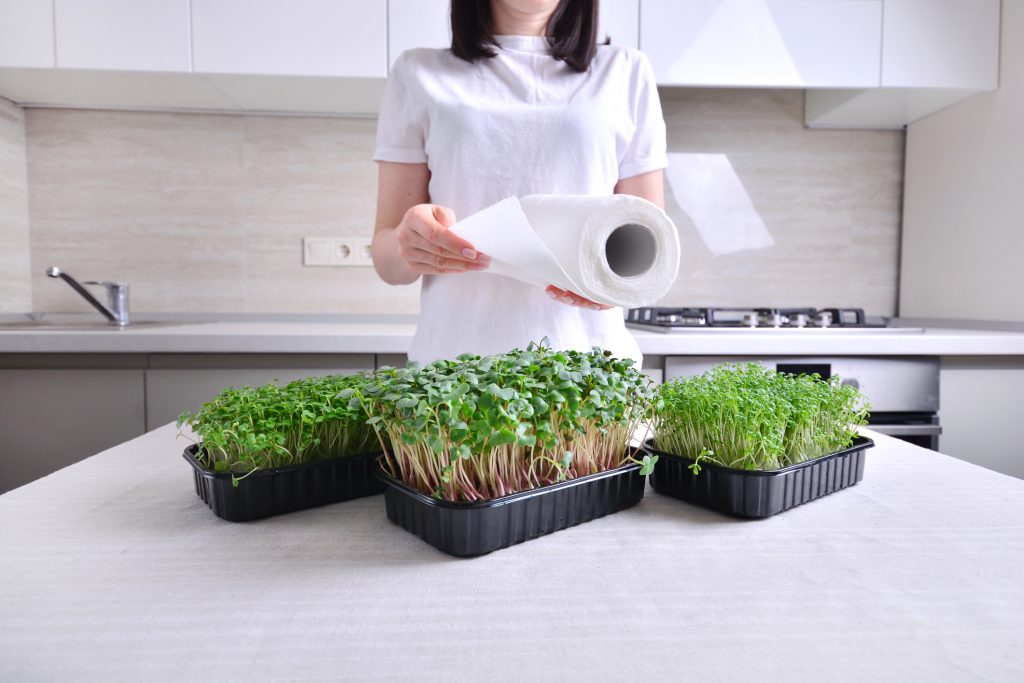
Growing microgreens on paper towels is one of the easiest ways to start growing your own food. You don’t need to have a green thumb or to buy expensive supplies.
With just seeds, paper towels and water you can produce nutritious greens that make a great addition to any salad or smoothie.
What Are Microgreens and How Are They Grown?
Microgreens are plants that are harvested after their first set of leaves have developed. Usually it takes less than two weeks from when microgreens are seeded until they’re harvested.
These tiny plants are often used by high-end restaurants as a garnish. But they’re also a powerful source of nutrition. Microgreens contain up to nine times more nutrients than fully-grown vegetables. It’s no wonder that growing numbers of people are starting to add microgreens to their diet.
If you’re worried that growing microgreens is a waste of seed, check out our article: Are Microgreens Sustainable? The Truth About Growing Microgreens.
How Do You Grow Microgreens?
Most commercial microgreens growers produce their crops using shallow plastic trays filled with soil. A large-scale commercial microgreens operation typically consists of a large room full of metal shelving.
The shelves are covered in trays of microgreens and both watering and artificial lighting are typically automated using timers.
If you needed this type of equipment to grow microgreens on a small-scale, it would be quite costly. Luckily it’s possible to grow microgreens without such an expensive setup. All you really need is paper towels and a couple of inexpensive supplies.

Can You Grow Microgreens Without Soil?
Yes, the good news is that microgreens can even be grown without soil! They can be grown on other soilless growing mediums like coconut coir or rockwool. But we find that the easiest way to grow microgreens without soil is to use paper towels.
For other methods, read Hydroponic Microgreens: How To Grow Microgreens Without Soil.
Why Can Microgreens Be Grown Without Soil?
When we talk about growing microgreens without soil, you might think we are talking about using some alternative hydroponics system that still provides nutrients to the plants as they grow. But the truth is that microgreens don’t need anything like this.
We know that plants need nutrients like nitrogen, phosphorus and potassium for the soil to grow. So how is it possible for microgreens to be grown without soil?
The secret lies in the seed.
Just like a baby chicken has everything that it will need to grow inside of an egg, a seed is a self-contained system with everything that a plant needs to sprout and grow.
Since microgreens are only typically grown for 10 – 14 days until their first set of leaves appears, the seed itself contains all of the nutrients that the baby plant needs to grow.
When we grow microgreens, we are taking the energy already present in the seeds and converting it into a more digestible and vitamin-rich food for us to eat.
List of Materials Needed To Grow Microgreens on Paper Towels
To grow microgreens on paper towels, you’ll only need a few things:
- Microgreens seeds. Any kind of vegetable seeds will work, but seeds marketed as microgreens seeds will have been specifically bred for use as microgreens.
- Paper towels. Try to avoid brands with any dye or coloring that could get absorbed by your greens. If you have unbleached paper towels that’s best, however these aren’t available for purchase everywhere.
- Water. Regular tap water will work in a pinch. Ideally though you’ll want to use water that has been distilled or filtered. Or if you have time, you can let tap water sit for a few days so any chlorine can evaporate off.
- A container to grow in. Most microgreens growers use plastic 1020 trays which are 10″ x 20″ (25 cm x 50 cm) in size. But if you’re just getting started, you can use any kind of plate or baking tin with a bit of a lip to prevent any excess water from spilling over.
- A spray bottle. To mist your microgreens daily and keep them moist.
How to Grow Microgreens on Paper Towels (Step by Step)
How do you plant sprouts on paper towels?
Growing microgreens or sprouts on paper towels only requires a few minutes to get started, plus a couple of minutes of maintenance every day. Here’s what you need to do.
Step 1: Choose Your Microgreens Seeds
Before you can start growing microgreens, you need to decide on a variety of plant to grow.
Almost any vegetable or herb with edible leaves can be grown as a microgreen. The greens will have a surprisingly strong flavor that is similar to the full-grown plant. For example a radish microgreen will have a spicy radish taste.
Common seeds grown as microgreens include sunflower, amaranth, spinach, mustard and basil.
We recommend that you don’t grow cabbage, beet, or carrot microgreens on paper towels. Although these varieties are commonly grown microgreens in soil trays, their deeper roots will struggle to grow on paper towels.
You should also avoid any plants in the nightshade family like tomatoes, peppers or eggplants as their sprouts are poisonous.
Our article Complete List of Main Types of Microgreens You Can Grow outlines 20 of the most popular microgreen varieties.
Step 2: Soak Your Microgreens Seeds
Before placing your seeds on a paper towel, it’s best to soak them in water first. Depending on the seed variety, you might want to soak them for a few hours or even overnight.
This step is optional, but it will help to soften and open up the hard exterior shell of the seed. We find that we get better germination rates (more seeds sprout from the batch) and they sprout sooner if we soak them first.
Note: Some seeds like basil or chia cannot be soaked in advance. When these seeds get wet, they produce a thick gel that makes them hard to separate and spread evenly across your paper towel.
Step 3: “Plant” Your Microgreens Seeds
It’s time to give your microgreens seeds a place to grow.
Start by soaking a few sheets of paper towel in water. Once you’ve soaked it, you want to squeeze out most of the water. You’ll know your paper towel is the right level of dampness when only a drop or two of water comes out when you squeeze it.
Getting the right level of moisture is critical for making sure your microgreens grow correctly. If your paper towel gets too dry, the seeds will dry out and not grow. If your paper towel is too wet, you can drown the seeds or you may run into issues with mold.
Now fold your paper towel so that it’s a few layers thick and use it to line the bottom of your container.
While you can start your microgreens on a plate, it’s best to use a baking dish or container with sides that are a couple of inches (five to 10 cm) tall to give your microgreens room to space if you’re planning to cover them.
Use a small spoon to evenly spread your seeds across the surface of the paper towel. Take care not to apply too much pressure or you may crush some of the seeds.
After adding your seeds, mist them with a few squeezes of your water bottle. Then cover them with another sheet of paper towel.
If you live somewhere with a very dry climate or you’re growing in winter, you may also want to cover the container with plastic wrap or a clear lid to raise the humidity.
Step 4: Put Your Microgreens Somewhere Dark
Your seeds need to be kept dark for about a week to mimic the natural conditions of growing underground. Place your container in a cupboard or cover it with another container so that it isn’t exposed to light.
Although it can be tempting to check on them, try not to uncover them more than necessary.
Step 5: Check Moisture Levels Daily
After 24 hours, you should start to see some seeds starting to sprout. Especially if you soaked them before putting them on the paper towel.
Check your paper towel each day to see if it’s at the correct moisture level. If it still feels wet, you can leave it and cover the tray back up. If it feels dry, you can gently spray it with a water bottle to rehydrate it.
Use a mist setting on the spray bottle and avoid spraying too hard as you may dislodge the newly-forming roots from the paper towel.
Repeat this process of checking on your microgreens and adding water as needed.
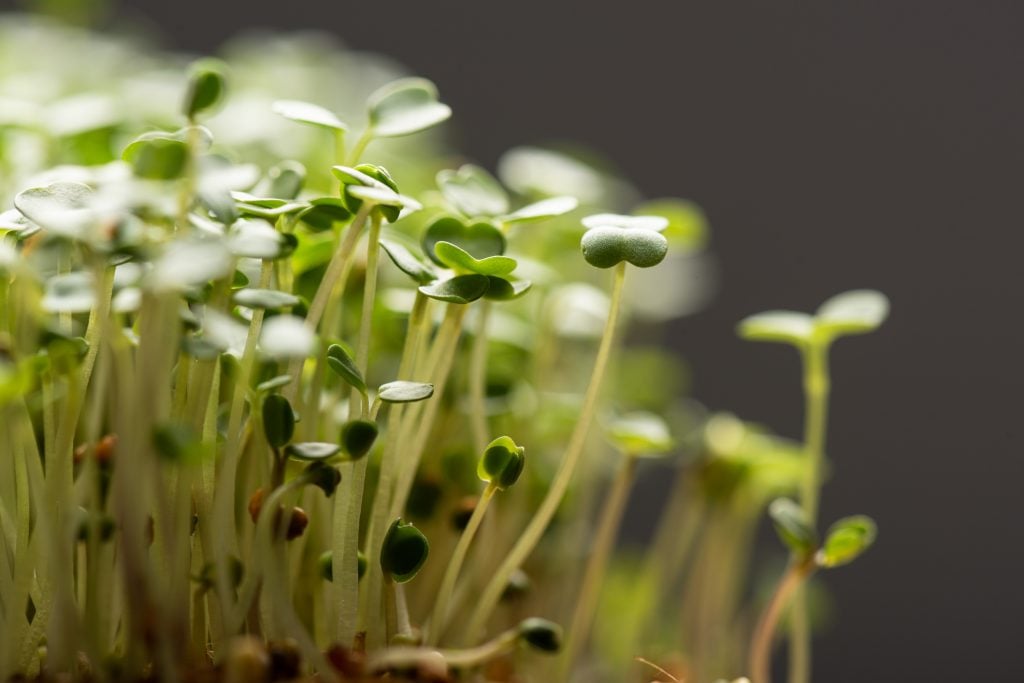
Around day five, your seeds will have turned into sprouts. But they are not truly microgreens yet and won’t have fully developed their nutrients and flavor.
Step 6: Uncover Your Microgreens
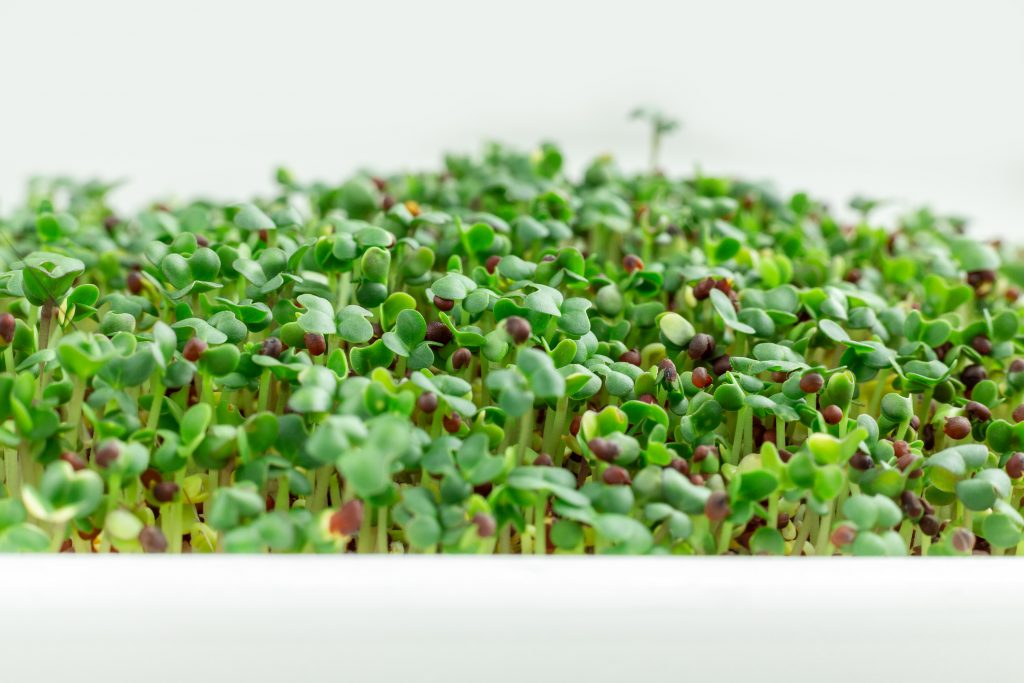
After seven days, your microgreens should be getting quite tall and have tiny leaves that have formed.
At this point you want to uncover your container or take them out of the cupboard and expose them to light. This will cause them to start the photosynthesis process and turn from a pale yellowish-white color to a vibrant green over the next few days.
Continue adding water to your paper towel as-needed to ensure that it’s kept moist, but not overly wet or damp.
Step 7: Harvest Your Microgreens
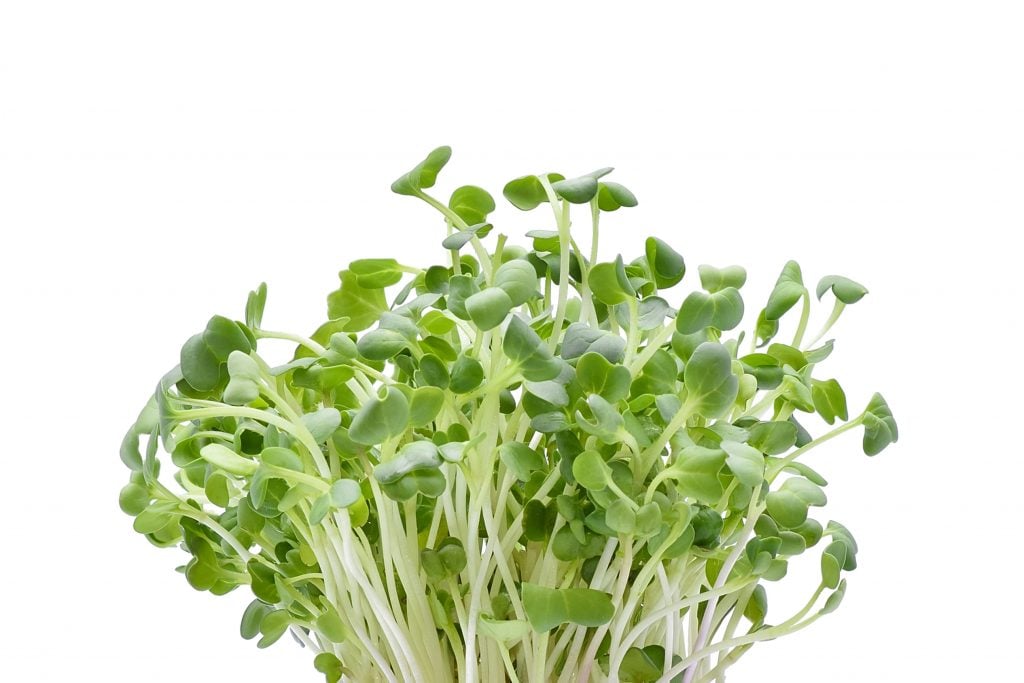
After your microgreens have been exposed to light for at least a day or two and their leaves have turned a deep green color, they’re ready to harvest.
You can let your microgreens grow for a few extra days so they get to a larger size and develop more nutrients. However eventually the seeds will run out of energy to provide them with and they’ll start to die back. So we recommend harvesting your microgreens by day 13 after planting.
To harvest your greens without any waste, you can gently pull them away from the paper towel and they should separate. This will leave the roots and seed hulls intact.
All parts of the microgreens are edible, but some people prefer to not eat the seed hulls. Rinsing your greens in a bowl of cold water will cause most of the seed hulls to float to the surface where they can be easily skimmed off if you don’t want to eat them.
If you also don’t want to eat the roots, you can simply take a sharp pair of scissors or a knife and cut the microgreens off the paper towel instead of pulling them off. This is how microgreens are harvested when they’re grown in soil.
Do Microgreens Regrow After Cutting?
Unfortunately, no. All of the energy that’s stored in the seed goes into creating a shoot and first set of leaves. By the time that microgreens are harvested, they’ve used up all of the nutrients that were stored in the seed.
So once your batch of microgreens are harvested, it’s best to make a clean cut and start over with a new batch of seed.
Our article Best Growing Medium For Microgreens explains the pros and cons of each option.
Troubleshooting Common Microgreen Growing Issues
While growing microgreens is generally a quite straightforward process, beginners will sometimes run into problems. Here are some of the most common issues you might encounter and how to fix them.
Wilting or Falling Over
Microgreens are naturally quite spindly, but they shouldn’t be wilting or falling over under their own weight in the short amount of time that you’re growing them.
If your greens are wilting, the main reason is due to a lack of water.
Rarely, your microgreens may also start to get too tall and leggy and fall over if they’re kept in the dark for too long. Microgreens will stretch taller and taller to try and find light. They may eventually get too weak and fall over.
If you think this is what’s happening, you might be leaving them in the dark for too long.
If you’re applying too much water pressure when watering, it’s possible to knock microgreens over too.
Mold or Mildew
Mold or mildew are the most likely thing to ruin your microgreens crop. If you find that your greens have mold growing on them, it’s best to simply toss them out and start over. It’s not worth the health risk to try and rinse them off or cut around the moldy bits.
Mold and mildew are caused by growing conditions that are too wet or humid, or not providing enough drainage and ventilation. Over-seeding (putting too many seeds in too small of an area) also increases the risk of mold growth.
If you’ve tried growing microgreens a few times and they keep coming out moldy, try a container with holes in the bottom so that excess water can drain out. You may also want to leave them uncovered and provide less water, but water them more frequently.
Microgreens Smell Bad
All varieties of microgreens should smell fresh. If they have a foul smell to them, this is a sign they are molding or developing bacteria, even if you can’t visually see any signs of mold. It’s best to throw out your rancid microgreens and start over again.
Uneven Growth
Your microgreens will naturally grow toward the light. So if you’re finding that one side of your tray is growing faster than another, that’s most likely why.
Even while they’re kept in a dark cupboard, a little sliver of light coming in may be enough to cause uneven growth. To fix this, you can rotate your container every day when you check on it.
If you’re finding some areas of the container are full of greens and others are sparse, this can also be a sign that the seeds have clumped up and weren’t evenly spread.
Yellow Leaves
When your microgreens are first getting started, it’s normal for them to have yellow leaves. This is because you’re storing them somewhere dark, so they can’t get the light needed to photosynthesize and produce chlorophyll yet. They will start to turn green as soon as you expose them to light.
Poor Germination
Your microgreens seeds should start to show some signs of sprouting within two or three days.
If you’re finding that a large number of seeds just don’t seem to be sprouting, you may be dealing with old or low-quality seeds. Be sure to buy your seeds from reputable sellers to get a high germination rate.
As we mentioned earlier, pre-soaking your seeds overnight can really help to speed up the germination process.
We find that covering the seed can also help to promote germination. In nature, seeds need good contact with the soil in order to germinate. You can mimic this by putting a weighted object on top of your seeds to apply a little bit of pressure.
You don’t want to use too much weight and crush the seeds though. Just another empty plastic tray is enough pressure to help with germination.
Pros and Cons of Growing Microgreens on Paper Towels
Growing microgreens on paper towels is an easy way for beginners to get started. While this method has its advantages, there are also some disadvantages to be aware of too. Here are some of the pros and cons that you should consider.
Pros
- Pest-free. If you’re just taking soil out of your garden, you have no idea what kinds of creepy-crawlies might be living inside. You don’t want to bring all kinds of insects and larvae into your home and one day find that your kitchen has been infested.
- Cleaner than using soil. When you grow microgreens on paper towels, you don’t need to worry about spilling soil everywhere. There isn’t any washing or cleanup required. This is particularly convenient when growing indoors in your kitchen.
- They grow more quickly. We have found that microgreens seem to grow more quickly on paper towels than in soil. We think this is because it’s easier to control moisture levels. Also, the entire plant is exposed to light once they’re removed from darkness.
- Easy to observe. When a plant is growing in soil, you don’t know what’s going on beneath the surface. Growing your microgreens on paper towels means they’re fully exposed. You can see exactly how they’re germinating and developing from day one.
- You can eat the whole plant. When microgreens are grown in soil, they get cut off during harvest and the roots are left in the soil. When you grow microgreens on paper towels, you can eat the whole thing. Roots, stem and all. This can be as much as a third of extra plant mass that is harvestable.
Cons
- More work to maintain proper moisture. Soil holds in moisture for longer after watering. Paper towels aren’t able to hold as much liquid, so you’ll need to check on them and top them up with water more frequently. In dry climates you may need to add water twice a day or more.
- More fragile. When microgreens are growing on paper towels, their roots don’t have as much to hold on to. Soil gives them a way to anchor that is stronger than a piece of paper. So it’s easier to accidentally break or damage microgreens that are growing on paper towels.
Tips for Successfully Growing on Paper Towels
- Around day five you may start to notice some white fuzz growing on your microgreens. This is the roots of the plants and isn’t usually a sign of mold. So no need to worry.
- Pick the right microgreen varieties for growing on paper towels. Plants with shallow root systems and thin stalks like lettuce or arugula will grow better on paper towels than something like sunflower or pea shoots which have big thick stems.
- Growing on paper towels is good on a home scale. If you want to grow microgreens on a commercial level, it’s best to use soil.
- Don’t harvest your plants too early. If you pick them before dark green leaves have a chance to develop, then you’re actually harvesting sprouts and not microgreens.
- Start your microgreens in a tall container so that it’s easy to block out light without crushing them.
Final Thoughts
Growing on paper towels is the easiest way to get started with microgreens. It requires the least materials and doesn’t produce the mess of working with soil. Plus you’ll get to eat the entire plant including the roots.
Microgreens might look and sound fancy. But all it takes to grow them is some seeds, a container, paper towels and water. Chances are that you’ve already got nearly everything that you need to start growing microgreens today.
Once you’ve successfully grown your first batch of microgreens, read 30 Of The Best Microgreens Recipes Ideas for some great ways to use them!