When people think of cloning, it often conjures up images of highly qualified scientists, microscopes, test tubes and high-tech laboratories.
Fortunately, cloning mushrooms is not nearly that complicated, and you can easily clone your favorite mushrooms at home without expensive equipment.
In this article, we explain why you should clone mushrooms and provide a step-by-step guide on how to clone mushrooms with agar.
We also provide answers to frequently asked questions about how to clone mushrooms.
What Does it Mean to Clone a Mushroom?
When you clone a mushroom, you create an identical copy of a particular mushroom using a piece of living tissue or flesh from the mushroom’s fruiting body.
People use the term “cloning” to describe the different processes used to produce genetically identical copies of a particular organism. In this case, a mushroom.
People call the genetically identical copy a clone.
Can You Grow Mushrooms From Fresh Mushrooms?
Yes, you can grow mushrooms from fresh mushrooms because mushrooms consist of tightly packed mycelium, the same thread-like material that makes up the vast underground portion of a fungus.
Even after you pick a mushroom, the mycelium that makes up the mushroom’s flesh is still alive and able to reproduce.
If you take some of the living tissue of the fresh mushroom and place it in a nutrient-rich growing medium, the mycelium will grow and spread throughout the growing medium.
You can then use this mycelium to grow more mushrooms.
Why Clone Mushrooms?
Cloning enables you to create an identical copy of a mushroom with desirable traits like yield, speed of growth, color, substrate suitability, disease resistance, etc.
You can clone any fabulous edible and medicinal wild mushrooms that you come across in your area and cultivate more of them.
Most of today’s popular commercial mushroom strains originated in forests.
And you can also clone mushrooms that you’ve grown or even fresh store-bought mushrooms.
While you could collect spores from mushrooms for propagation, it would be risky.
Because when growing mushrooms from spores, the results are extremely unpredictable.
Single-cell hyphae grow from mushroom spores, and when they merge to create mycelium, they create thousands of new strains.
A new strain will have similar traits to the parent mushroom but may develop in different ways that make it less desirable.
Our article, “How do mushrooms reproduce?” has more information on the processes involved to get from spores to a mushroom fruiting body.
Cloning mushrooms is quicker than growing mushrooms from spores and easier as it’s not always easy to get viable spores.
Best Mushrooms to Clone
The best mushrooms to clone are saprophytic mushrooms that grow on dead and decaying organic material in the wild.
You can classify mushrooms by how they get their nutrition. The three most common types are saprotrophic, parasitic and mycorrhizal mushrooms.
Of these, only saprotrophic mushrooms are easy to clone and cultivate.
And some saprotrophic mushrooms are easier to clone than others.
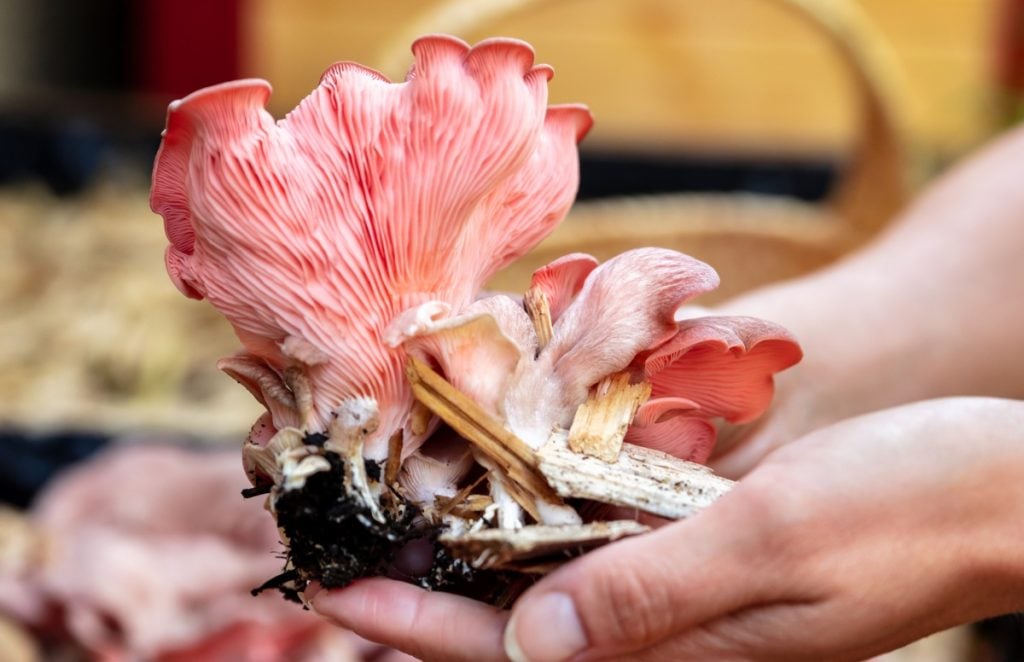
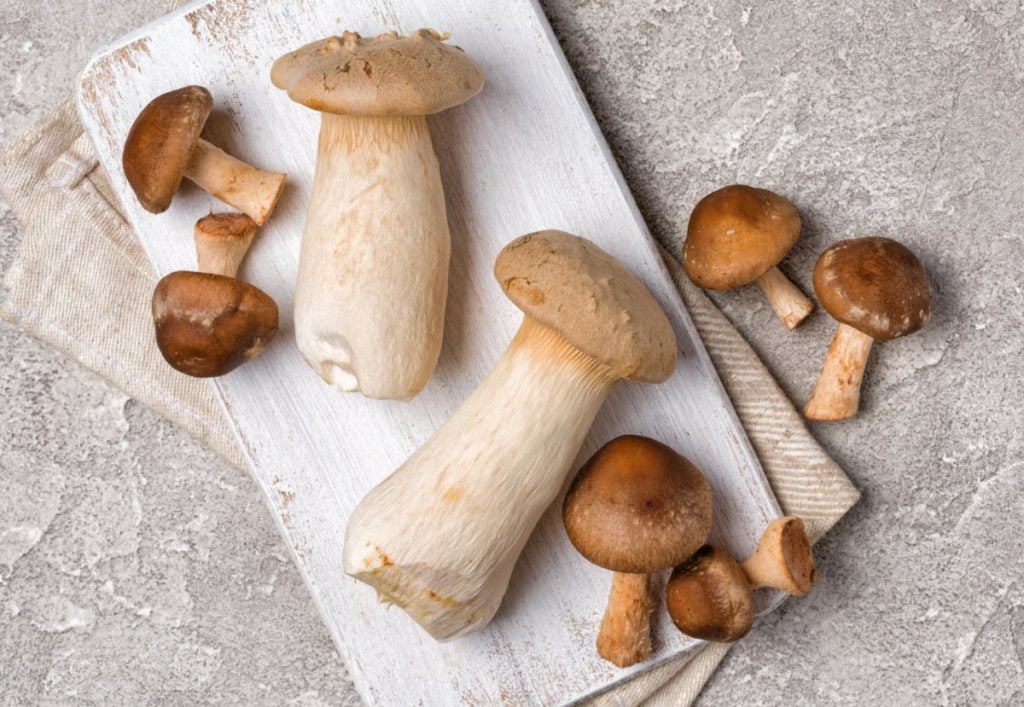
Hardy, fast-growing, less fussy mushrooms like oyster mushrooms, shiitake and lion’s mane are some of the easiest mushrooms to grow and clone.
And mushrooms that are thick and fleshy, like shiitake, king oysters and cremini mushrooms, are easiest to work with when cloning.
But no matter which mushrooms you choose to clone, it’s best to use young mushrooms still in their button stage.
At this growth stage, mushrooms grow fast and can double in size daily.
How to Clone Mushrooms With Agar Step-by-Step
Cloning mushrooms is easier than you may think and basically involves removing a piece of mushroom tissue and placing it on a nutrient-rich growing medium.
The difficulty is ensuring the tissue, mycelium and growing medium remain uncontaminated.
There’s more than one way to clone mushrooms, but cloning mushrooms using agar is one of the best ways to avoid mushroom contamination.
Here are the steps to follow to clone mushrooms with agar.
Step 1: Gather Supplies
Before you can begin, you need to gather all the required supplies, including:
- Agar plates
- Mushroom fruiting body
- A laminar flow hood, Still Air Box or similar clean environment
- Alcohol soaked cloth
- A scalpel
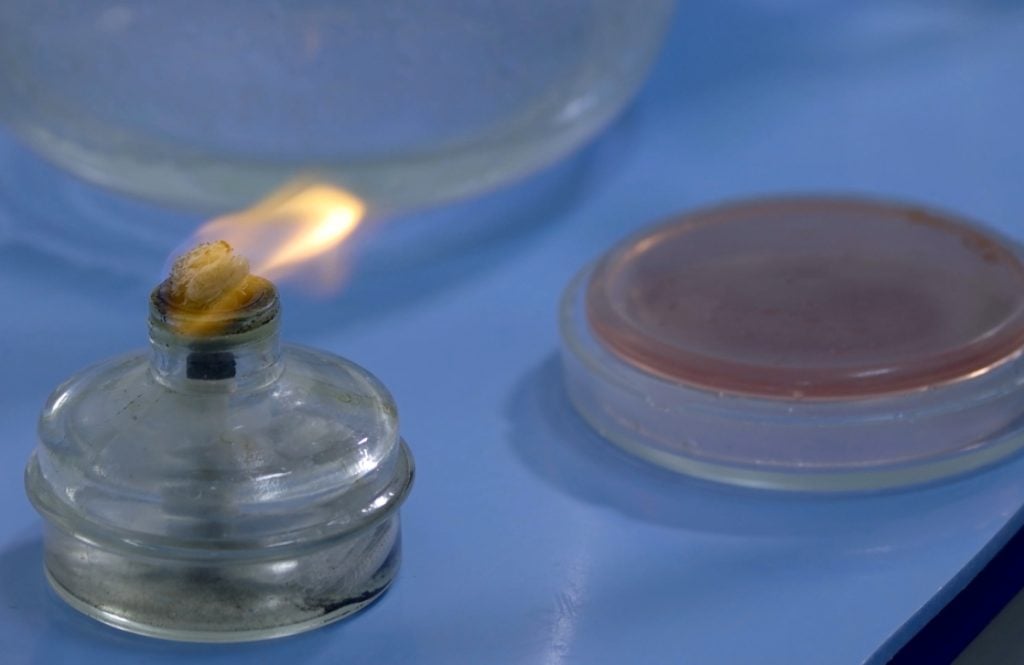
- An alcohol burner or a steady flame source for sterilizing the blade
- Hairnet, face mask and gloves
- Parafilm or masking tape
- Permanent marker
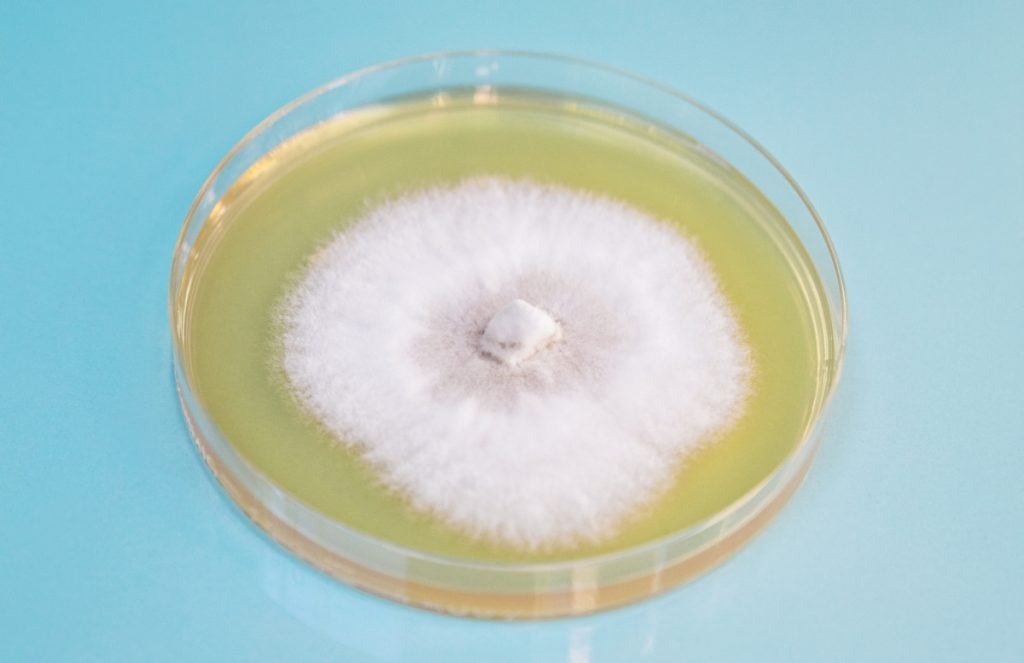
Agar Plates
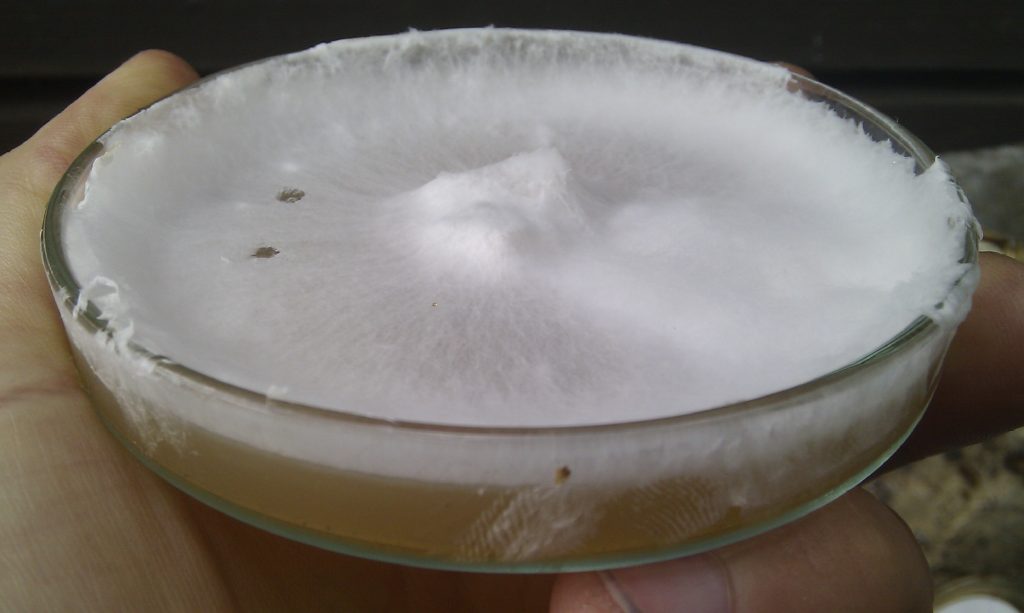
Agar plates are petri dishes that contain a sterile nutrient-rich agar solution.
The agar solution provides the nutrients required for the mycelium to grow in the sterile environment inside the petri dishes.
Agar is a jelly-like organic substance produced from red algae with many culinary and preservative applications.
Agar plates allow you to store your mushroom mycelium for long periods.
They also help to reduce the chances of contamination and provide the opportunity to remove any contaminants and get a clean mushroom culture.
You can buy agar plates online, or if you’d like more of a challenge, get agar in powdered form and make your own agar growing medium.
But, to do this, you’ll need the right equipment to ensure sterile conditions so that the agar solution is not contaminated.
If you’re new to mushroom cloning, we recommend avoiding this step. Instead, buy pre-poured, ready-to-use agar plates.
These are specially produced for mushroom growing and are extremely convenient.
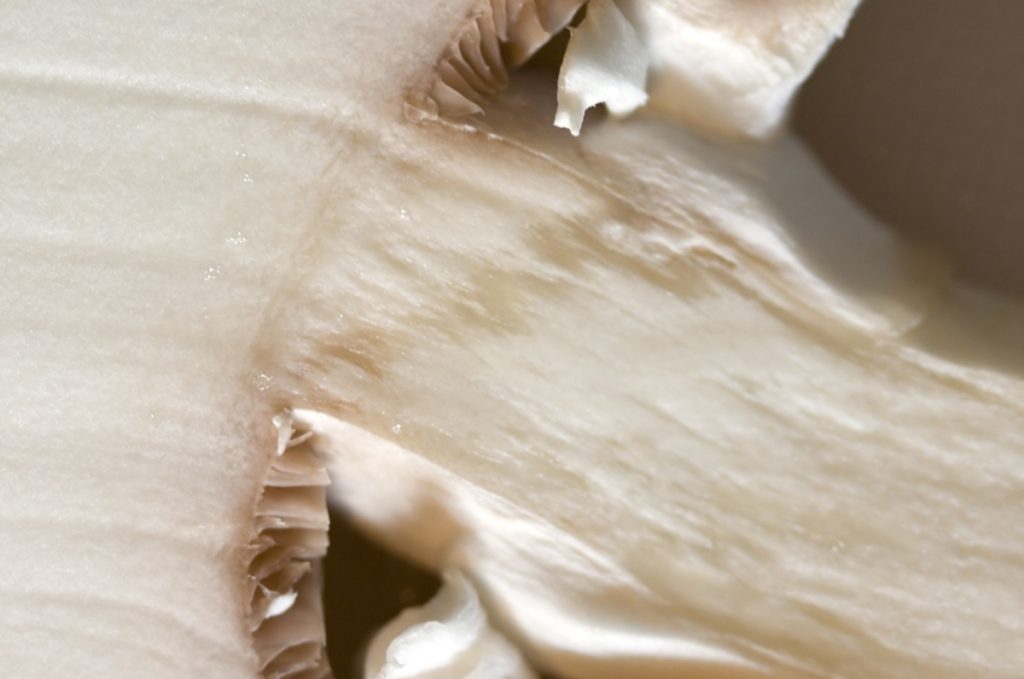
Mushroom Fruiting Body
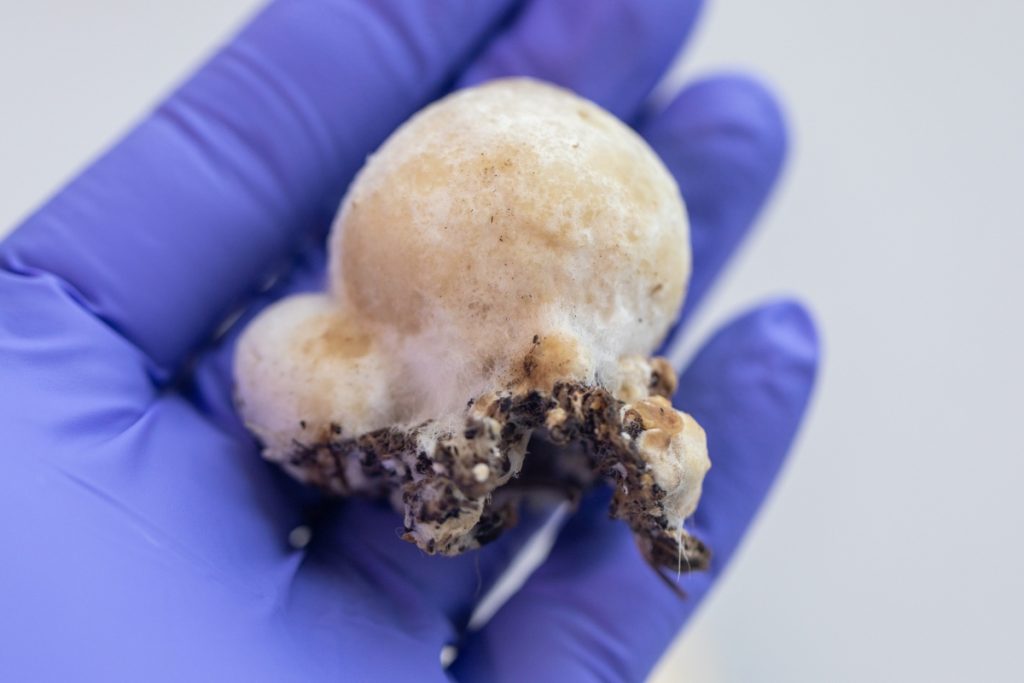
When cloning, it’s best to use a fresh, healthy mushroom fruiting body.
And although younger mushrooms may colonize faster, try to select a relatively large fruiting body.
It’s more difficult to get clean tissue samples from very small or thin-fleshed mushrooms.
If you’re not able to clone the mushroom immediately after harvesting it, you can store it in the fridge for up to 48 hours.
Try to store your mushroom for as short a time as possible as it’s harder to germinate mycelium from older mushrooms.
And, the longer you store them, the higher the risk of contamination.
Laminar Flow Hood or Still Air Box (SAB)
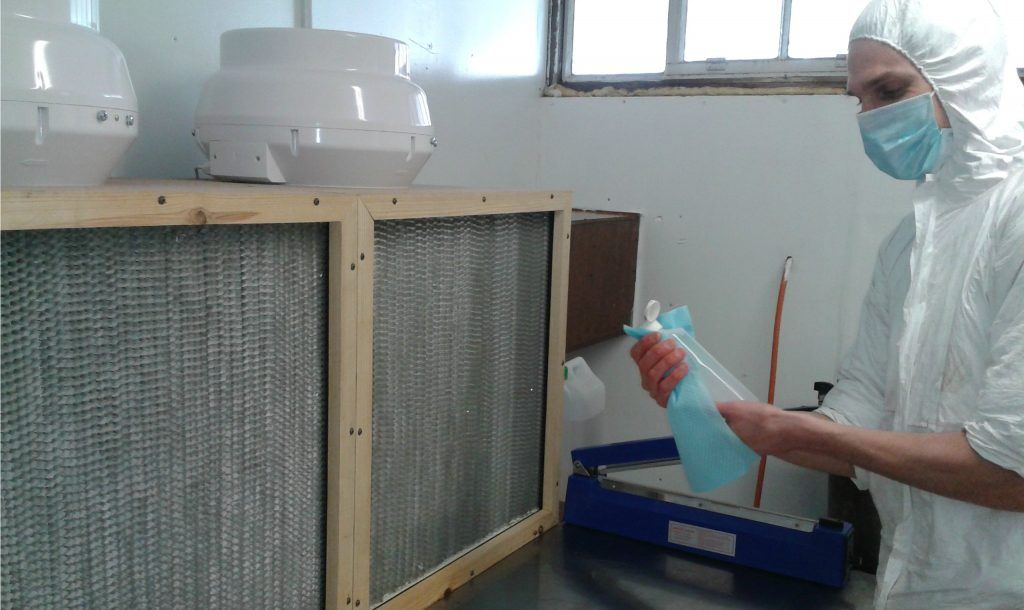
We recommend cloning in front of a laminar flow hood to prevent the agar from becoming contaminated with airborne mold and bacteria spores.
Laminar flow hoods provide an uninterrupted steady flow of filtered clean air and significantly reduce the chances of contamination.
But, if you’re new to mushroom cloning, you can also use a sterilized still air box (SAB).
Or even an enclosed space with minimal airflow, like a bathroom.
In this case, use plenty of disinfectant spray to reduce the number of spores in the air.
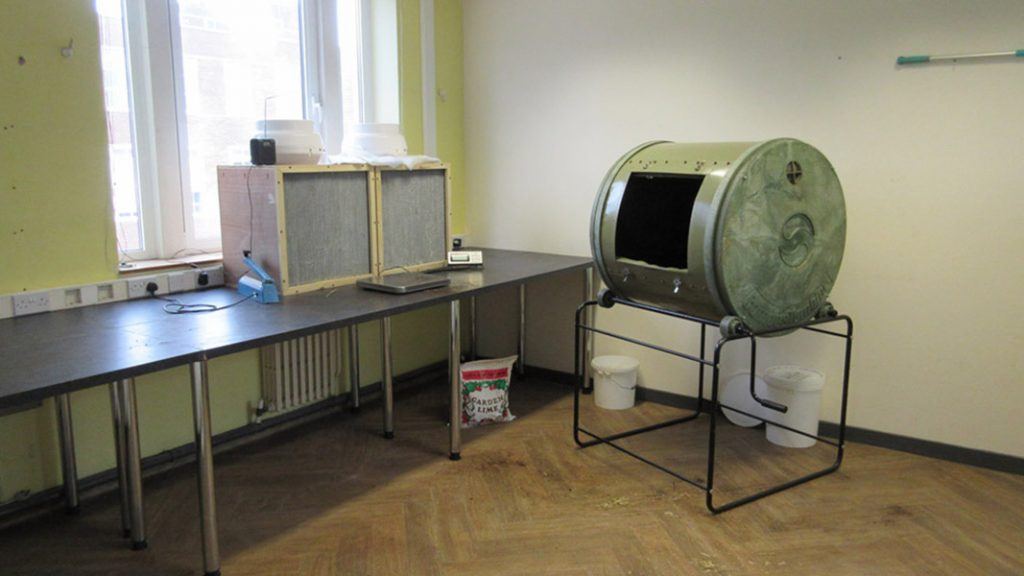
Step 2: Prepare Your Workspace
When cloning mushrooms, a clean and sterile working environment is essential for success.
Make sure to clean your hands, the scalpel and any other tools before you begin.
Consider wearing a face mask, hairnet and gloves, as this helps prevent contaminants from your breath, hands or hair from landing in the plate.
You’ll also need to clean and disinfect the work surfaces in front of the laminar flow hood or around your SAB.
Place the agar plate as close as possible to the front of the flow hood.
Aim to do the rest of the process downwind from the agar plate to help prevent contamination.
Step 3: Clean and Tear Open the Mushroom
First, you need to clean your mushroom fruiting body using an alcohol-soaked cloth or paper towel.
Thoroughly wipe the outside of the mushroom as it’s more than likely covered with contaminants that may end up in the agar plate.
Once the mushroom is clean, you need to tear it open in front of the flow hood but downstream from the agar plate.
Always tear the fruit instead of cutting it to help prevent contamination.
If you cut the mushroom, the knife’s edge may push contaminants on the outside into the center of the mushroom.
The inside of a torn mushroom is naturally sterile and contains clean fertile mushroom mycelium cells.
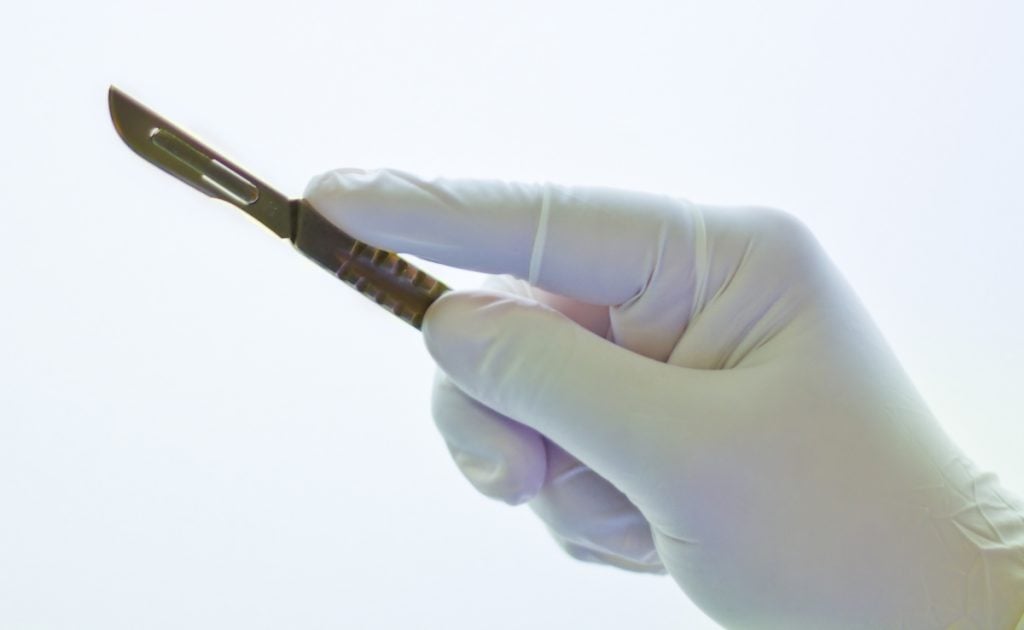
Step 4: Heat Sterilize Your Scalpel
When cloning, you’ll use a scalpel to remove a tissue sample from the mushroom, and this scalpel needs to be flame sterilized until glowing red.
You’ll have to sterilize the scalpel between each tissue transfer, so it’s best to have a constant flame going on your worktop.
The best way to achieve this is with an alcohol lamp or burner, but you can also use a shot glass three-quarters full of rubbing alcohol.
If you go this route, be careful not to knock the shot glass over while it’s burning.
Ensure the scalpel is cool before removing the mushroom tissue, as any heat may kill the tissue.
One way to cool the scalpel is to dip it into the agar solution. To do this, lift the top off the petri dish, dip the blade into the agar near the edge, and quickly replace the lid.
You’ll hear an audible sizzle as the blade cools.
Another way to ensure the scalpel cools down is to heat it before you tear the mushroom and leave it to cool in the stream of air from the flow hood.
Doing this is not recommended if you use a SAB for cloning as the blade may get contaminated.
Step 4: Remove and Transfer Tissue
The entire mushroom fruiting body consists of dense mycelium, and you could take tissue for cloning from any part of the mushroom.
But, some areas are better for cloning than others.
When it comes to harvesting reproductive cells, the best parts to use are:
- The fleshy part in the middle of the stem butt
- The middle of the upper stem just below the cap
- Underneath the cap close to the gills
It’s best not to clone using gill tissue as the gills are difficult to clean and often contain spores that may germinate and give you a different strain.
Remove tissue by scraping the scalpel across the flesh a few times or cutting a small 0.12 x 0.12 inch (3 x 3 mm) piece of tissue.
Impale the tissue on the scalpel, move it upstream to the agar plate, remove the lid and place the tissue on the agar. Then close the petri dish immediately.
Do the steps above smoothly and quickly to minimize the time the agar plate is open, especially if you’re using a SAB for your cloning.
Repeat the process twice more, flame sterilizing the scalpel each time until you have three pieces of tissue in the agar plate.
Using more than one piece is optional, and many people only place one tissue sample per agar plate.
But having more pieces of tissue provides greater chances of success as samples don’t always grow.
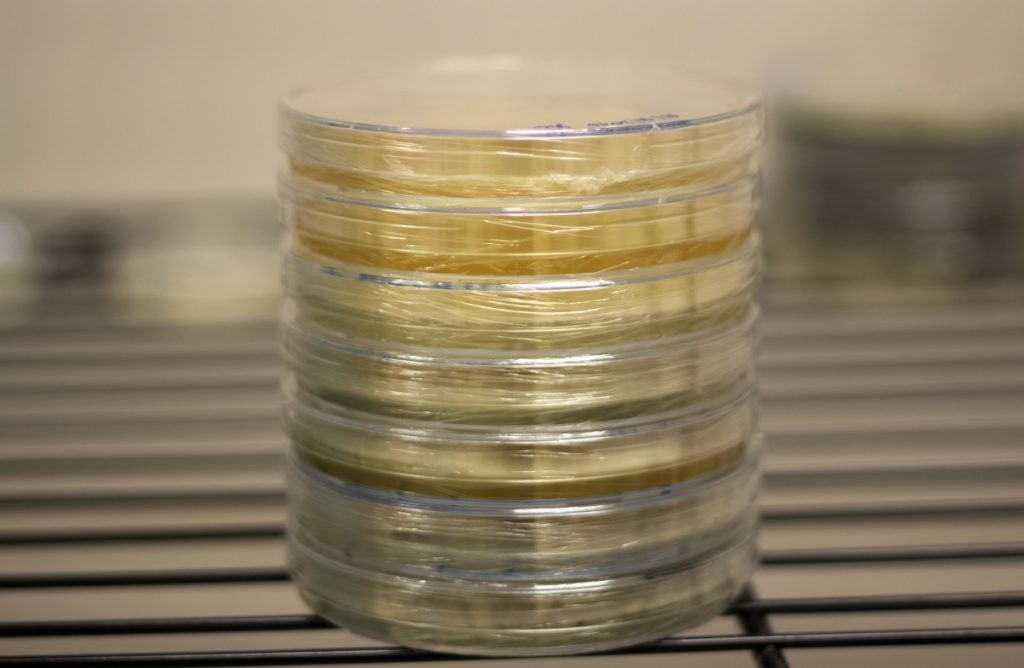
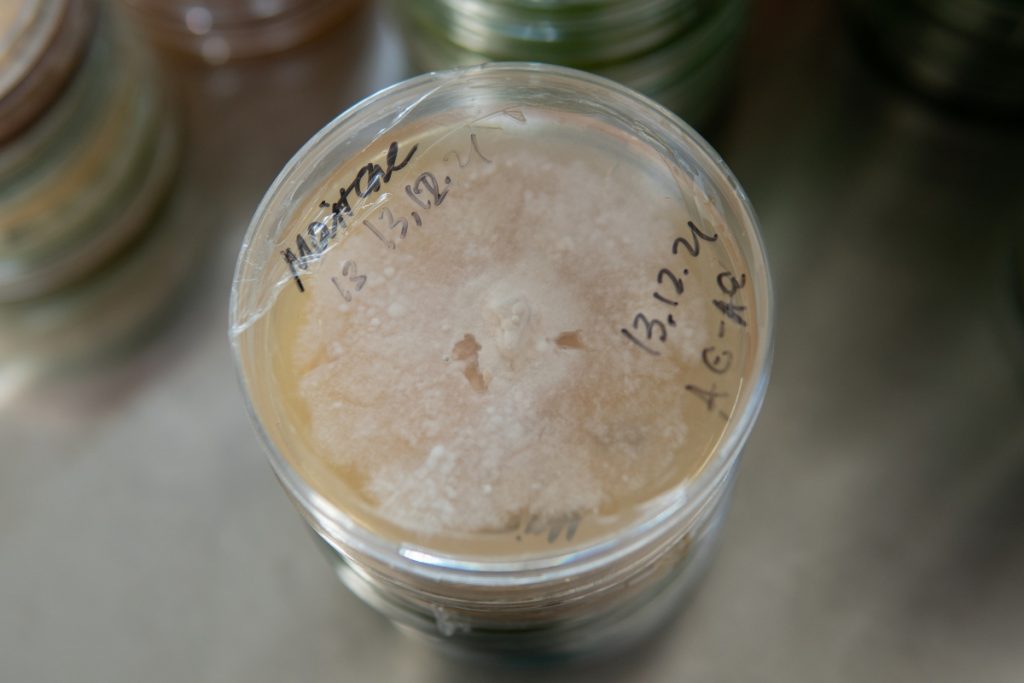
Step 5: Seal, Incubate and Clean
Seal your inoculated agar plates with parafilm or masking tape and label them with the species and inoculation date.
Parafilm is ideal as it ensures the agar plates can still breathe while maintaining a tight seal.
Place the sealed agar plates in a spot with room temperatures away from direct sunlight to incubate.
How Long Does a Clone Take to Grow on Agar?
Within 2 to 3 days, you should see mycelium starting to grow outwards from the tissue.
Sometimes, if you’re lucky, you’ll get a clean mushroom culture the first time.
But often, there will be spots of black or green fungus growing on your plate, signs of contamination.
If this happens, use the steps above to remove a piece of uncontaminated mycelium from the contaminated plate and put it into a new clean agar plate.
You may need to repeat this process a few times until you have a clean mushroom culture.
Step 6: Store Your Mushroom Culture
Just before the mycelium reaches the edge of the agar plate, you need to use it or store it.
If you wait too long, the mycelium may grow through the parafilm or masking tape and get contaminated.
You can store most agar mushroom cultures in the fridge for long periods, up to a year or more, and they’ll remain viable.
But some mushroom cultures, like pink oyster mushrooms, won’t survive if placed in the fridge.
So it’s always best to do some research and find out how to store your particular type of mushroom culture.
How to Clone Mushrooms Without Agar
There are several ways to clone mushrooms without agar, but they generally have higher chances of contamination.
But, for beginner mushroom growers, who want to learn more about how mushrooms grow, some of these techniques are fun to try.
Here are some of the ways to clone mushrooms without agar:
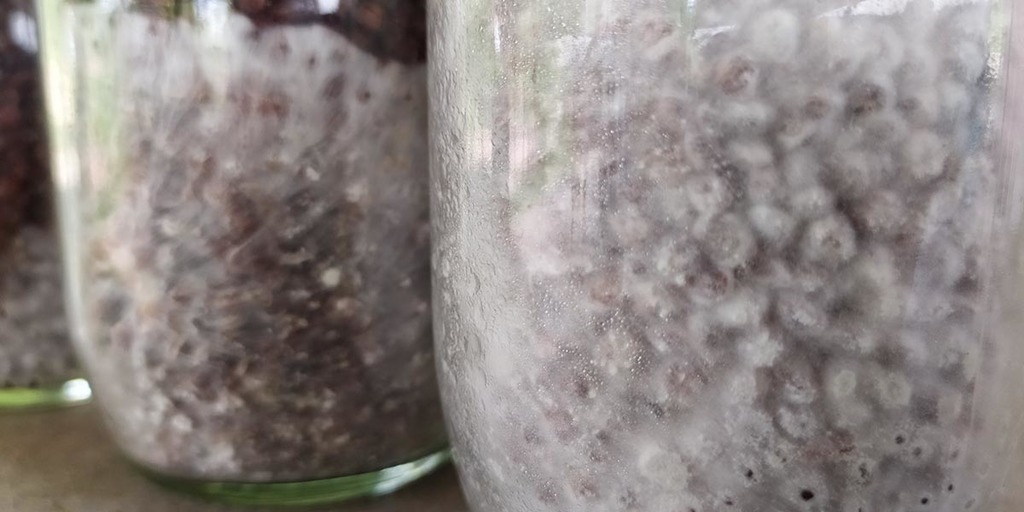
1. Cloning Mushrooms Directly Into Jars of Sterilized Grain
To clone mushrooms using grain, you would follow all the steps above, but instead of using agar plates, you would use sterilized jars of grain called grain spawn.
It’s not as good as cloning to agar plates, because you can’t so easily see infections like you can on a 2D agar surface, but it can be done.
You can use several types of grain to clone mushrooms, including popcorn, wheat, rye, brown and white rice and even wild bird seed.
But, most mushroom growers agree that one of the best grains to use is rye.
Rye is usually easy to source, has all the nutrients mushrooms need and absorbs water well.
You can order your jars of grain spawn online or make your own at home.
Making your own involves rinsing the grain to clean it, soaking it in water for 12 to 24 hours and then cooking the grain so that it absorbs more water.
After this, you need to drain and remove excess water before loading the grain into mason jars and sterilizing them in a pressure cooker.
2. Cloning Mushrooms Using Sterilized Cardboard
Some people clone mushrooms on sterilized cardboard instead of agar or grain.
With this method, the chances of contamination are higher, and the yield lower as cardboard is not a nutrient-rich food source.
Also, it will only work with less fussy types of mushrooms like oyster mushrooms that grow on a range of substrates.
This method of cloning follows the steps above with a couple of variations.
Instead of placing the tissue on agar, you push it into the ribs of prepared and sterilized cardboard and then place the inoculated cardboard into a sterilized jar to grow.
3. The Stem Butt Method of Cloning
This method is a simple and low-tech way to grow more mushrooms using mushroom stem butts from wild or store-bought mushrooms.
It’s a cheap and easy cloning technique that is not time-intensive and does not need specialized equipment.
But, this method only works with hardy, less fussy types of mushrooms.
Our article, “How To Grow Your Own DIY Mushroom Spawn” has step-by-step instructions on how to clone oyster mushrooms using the stem butt method.
You can also use well soaked wooden dowels to grow mushrooms from stem butts.
And depending on the type of mushroom, you could even grow mushrooms outdoors with stem butts.
Try placing mushroom stem butts directly into an outdoor mushroom bed or a thick layer of compost to grow.
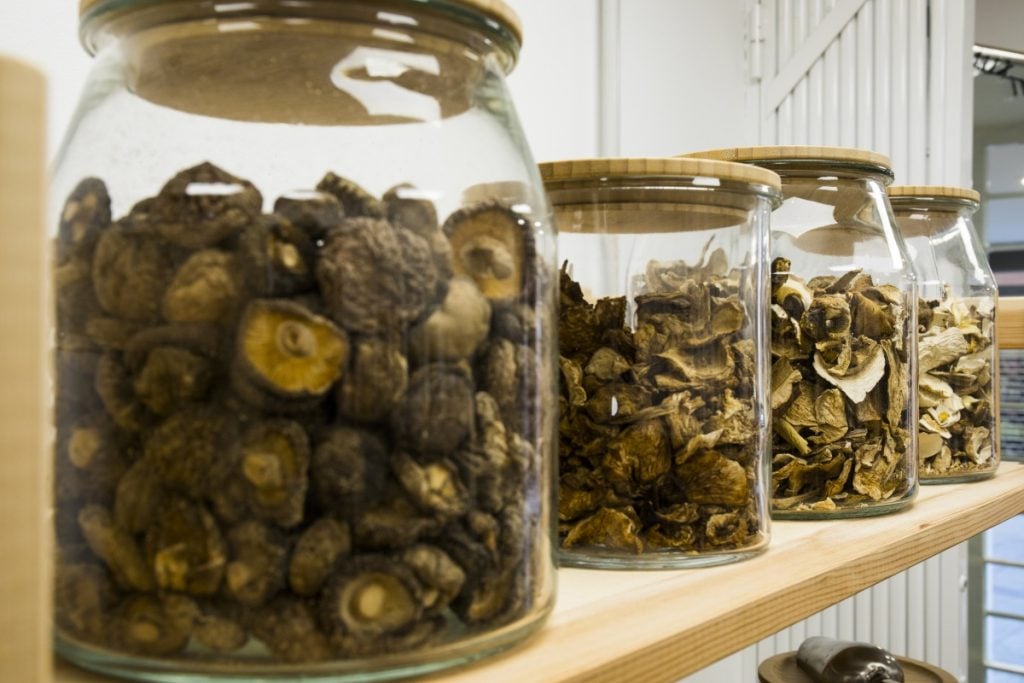
How Do You Clone Dried Mushrooms?
Clone dried mushrooms by soaking a piece of dried mushroom tissue in sterile, distilled water for up to a day and then transferring it to a sterile growing medium.
Mushrooms that are heat dried may not grow as excessive temperatures during the drying process often kill the mycelium.
In general cloning from a dried mushroom is not as reliable as using freshly harvested living tissue, but it is possible to do.
To clone a dried mushroom, follow the steps above but add a step to rehydrate the dried mushroom.
After tearing open the dried mushroom in a sterile environment, use a scalpel to remove a piece of tissue and then soak the piece to rehydrate it before transferring it to the agar plate.
Frequently Asked Questions about Cloning Mushrooms
Here are answers to some frequently asked questions about cloning mushrooms:
Can You Grow Mushrooms From Cuttings?
Yes, you can grow mushrooms from cuttings, and while you can use any fleshy part of a mushroom for some cloning methods, the best cutting to use is the base of the stem or stem butt.
The best stem butt to use is a fresh one with some substrate and mycelium still attached.
They call this method of growing mushrooms the stem butt method.
Do Mushrooms Clone Themselves?
Yes, mushrooms do clone themselves. Depending on circumstances, some species of mushrooms can reproduce both sexually and asexually.
And when mushrooms use asexual reproduction, they create clones of themselves.
But, generally, mushrooms are the above-ground reproductive organs that fungi use to help distribute spores as part of sexual reproduction.
How Do You Collect Mycelium?
To collect mycelium, use a flame sterilized scalpel to scrape or cut some mushroom tissue from the center of a fresh or dried mushroom.
Mushroom fruiting bodies consist of tightly compacted mycelium, and any fresh tissue taken from mushrooms contains living mycelium.
Can You Clone a Clone Mushroom?
Yes, you can clone a clone mushroom. But if you continuously clone clones, the mycelium eventually weakens.
Weakened mycelium colonizes a substrate slower or stops producing fruiting bodies.
Can You Clone Mushrooms Forever?
No, you can’t clone mushrooms forever. Every time you transfer tissue and clone a clone mushroom, it moves a step further from the original mushroom.
Eventually, it will develop a genetic mutation that reduces the viability of the culture.

Final Thoughts
Whether you want to replicate a fascinating wild species or copy your favorite cultivated mushroom, cloning is a valuable skill to learn.
Cloning mushrooms involves removing a piece of mushroom tissue and placing it on a nutrient-rich growing medium.
There are several different ways to clone mushrooms. Some are fun projects for beginners, while others need more expertise.
To learn more about growing mushrooms the low-tech way, visit our Mushroom Growing Hub.


