Have you tried growing oyster mushrooms and now you’re ready to try a slightly more challenging variety?
Shiitake mushrooms are a bit more difficult to grow since their mycelium is not as aggressive, and requires a longer incubation time. But the extra work can be well worth it.
Shiitake produces more flushes of fresh mushrooms for you to harvest. Sometimes for years under the right conditions!
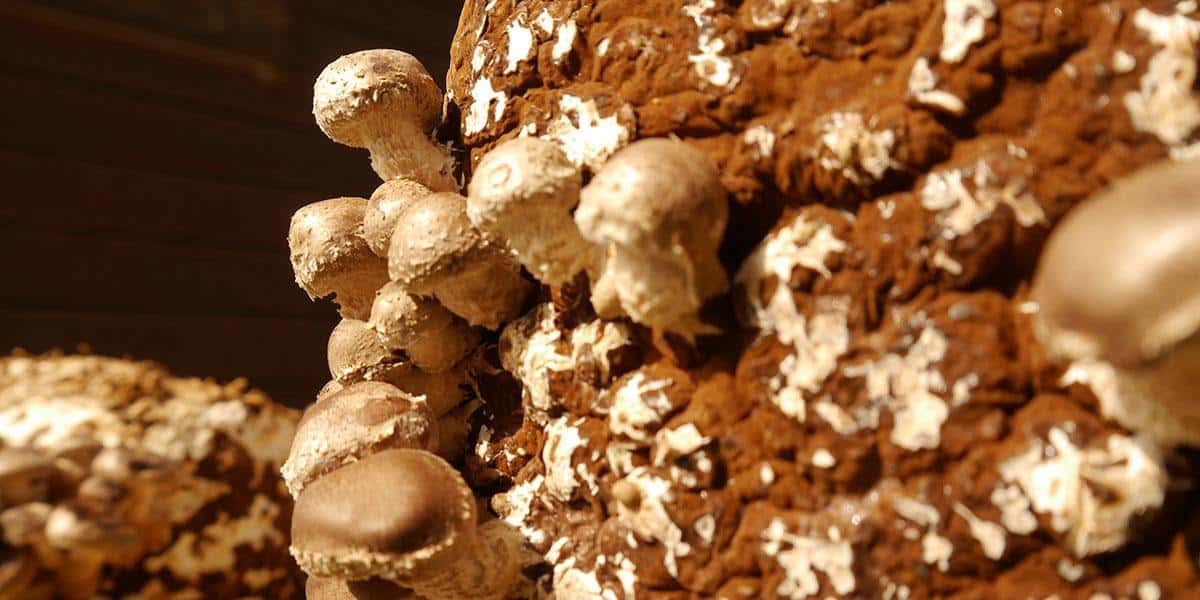
Why Grow Shiitake Mushrooms?
They’re Good For You
Shiitake mushrooms contain compounds that support heart health, boost your immune system, and may even be able to help fight cancer and tumors.
They’re low in sodium and calories, but offer good amounts of fiber, B vitamins, and some minerals.
Plus they’re delicious!
The Gift That Keeps On Giving
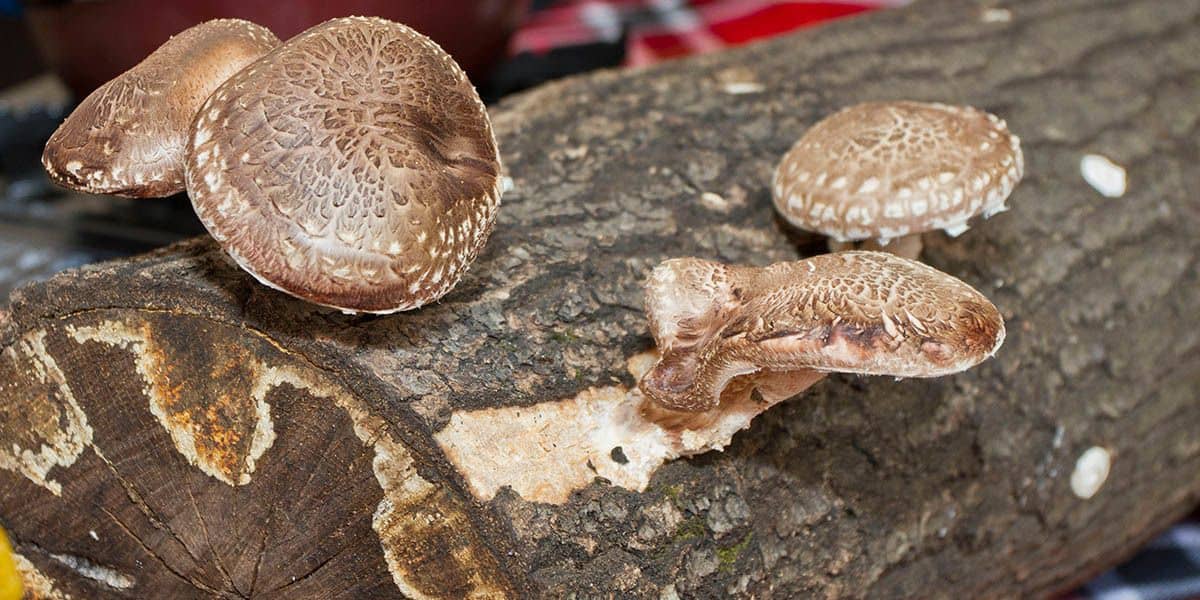
Shiitake mushrooms produce 3 to 5 flushes of fresh mushrooms on average when grown on sawdust or grain. If you grow them on logs, they can provide you with fresh mushrooms every 5 weeks for 4 to 6 years!
The upfront time and monetary investment of growing your own shiitake mushrooms will more than pay for itself. Just think about what the amount of mushrooms you’ll be harvesting would cost to buy from the supermarket.
Plus you can’t beat the level of freshness that comes from harvesting mushrooms at home! Growing your own mushrooms is a great hobby and is also an excellent learning experience to teach kids about nature.
How To Grow Shiitake Mushrooms At Home
Step 1: Getting Prepared
Before you can start growing shiitake mushrooms, you’ll need to decide what substrate you plan to grow your mushrooms on and buy the supplies needed.
Picking A Substrate
A substrate is the growing medium where your mushrooms will first establish themselves as mycelium and use it as a food source to produce their fruiting bodies (aka the mushrooms we eat.)
Shiitake mushrooms are a bit more picky about what they will eat when compared to oyster mushrooms, which will grow on coffee grounds, cardboard, or pretty much anything.
Shiitake really need a wood-based growing medium to thrive and get the nutrients they need. So your options are usually limited to either growing them on logs or blocks of sawdust.
Sawdust or sawdust pellets are likely easier for you to source than fresh logs, especially if you live in a city.
Regardless of what wood-based substrate you choose, pick one made from deciduous hardwoods. Shiitakes do best on oak, but maple, beech, and ironwood will all work as well.
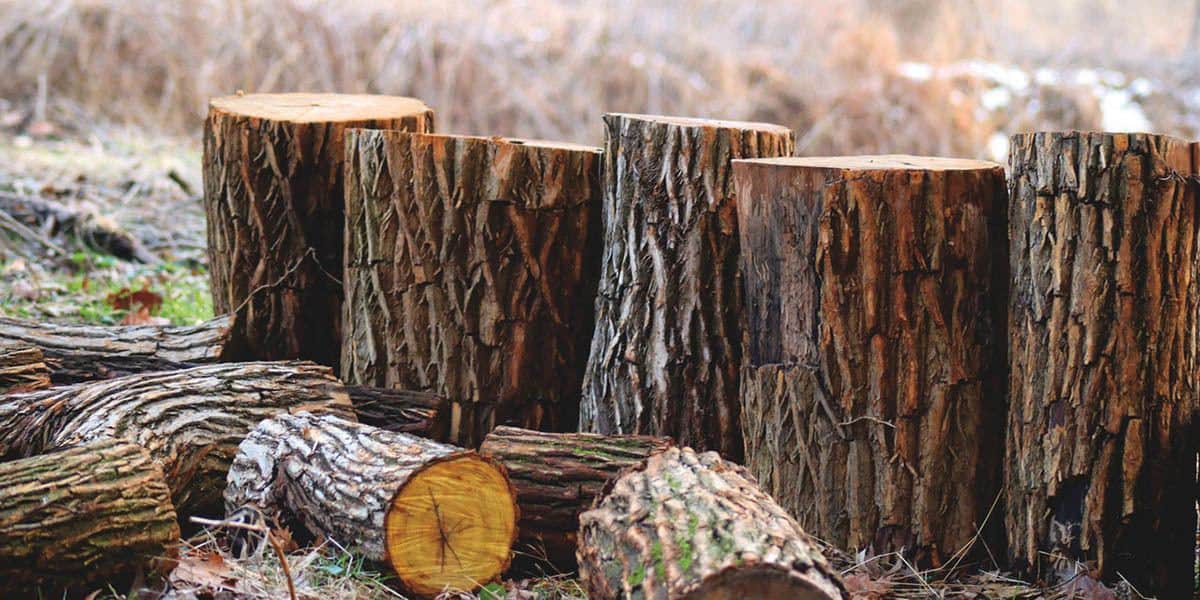
If you’re using logs to grow your shiitake mushrooms, then the fresher they are, the better.
If you could cut logs off a tree and then inoculate them the same day, that would be optimal.
That’s because if logs are left to sit around, other types of fungi could start to grow inside of them first.
You don’t want to grow using logs that have been sitting around for more than a few weeks.
Avoid any logs covered in moss or lichen, or that show any other signs of mold or fungi that may already be inhabiting the wood.
Logs for inoculating with shiitake should ideally be about 3 to 6 inches (7.6- 15.2 cm) in diameter and about 3 to 4 feet ( 91-122 cm) long.
If you are growing using sawdust or pellets, you’ll want to either buy or make some form of containers or growing bags to hold your substrate as well.
Getting Spawn
Spawn is live mycelium culture, and is what you use to grow mushrooms. Much like you use seeds to grow fruits or vegetables.
Shiitake mushroom strains don’t have the same pronounced differences that you can see in different oyster mushroom strains and subspecies.
The color, shape, and size of shiitake are mostly the same. Strain mostly affects the conditions that the mushrooms prefer.
There are cold weather, warm weather, and wide range strains. Wide range is best for beginners and what is most used for year-round commercial cultivation.
Many sellers don’t even list what strain of shiitake spawn they’re selling. But if you do have a choice of different strains, WR46 is a good beginner-friendly strain to pick.
Shiitake spawn comes in several different forms depending on how you’re planning on growing your shiitake mushrooms.
Hobbyist growers tend to use inoculated wooden dowels, which are also called plug spawn. If you’re using logs, these dowels can be hammered into holes that you drill to give your shiitake mushrooms a place to grow.
More serious growers tend to prefer sawdust spawn. Sawdust spawn can either be used to inoculate blocks of sawdust or inserted into logs using a special spring-loaded inoculation tool.
If you want a really simple and almost foolproof solution, you can even buy pre-inoculated logs or kits with all of the initial work done for you.
Step 2: Prepare Your Shiitake Mushroom Substrate
Some of the substrates that shiitake mushrooms grow on will already be pasteurized and won’t need sterilization.
- If you’re using sawdust pellets, they’ve already been pasteurized during the pellet production process where they’re put under extreme heat and pressure.
- If you’re using sawdust pellets, all you need to do is soak them for 30 minutes and break the pellets apart into sawdust.
- If you’re using fresh logs, pasteurization isn’t necessary.
- If you’re using straw or fresh sawdust, you’ll want to pasteurize your substrate. You can do this by soaking your sawdust or straw in hot water (149 – 176 degrees F or 65 – 80 degrees C) for 1-2 hours. You can also use a high-pH lime bath for 12-18 hours if preferred.
- For commercial shiitake growing operations, substrate is often enriched with nitrogen supplements as it’s being prepared. If you’re growing as a hobby this isn’t necessary.
You may want to consider adding supplements it if you’re growing on straw or grain, which provides less nutrients for the mycelium than wood-based growing.
Enriching your substrate isn’t an option when growing on logs, but there are other tips we share about how to successfully grow Shiitake on logs in this video:
Step 3: Inoculation
Inoculating Logs
If you’re inoculating logs with your shiitake spawn for growing outdoors, you’ll want to do so in spring after the last danger of frost has passed.
Use a power drill to drill holes in your log that are slightly larger than the spawn you plan on inserting into the log.
Usually for sawdust spawn a 12 mm drill bit is used, and for plug spawn a 12 mm drill bit is used. Your spawn supplier can confirm the drill bit size you should use if you’re not sure.
Be sure you’re wearing protective ear and eye gear.
Drill holes about one inch deep every six inches down the entire length of the log. Once you’ve completed one row, rotate your log and drill another row a few inches over.
You’ll want to alternate your holes in a checkerboard or polka dot type pattern to leave room between each plug.
Keep drilling rows of holes into your log until you cover the entire circumference of the log.
If you’re using spawn dowels, it’s as easy as inserting them in to the holes you’ve drilled and hammering them until they’re flush with the log. It will take about 50 plugs to fill a 3 foot log.
If you’re using sawdust spawn, you’ll place some of it in your inoculating tool and then use the tool to force it into the holes in the log.
After each hole is filled with spawn, you’ll want to seal them up using wax.
For a more detailed explanation, see our full “How To Grow Mushrooms On Logs” guide.
Sawdust, Straw, or Grain
If you’re growing indoors, wipe down all of the surfaces you’ll be working on and wash your hands well with soap before starting.
For those growing shiitake mushrooms outdoors maintaining cleanliness is more difficult.
It’s best to start your shiitake substrate in bags to prevent contamination and maintain the correct level of moisture.
Even if you’re going to be growing your shiitake outside on a wood chip bed, starting off growing your shiitake on sawdust in bags will produce a larger amount of stronger mycelium to add to your bed. This provides a better chance of survival and hopefully producing more mushrooms.
Start by making sure your substrate is not too wet or too dry. Do a squeeze test by slightly squeezing your sawdust or straw. A couple of drops of water should come out.
If too much water comes out, it’s too wet. If no water comes out and the substrate isn’t staying together in your hand, it’s too dry.
Next mix your substrate and mushroom spawn together. It’s easier to do this in a large box or container than trying to mix together inside your bag.
Once your substrate and spawn are mixed, load them into your grow bags and close them with tape or a rubber band.
If you’re not using grow bags with filter patches, add some tiny holes to the bag for a small amount of air exchange.
Step 4: Incubation
Shiitake mushrooms have a longer incubation time than other varieties such as oyster mushrooms.
Logs And Wood Chips
If you’re using logs, they’ll need to incubate for 6 to 12 months. Put them in a shady location off the ground.
You can use a wooden pallet or bricks to raise them up. This can help prevent competing fungi from getting on to the logs as well.
You should cover your logs with a shade cloth or some other type of breathable fabric to keep them out of the sun while letting moisture come through. Don’t cover your logs with a plastic tarp, as this will encourage mold.
If you live in a moist climate, you’ll want to water your shiitake logs for about 10 minutes once per week if it hasn’t rained during the week. If you’ve had a strong rain, you don’t need to water them.
If you live in a dry climate, you should water your logs twice per week for 10 or more minutes each time.
Don’t water your logs if the temperature outside is below freezing. This can make your logs lose their bark or start to split.
If you’re using a bed of wood chips, follow the same watering and shade instructions during incubation.
Bags
Store your bags at room temperature in a dark place. You don’t need to do any watering or upkeep while your bags are growing new mycelium.
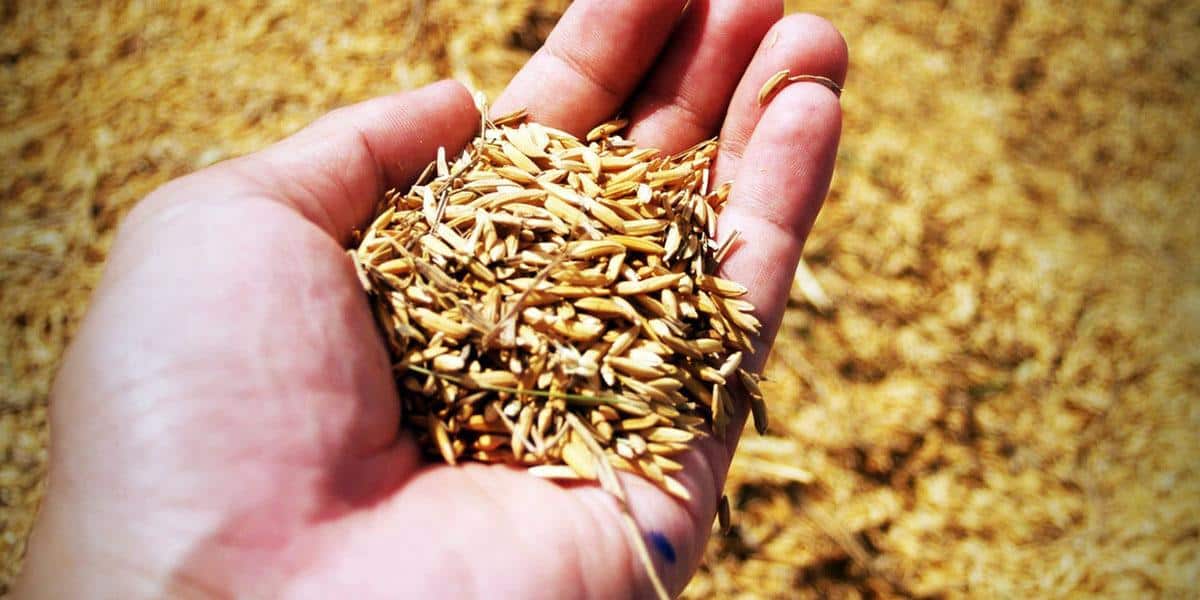
If you’re growing shiitake on sawdust, grain, or straw, it will take two to three months for your bags to be completely colonized with white mycelium.
But unlike with other mushrooms, the white mycelium doesn’t signal that your shiitake are ready to fruit.
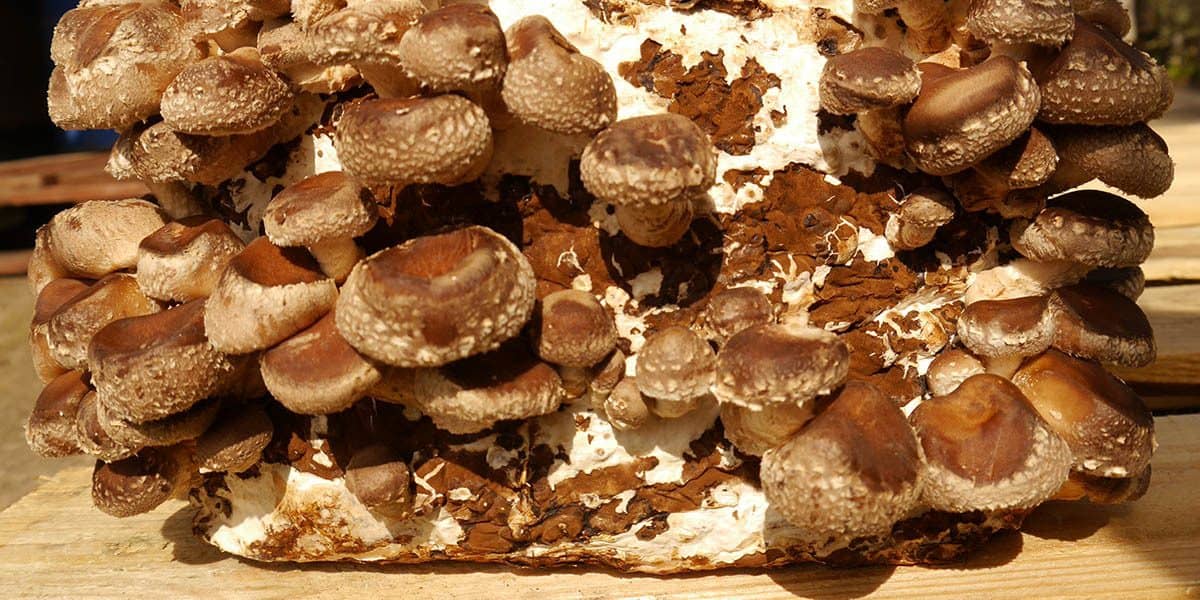
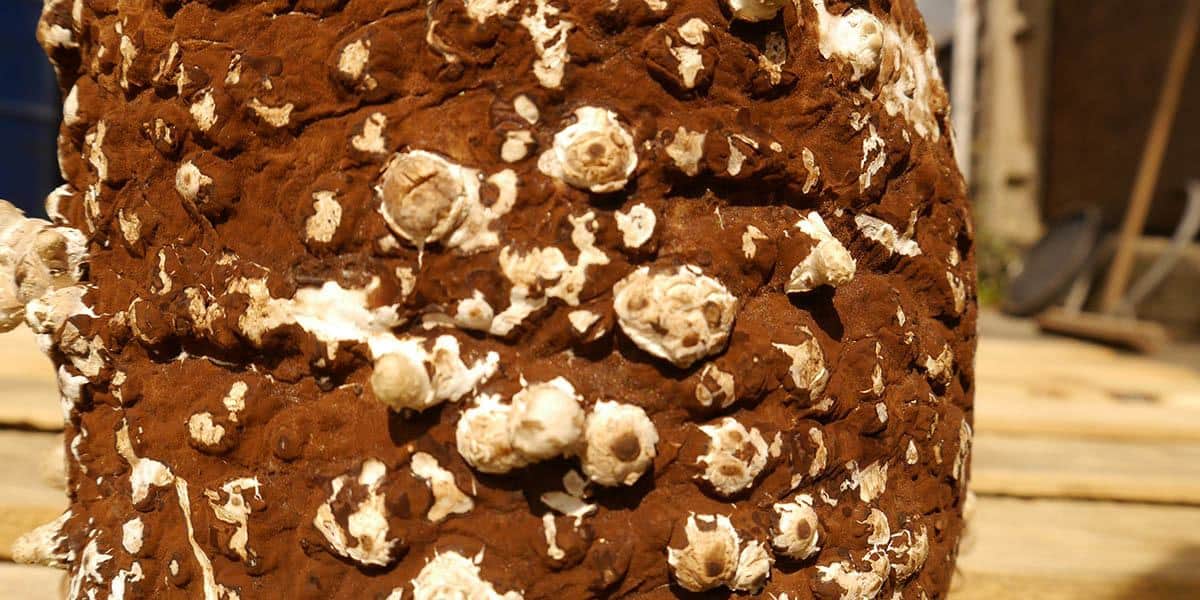
You need to allow them to brown for about two weeks longer. All of the white mycelium in your bag will start to turn a brownish color. Once your mycelium is mostly brown, you’re ready to start fruiting.
Step 5: Fruiting
Logs
Sometimes, shiitake logs will fruit on their own when they’re ready. But in most cases, you need to “initiate” them, or shock them into producing fruit.
Under ideal conditions, shiitake logs are ready to fruit after 6 months. But it’s best to wait 9 to 12 months before initiating them to make sure your mycelium colony is nice and strong.
To initiate your shiitake logs, you need to submerge them in cold water for 24 hours.
If you have a pond or other natural body of water on your property, that can be a good choice as long as it’s fairly clean. You can also use kid’s size swimming pool, or even use a bathtub.
Rainwater, boiled water, or other non-chlorinated water is best. But you can use water right out of your garden hose if that’s all you have access to.
Once your logs have soaked for 24 hours, bring them back to your shady area and stand them in a vertical (upright) position.
This way all of your spawn holes will have free space around them so your mushrooms won’t get dirty or fruit into the ground when they start forming.
Between 2 days and 2 weeks, you’ll start to see primordia starting to grow, which are little pins that will eventually form into fully grown mushrooms.
Keep your logs moist during this stage by watering them once or twice per day for at least 5 minutes each time.
Bags
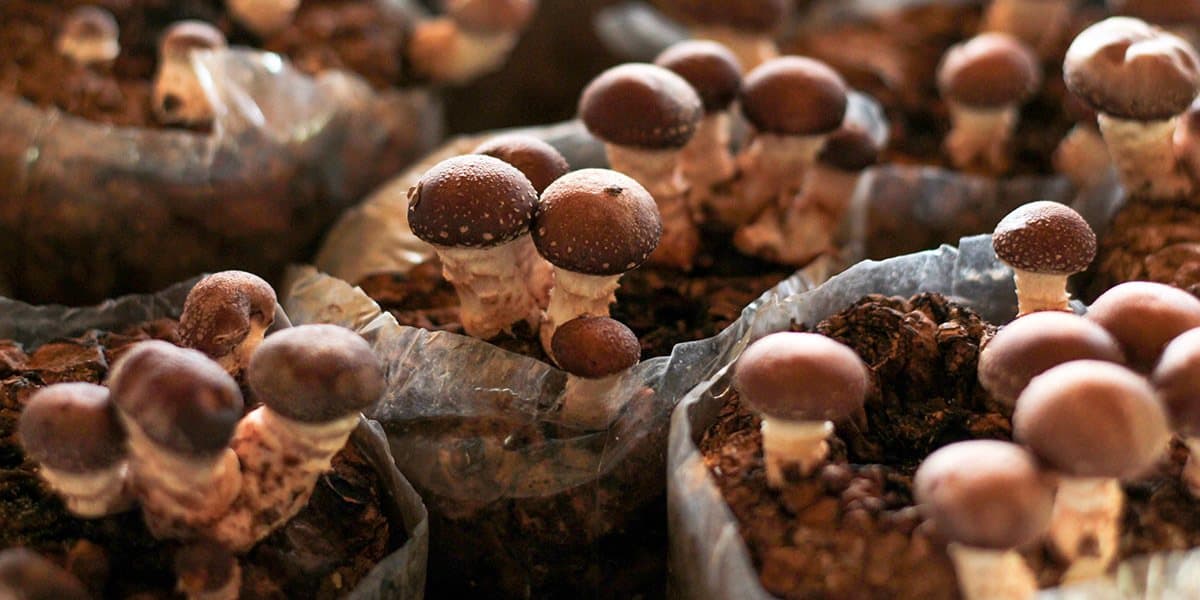
Once your shiitake mycelium has completely colonized your substrate, you can open the bags. Simply place your block of spawn in a humid area with lots of fresh air flow.
Despite taking several months to colonize your substrate, your shiitake grows fast at this stage will have produced the first flush of mushrooms within about a week.
Mist your spawn block several times per day to keep it moist and healthy. Shiitake mushrooms seem to grow faster with more water, so don’t be afraid to water them every few hours.
Each spawn block will produce between 3 to 5 flushes of mushrooms before the mycelium becomes too weak to produce any more mushrooms, at which point your blocks will probably start to become contaminated with mold.
Step 6: Harvesting And Growing More
There’s no right or wrong size to harvest your shiitake, although they will be a bit more tender if you harvest them when they’re smaller.
It’s best to harvest your shiitake mushrooms with a knife by cutting them at the base of their stem. Twisting can damage the mycelium and potentially have a negative impact on future flushes.
Incubating shiitake logs is a long process, but your patience will be rewarded with 4 to 6 years of fresh mushrooms before your logs need to be replaced!
You can force a new flush of mushrooms by soaking logs in water for 24 hours every 5 or 6 weeks. Make sure to keep watering your logs at least 2 or 3 times per week to maintain the correct moisture level in the wood as well, except once temperatures get below freezing.
Boosting Vitamin D Content In Your Fresh Shiitake
Vitamin D is an essential vitamin for the human immune system and metabolism.
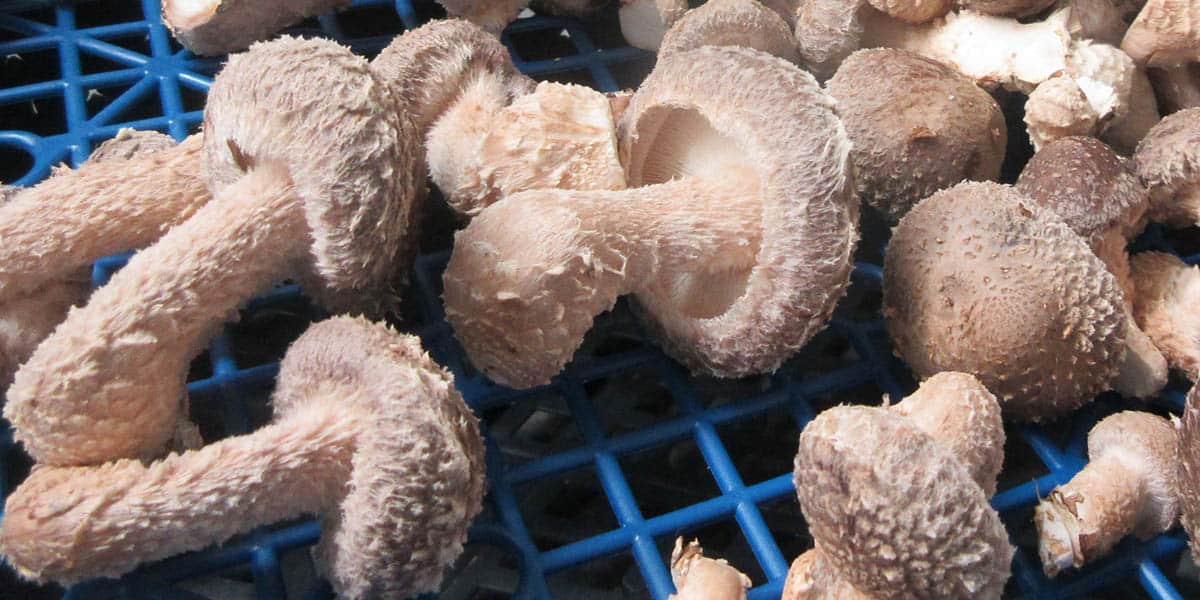
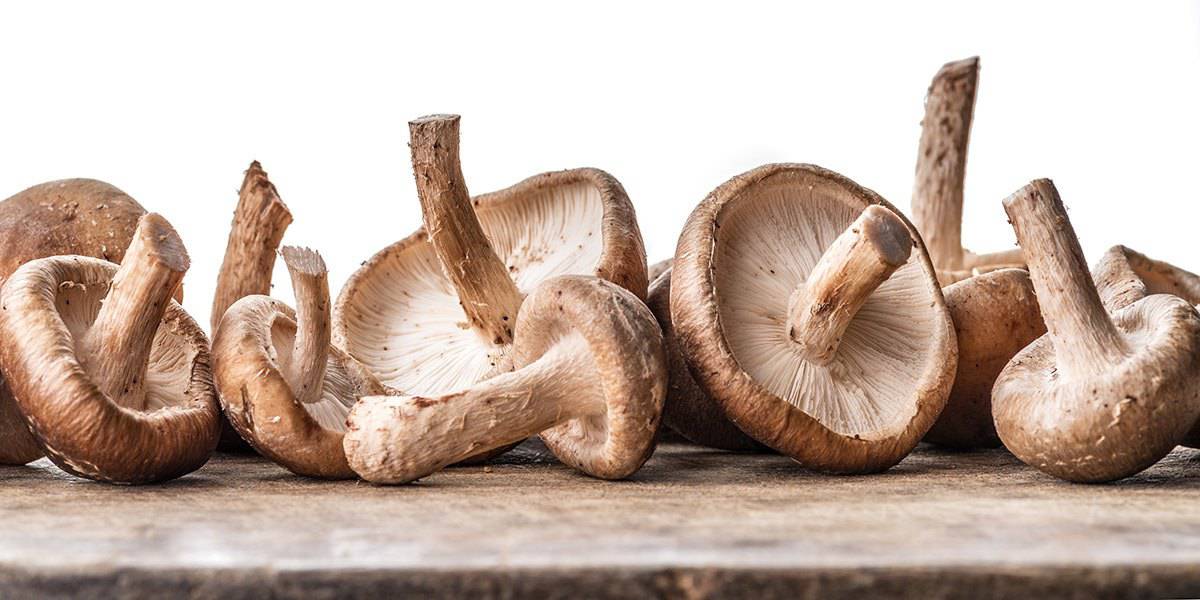
You can drastically boost the vitamin D content in your shiitake mushrooms by putting them gill side up in a sunny location for 24 to 48 hours after you harvest them.
This will boost the vitamin D2 levels in your mushrooms from about 100 International Units (IU) per 100 grams to 46,000 IU per 100 grams!
Cost Of Growing Shiitake Mushrooms
Logs
- 600 spawn plugs or about 20 lbs of sawdust spawn – $100
- Spring-loaded inoculator – $40
- 10 pounds of cheese wax – $50
- 1 pack of wax daubers – $5
- An old deep fryer or container to melt wax in – $20
- Blanket or cover – $25
Total – about $250
(This assumes you already have a drill and drill bits and access to free logs)
Sawdust
- 200 lbs of hardwood pellets – $30Shiitake spawn – $100
- Mushroom grow bags (with filter) – $50
- Spray bottle – $5
Total – about $200
Of course much depends on what scale you want to grow at and do remember with logs you can potentially have years worth of mushrooms as your reward!

Pingback: 30 Ideas for Can You Freeze Shiitake Mushrooms - Best Round Up Recipe Collections
Pingback: 5 Things I Wish I Knew Before I Started Growing Mushrooms For A Living - GroCycle
Pingback: Are Mushrooms Vegan? - GroCycle