Want to grow microgreens without dealing with messy soil? Growing hydroponically could be your solution.
How can you grow microgreens without soil?
If you want to start growing microgreens hydroponically at home, you just need a few basic supplies like trays, growing medium, lighting, nutrient solution, and seeds.
To grow microgreens hydroponically on a commercial scale, you’ll want to maximize vertical space by using racks and automate the process using a reservoir and water pump.
In this article you’ll learn what hydroponic microgreens are and why you may want to grow your microgreens hydroponically.
I’ll explain what you’ll need to grow your microgreens hydroponically at home, as well as on a larger commercial scale.
What Are Hydroponic Microgreens?
At the most basic level, hydroponics is a method of growing plants without soil. Your microgreens spend their lives in an aquatic-based environment. They’ll only receive their nutrients and oxygen from water, instead of absorbing it from the soil.
That means fertilizer needs to be added to water to create a nutrient-rich solution for your microgreen’s roots to absorb.
There are several different growing mediums, also known as substrates, that you can use to provide support for your roots in a hydroponic system.
Some common growing mediums include coconut coir, hemp mats, clay pebbles, vermiculite, and rockwool. Although some hydroponic systems don’t require a growing medium at all!
- Learn about why growing microgreens are more sustainable than growing crops.
Why Grow Your Microgreens Hydroponically?
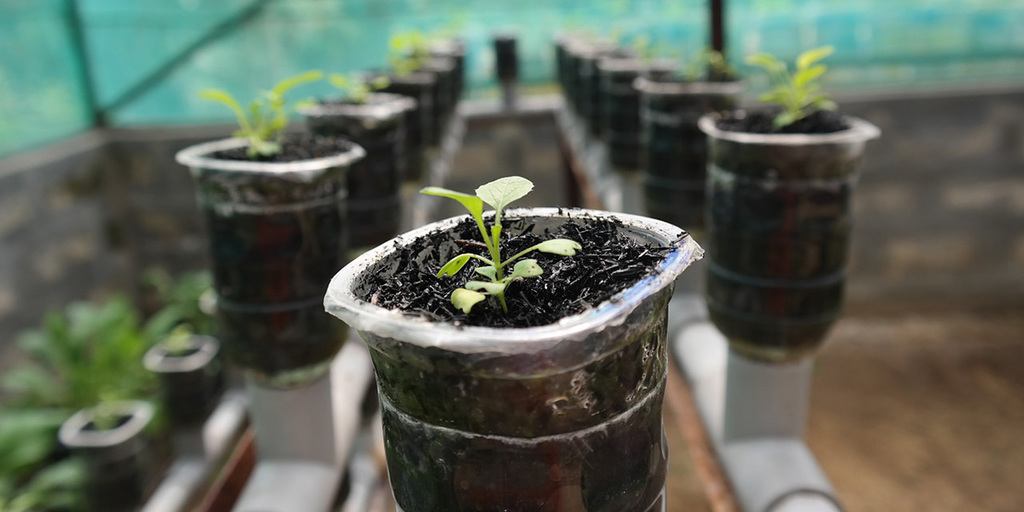
1) Less water
You can re-use the water in your hydroponics systems, meaning they require about 20 times less water than growing in soil.
2) They can grow anywhere
A hydroponic setup can go in your basement, a garage, or even inside of a shipping container. You can grow microgreens all year round.
3) More control
Growing your microgreens hydroponically means you have complete control over how much of each kind of nutrient your plants are getting. You can adjust fertilizer balances for each individual microgreen crop that you grow.
4) No composting, no mess
You don’t need to worry about tracking soil all through your house or accidentally spilling a tray of dirt on your carpet. You also don’t need a place to dispose of all your used soil, so hydroponics are great for growing for instance in apartments.
5) Some microgreens grow better hydroponically
Some microgreens like wheat grass, kale, and kohlrabi prefer to grow hydroponically and will produce better yields than if they were grown in soil.
- Learn about the main types of microgreens you can grow at home.
Growing Your Microgreens Hydroponically At Home
Trying to grow miniature versions of vegetables at home without soil sounds quite high-tech and futuristic. But it really is much easier than you’d think!
When it comes to growing microgreens on a DIY home scale version, there isn’t really a huge amount of difference between growing hydroponically or with soil.
What You Will Need
Growing Trays
You can buy 10″ x 20″ plastic trays, which are the standard size that many microgreens growers use. Make sure to get ones with drainage holes, or you’ll need to poke some holes in them yourself.
Microgreen seeds
It’s best to buy organic seeds that are bred specifically for growing microgreens. Make sure to avoid any seeds that have been treated with fungicides.
Lights
T5 fluorescent lamps are usually preferred by microgreens growers, but regular T8 lights will work as well and are normally cheaper.
Growing medium
Coconut coir, hemp mats, or whatever your preferred growing medium is. This will give the roots of your microgreens something to grab onto and help them stand upright.
pH test kit or strips
To check what the pH of your water is. Your water might already be at a good pH level to grow microgreens, but it’s good to test to be sure. Then you can make any necessary adjustments.
A spray bottle
Buy a brand new spray bottle that has never contained chemicals or been used for any other purpose.
Nutrients
Ideally look for a product that’s organic and specifically designed for growing microgreens hydroponically. But if you can’t find that, any general hydroponic nutrients should work quite well.
Some people would suggest that microgreens get the majority of their nutrients from the seed and don’t need extra nutrients added to the water.
While it’s true that microgreens will grow hydroponically without adding any extra nutrients to your water, I’d refer you to this video by a fellow grower. You’ll see what a difference adding nutrients to your water will make:
Growing Microgreens At Home, Step By Step
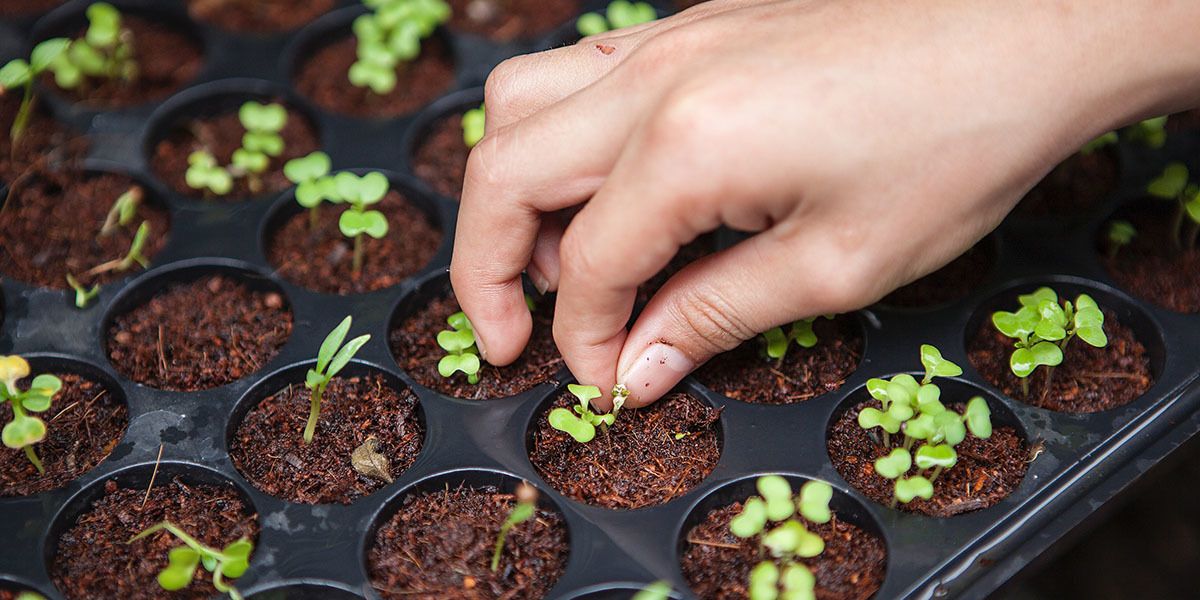
1) Prepare your water
Ideally you want a pH balanced water, in the range of 5.5 to 6.5. Test your water and adjust accordingly. Wood ash or lime can be added to the water to raise pH, and phosphoric acid can be added to lower it.
Distilled water or rain water is best. You can use tap water if needed, but I’d recommend letting it sit for 24 hours or boiling it to off-gas any chlorine. If you’re adding any nutrients to your water, you’ll want to dissolve them in now.
2) Soak your grow mat
Cut your grow mat to fit your growing trays. Then place your grow mat in your water or nutrient solution to get it wet, and then allow most excess water to drain off before transferring it to your 10″ x 20″ tray.
3) Add your seeds
Sprinkle your seeds evenly across your entire grow mat. Each type of microgreen requires a different seed density, so refer to your packaging or research to find the optimal density for your crop.
Once you’ve added your seeds, mist them with your spray bottle using clean water or a nutrient solution.
4) Cover your seeds
You’ll want to cover your seeds with a lightproof cover so they’re in complete difference. A second tray flipped upside down works great.
5) Early on
You’ll want to keep your microgreens covered and in complete darkness while they start to germinate and sprout. Only open your tray up to mist them every 12 hours or so. Depending on your variety of microgreens, you’ll probably want them to remain in darkness for the first 5 days or so.
6) Growing
After around 5 days, your microgreens should be starting to grow nicely. Remove your lightproof cover and put the tray under fluorescent lighting.
At this point you can start watering them by pouring small amounts of water directly into the tray instead of misting them. You can either water them with just pH balanced water or continue using a weak hydroponic solution.
I’d reduce the solution to about 1/4 of its original strength for ongoing watering.
7) Harvesting
After 10 to 12 days, most varieties of microgreens will be ready to harvest. Use a sharp blade to cut your microgreens off at the base of their stems.
Rinse and dry them well, then place them between moist paper towels in a Ziploc bag and store them in the refrigerator until you’re ready to use them.
- Read more about permaculture farming and popular farming methods.
Growing Microgreens On A Commercial Scale
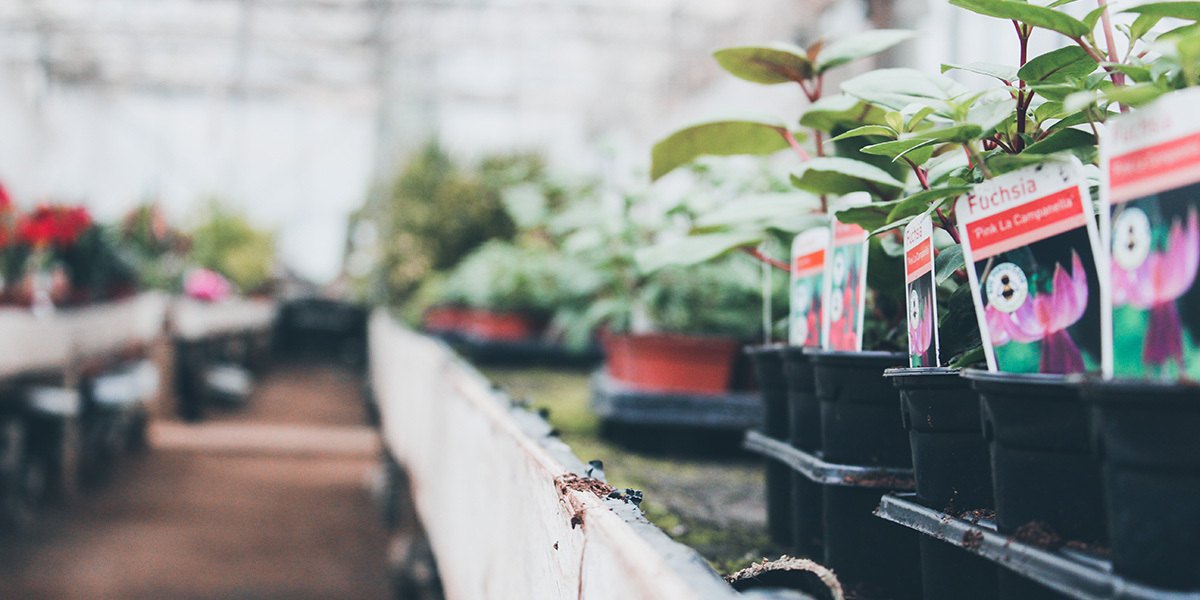
Growing microgreens commercially uses the same basic principles of growing at home. Just on a much larger scale, and with more of a focus on consistency and cleanliness by more carefully controlling various variables like temperature, moisture, etc.
The biggest difference of growing microgreens on a commercial scale is that you’ll want to take advantage of vertical space to make your setup as cost-effective and efficient of a use of space as possible.
By using racks to stack 4 levels of trays on top of each other, it’s entirely possible to have a full-scale microgreens operation capable of providing you with a full-time income in just a few hundred square feet.
- If you’re considering doing this as a business check out this article on Growing Microgreens for Profit.
- Compare Growing Microgreens to Growing Mushrooms their similarities, differences, and how they can work together for your business.
Extra Commercial Supplies
Here are some additional things you’ll need to grow microgreens on a larger scale.
Racks
As mentioned previously, you’ll want to get racks to maximize the vertical space of your grow area.
You can buy pre-made microgreen racks like this, but if you’re somewhat handy it might be much cheaper to make something similar yourself.
You’ll want to install fluorescent or LED lighting above each tray. As well as installing some kind of drainage system to gravity drain excess water back in to your reservoir. Normally PVC is an inexpensive and easy solution for drainage.
Fans
Stagnant air can increase the chances of fungus or mold growing. Especially in a large moist area. Keeping air circulating is important to the health of your microgreens.
A reservoir, pump, and timer
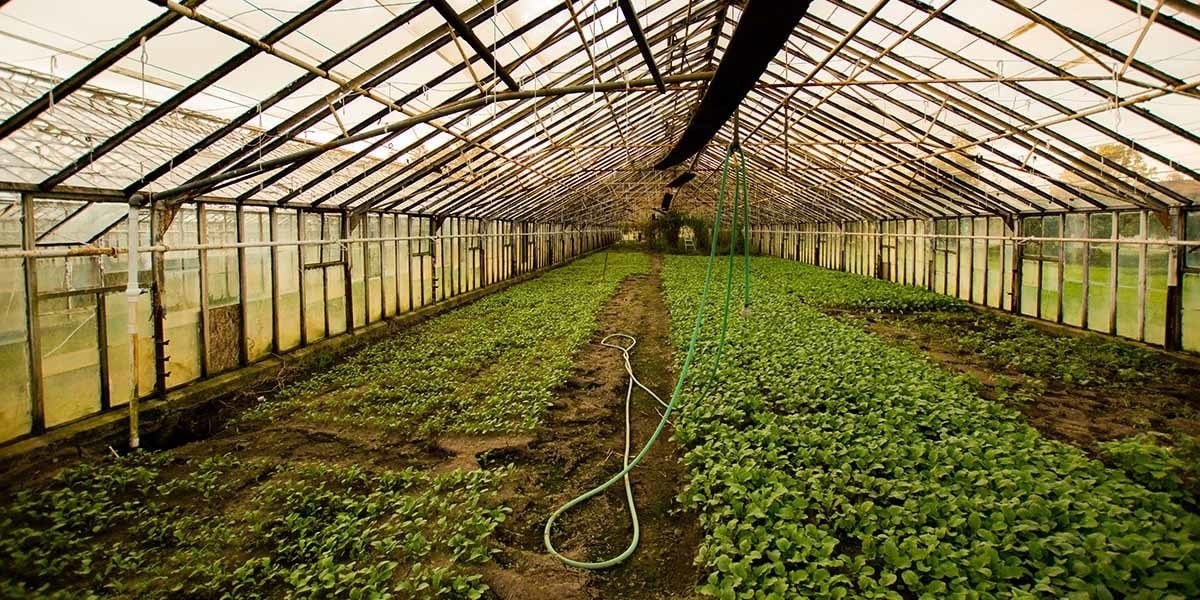
If you’re growing microgreens hydroponically on a large scale, you’ll want to automate the watering process. The money you spend on a pump, reservoir, and tubing will save you hundreds of hours of watering per year.
Not only does it save you time, but it makes your operation more consistent since your microgreens will always be getting the exact same amount of water on a specific schedule.
Your reservoir can be any large container capable of holding several gallons of water.
Air pump
You’ll want an air pump and/or grow stone in your reservoir to oxygenate the water.
Depending on what type of hydroponic system you use, your microgreens might drown if they’re constantly submerged and not able to get the oxygen they need from the water.
Harvesting tool
Just like using a reservoir and water pump can save you hundreds of hours each year in terms of hand watering, making your harvesting process more efficient can drastically cut down on your labor costs as well.
That’s why I’d recommend investing in an electric tool like the Quick Cut Greens Harvester to speed up your harvesting if you have a large-scale microgreens operation. This particular tool is made for baby greens, but it’s gentle enough to also harvest microgreens.
If you’re harvesting hundreds of trays worth of microgreens per week with a knife or pair of scissors, think of the potential time savings.
- Read about How To Grow Sunflower Microgreens Fast And Easy and equipment you need to start.
Types of Commercial Hydroponic Systems
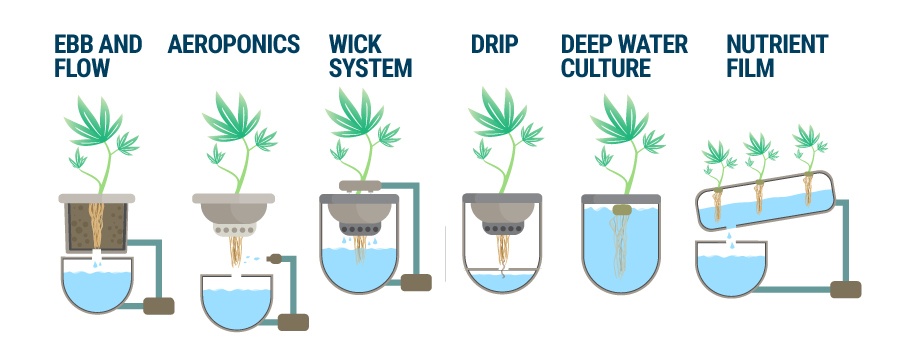
Wicking systems
These are the most basic kind of hydroponic system that you can use.
They don’t require any kind of water or air pumps. The containers containing your microgreens and a separate container with nutrient-filled water are connected by a wick.
Usually a piece of felt or rope. Wicking systems aren’t great for larger plants, but they can be a good choice for smaller plants like microgreens that don’t need a ton of water or nutrients.
They’re a great hands-off system for beginners.
Ebb and flow systems
Also sometimes called flood and drain systems. These are less common for general hydroponic growing but can be a great choice for microgreens.
Unlike the systems I’ll be discussing next which expose the roots of your microgreens to nutrient solution constantly, this system only floods your trays with water a few times each day.
A large reservoir of water / nutrient solution is kept below your trays, and a water pump on a timer is used to flood trays on a regular schedule. After trays are flooded, the excess water is gravity-drained back down into the reservoir.
The main concern with ebb and flow systems is that your plants can dry out quickly if you aren’t flooding them enough, or if your timer or pump fails.
Deep water cultures
Deep water cultures, or DWC hydroponic systems, are large reservoirs that your plants are suspended above, so that only the roots of your microgreens are in the water. This provides them with an ongoing supply of nutrients, water, and oxygen.
An air pump is needed to oxygenate the water. Special netting is needed to keep your plants in place while their roots go down into the water.
I wouldn’t recommend DWCs for microgreens because they take up a lot of space compared to other hydroponic systems.
Nutrient film technique
NFT hydroponic systems are similar to a DWC system, except your microgreens are grown in channels that have nutrient solution constantly flowing through them. Water doesn’t completely cover the roots, which is where the “film” in the name comes from.
Aeroponics
This is potentially the most high-tech type of hydroponic system. It uses mist nozzles to gently mist the roots of your microgreens with a nutrient solution, instead of flooding them, submerging them, or running a film along them constantly.
I don’t think aeroponics are a great choice for microgreens. Since their roots are so small, it’s hard for them to absorb enough water from just misting.
Drip systems
Drip systems are very common for large-scale hydroponic growing of full-sized vegetables, but they aren’t as useful for microgreens.
When growing microgreens, there isn’t much of a difference between using drip emitters or ebb and flow systems except for the amount of water being circulated.
Hydroponic Microgreens Growing Tips
- Keep your microgreens growing at cooler temperatures (60 to 70 degrees F, or 15 to 21 degrees C) to help protect against pests or fungus. Although warmer temperatures can speed up your growing cycle, so find the ideal temperature that works best for you. Making sure your microgreens are getting enough light is usually more important than temperature.
- Making sure your microgreens are getting enough light is usually more important than temperature.
- If your microgreens begin to rot or get infected by fungus, discard the entire tray and pad. Sterilize the tray with a weak bleach solution, or with vinegar for a more organic option. Be sure to rinse your tray extremely well before using it for growing again.
- If your plants are rotting, either you’re likely overwatering them or you’re spreading your seeds too thickly. Microgreens’ roots need oxygen, so if they’re completely submerged and you aren’t using an air pump to oxygenate the water, they can die or become susceptible to root diseases.
- If your plants are wilting, you’re likely underwatering. Your grow pad should be kept soggy, not just damp. Growing your microgreens hydroponically can be a fine balance between underwatering and overwatering that takes time to get right.
- Watch your trays for bugs. You want to catch them early and eliminate them right away, instead of letting it develop into a larger problem.
- Keep your operation clean. After all, you’re growing food! Follow basic food safety precautions like sterilizing your trays, using high quality water, and being sure to wash your hands before handling your microgreens.
- Do your trays have a slight odor? This isn’t necessarily a cause for concern. Most growing mediums start to give off a mild odor, especially later in the growing cycle. It’s something to watch as it might be a sign of mold or fungus, but generally it’s fine if your microgreens smell a little bit. Extra ventilation can help with this.
- If you’re growing a microgreen salad mix, it’s completely fine to sow several different varieties of microgreens in the same tray. It’s a good idea to make sure that they have similar harvest times and needs though.
- Trying to re-grow multiple crops of microgreens from one grow pad isn’t viable on a commercial scale. Once you harvest your first batch of microgreens from a tray, dispose of your growing medium and start fresh.
- Optimize your lighting. If you have pale crops, you might need a stronger light source. But if your crops are getting burned, they might be getting too much light. Some crops like turnips, mustard, and arugula are more sensitive to light. For these crops you’ll want to move your grow lights further away, use a lower wattage, or reduce the amount of time that your lights are on.
- If your crops are generally weak, you might not be keeping them in the dark long enough. Let your crops stay in darkness for an extra day or two. This will give them more time to develop stronger roots.
That’s it on growing hydroponically. Check out the article on Best Growing Medium below to find out why I prefer to grow on soil. Or, for more ways to grow microgreens without soil, read about growing microgreens on paper towels.
- Read also 30 Of The Best Microgreens Recipes Ideas that worth to try cooking!

Pingback: How To Grow Microgreens: The Ultimate Guide - GroCycle
Pingback: Microgreens Business: How To Grow Microgreens For Profit - GroCycle
Pingback: Uprawa microgreens - jak się za to zabrać? - EcoReactor