
This can occur for 2 different reasons:
Mushroom is drying out
This is caused by low humidity in the environment in which the mushrooms are growing.
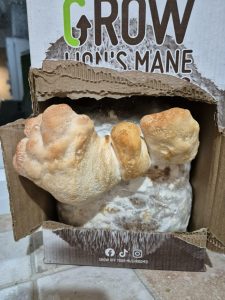
The mushrooms will look dry and often have a yellow-ish brown colouration. This can also be a sign that it is ready for harvest and has stopped growing / is beginning to dry out.
If you think it’s ready to harvest at this point, then go ahead and harvest. The mushrooms are fine to eat.
If the mushrooms are not mature yet, then you can try to increase humidity by placing it in a different spot that may be less dry and/or mist with water more regularly (don’t mist so much that the mushrooms are wet and saturated though, as this can cause the other issue that causes brown colouration)
2. Mushrooms are beginning to rot
The mushrooms will have a darker brown / orange colouration that looks a bit wet in patches. This occurs when the mushrooms have been sprayed too heavily with water and droplets have been left to settle on the mushrooms for too long, causing them to rot.
It can also occur if you do not harvest for a long time after the mushroom reaches maturity. If your mushrooms are like this, then unfortunately they are no longer edible and should be composted asap. Next time, mist less heavily.
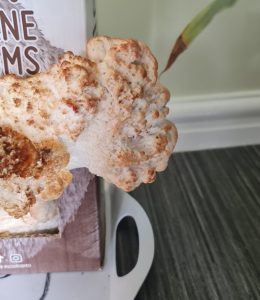
This is nothing to worry about. Sometimes, Lion’s Mane mushrooms can display a pink-ish colouration during the early stages of development. This usually occurs if it is being grown in slightly cooler conditions. The pink colour normally disappears as the mushroom grows towards maturity and turns white instead.
No, it is not necessary to soak the grow bag in water when you first set up your Lion’s Mane Grow Kit. The growing medium already contains enough water for the 1st crop.
After harvesting the 1st crop, leave the kit to rest for 2 days. Then, remove the grow bag from inside the box and place it with the slit side down in a bowl or sink of water for approx. 2 hours. This will help enable it to soak up some water and to rehydrate the growing medium ready for another crop.
After 2 hours, drain as much water out of the bag as possible, and return it to the growing box with the top of the bag folded down – this time with the other (un-cut) side of the bag facing out of the window. Cut another 5-10cm horizontal slit in the bag towards the top of the window. Continue misting 2-3 times daily with water.
A 2nd (smaller) crop should begin to develop approx. 10-20 days later (sometimes it may take a little longer). Follow the same process as for the first crop, misting lightly 2-3 times a day until harvest. You can try repeating this process again for a possible 3rd crop.
From when the mushrooms first start to develop to the point of harvest usually takes between 7 – 14 days, depending on temperature (they grow fast when warm, slower when cold).
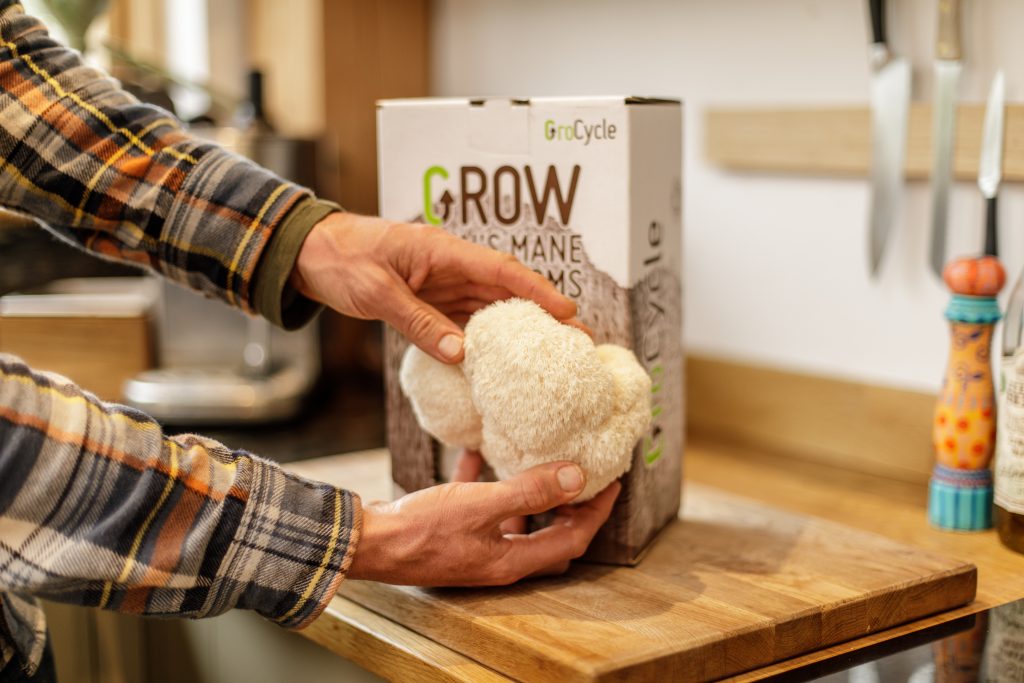
There are 4 main clues for knowing when it’s time to harvest:
- The ‘teeth’ or ‘spines’ on the mushroom elongate and ‘drop down’.
- The mushroom feels more loosely connected to the growing medium (i.e. you can wiggle the mushroom around and it’ll feel like it’s ready to come off)
- You may see some white dust underneath the mushroom (these are spores and can be simply wiped away with a cloth)
- The top of the mushroom may begin to go a little yellow/brown in colour (this can also happen earlier in the growing cycle due to low humidity, so on it’s own isn’t the best indicator of harvest time).
Once you have observed at least 2 of these clues then it’s time to harvest.
The easiest method is to simply slide your hands in behind the mushroom and gently twist and pull it away from the growing medium. If it’s ready, it should come off easily. You can also slide a knife in behind and cut them off instead.
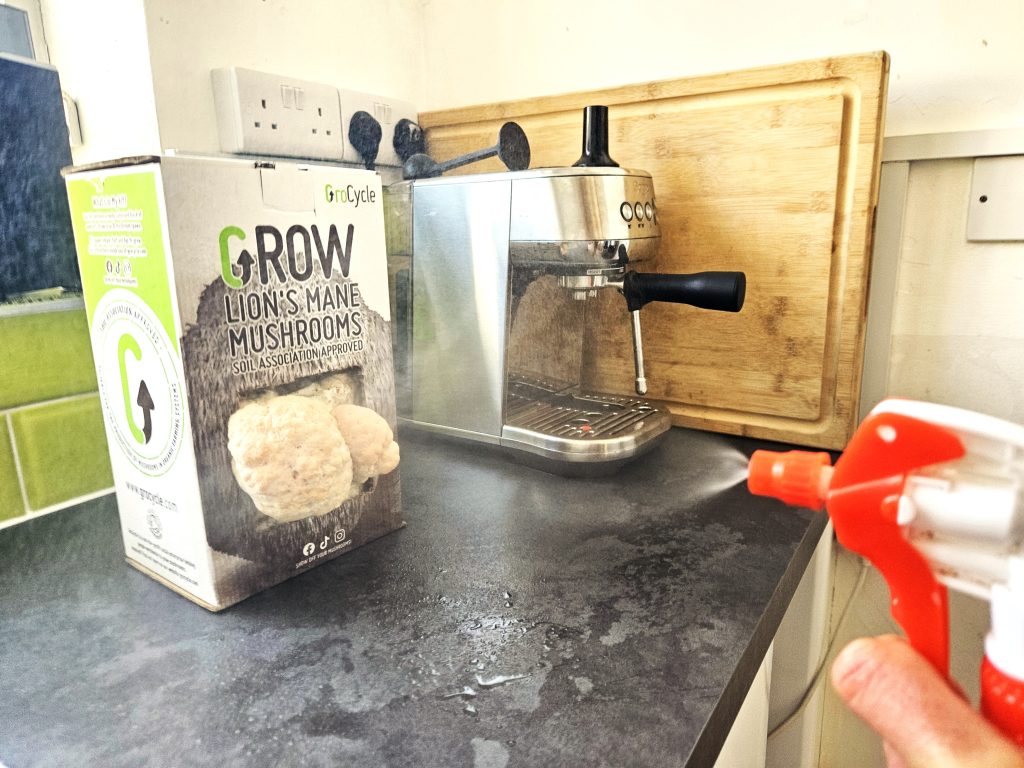
Position your kit in a shaded spot, out of direct sunlight and away from heat sources.
Warm, dry air or direct sunlight will dry the mushrooms out as they develop, so try to avoid anywhere near a radiator, wood burner, or anywhere that get’s direct sunlight.
A shaded windowsill or kitchen worktop is an ideal spot. Somewhere near a sink is usually a naturally humid place for the mushrooms to grow.
You could also consider growing them outside under cover or in a shed with a window when temperatures are above 10C.
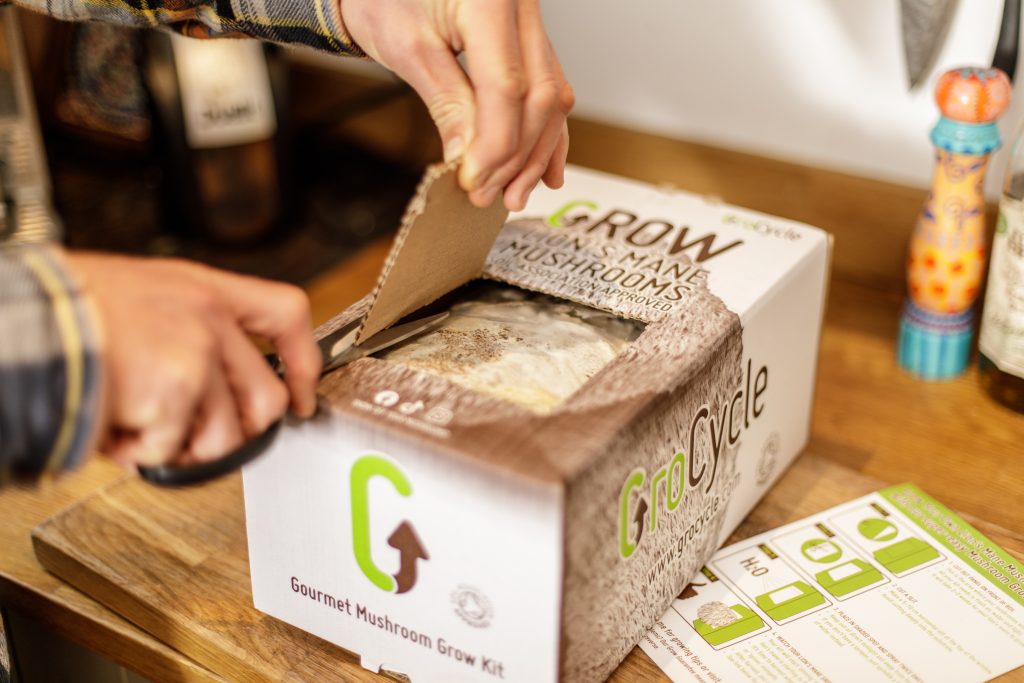
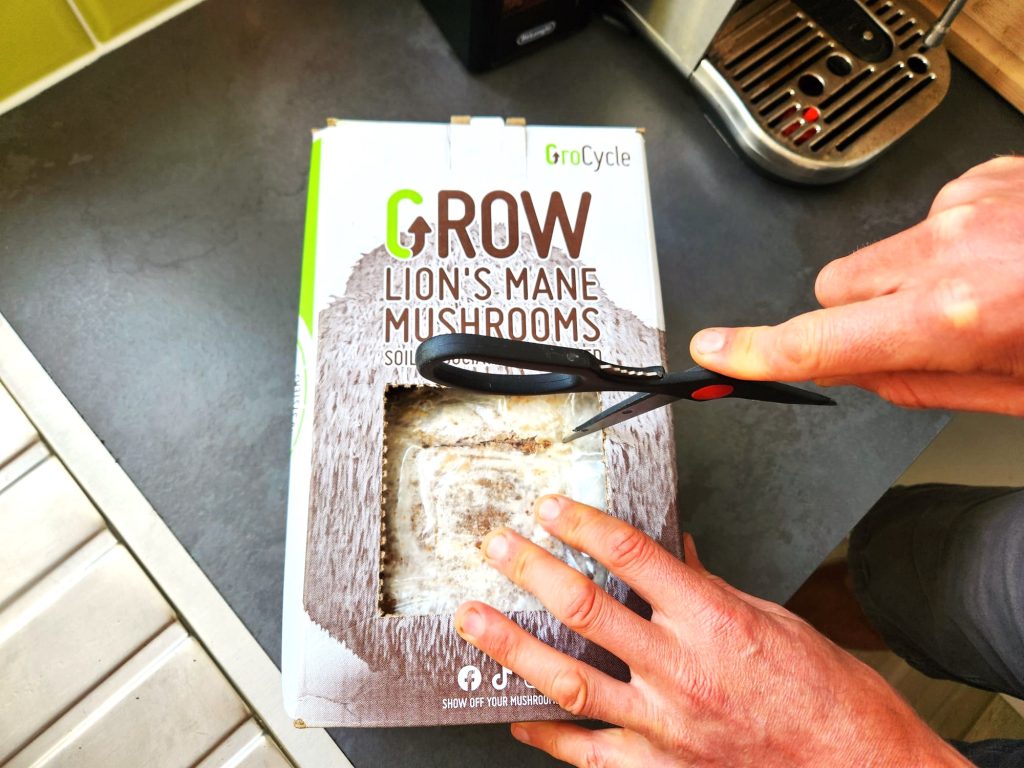
It doesn’t matter…you can put the bag in either way round, just as long as the slit for the mushrooms to grow out of is facing out of the window to give a space for the mushrooms to grow from.
The white square filter patch on the bag is used during the earlier stage of growth and is no longer important for the fruiting stage.
Sometimes a kit will take longer than normal to start growing. Being a living organism means it’s on its own timetable. This can be the case particularly if the environment they are growing in is cooler (below 16C). Or it can be if you forgot to mist daily and it has dried out.
If there is no sign of any mushrooms after 2 weeks, then we recommend you take the bag out of the box and soak it with the cut side down in a bowl or sink of cold water for 2 hours. Then, return back to the box. This will often kickstart the mushrooms to start growing.
If there is still no sign of life after 3 weeks, then please drop us an email to hello@grocycle.com with a photo and we’ll be happy to send a replacement.
