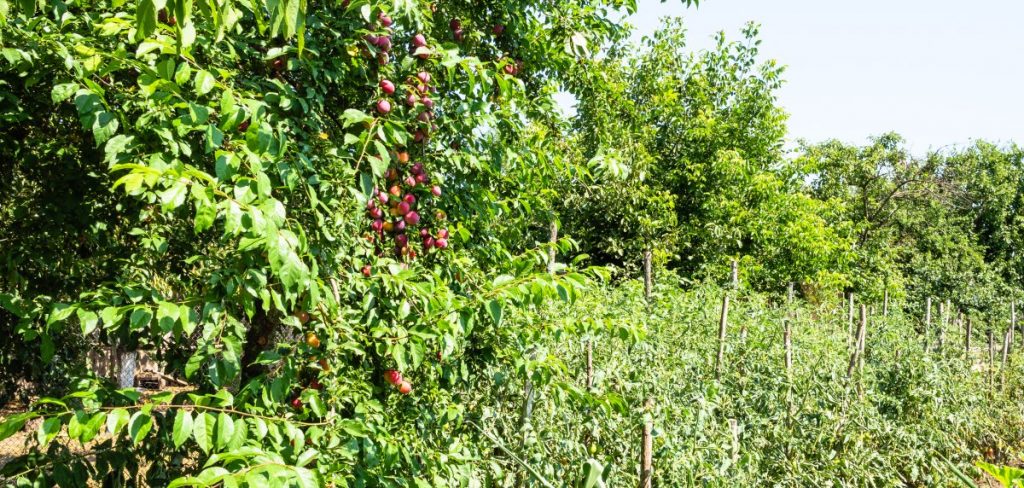
Growing crops in food forest layers allows you to produce a lot of nutrition with minimal work.
A conventional garden requires tons of time and labor each year to keep it in top condition.
You’ve got to turn over the soil every spring, constantly pull out weeds and keep grass from spreading into your garden beds.
You might also need to add fertilizer each year and even spray pesticides or other chemicals.
In contrast, a food forest composed of properly designed layers can do away with much of that work and external inputs.
But most people aren’t taught about food forests or how to layer the different types of plants they want to grow.
By the end of this article, you’ll know the different food forest layers. Plus how to plan a food forest of your own.
What Is a Food Forest?
A food forest is a sustainable way of producing plant-based food that requires minimal maintenance. It mimics a natural forest setting by incorporating various trees, shrubs, vines, herbs and more.
Sometimes a food forest is also referred to as a forest garden.
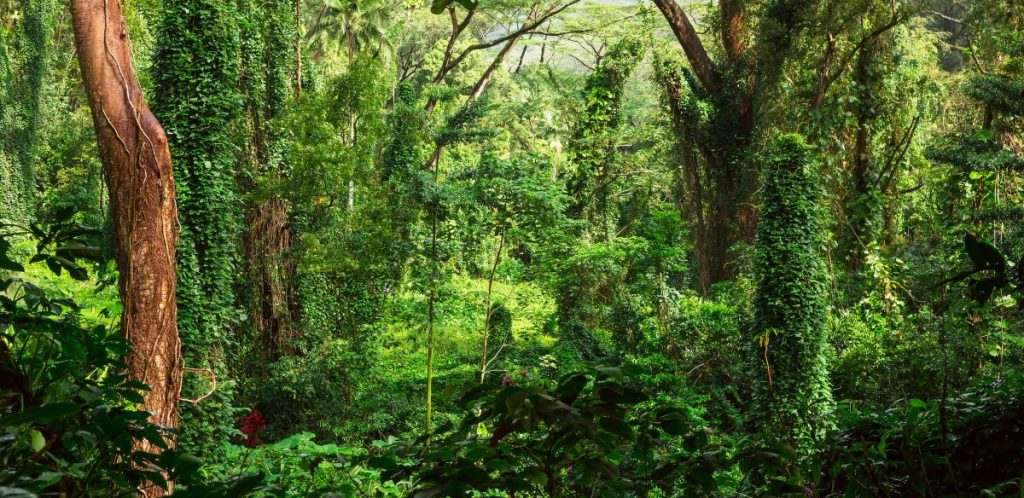
Think of a time that you went for a walk in a forest. Now imagine that every plant around you was edible. That’s basically what a food forest tries to achieve.
Just like forests in nature, the food forest or forest garden doesn’t need humans to fertilize, weed or deal with pests. It’s a fully enclosed ecosystem designed so it can take care of almost everything on its own.
How Do Food Forests Relate to Permaculture?
Permaculture is all about approaching land management in ways that are more aligned with nature.
A monoculture crop is the most out of tune with nature and the furthest agricultural practice from permaculture. This would be something like an entire field of only corn or soybeans
In contrast, we can say that food forests and forest gardens are some of the closest land management strategies to how plants grow in nature. Naturally, the connection and overlap between food forest layers and a permaculture garden is very high.
Food forests help achieve many goals of permaculture such as regenerative agriculture and creating a more resilient piece of land.
By looking at how forests grow and maintain themselves in nature, we can copy the overall pattern and apply it to how we grow food. Basically we are creating a new type of forest. A forest where nearly all of the plants are ones that humans can use as food or otherwise benefit from.
So we might swap out oak trees for fruit or nut trees. Or ferns may get replaced with perennial herbs. But the overall structure and natural layers of the forest remain the same.
Food forests use mainly perennial plants that don’t require the ground to get tilled or disturbed every year. Plants naturally die back in the winter and their leaves return nutrients back to the soil. It’s much more of a closed-loop system than a modern garden.
Since food forests include layers of trees and shrubs, they also provide a home to a diverse array of animals and beneficial insects. There’s much more life than what you would find in an annual vegetable garden.
All of this biodiversity also supports the permaculture garden concept of guilds. A guild is a group of mutually beneficial species that form a larger ecosystem. A food forest really is greater than just the sum of its parts.
Be sure to check out our article How to Design a Permaculture Backyard: Step by Step Instructions for an in-depth explanation of the 12 principles of permaculture.
What Are The Layers of a Food Forest?
There are traditionally 7 layers of food forest. Although being big fans of fungi here at GroCycle, we like to also add an eighth mycelial or fungal layer of our own as well.
Below are the layers of a food forest.
1. Tall Tree or Canopy Layer
This is the largest overarching layer of a food forest. It’s composed of trees that are typically around 9 meters (30 feet) high or more when fully mature.
It can include species of larger nut trees like walnut. Or nitrogen-fixing species like black locust. Some food forests may also incorporate timber species like oak or pine that aren’t necessarily edible.
Depending on the size of your food forest, you might not have room to include trees of this size. In fact, unless you’ve got acres of land, you will probably not include this layer in your food garden.
2. Sub-Canopy or Large Shrub Layer
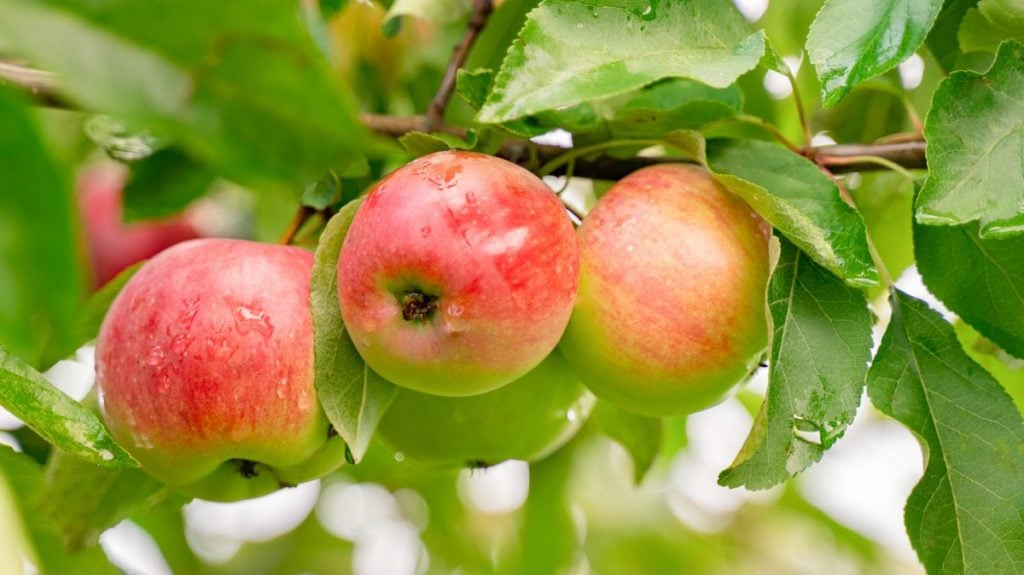
Trees in the sub-canopy layer are around 3 to 9 meters (10 to 30 feet) in height when fully mature.
As mentioned above, if you’re trying to create a food forest in a residential backyard or something of a similar size, this will probably be the top layer of your food forest. It might not be possible to include taller trees without shading everything else out.
This food forest layer will most commonly contain fruit trees like apple, pear, cherry or apricots. These trees will act as the forest’s canopy layer if larger trees aren’t feasible.
If your focus is on planting trees more than anything else, our article How To Create A Permaculture Orchard is full of great information.
3. Shrub Layer
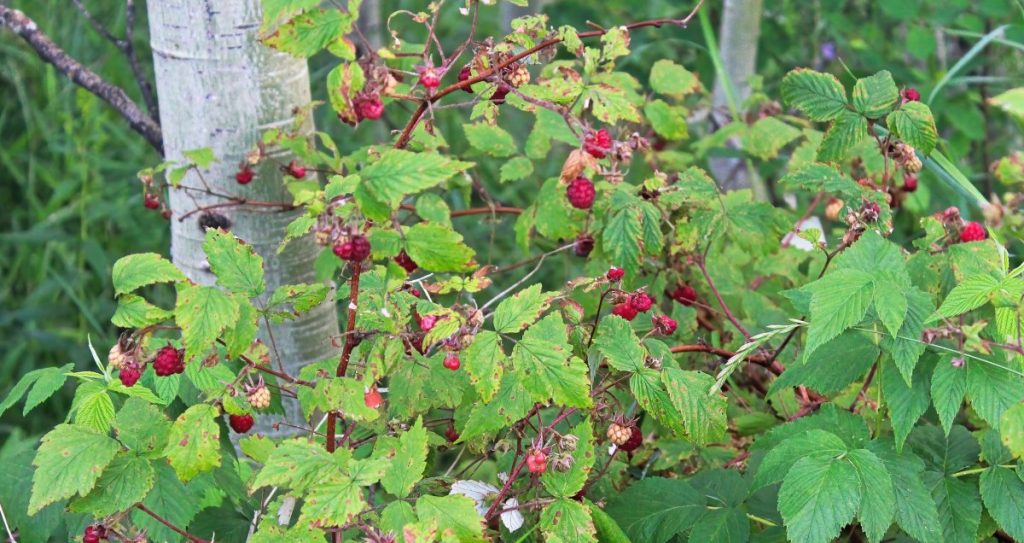
Shrubs are perennial plants that are larger than most herbaceous crops, but don’t grow as large as trees.
Plants in this layer are up to 3 meters (10 feet) high. It includes things like blueberries, raspberries, currants or pretty much any kind of berry bush. Smaller nut species also fall under this layer. As well as medicinal plants like elderberry, witch hazel, rose or hawthorn.
4. Herbaceous Layer
In all of the above layers, trees and shrubs will lose their leaves in winter but their branches and overall structure will remain intact.
Plants in the herbaceous layer and below are different as they lack the thick woody stems of trees and shrubs. Every winter, they will die back completely and then grow back in the spring.
Edible plants in the herbaceous layer include asparagus, garlic, kale, rhubarb and horseradish. In fact, this is the layer where you’ll find most vegetables that you’d typically expect to be grown in a backyard garden.
Most culinary herbs like basil, parsley, cilantro and thyme also grow in the herbaceous layer. As well as medicinal herbs like chamomile, echinacea, valerian and Saint John’s wort.
5. Ground Cover Layer
The ground cover or creeper layer features plants that grow closer to the ground than those found in the herbaceous layer. They tend to be more tolerant of shade and fill in any extra spaces where herbaceous plants haven’t already taken hold.
Ground cover plants can also tolerate getting stepped on a bit. So they can be a great alternative to having bare paths or walkways in your food forest. Plants in this layer also act as a living mulch to help keep weeds at bay.
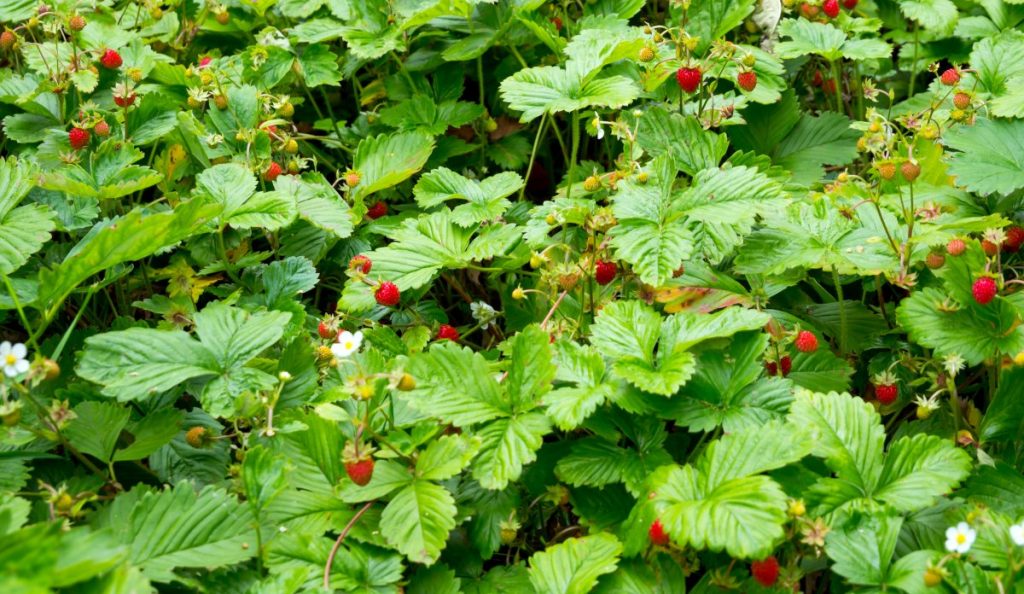
Some edible ground cover plants include spearmint (or any kind of mint), creeping thyme, wintergreen, nasturtium, creeping rosemary, strawberries, oregano and sorrel.
6. Underground Layer
You can generally consider anything that produces a root crop to be part of the underground layer in a food forest.
Of course, these plants don’t just grow underground. So there’s often a lot of crossover here with plants in the herbaceous or groundcover layer as well.
Alliums like onion, garlic, leeks, scallions or ramps are one family of common underground crops.
Jerusalem artichoke is a very hardy plant native to North America which grows edible tubers below ground, as well as small sunflower-like flowers to attract pollinators.
Even some flower species like dahlia and lily are part of the underground layer. They produce starchy tubers that can be used as a vegetable or dried and ground into flour.
Medicinal roots like ginseng and ginger also get incorporated into this layer of your food forest.
7. Climber, Vine or Vertical Layer
This food forest layer includes any climbing or vining plants.
You can think of this layer as a ladder that connects all of the other ladders. Vining plants can grow all the way from the ground layer to the tops of tree canopies.
Since these plants use your existing taller layers as trellises, it adds another layer of productivity to your food forest. Just make sure that you don’t select species that will choke out smaller plants.
The most obvious go-to for a vining plant is grapes. But beans, cucumbers and other crops can also benefit from climbing up your trees and shrubs. Even tomatoes are a welcome addition to this layer, as some varieties will grow to a height of six feet or more.
In a warmer climate, try passion fruit, chayote or kiwi.
8. Mycelial or Fungal Layer (Bonus)
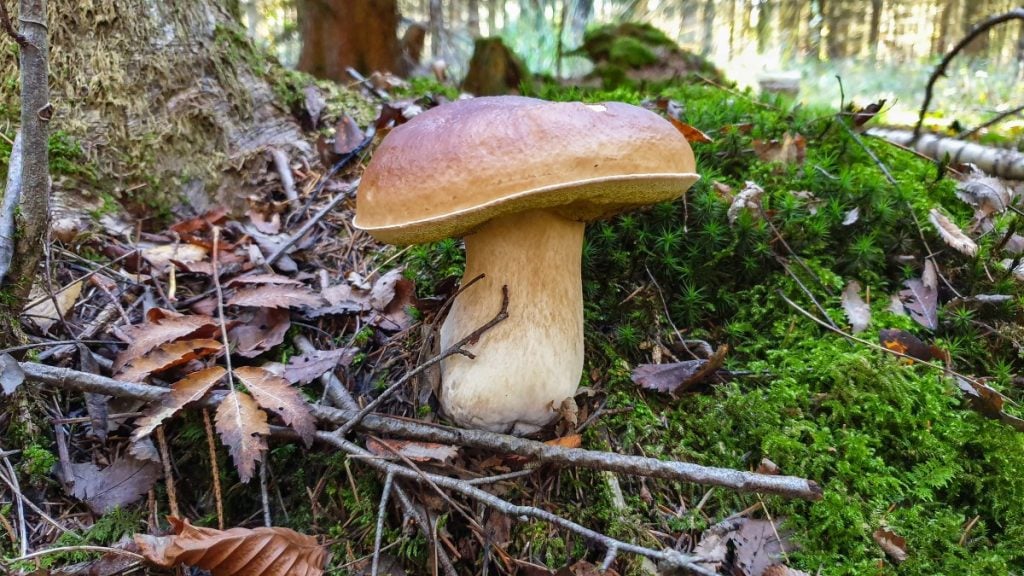
We feel it would be remiss not to give mushrooms and fungi their own layer in a food forest or forest garden.
Any natural forest will have soil full of mycelium. Various kinds of fungus can live in and around the roots of plants. Most of these are known as mycorrhizal fungi and they live in a symbiotic relationship with other plants in the forest.
The mycelial layer can actually help plants to create a stronger root system and to grow more healthy. The mycelium network of fungi helps to transport moisture and nutrients around different areas of the forest.
Aside from benefiting the other layers of the food forest, the fungal layer can also produce tasty edible mushrooms for humans too.
For farmers or gardeners who are new to growing mushrooms, there are three species that we most recommend. These are oyster, shiitake and wine cap mushrooms.
Once established, these mushrooms should become a natural part of your food forest that keeps coming back year after year.
More experienced or adventurous growers could try introducing other mushroom species like morel, reishi or lion’s mane into their food forest.
See our articles How To Grow Mushrooms Outdoors With A Mushroom Bed and How To Grow Mushrooms On Logs: The Ultimate Guide for a couple of great ways to add a mycelial layer to your food forest.
How Do You Plan a Food Forest?
A food forest isn’t like an annual garden bed where you can switch up what you’re growing each season. Some of the species that you plant will likely stay in the food forest for decades to come.
That’s why it’s worth taking the time to plan your food forest out upfront, instead of coming at it haphazardly.
Here are some basic steps to take when planning out your food forest.
Step 1: Decide What Your Goals Are
People grow food forests for all kinds of different reasons.
You might want to create your forest garden to return the area to a more natural state. Perhaps you’re interested in growing more healthy food for you and your family.
Other people have goals like earning a business or becoming more self-reliant for their food needs.
Different goals will determine what kinds of crops you should grow in your forest.
Step 2: Observe Your Land
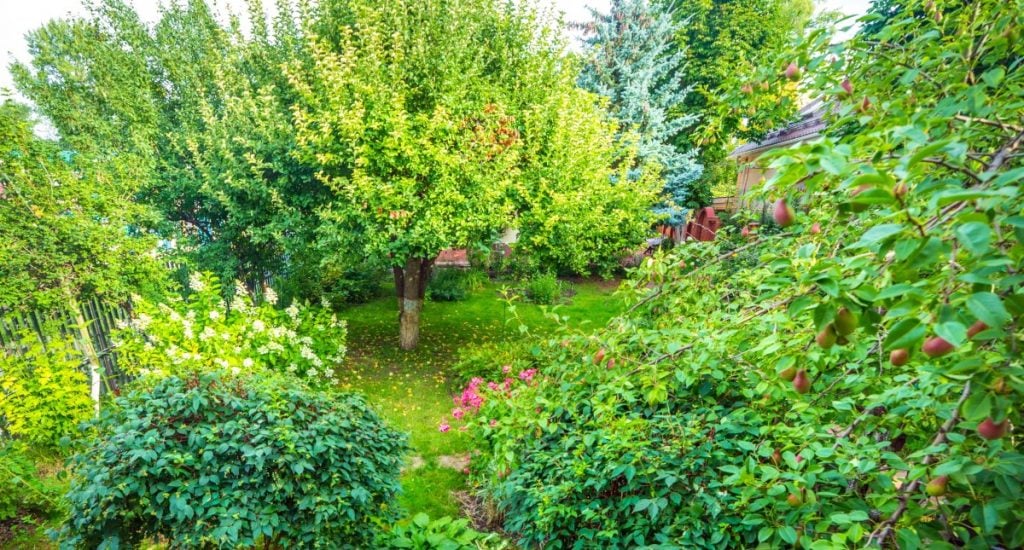
One of the first steps in creating any kind of permaculture garden is to acquaint yourself with what already exists around you. What is the terrain of the area like? What kinds of insects and predators are already present? How does water move and drain on the property?
You may also want to go for a walk in nearby forests. Seeing what plants naturally thrive in your climate and soil conditions will give you a good idea of what crops will do best in your food forest.
If all of the forests nearby have wild apple, cherry and rose hips, you should take that as an indication of what to grow. Incorporating native species that already thrive in your area will maximize your chances of success.
Step 3: Choose Your Plants
Food forests offer a lot of flexibility with what you can grow in them. However, perennial plants that keep coming back year after year (or at least reseed themselves) are ideal. You don’t want to be going through and planting crops in the undergrowth each year.
Find a list of food forest or permaculture garden crops online and see which appeal to you the most. We recommend focusing on the plants that you enjoy eating the most.
There’s not much point in growing a ton of rhubarb or artichokes if you don’t enjoy eating them or have recipes to use them in.
Step 4: Find and Prepare Your Location
When setting up your food forest layers, you’ll want at least 100 square feet available in a location that gets a good amount of sunlight. Any less and you’ll have trouble even fitting a single fruit tree for your sub-canopy layer.
We also recommend starting at a manageable size even if you’ve got plenty of space to work with. Although a food forest can span multiple acres, it’s best to get things right on a smaller scale and then expand.
Especially when it comes to digging up, moving or replacing trees, it’s a lot easier to get things right the first time.
Before you start planting your food forest, you’ll want to get rid of any grass, weeds or other current vegetation.
For large grassy areas it may be worth using a sod cutter to easily remove all grass and roots.
In weedy soil, you can sheet mulch by adding several layers of cardboard to prevent weeds from getting sunlight. Then add a thick layer of mulch over top. Over time, the cardboard will compost into the soil.
For a new food forest, you don’t need to till the ground or shape out beds as you would with a vegetable garden.
If your area has very sandy or heavy clay soil, you may want to amend it with compost before planting. Otherwise you can simply dig holes for each plant and put them into the ground. If you use cardboard mulch in the area, you can cut holes in the cardboard where you want to plant.
Step 5: Plant Your Crops
Since a food forest has multiple layers and heights of plants, how you order them is important. If you place them incorrectly, then larger plants will completely shade out the smaller ones.
If possible, orient your food forest so that your tallest species are in the north. Work gradually to smaller and smaller species, with the smallest crops in the southern end of the food forest.
This will help your smaller crops to get enough light. Especially during the ends of spring and autumn when days are shorter.
Some plants are shade-tolerant enough that they can get put anywhere in your food forest. Don’t forget to add some mushrooms to the most shady area of your forest garden as well.
The larger canopy trees of your food forest will take several years to grow. During those first early years, you might take advantage of the extra sunlight to grow some annual vegetables. At least until they start to shade the area out.
How To Start Your Own Food Forest or Forest Garden
Looking for a basic guide to help you get started?
We go through the step-by-step process of how to create a food forest in our article How To Create A Permaculture Food Forest, Forest Garden or Forest Farm.
The article also provides a more in-depth list of suggested food forest crops to include in each of the 8 parts of your food forest. Plus it answers some frequently asked questions as well.
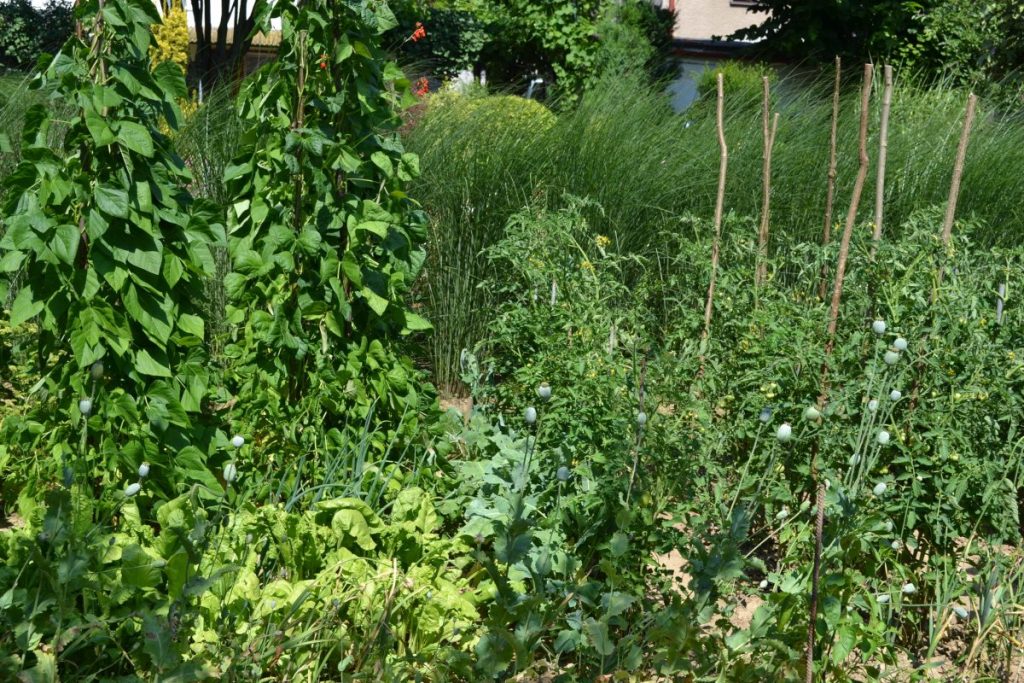
Real Life Food Forest Examples
Interested in seeing some real examples of food forests? Check out these ones. If you live close to any of them, you might even want to stop by and analyze them in person.
Beacon Food Forest
Located in Seattle, Washington, USA, the Beacon Food Forest is a community project with the goal of building equitable food systems for all people.
Through the use of permaculture design principles and agroforestry, the project has managed to create a resilient and diverse edible landscape.
Ben Nobleman Park Community Orchard
This orchard in Toronto, Canada is the city’s first community orchard in a public park. Volunteers help to mulch, prune and maintain the orchard. Every year the fruit gets harvested from the trees and enjoyed by volunteers, as well as shared with the community.
The Orchard Project
The Orchard Project is the only national charity in the UK dedicated to creating and restoring community orchards. They work with community groups all around England and Scotland to help design new orchards, as well as restore neglected heritage orchards.
Their goal is to eventually have community-run orchards in every city and village across the country.
Food Forest Tours by Justin Rhodes
While he doesn’t have a food forest of his own, Justin Rhodes is a farmer who tours the world and shows off various farms, permaculture projects and food forests in his Youtube videos.
Here is one video documenting a food forest created by university students in Florida. Do a search for “food forest” on his channel for other great examples as well.
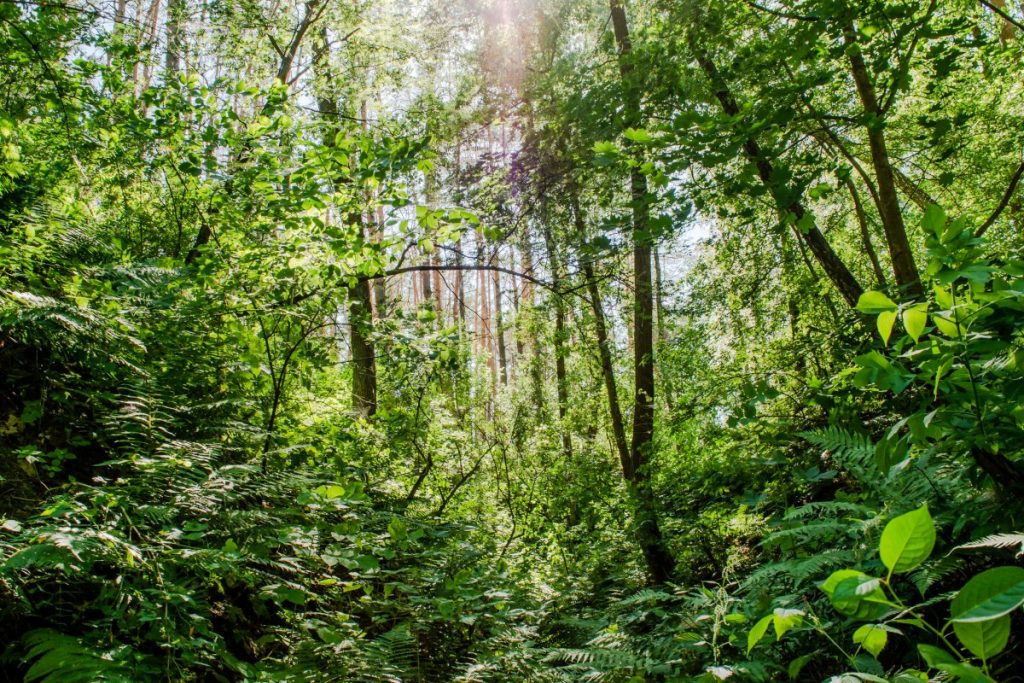
Pros and Cons of Food Forests
As with anything, food forests come with pros and cons. We feel that the pros of them heavily outweigh the cons. However it’s still worth considering the drawbacks before creating a food garden of your own.
Pros of Creating a Food Forest
- Less work than other types of gardens. After the initial setup and design, you can pretty much let nature take over if you’ve designed your food forest correctly. Weeding, fertilizing and pest control is minimal in a food forest. Only harvesting and the occasional pruning is required.
- Long-term harvest. A food forest creates a food legacy that you can pass down to your children and future generations. A conventional vegetable garden has to get planted every year, but a food forest will still be producing decades into the future.
- Can use otherwise unsuitable land. Some plots of land might not be usable for growing crops in a conventional way. But by growing a variety of different crops that are adapted for the specific conditions of an area, you can make use of otherwise vacant land. Even a swamp or desert-like conditions can get turned into a food forest.
- Source of healthier food. Organic fruits and vegetables grown in a food forest aren’t treated with chemical pesticides or fertilizers. They also tend to create more nutrients and vitamins than produce you find at the grocery store, which may have been picked before it was even ripe. Plus it has a smaller carbon footprint since the crops aren’t shipped across the country.
Cons of Creating a Food Forest
- It takes more time to set up than a conventional garden. Food forests need planning and setup. Large fruit or nut trees won’t produce a yield for five or more years.
- More initial design, setup and labor. A lot goes into designing a food forest to make sure that all of the plants will work in harmony with each other. For example, many common vegetables won’t grow well near black walnut trees.
- They can look messy. If you’re used to planting vegetables in neat little rows, then a food forest may look like chaos to you at first. They imitate real forests, which have a wild and unkempt look to them. Your neighbors and city bylaw officers also might not appreciate your food forest. Particularly if you plant it in your front yard.
Final Thoughts
Food forest layers attempt to mimic the structure of a natural forest that you’d find in the wild. The main difference is that they’re adapted to include the species that are useful for humans. For the most part, the focus is on edible and medicinal plants.
Each layer of a food forest plays its own important role. When designing a food forest of your own, be sure to incorporate species from each layer. That way you’ll end up with the most resilient and self-sustaining food forest.
To find out more about sustainable food production and the various options available, visit our permaculture Resource Hub.
