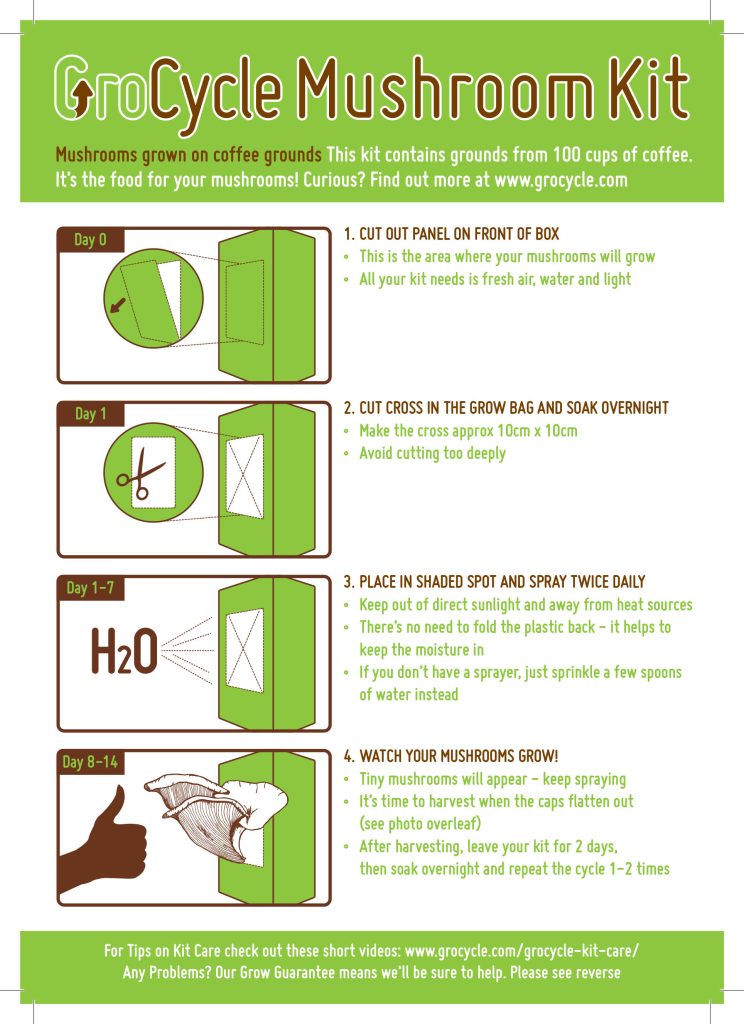
Welcome to your GroCycle Oyster Mushroom Grow Kit!
This page contains instructions and frequently asked questions to help you have the best possible experience with your your kit.

Oyster Mushroom Kit: Frequently Asked Questions
You can store your kit for up to 4 weeks after you’ve received it. Store it in a dark spot at room temperature (10-20C), then continue as per the instructions in the box. The only exception to this, is if you buy your kit during November or December when you can keep it for up to 8 weeks before opening (due to the fact that the kit will have been very recently made)
This can happen from time to time if your mushrooms are bursting to grow and you’ve left it a little too long to start your kit off. It’s not a big problem though, just watch this short video where we show you what to do next.
Once the hole in the bag has been cut, you need to spray the front of the box each day to stop the growing mix inside from drying out and to create the humidity that mushrooms love to grow in. Just spray the whole area where you have cut the hole, pulling back the flaps momentarily to make sure it all gets some water. Then allow the flaps to fall back into place as they will help to keep the humidity in. Aim to spray at least twice a day, giving the whole area a good misting each time (i.e. approx. 4-5 sprays).
Your kit is pretty versatile – most people grow them inside on a shaded windowsill or kitchen worktop/table. Anywhere that has some indirect light, and isn’t near a radiator or wood burner will provide the conditions needed for growth. Humidity is most important wherever you position it – remember to soak the bag at the beginning of each crop and continue to spray daily to stop it drying out.
Oyster mushrooms are quite tolerant of temperature and will grow happily between 5-25C. The ideal temperature for the best quality of mushrooms to form is between 10-18C.
This white layer is the mycelium, or ‘mushroom roots’. It has grown across and throughout the coffee grounds and has completely colonised it before we send it out to you. It’s this mycelium that gathers up the nutrients and uses them to produce delicous Oyster Mushrooms when the bag is opened.
We have a lot of faith in our product and guarantee its success. The first step is just to give your kit a little extra time. As a living organism, your mushrooms will not always behave like clockwork – although most are ready for harvest after 14 days, some kits will take an extra week or two to start growing. Read through these FAQ’s and if you can’t work out what may be the problem, drop us an email to hello@grocycle.com with a photo and explanation of what has happened. We’ll do our best to advise and get your kit working, but in the unlikely occurrence that there is a problem with your kit, we will happily send you a new one free of charge.
You will notice over time that the lovely fresh white bag you started with begins dry out, gets lighter and shrinks. This occurs as crops of mushrooms are extracted and the nutrients useful for growing mushrooms become depleted. Once you have had at least 2 crops from it, it’s worth trying to re-soak and get another, but if you do this and no further crops emerge after 4 weeks, then it is time to break up the mixture that is left and add this rich soil amendment to your plants!
The first crop is always the biggest as it is grown at its peak with all the nutrients in the bag available. Each successive crop gets smaller as more nutrients and water are extracted from the kit. Soaking for longer periods and misting well can help to mitigate the moisture loss, but the nutrients will slowly run out, producing smaller crops over time.
The second crop can sometimes take a little longer to appear, but as long as the kit is not too dry, it will always come. After you harvest the first crop, leave your kit to rest for 2 days, then soak overnight in water and continue to spray daily. Your second crop will start to grow in around 7-14 days, but can occasionally take up to 21 days.
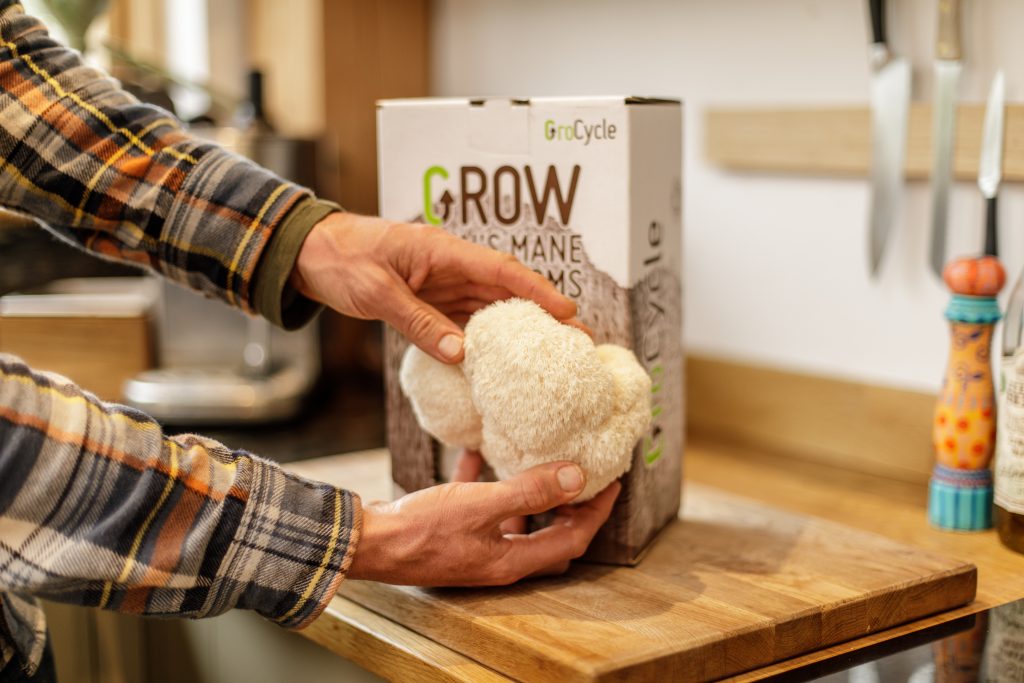
Got A Lion's Mane Kit?
If you have one of our Lion’s Mane Kits, then check out our video growing guide for this variety here:
If you have any other questions about your kit then please get in touch via our contact page.


