If you’re just starting your first garden, now is the perfect time to get started with permaculture while you’re in the design phase. But even if you’ve already got an established garden, this guide will help you to slowly transition your existing garden to more sustainable design.
How do you start a permaculture garden? Decide where you will want your garden to go, observe your land and see what makes sense for your area, design your garden, add in water systems and other infrastructure, and then plant your perennials before annuals.
In this article, you’ll learn what a permaculture garden is, how to make one step-by-step, the main permaculture principles to abide by, and some suggestions for real permaculture projects you can add to your own garden!
What Is A Permaculture Garden?
A permaculture garden is one that takes advantage of the aspects of nature like the sun, wind, and water, to work for you instead of against you.
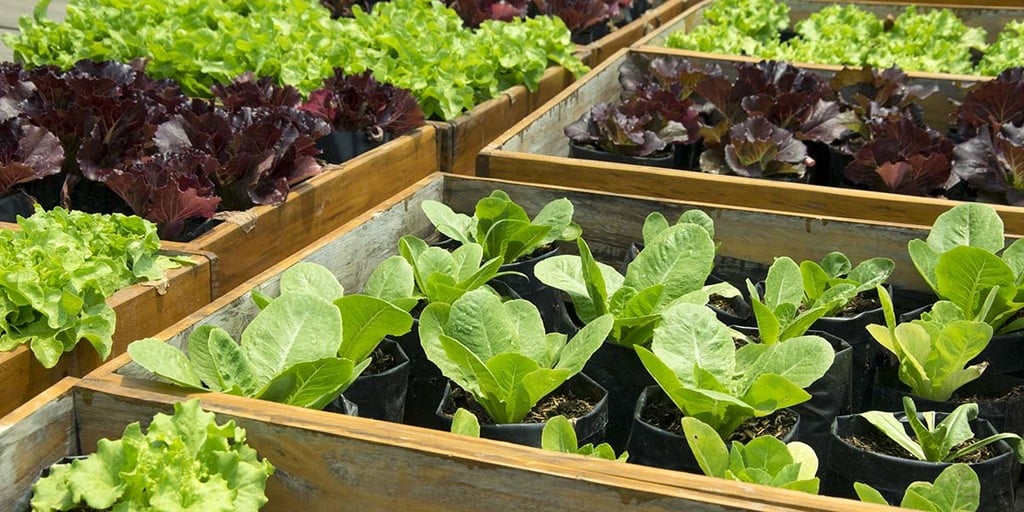
Conventional gardening tends to have a one-size-fits-all approach. Take square foot gardening, for example. Although it’s productive, it’s not very natural.
Soil is made perfectly uniform and divided up into exact segments, with specific numbers of plants in each segment.
In contrast, a permaculture garden is more like art than science.
How you design your garden will depend on what makes the most sense for your particular piece of land, and the climate and ecosystems that already exist there.
Permaculture puts more emphasis on building up soils gradually over time so they’re well balanced and full of nutrients.
Before you can start creating your own permaculture garden, first you have to understand what a permaculture garden really means to you.
Permaculture offers a lot of flexibility, and ultimately it’s up to you to decide how you want to design and structure your garden.
You’ll need to think about what your priorities are. Taking into account various factors like productivity, sustainability, aesthetics, and more.
You don’t need a big backyard to get started with permaculture gardening. A small yard or even a balcony can be made into a productive garden.
Every little bit that we can do to live more sustainably makes a difference to the environment.
Whether you grow enough food to feed your family, or just enough tomatoes or fresh herbs that you need during the warmer months.
Or even just to have a bit of greenery to help you stay connected with nature and maybe help out local pollinating insects a little bit.
We can all use permaculture gardens to do our part.
A major component of creating a permaculture garden is design. Here are the 12 principles of permaculture that you’ll want to incorporate into any garden that you create:
- Observe and Interact
- Catch and Store Energy
- Obtain a yield
- Apply Self Regulation and Accept Feedback
- Use and Value Renewable Resources and Services
- Produce No Waste
- Design From Patterns to Details
- Integrate Rather Than Segregate
- Use Small and Slow Solutions
- Use and Value Diversity
- Use Edges and Value the Marginal
- Creatively Use and Respond to Change
In addition to these principles, you’ll also want to take the 3 ethical tenants into account:
- Care for the earth
- Care for people
- Only take your fair share (and return any or share any surplus or waste)
These basic ideas will serve you well as you develop every part of your garden. From how you plan our your garden design, to how you preserve resources like water and electricity.
Now that you have the basic mindset needed, let’s talk about exactly how to go about starting your permaculture garden, step by step.
- Learn my guide of How To Create A Permaculture Orchard here.
How To Start Your Permaculture Garden – Step By Step
When you’re first getting acquainted with permaculture, there’s enough information out there to easily become overwhelmed.
It’s hard to figure out for yourself what your priorities should be, and what needs to be done in which order. That’s why I’ve created this handy step-by-step list to help you through every step of the way.
Feel free to refer back to this guide at any point along your journey if you’re feeling lost.
Step 1 – Decide Where Your Garden Will Go
If you already have a fairly large backyard, that’s the most obvious place to get started with your garden. The only factor you’ll need to consider is in which part of the yard your garden will go.
For other people without such easy access to land, they might already get hung up at this step before they even begin.
Don’t fret if you’re thinking to yourself, “But I live in an apartment!”
There are ways to help start your own permaculture garden or help contribute to other people’s gardens regardless of whether you have access to land of your own or not.
If you haven’t even got a balcony, then I’d highly recommend joining a community garden. Most cities nowadays have plots of public land set aside where people can collectively garden.
I’d highly recommend it, as it’s a great opportunity to meet other gardeners who likely have years of experience and advice to share.
You’ll want to sign up for an allotment right away if you’re interested though, as the waiting list in some places can be long. If no spaces are currently free, you might have to wait until one is available to claim.
If you rent an apartment, you can ask your landlord if it would be possible to create a garden on the roof. This would have been unheard of years ago.
But now many cities around the world are offering tax credits to building owners who add green roofs to their structures.
So the building owner might be happy to let you grow plants on the roof in exchange for being able to take advantage of such a tax savings.
If you have nearby friends who have a yard, ask if they’d be willing to let you use a portion of their yard to create a permaculture garden.
Many homeowners would be happy to let you do this in exchange for a portion of the produce you harvest, or an agreement to weed and tend to the existing flowerbeds in their yard as well.
Permaculture gardening can be done in almost any shape and size. So don’t get too hung up on not having the perfect piece of land. It’s more about the ideas and principles than how much food you end up growing.
So don’t give up. Where there’s a will, there’s a way!
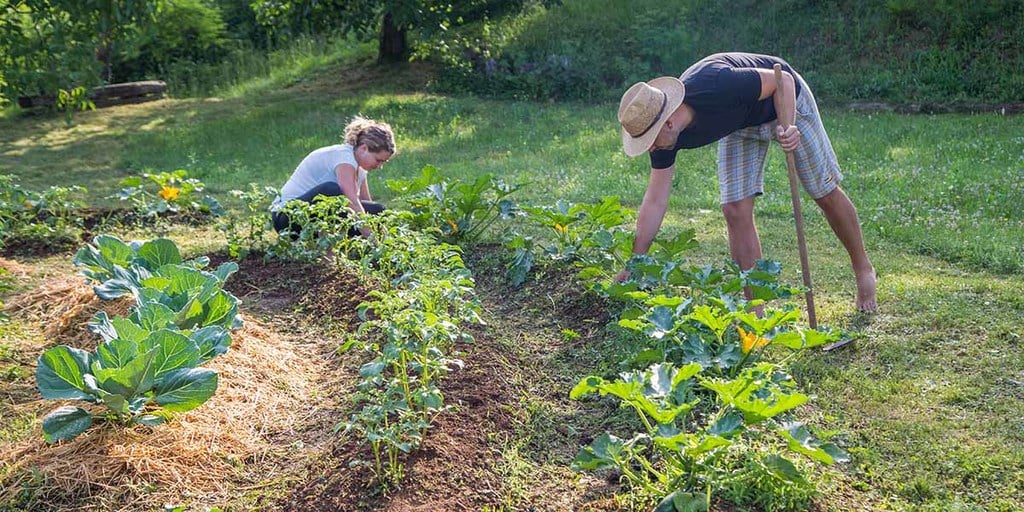
Step 2 – Observe Your Land
Before you make any decisions about how you’re going to plan out your garden, it’s best to just take a moment and observe what already exists on the land that you’re planning to use.
This step might seem obvious, but don’t skip it.
After looking out at your yard hundreds of times, you may feel like you know everything about it. But if you actually get out and take a walk around to immerse yourself in it, you may find out things you didn’t know.
- Is there actually a bit of a slope in one section of your yard?
- Does the ground seem to pool in one part of the yard after it rains, where it might be too wet for things to grow?
- Do you have a big tree in your yard where you won’t want to plant, because the ground is too full of roots and its leaves will block out too much sunlight?
- What kinds of animals and insects (both beneficial and pests) do you see as you look around?
- Do you have any unique resources or features you can take advantage of?
- What areas get the most sun in the morning versus the afternoon?
These are just a few of the questions you should ask yourself.
Step 3 – Design Your Garden
Design and planning is a huge part of permaculture, so don’t skimp on this step either. A good design will save you lots of effort, while a poorly designed garden will be a thorn in your side for many years to come.
Based on your initial observations, you should have a good idea of different factors such as shade, elevation, and areas where children will play or people will gather which you can plan around.
Also take note of water sources you’ll use and plan around them. Whether that’s a water tap on the outside of your home, a pond, or something else.
From personal experience, I can tell you that placing your garden 50 feet from a water source and up a hill isn’t the wisest choice, and you’ll probably come to regret it!
Think about where you want to put various annual or perennial plants, and how much space they’ll take up as they grow over time.
I recommend trying to make a detailed sketch of your garden plans, rather than just having a vague idea in your head and trying to wing it.
When you put it down on paper, you might realize some aspect of it doesn’t make sense. And it’s a lot easier to take out your eraser and fix it at that point, instead of doing it once you’re out working in the dirt.
You can always change your design as your goals or needs change. Taking a few minutes to measure out your yard will allow you to make a more accurate drawing.
Or if you’re struggling, you can use the satellite view from Google Maps to get a basic shape.
Step 4 – Put In Water Systems and Other Infrastructure
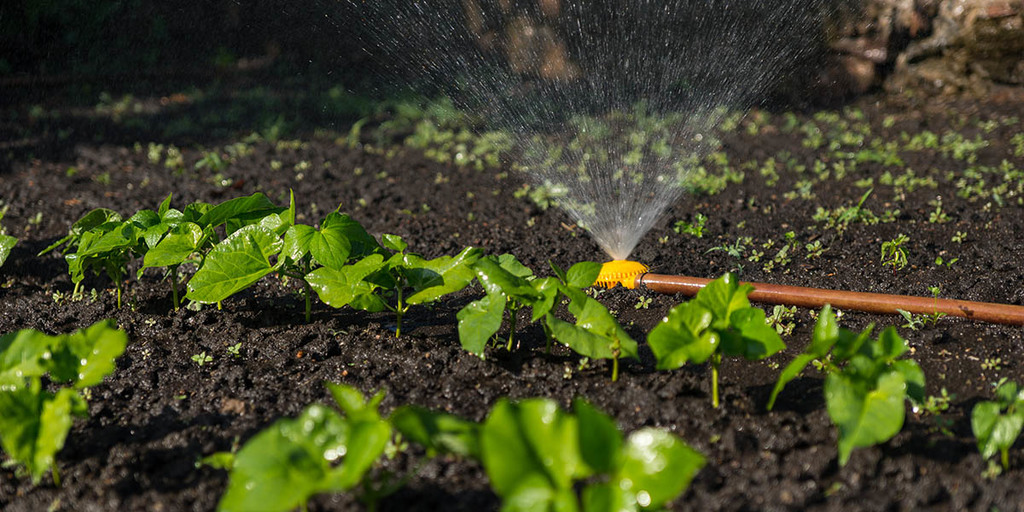
Water systems can be the difference between your permaculture garden succeeding or failing. Water is a valuable resource that you need to keep and use in sustainable ways.
During the design phase you should have figured out which areas of your property water tends to pool, where it runs away from your property, and where water is needed the most.
Depending on how much space you have to work with, you might want to put in a swale (a ditch where water can collect) where water is naturally pooling anyway.
Or you can set up rain capture from your roof to be stored in barrels or cisterns, so you can use it for watering or washing crops and tools.
Step 5 – Build and Prepare Your Beds
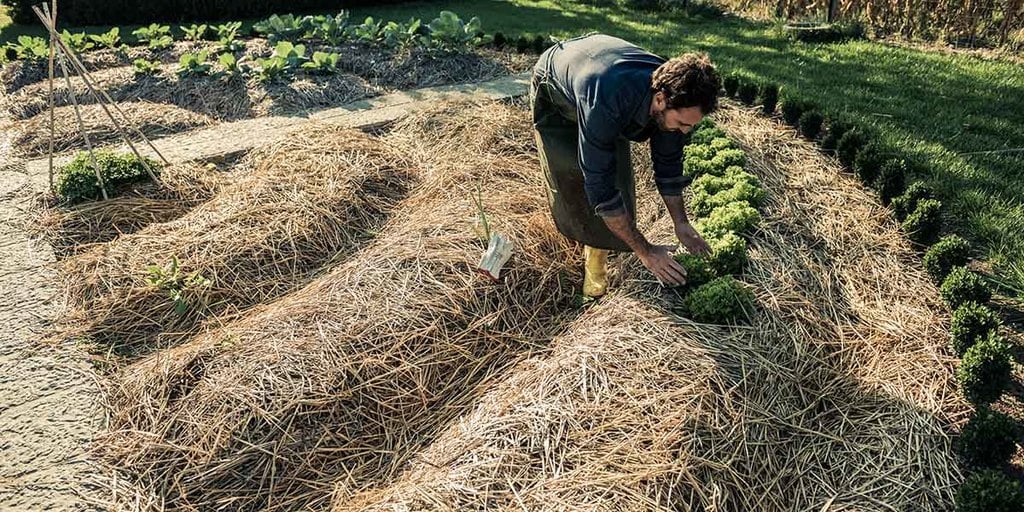
Permaculture generally calls for doing the least destructive changes possible, so once you decide where your garden is going to go, your best bet is probably sheet mulching or spot planting.
Sheet mulching, also called lasagna gardening, is a way of creating a larger plantable area.
It’s called lasagna gardening because it involves stacking alternating layers of materials like leaves, straw, wood chips, cardboard, compost, and others in a way that would look like a slice of lasagna as a cross-section.
Grass doesn’t need to be dug up, you simply start mulching on top of it, and the grass underneath will die and become part of the soil as well.
Sheet mulching takes less effort than having to remove grass and till the soil before planting.
Plus it doesn’t disturb microbes in the soil, or stir up weed seeds that may be buried underground and cause them to germinate.
Sheet mulching takes time before the materials will decompose though, so it’s best to mulch in the fall so that you can begin planting in that area in the spring.
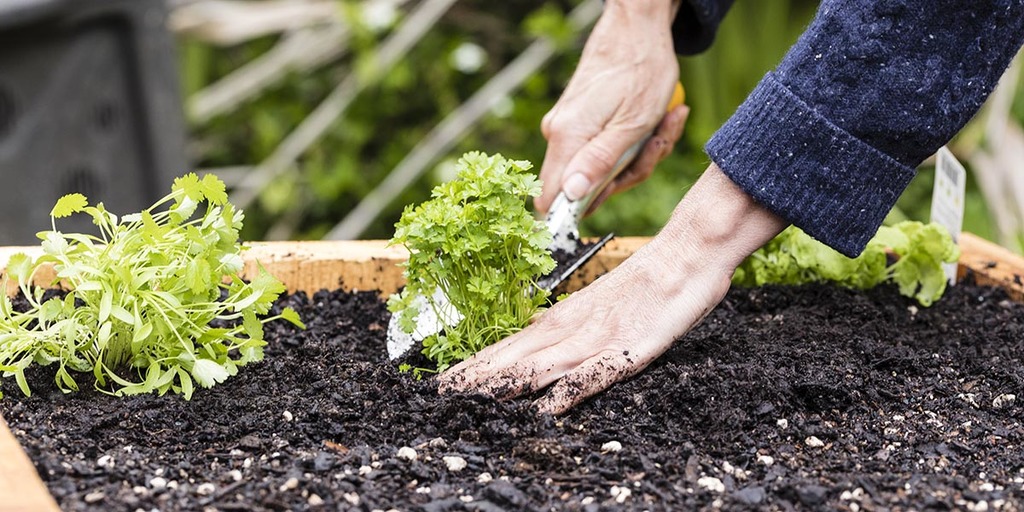
Spot planting is useful for covering smaller areas. You can dig a hole or remove a small section of grass and then plant into the soil. The benefit of spot planting is that plants can start growing right away with this method.
So if you want to start a garden and it’s already spring or summer, this might be a better option for you.
The downside is that you don’t get nutrients added to the soil like with sheet mulching, so you may need to amend the soil with compost or an organic slow-release fertilizer.
It’s also a good idea to cover the area with straw as a mulch when you’re done planting, to help suppress weeds and keep in water.
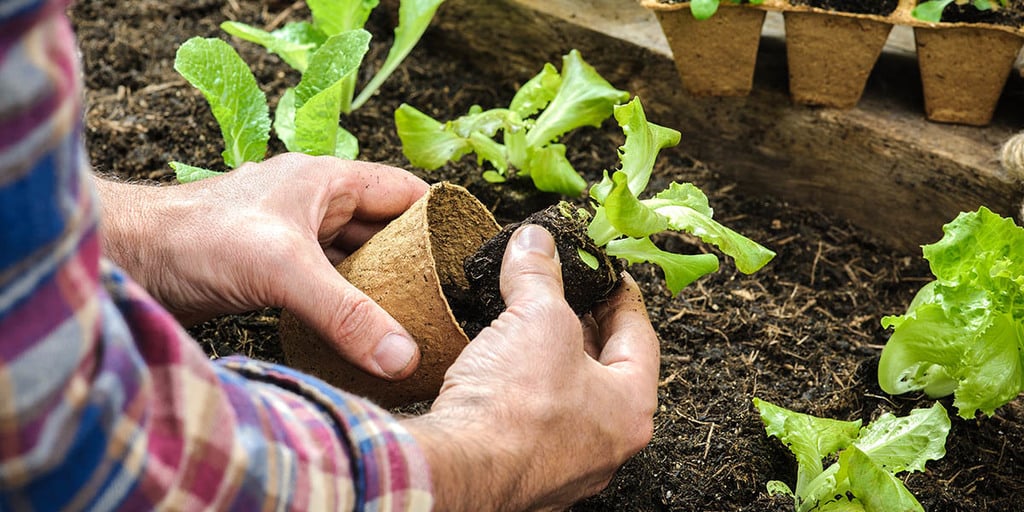
Step 6 – Plant Perennials First
The first stage of planting your garden should be worrying about where the perennials will go. Because these are the plants that are going to come up year after year, and they’ll be a regular staple of the garden.
You’ll want to be sure to pick crops that make sense for your planting zone. Trying to grow lemons in Minnesota or the UK makes a lot less sense than in Florida or Spain.
If possible, pick native plants, as they’ll be the best suited for your area of all. You should be able to find plants that meet those criteria but still provide the fuel, fiber, and food that you need. (For more information about selection plants for your garden, check out our article on Permaculture Plants.)
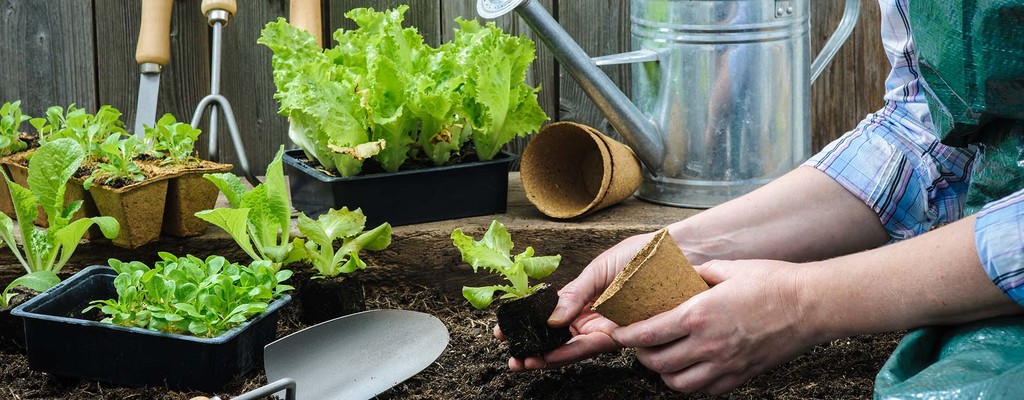
You can plant perennials from seed, but many of them like asparagus or fruit trees will take several years before they start to produce, so it’s better to get some transplants or bare-root saplings to minimize the time before you’re able to start harvesting from them.
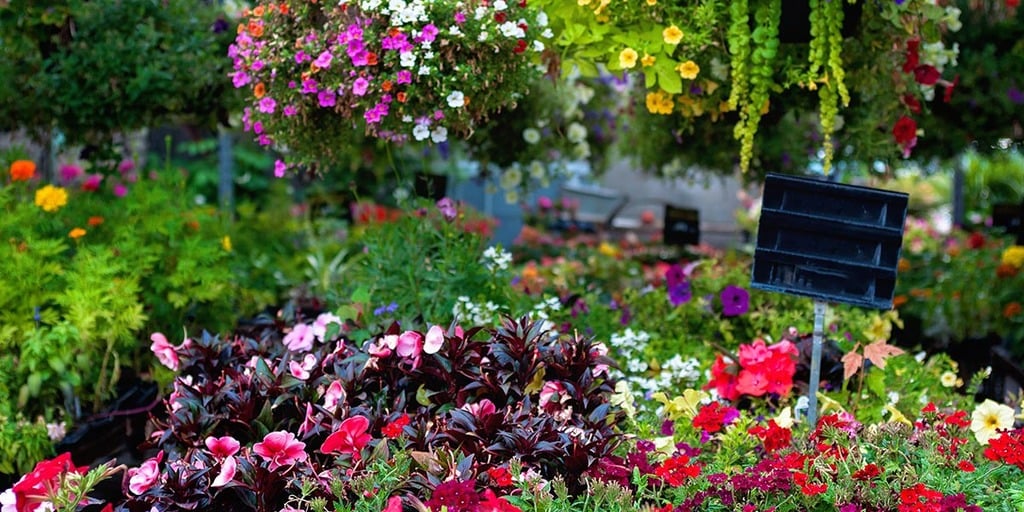
Check local garden clubs in your area to find less-common plants, or worst-case many nurseries have the option to order online or by mail order.
But buying from a local nursery is always your best choice, since the plants will already be adapted for your climate, weather conditions, and soil.
If you’ve got friends who are also looking to start a garden, you can buy as a group to take advantage of lower bulk prices.
Once you’ve got ahold of the perennials that you want, you can stop planning and actually start to get your hands dirty! If you have the budget for it, it’s good to plant a bit closer together than recommended.
That way you can choose the most healthy plants later on and remove the rest to be used for compost. Planting more densely initially will help stop the growth of weeds as well.
At this point you can also start some companion planting. Like placing onions and chives under trees to prevent digging pests and disease. Or flowers to help begin attracting pollinators.
Step 7 – Add In Annuals
Your permaculture garden probably isn’t going to look like much of a garden yet, after all you’ve added in so far is perennials.
You might have a bunch of young fruit and nut trees, and some asparagus and rhubarb and other transplants. But overall your garden probably just looks like a bunch of twigs at this point.
For the first few years of your garden, you probably want to add in lots of annuals to fill all the extra space, while your perennials are still taking root.
The good news is that most of the popular and well-known vegetables we enjoy are annuals. Like beans, peas, tomatoes, peppers, squash, and others.
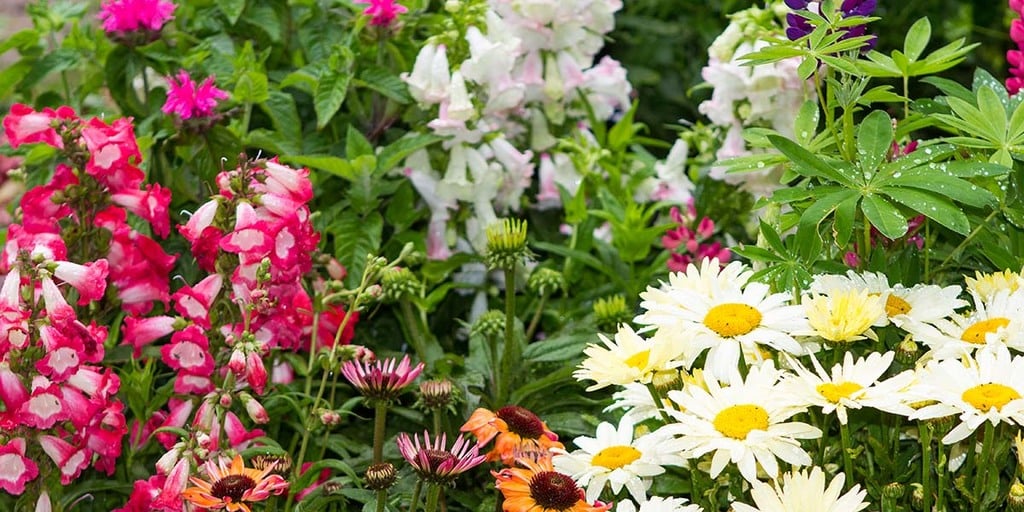
You can also add in flowers and lots of greens to give more of a permaculture look to your garden.
Sunflowers are a great plant for filling lots of space.
Plus they’re low maintenance, you’ll get lots of seeds from them if you’re lucky, and you can chop and drop their large stalks at the end of the growing season to add a bunch of nutrients back into the soil.
If you’re relying on your garden for either food or income, annuals will definitely make up the bulk of either for your first couple of years.
Step 8 – Watch Your Garden Grow and Maintain It
Starting a permaculture garden can seem like an overwhelming amount of work at first.
But once you’ve got all your plants in the ground and you’re into a routine of watering and tending to everything, don’t forget to take a step back and appreciate what you’ve got.
Your garden should give you joy just to observe and be around if you’re passionate about it. Take this opportunity to learn how your garden works.
Watch all of the wildlife that comes and goes, and see how various plant species grow and bloom for the first time.
You’ll get to enjoy the harvest of your healthiest and fastest-producing plants in your first year, but a lot of the initial reward will just be seeing what’s successful and working in general.
Set some time aside every week or so to do some weeding. If you deal with weeds regularly, it’s not too bad. But if you leave them for too long, they can quickly get out of control.
Step 9 – Composting
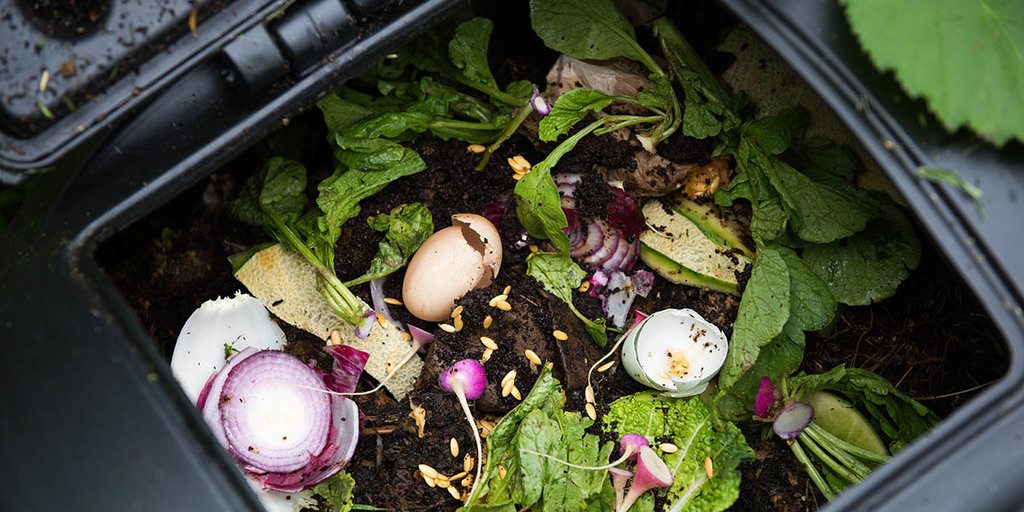
As your first season starts to draw to a close, you’ll likely have a bunch of leftover plant matter. Now is the perfect time to really get your composting going, so you’ll have some extra nutrient-rich soil ready for next year.
Remember the principles of permaculture and try to run your garden as waste-free as possible, reincorporating any waste products back into the system.
There are lots of different composter designs to choose from. You can get a continuous composter, which is the black single-body composter that you’re probably familiar with.
Just add your yard waste and kitchen scraps to it over time, and there’s very little maintenance required.
Or you can use a batch or tumbling composter to accelerate the decomposition, but you’ll need to rotate it daily and make sure it has enough moisture.
It’s also possible to use indoor composters or worm bins, although I wouldn’t recommend these for gardeners, as you’ll likely have a lot more organic material than what these are meant to handle.
Step 10 – Get Involved With Your Community
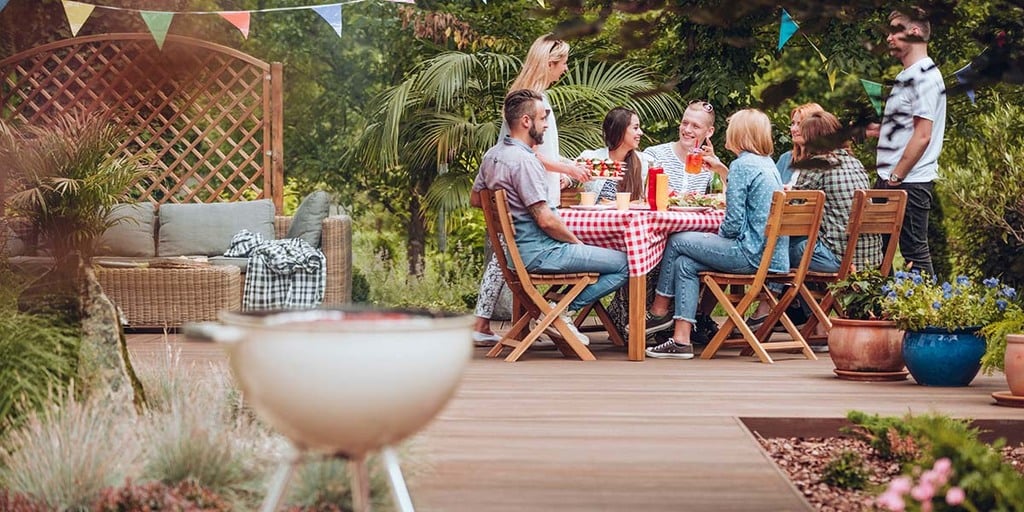
There are lots of other gardeners out there who are just as passionate about permaculture as you are. Find a local group and get involved.
Whether you meet other beginner gardeners who you can share the journey with, or advanced gardeners who can mentor you and answer any questions you have, everyone benefits from joining together and sharing information about their gardens, what’s working and what’s not, and the latest trends they’re keeping up on.
You can also volunteer to help with community gardens, donate some vegetables from your permaculture garden to a local food bank, or find other ways to use your passion for sustainable agriculture to give back.
- Learn more about How to start a market garden to produce healthy food for your community.
A Final Note – Just Get Started!
Chances are that you’ve read the above steps, but you haven’t even started with the first step yet. So I’d just encourage you to get started.
Just getting started can be a big hurdle to get over, and it’s easy to feel overwhelmed, or experience analysis paralysis and get stuck on every small detail.
The truth is that your permaculture garden is never going to be perfect during your first season. You just have to get started, and some of your most valuable lessons will come from the direct experience of trying for yourself. (It also helps to read books and watch Youtube videos.)
A great way to get started is to break your big project down into smaller parts, and take care of them one little piece at a time.
Starting small will also help you from being overambitious and biting off more than you can chew, which more often than not will burn you out and make you want to give up.
- Read these 21 Of The Best Small Scale Farming Ideas before you start.
Permaculture Garden Practices
Still not sure how to get started on your permaculture garden? Here are some real techniques and designs to give you some inspiration and get you started.
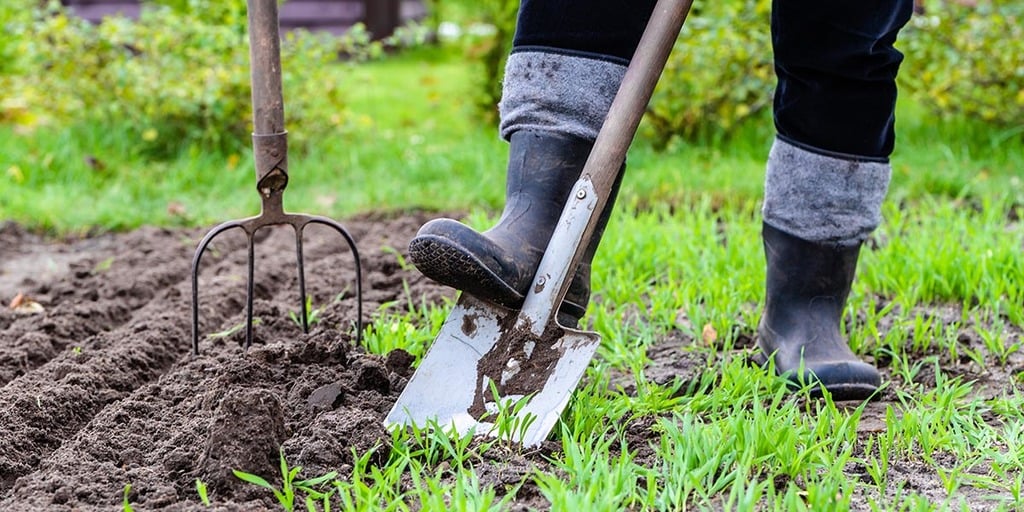
1. No-Dig Gardening
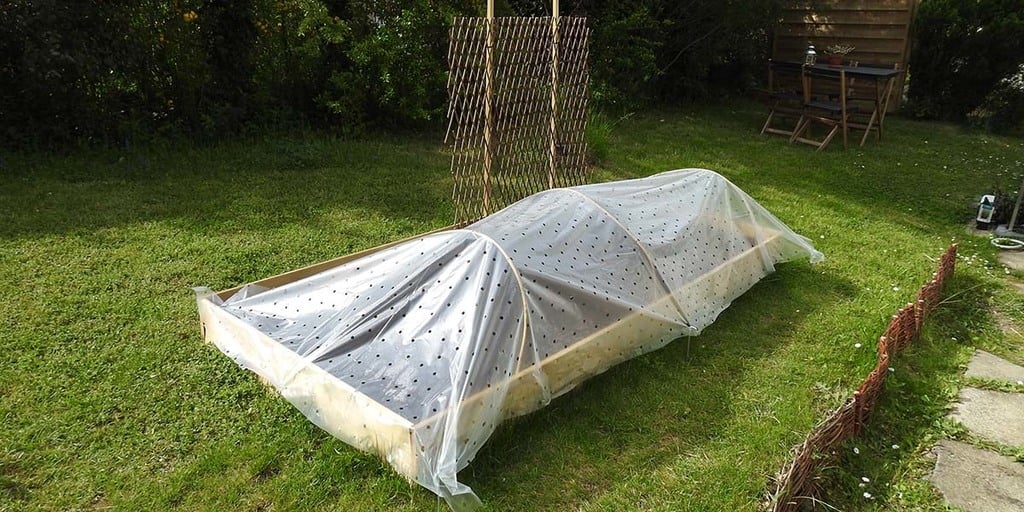
No-dig gardening is a common permaculture idea that helps protect the soil microbiome that helps to transform organic matter into our food.
Sheet mulching is one example of no-dig gardening that we touched on earlier. Other popular no dig methods include raised beds and hugelkultur.
Permaculture gardeners want to avoid digging because it can kill beneficial bacteria, organisms, and creatures that keep the soil healthy.
So no-dig garden beds are made on top of existing soil, or even grass, without disturbing it. Adding mulch helps to retain water and cut down on weeds.
2. Worm Composting
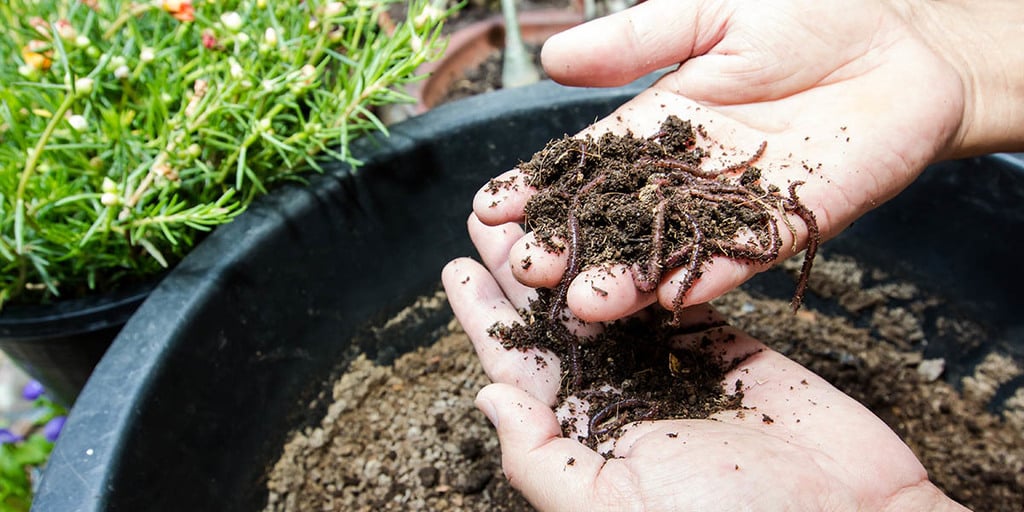
Another option besides conventional composting is to make use of worm composting.
Put your plant debris and kitchen scraps into large buckets or bins which have composting worms in them. Regular earthworms will work nicely.
The worms will eat these scraps and turn them into worm castings, which have more nutrients for the soil than just ordinary compost would.
You can buy some worms from a bait shop, or better yet, just capture your own from your garden. After you’ve got some, just drill a bunch of coin-sized holes in the bottom of a large 5 gallon bucket. Then bury it halfway into your garden and fill it with shredded cardboard and paper, and add a layer of soil or dried grass on to the top.
As the worm castings are created, they’ll drain directly out the holes in the bottom of the bucket and provide nutrients to the surrounding soil. But even with holes in the bucket, it will still fill with worm castings over time.
At that point, you can empty your bucket over your garden bed and repeat the process.
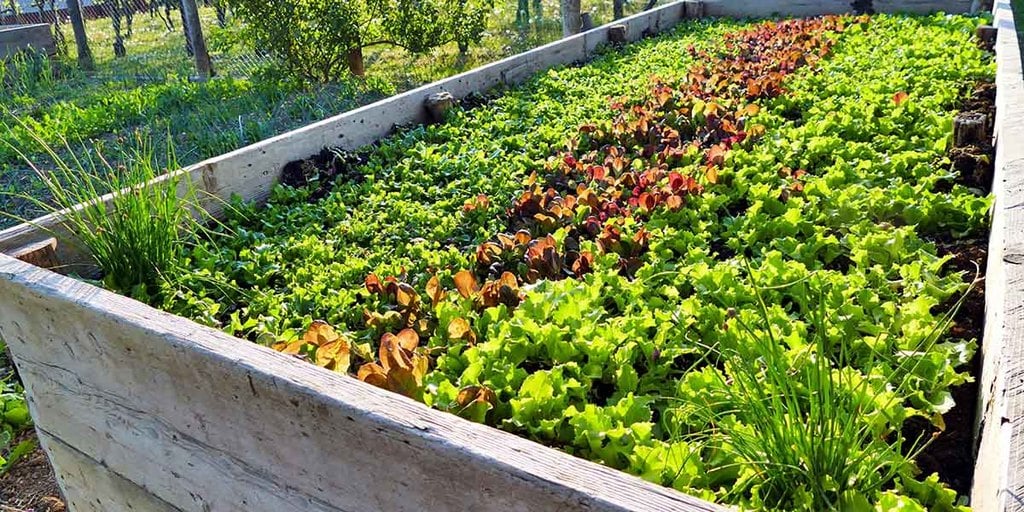
3. Keyhole Gardens
Keyhole gardens are one example where taking other gardening methods from around the world can lead to improvements over conventional gardening.
A keyhole garden is a raised bed with an indentation or chunk in one side of it. This allows gardeners to get in closer to the garden, where they can weed, maintain, water, and harvest easily from all areas of the bed.
Less bending over and stretching is needed compared to a regular garden, which is great for the elderly or anyone with mobility issues.
In addition to their layout, keyhole gardens also encourage mixing plants together to encourage biodiversity, instead of just growing rows of single crops. That way they’re less at risk of developing diseases or pests.
Keyhole gardens allow all of the cultivated land to be utilized, as opposed to conventional gardening where we might create garden beds where portions are too far to effectively reach and use.
4. Chop and Drop

If the thought of taking all of your garden scraps to the composter seems like too much work, you don’t have to feel guilty about it. Chop and drop is a technique that can help!
Chop and drop is where you simply remove plant material from your garden at the end of the season, cut it into pieces, and drop it right onto the soil where it was growing.
This technique can help add nitrogen to the soil, and act as an organic mulch that prevents evaporation and moderates soil temperature. It also stops the wind and rain from eroding topsoil.
With the chop and drop method, your whole garden can act as a composter, and you can simply let materials decompose where they were originally growing.
You can also go a step further and create what’s called green manure. This is where soil amending crops are grown specifically so they can be turned into the soil to add nutrients.
5. Companion Gardening
Many plants have synergistic effects on each other. Some plants provide nutrients that other plants need to thrive, others improve the yield or flavor of certain vegetables, while others keep pests away.
Biodiversity is how nature meant for plants to grow, so don’t feel like you need to conform to the norm of planting a single type of crop in a row.
Corns, beans, and squash are one of the most popular combinations of complementary plants. Corn grows up into the air, beans can climb up the corn stalks as natural poles, and squash spreads out along the ground.
All three of these plants also have positive relationships underground at the root level as well, to boost the growth and production of all three.
Conclusion
Permaculture is an approach to garden design, but it’s also so much more than that. For most gardeners, it represents a total shift in mindset and lifestyle.
Permaculture gardeners view gardening more as working in collaboration with nature, instead of simply using it to take something from.
The principles of permaculture like not producing waste, catching and storing energy, and using renewable resources start in the garden, but often spread to other areas of our life.
Soon you’ll also be buying local food, secondhand clothing, and reusing shopping bags.
The ideas of permaculture are a flexible philosophy that you can incorporate into your life as much or as little as you want. But chances are that once you get a taste, you’ll want to dive into it even further! For more on beginner gardening, check out our article on how to start a milk crate garden.
If you want to learn more farming ideas or have questions about how to start your farm, read my articles below:
Very good information to be put into practice.